Weitere Optionen
Unterkategorien
Diese Kategorie enthält die folgenden 2 Unterkategorien (2 insgesamt):
A
- Alpha 3.12 (4 S, 16 D)
Medien in der Kategorie „Screenshot“
Folgende 200 Dateien sind in dieser Kategorie, von 274 insgesamt.
(vorherige Seite) (nächste Seite)- Abgebaute Steine.jpg 2.560 × 1.440; 1,03 MB
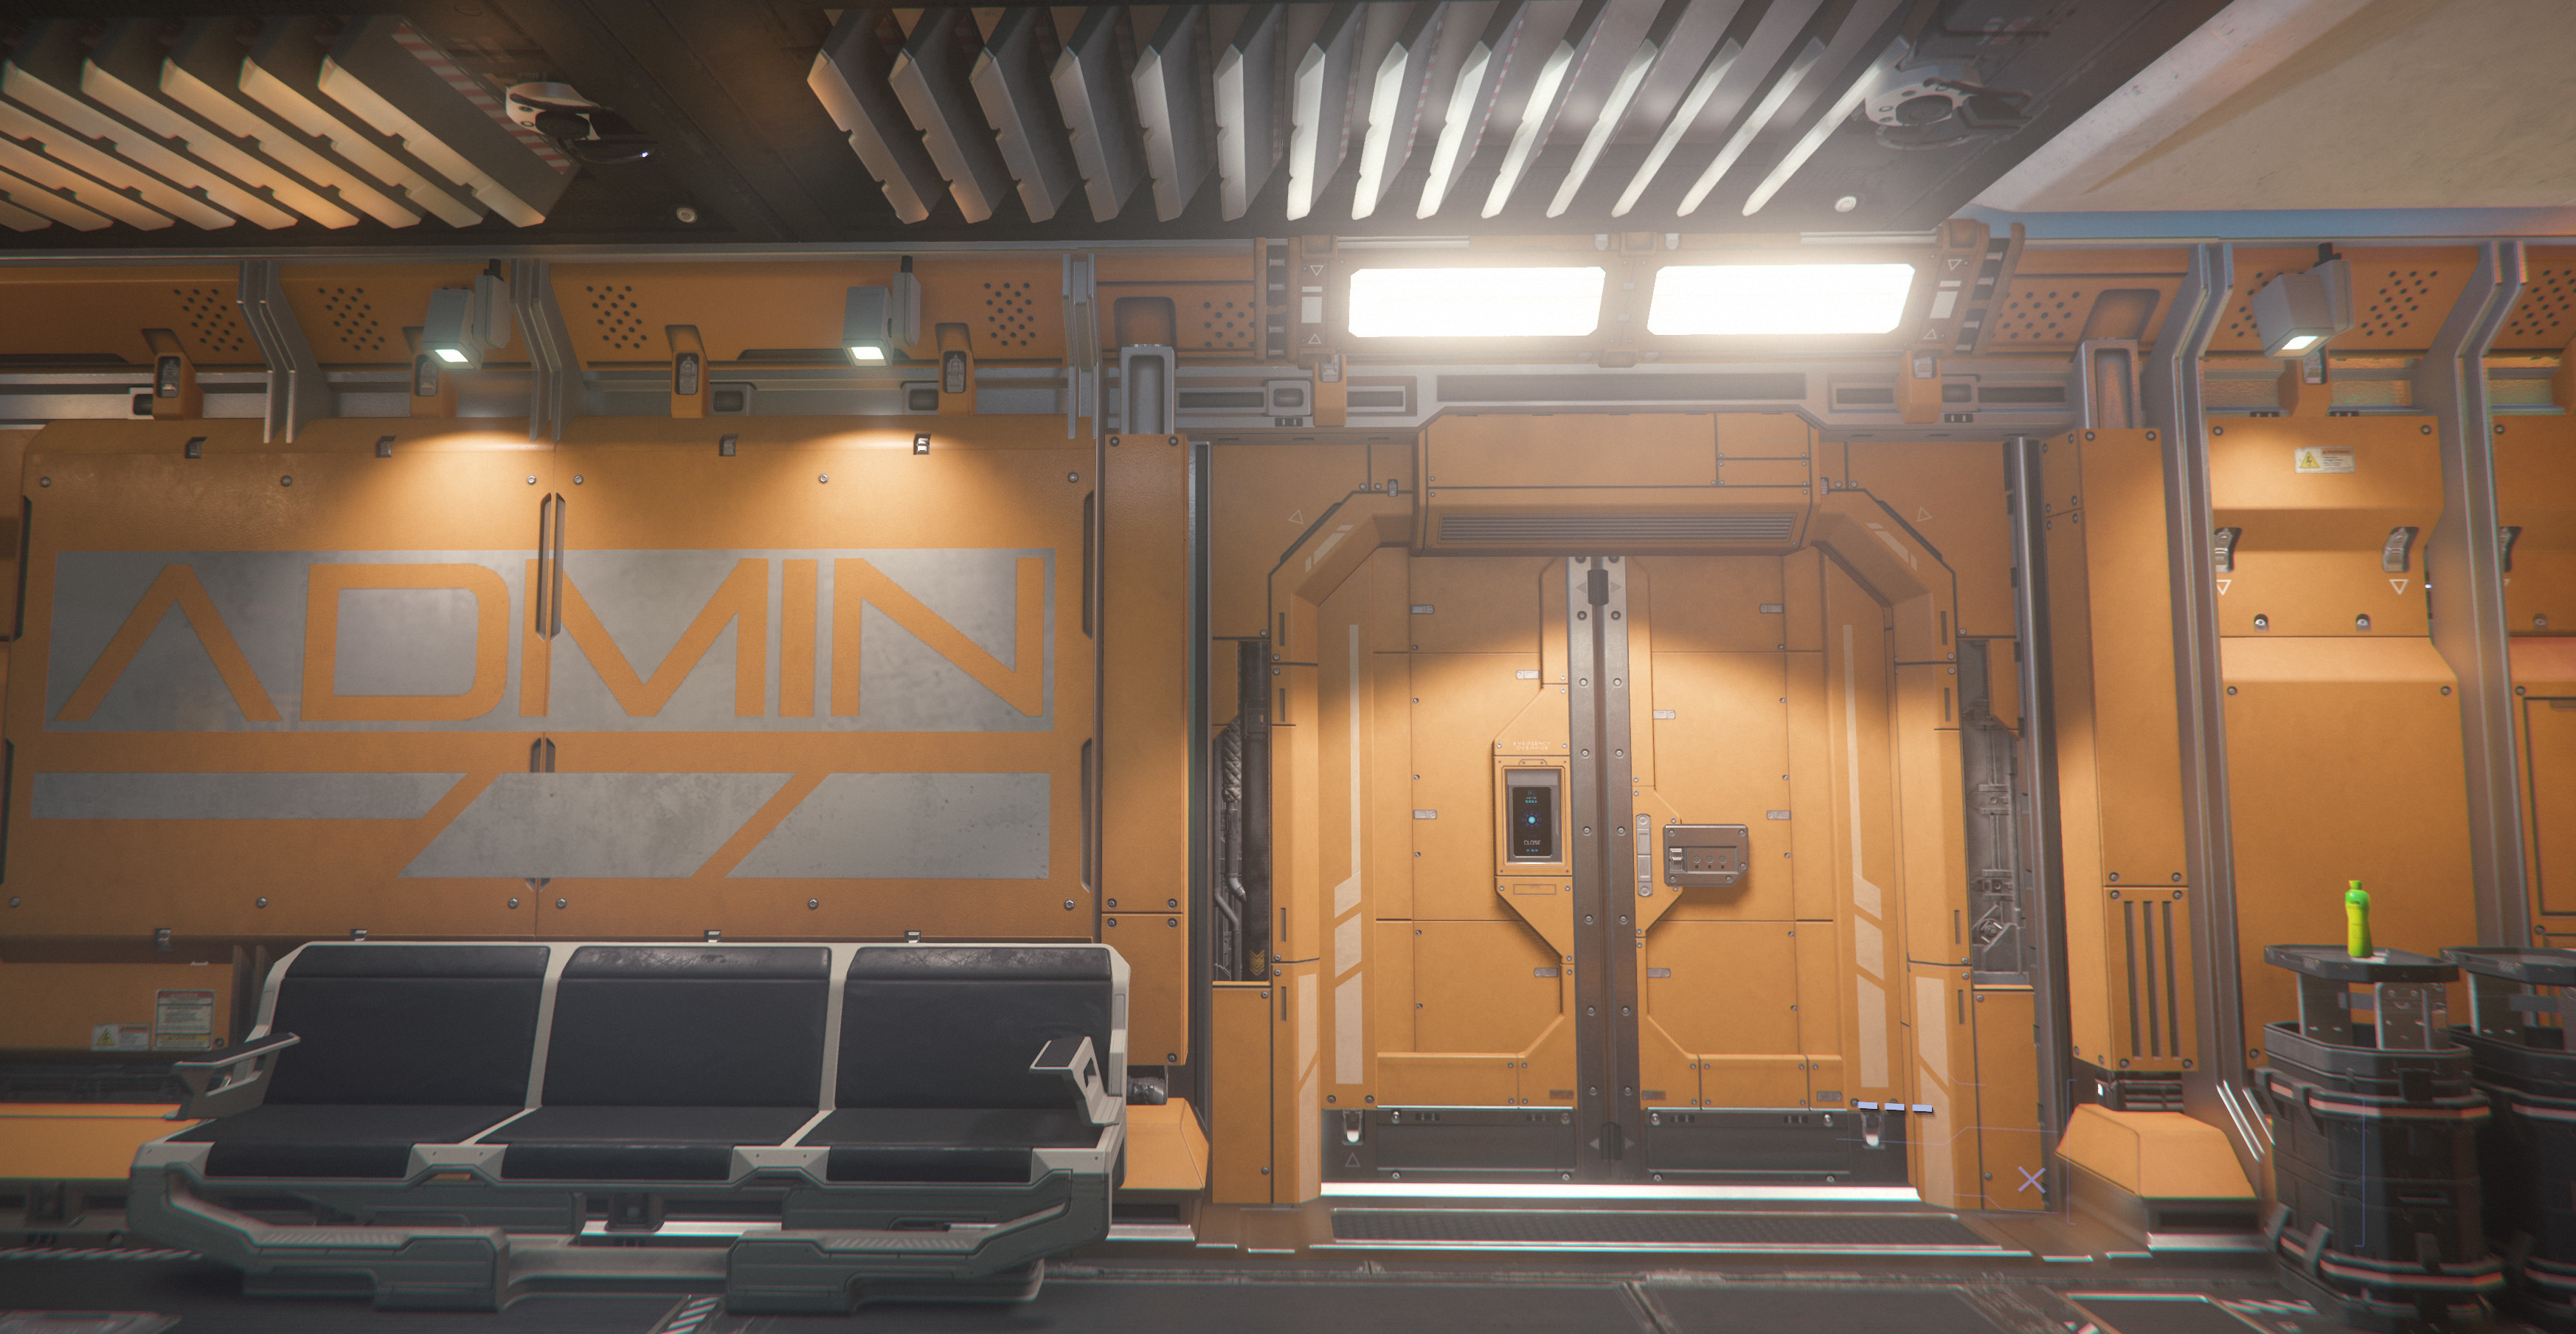
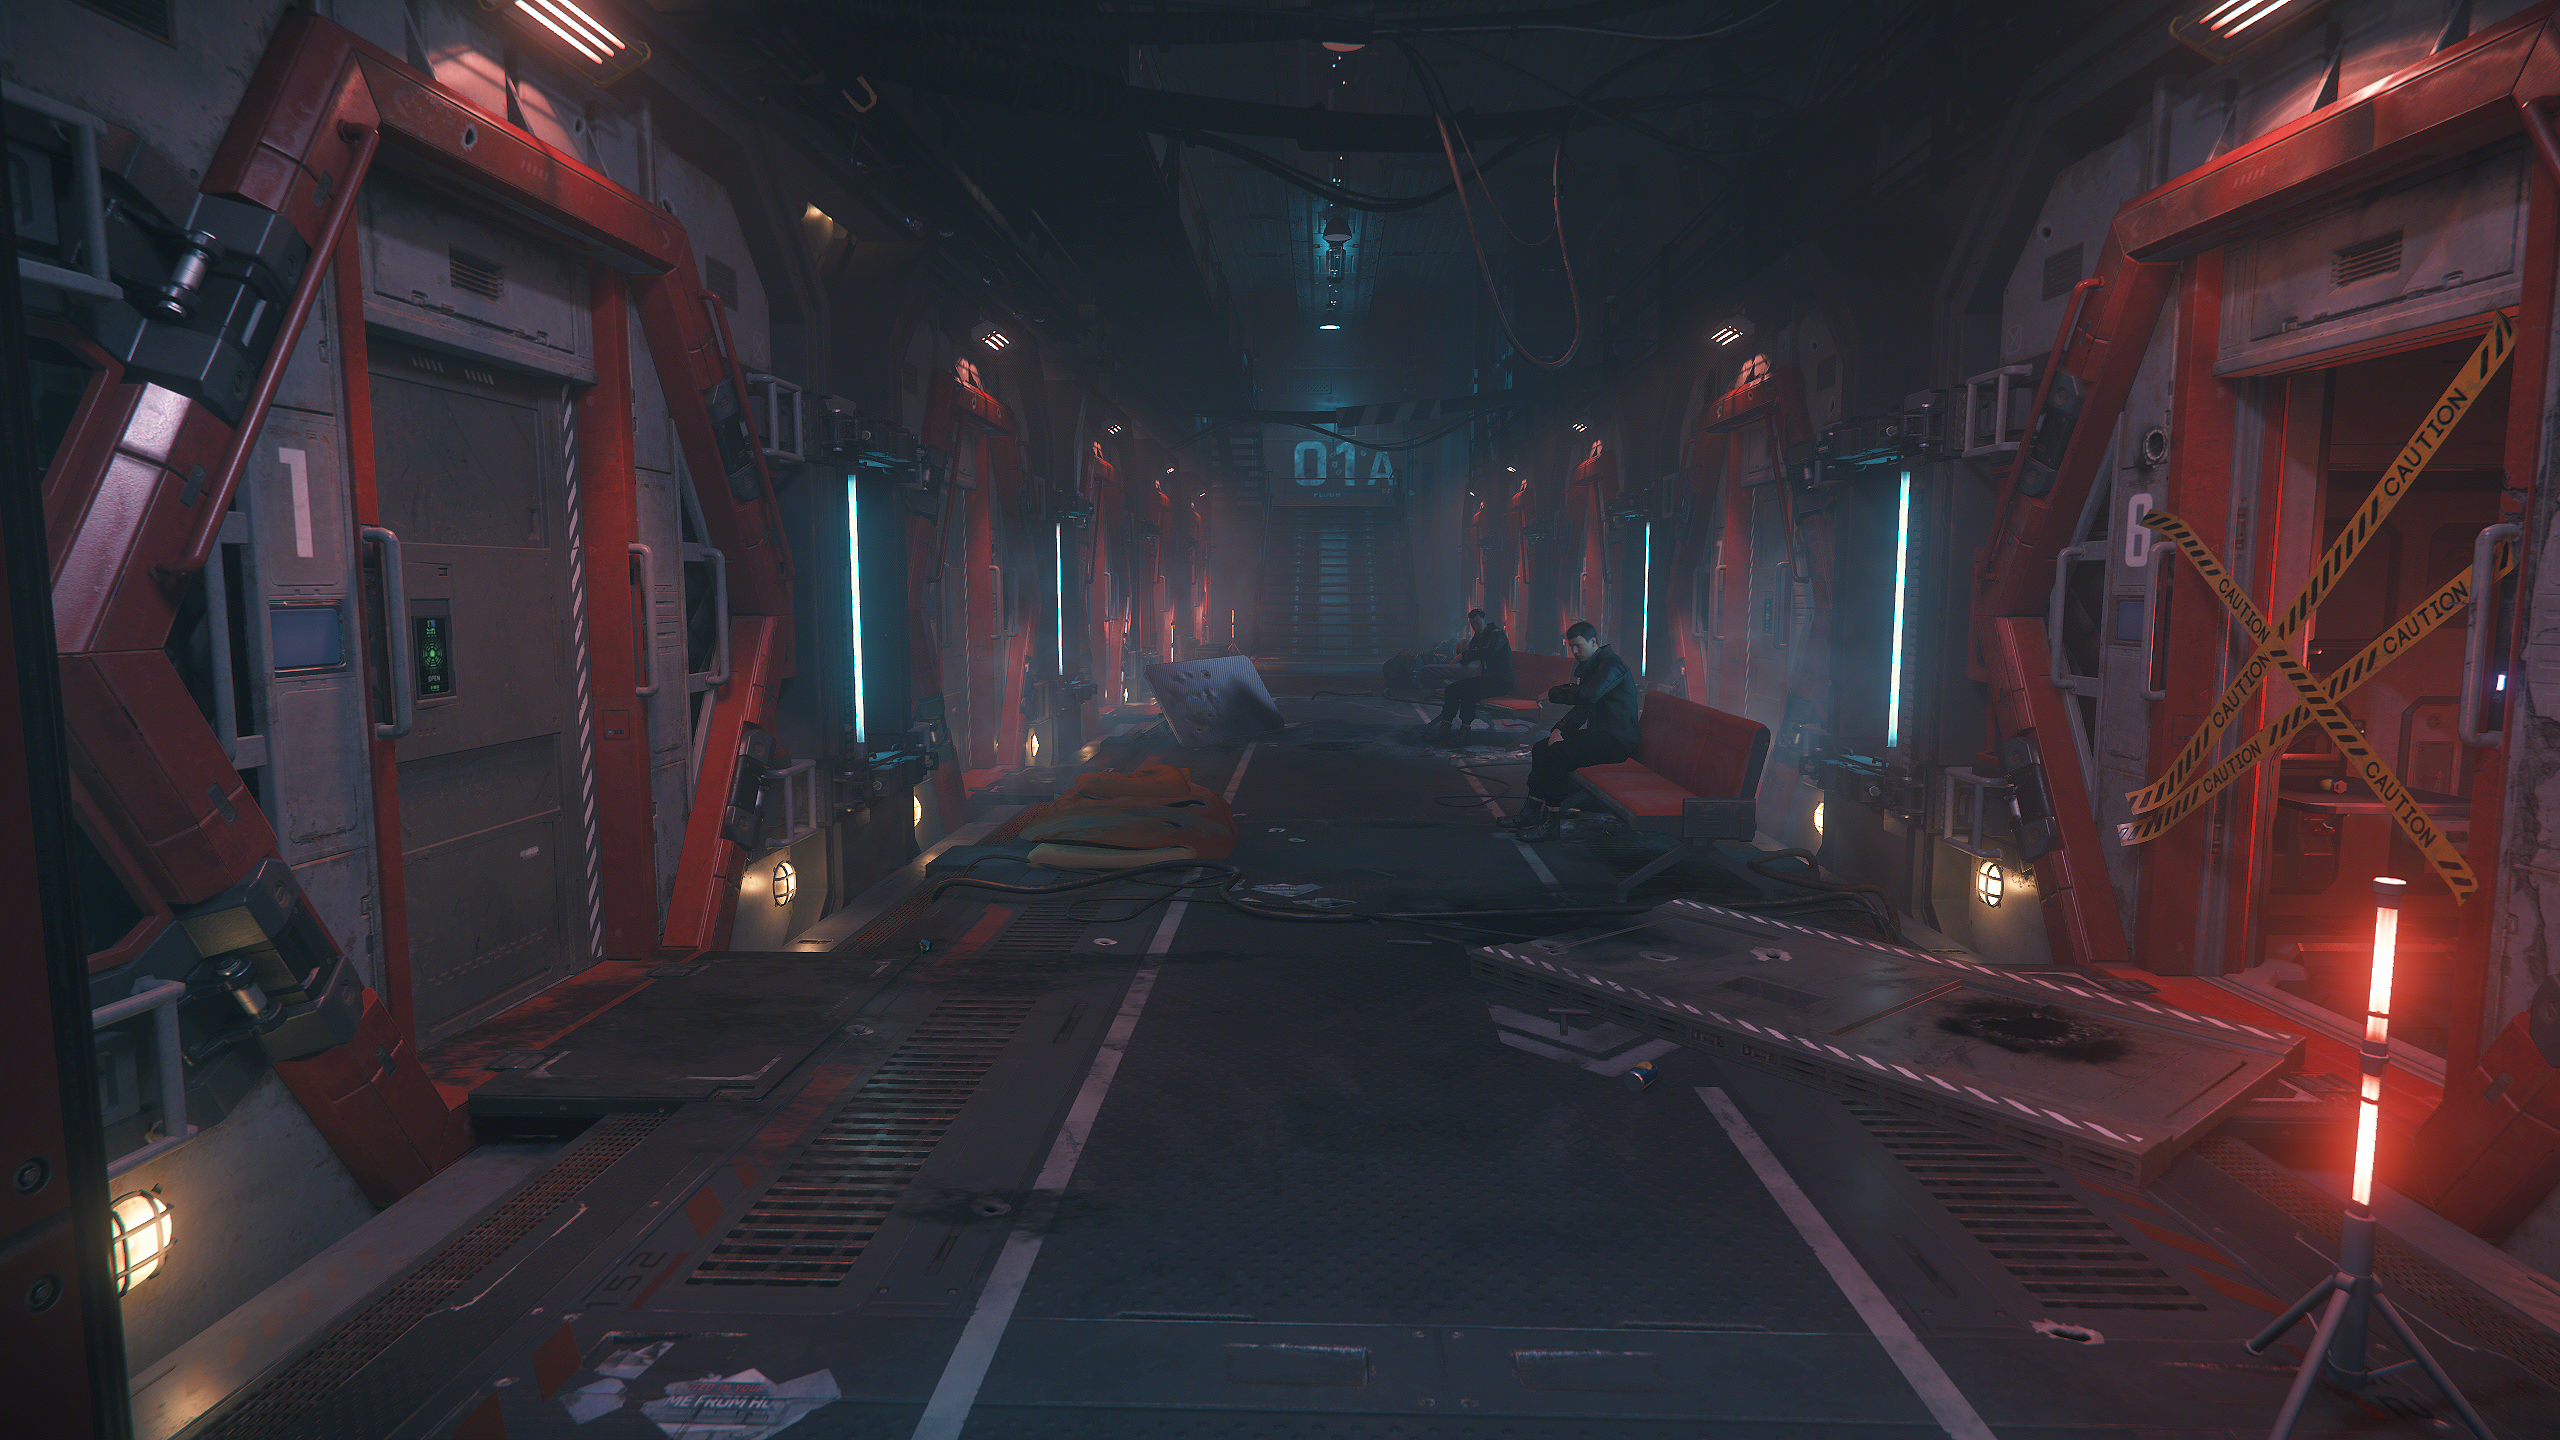
- Admin-Office auf der Raffinerie-Station MIC-L1.jpg 3.492 × 1.808; 1,08 MB
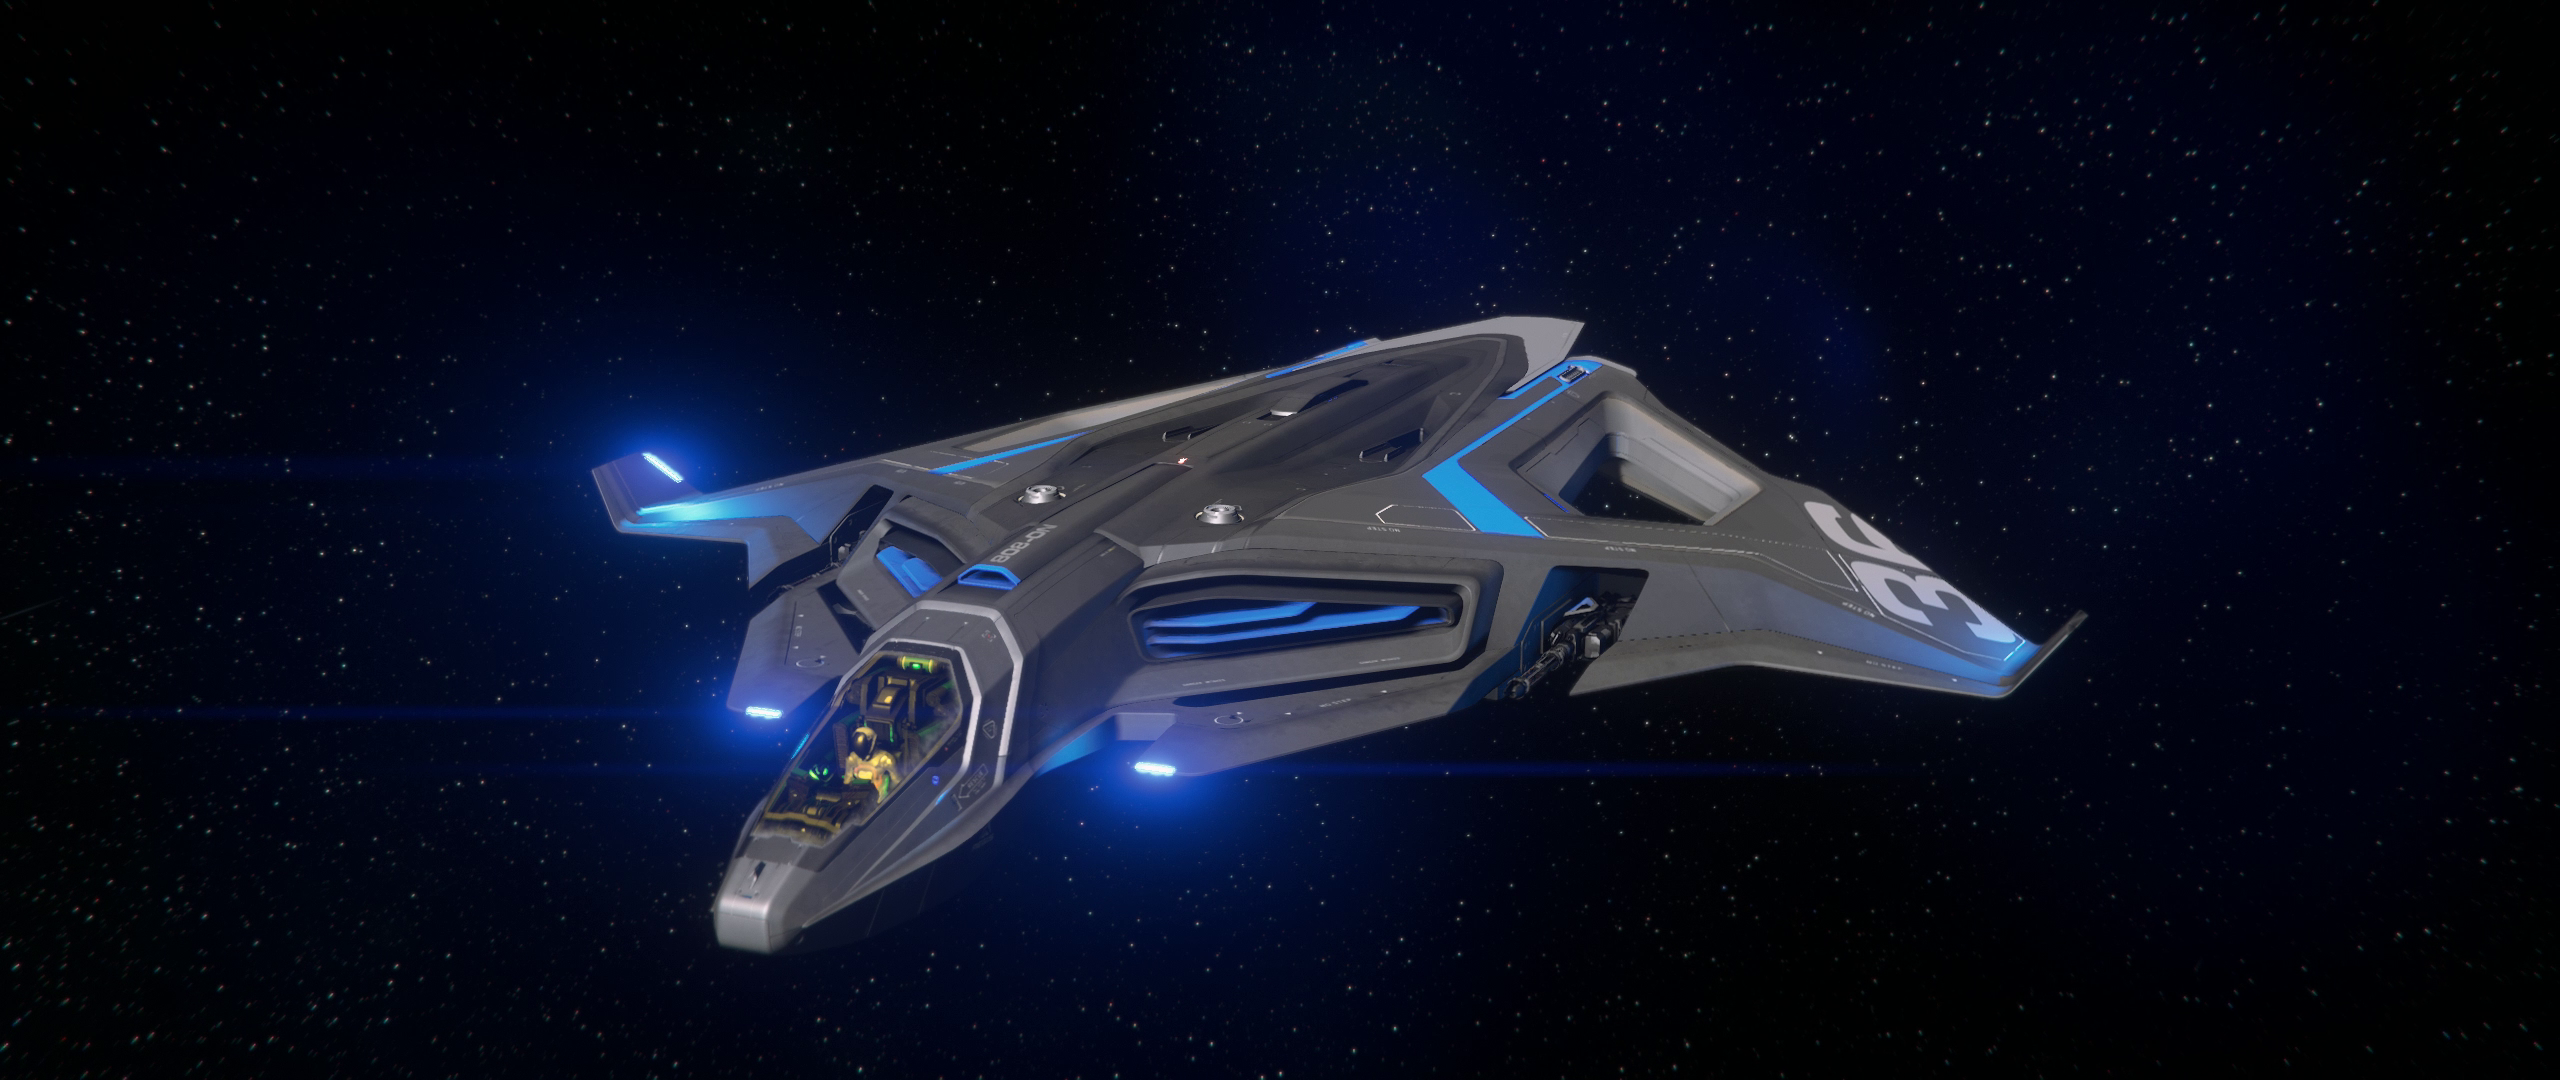
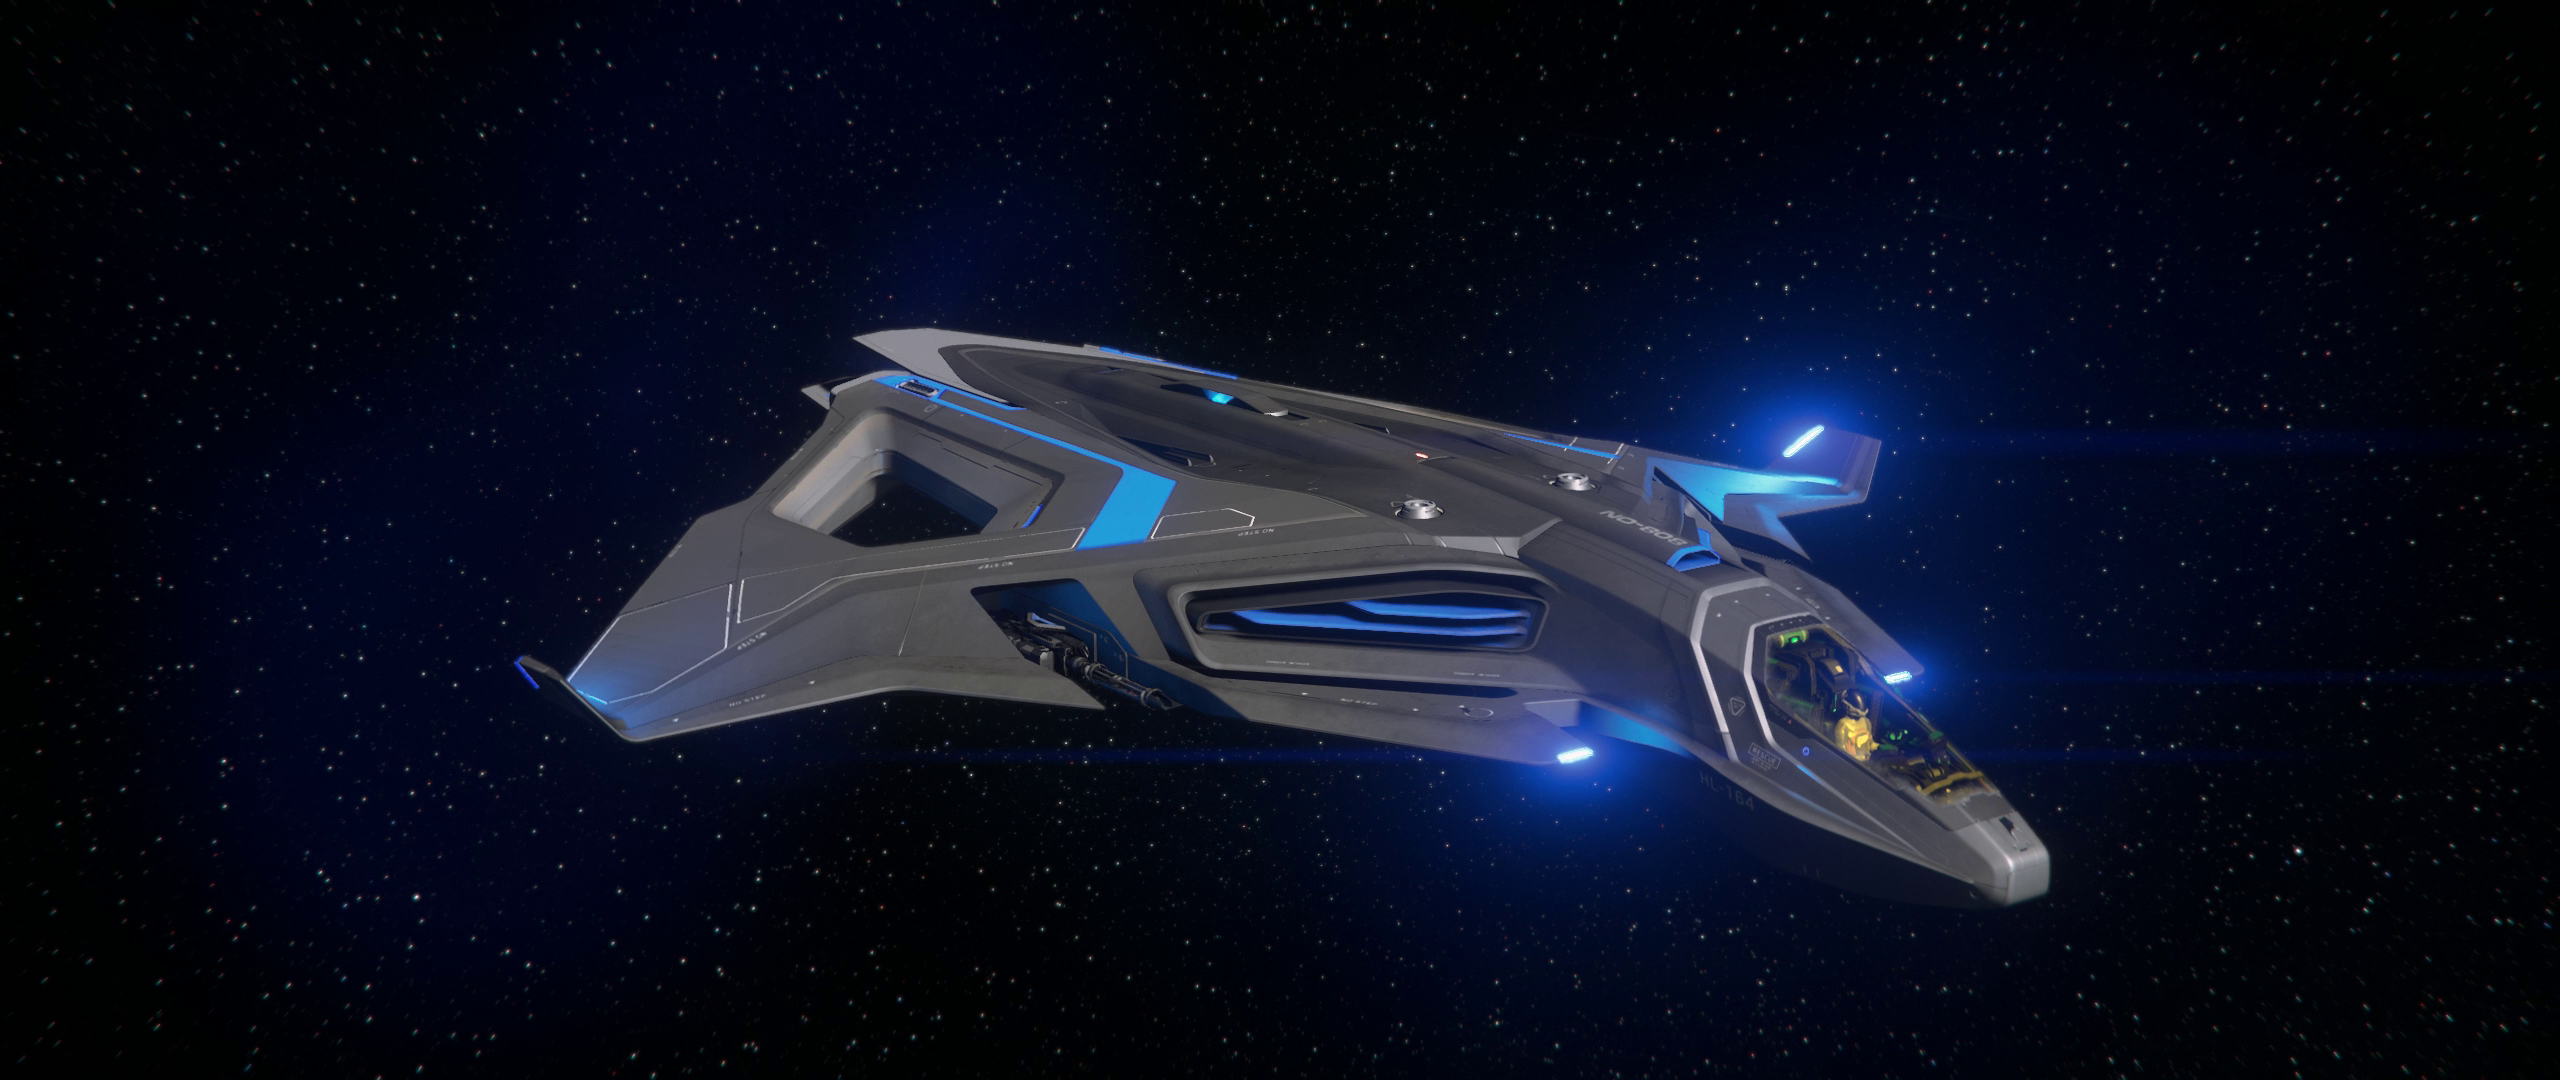
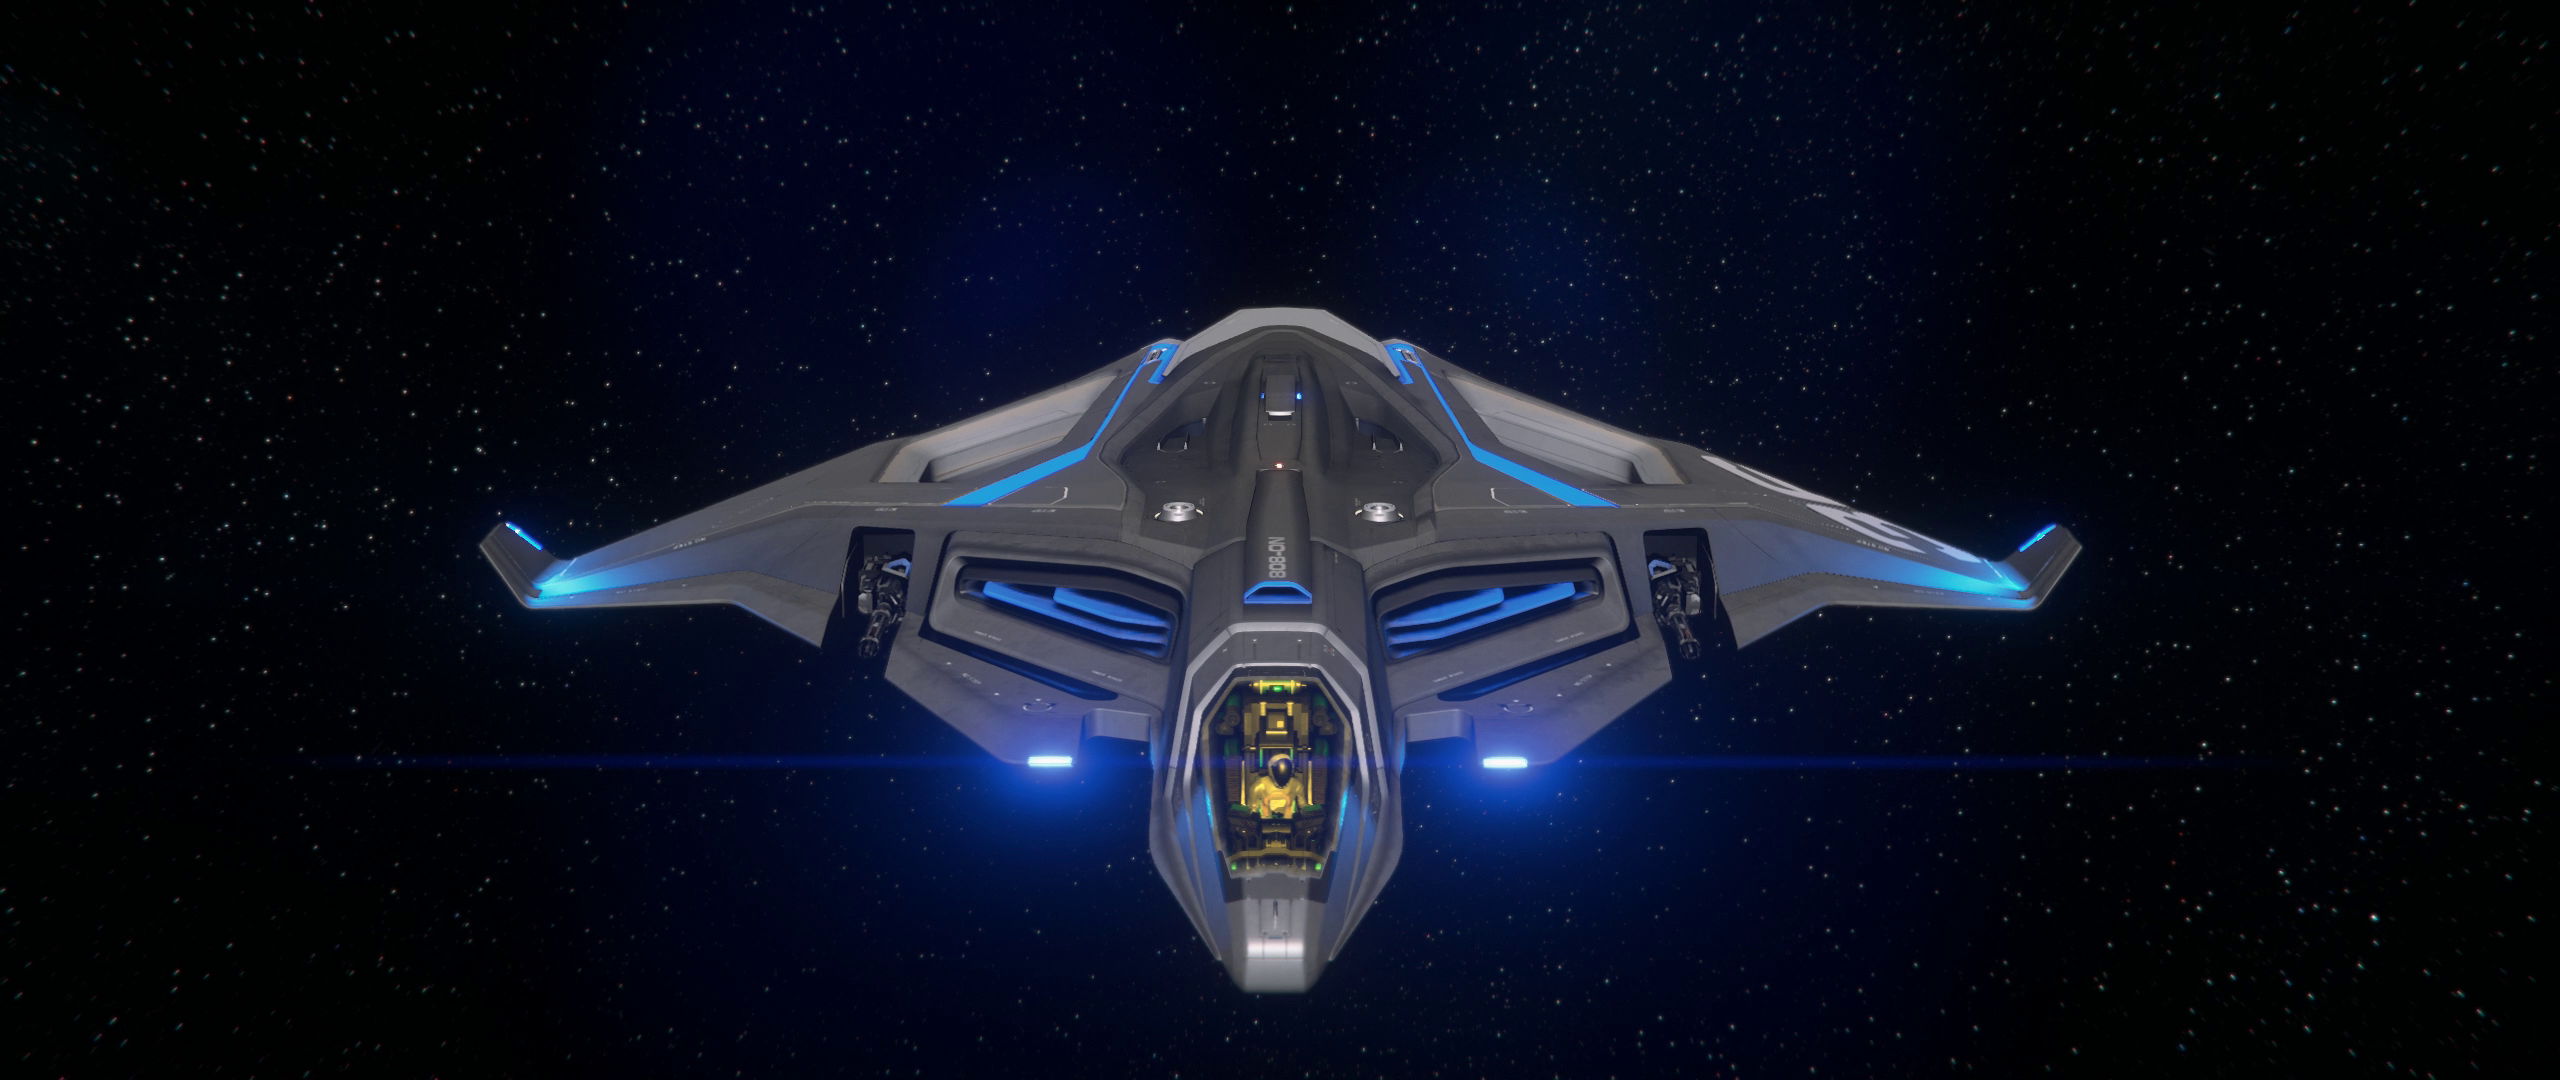
- AEGS Sabre Raven Ansicht Front rechts.png 2.560 × 1.080; 2,63 MB
- AEGS Sabre Raven Font links.png 2.560 × 1.080; 2,66 MB
- AEGS Sabre Raven Front Unten rechts.png 2.560 × 1.080; 2,72 MB
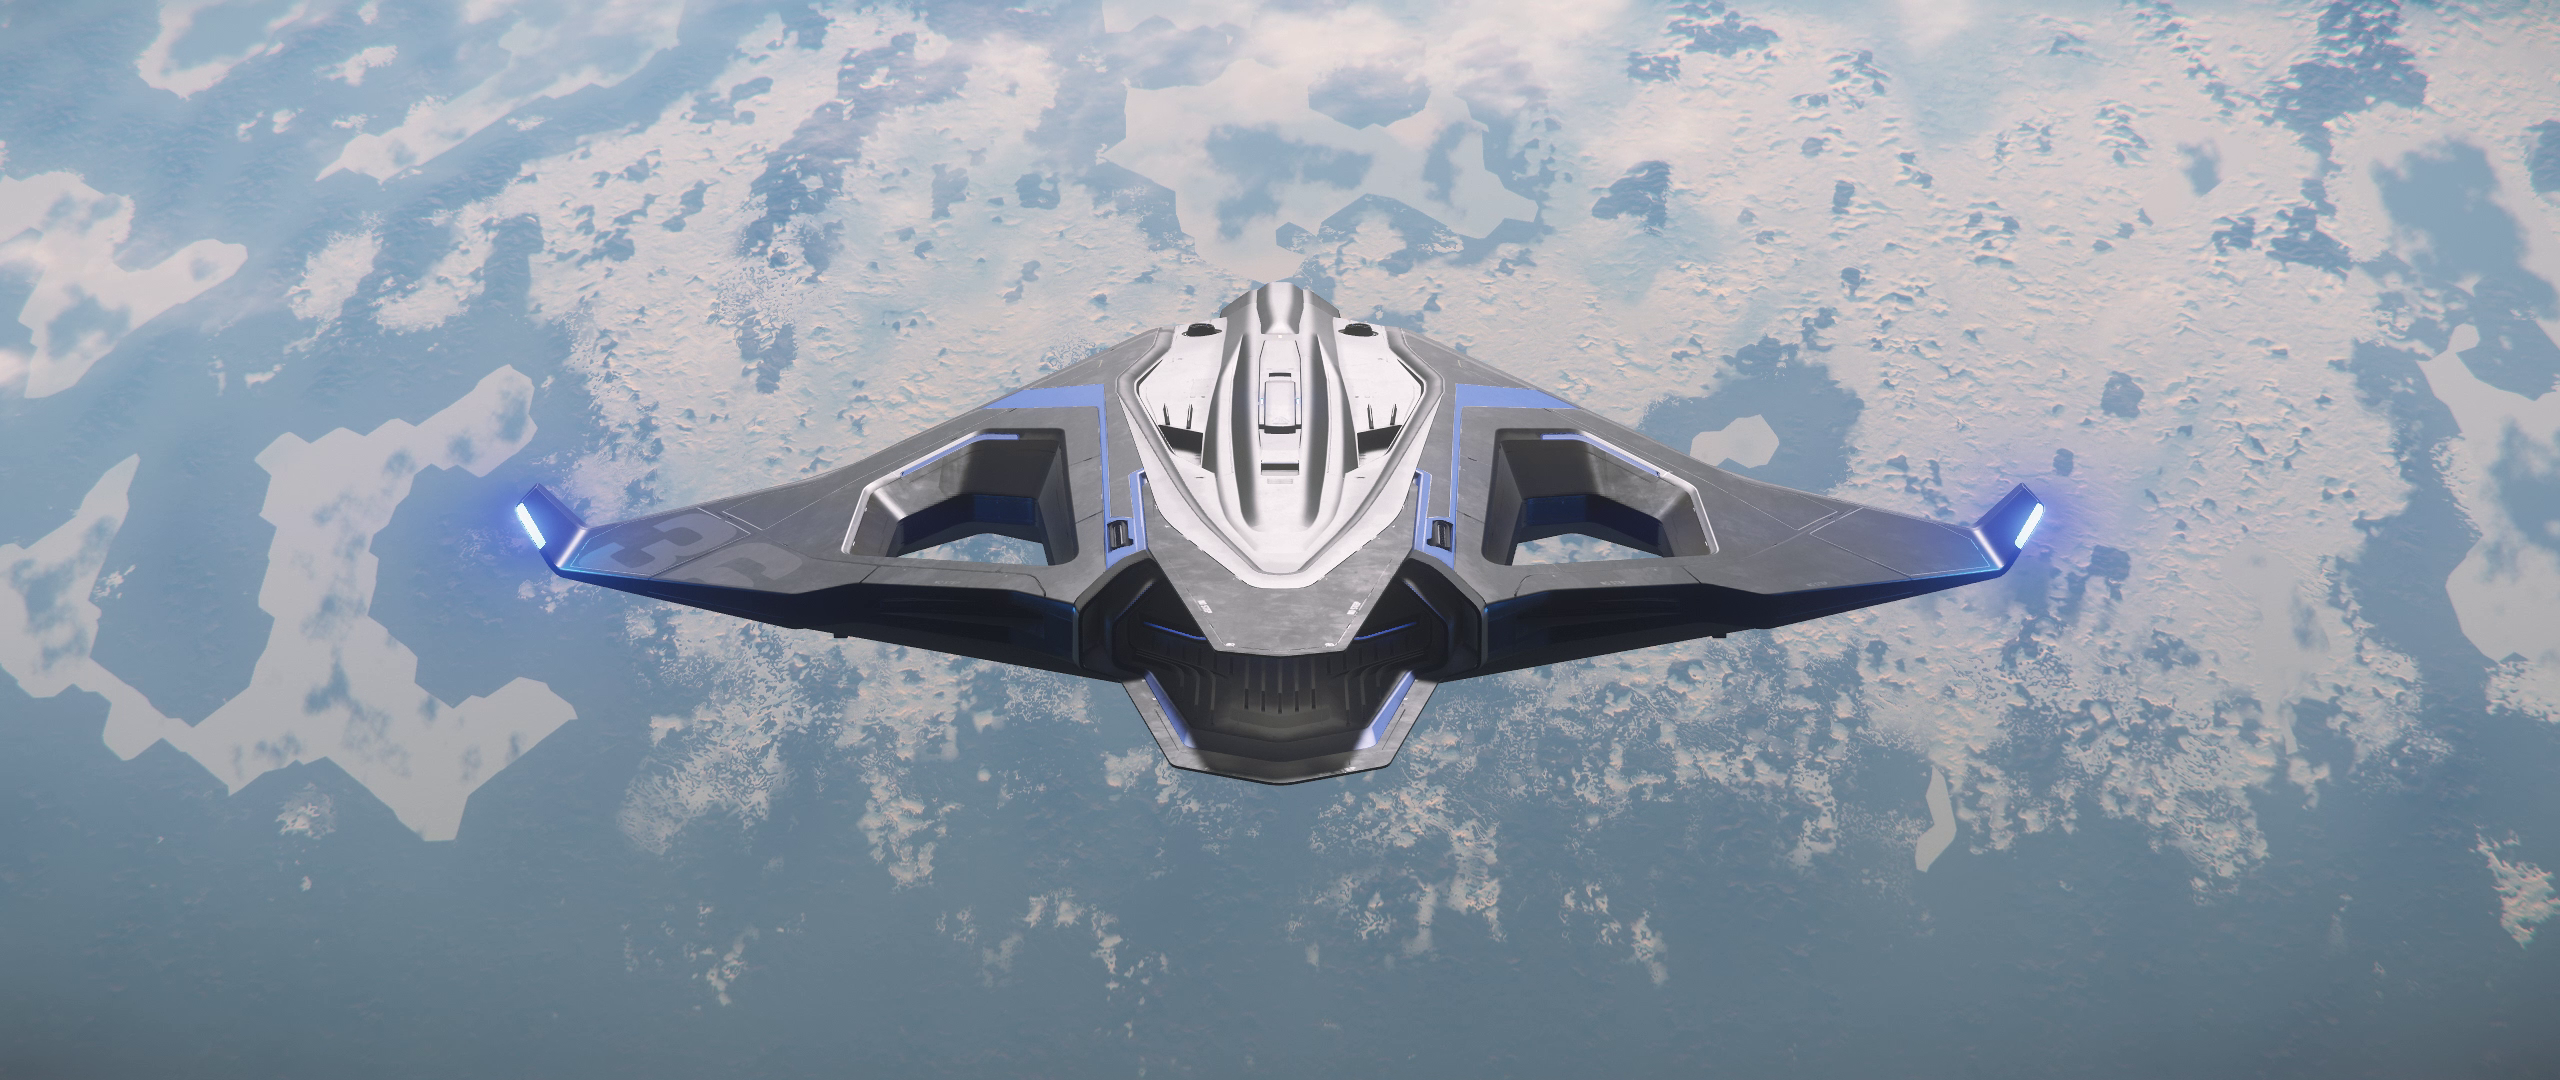
- AEGS Sabre Raven Frontalansicht.png 2.560 × 1.080; 2,58 MB
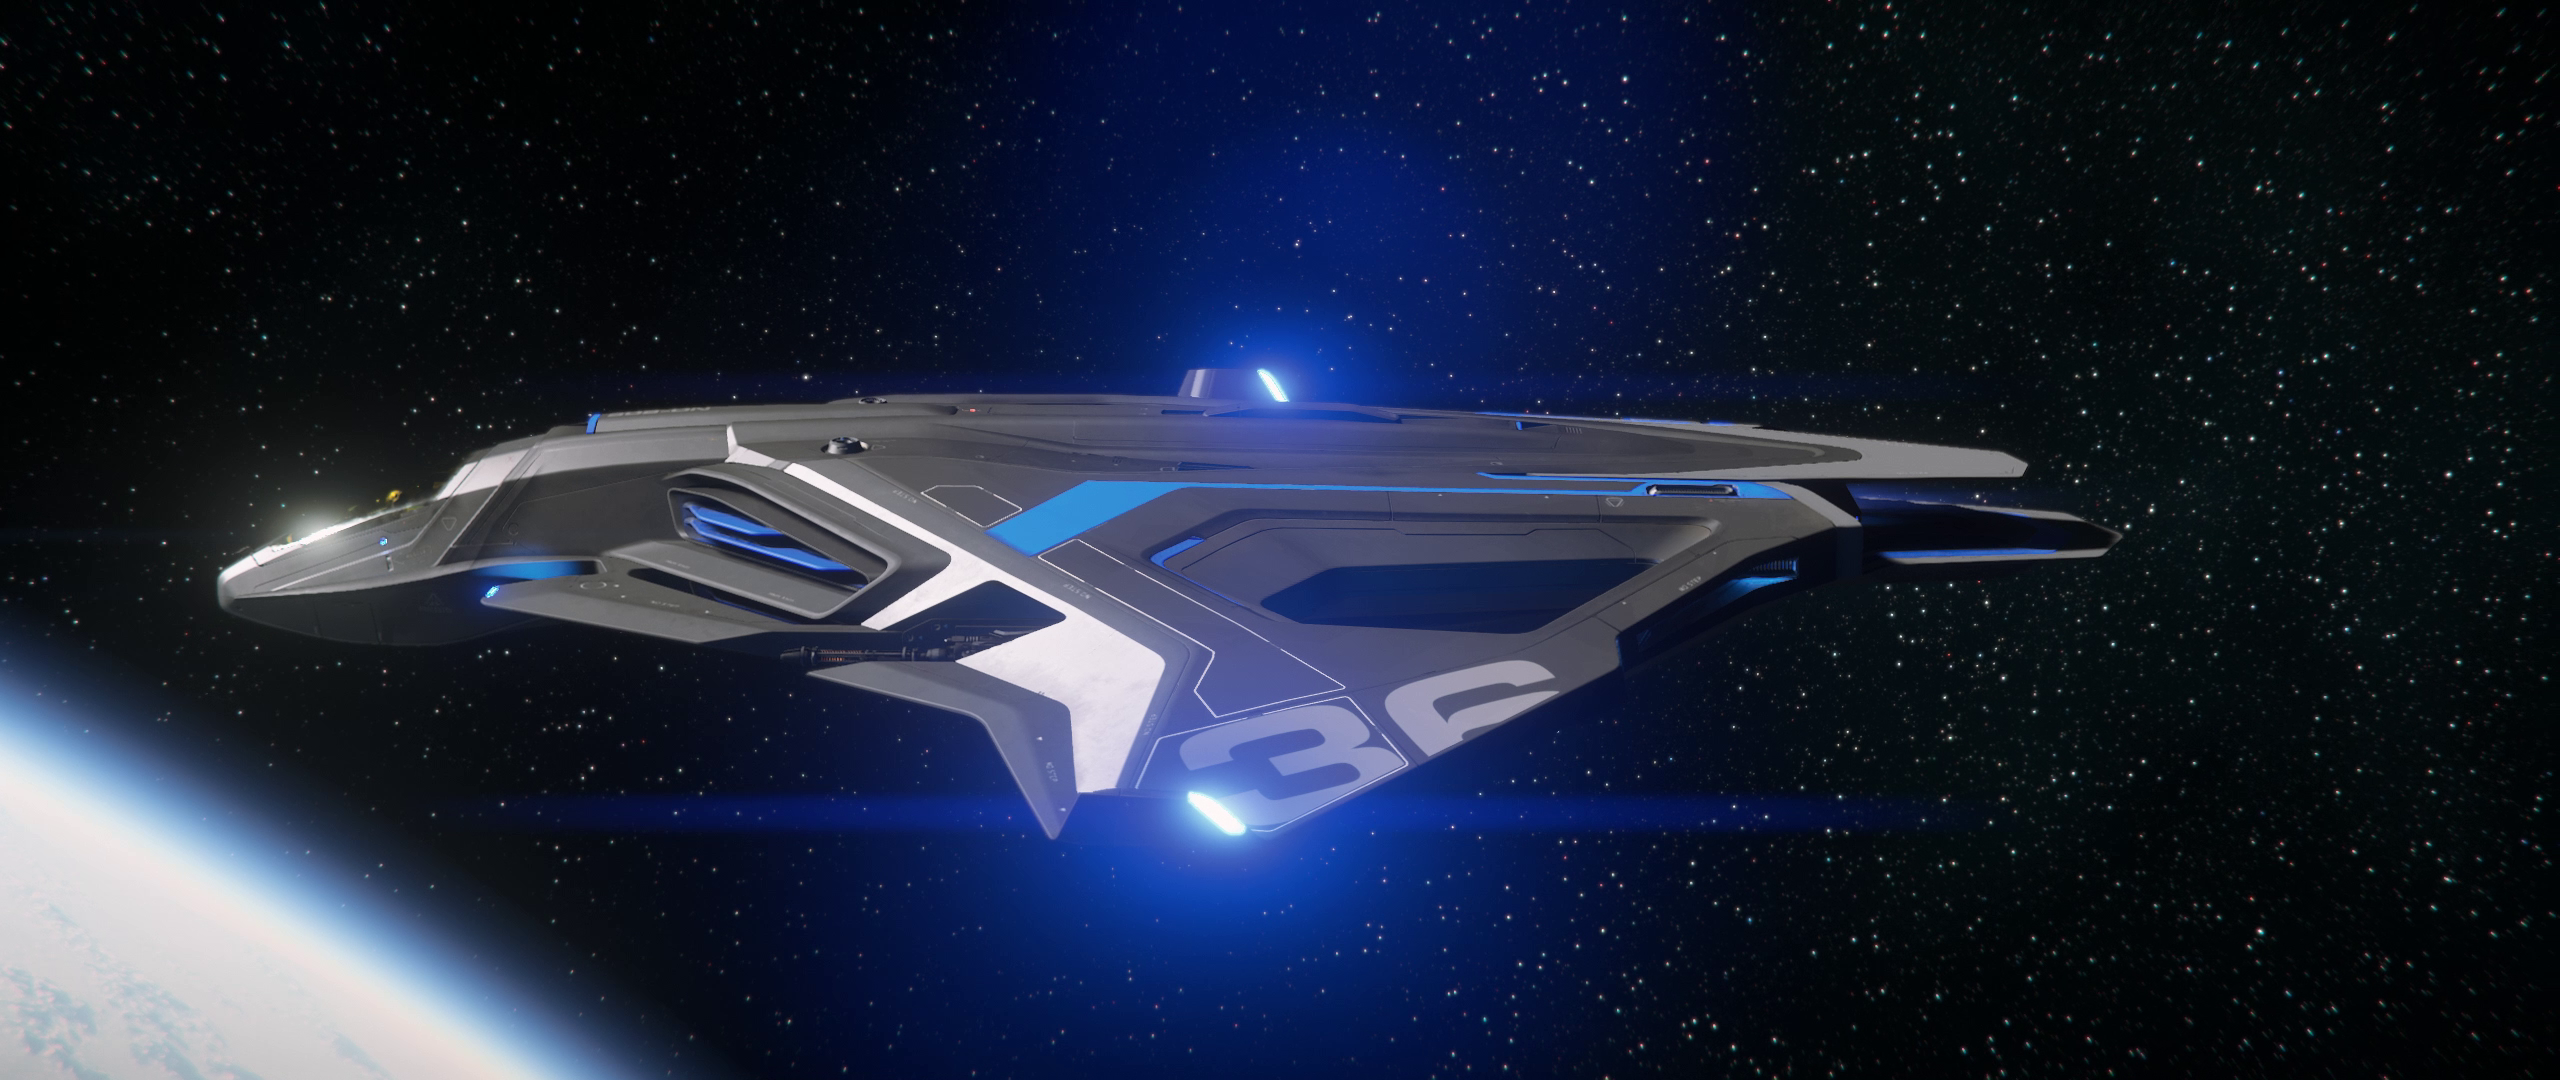
- AEGS Sabre Raven Seitenansicht links.png 2.560 × 1.080; 2,72 MB
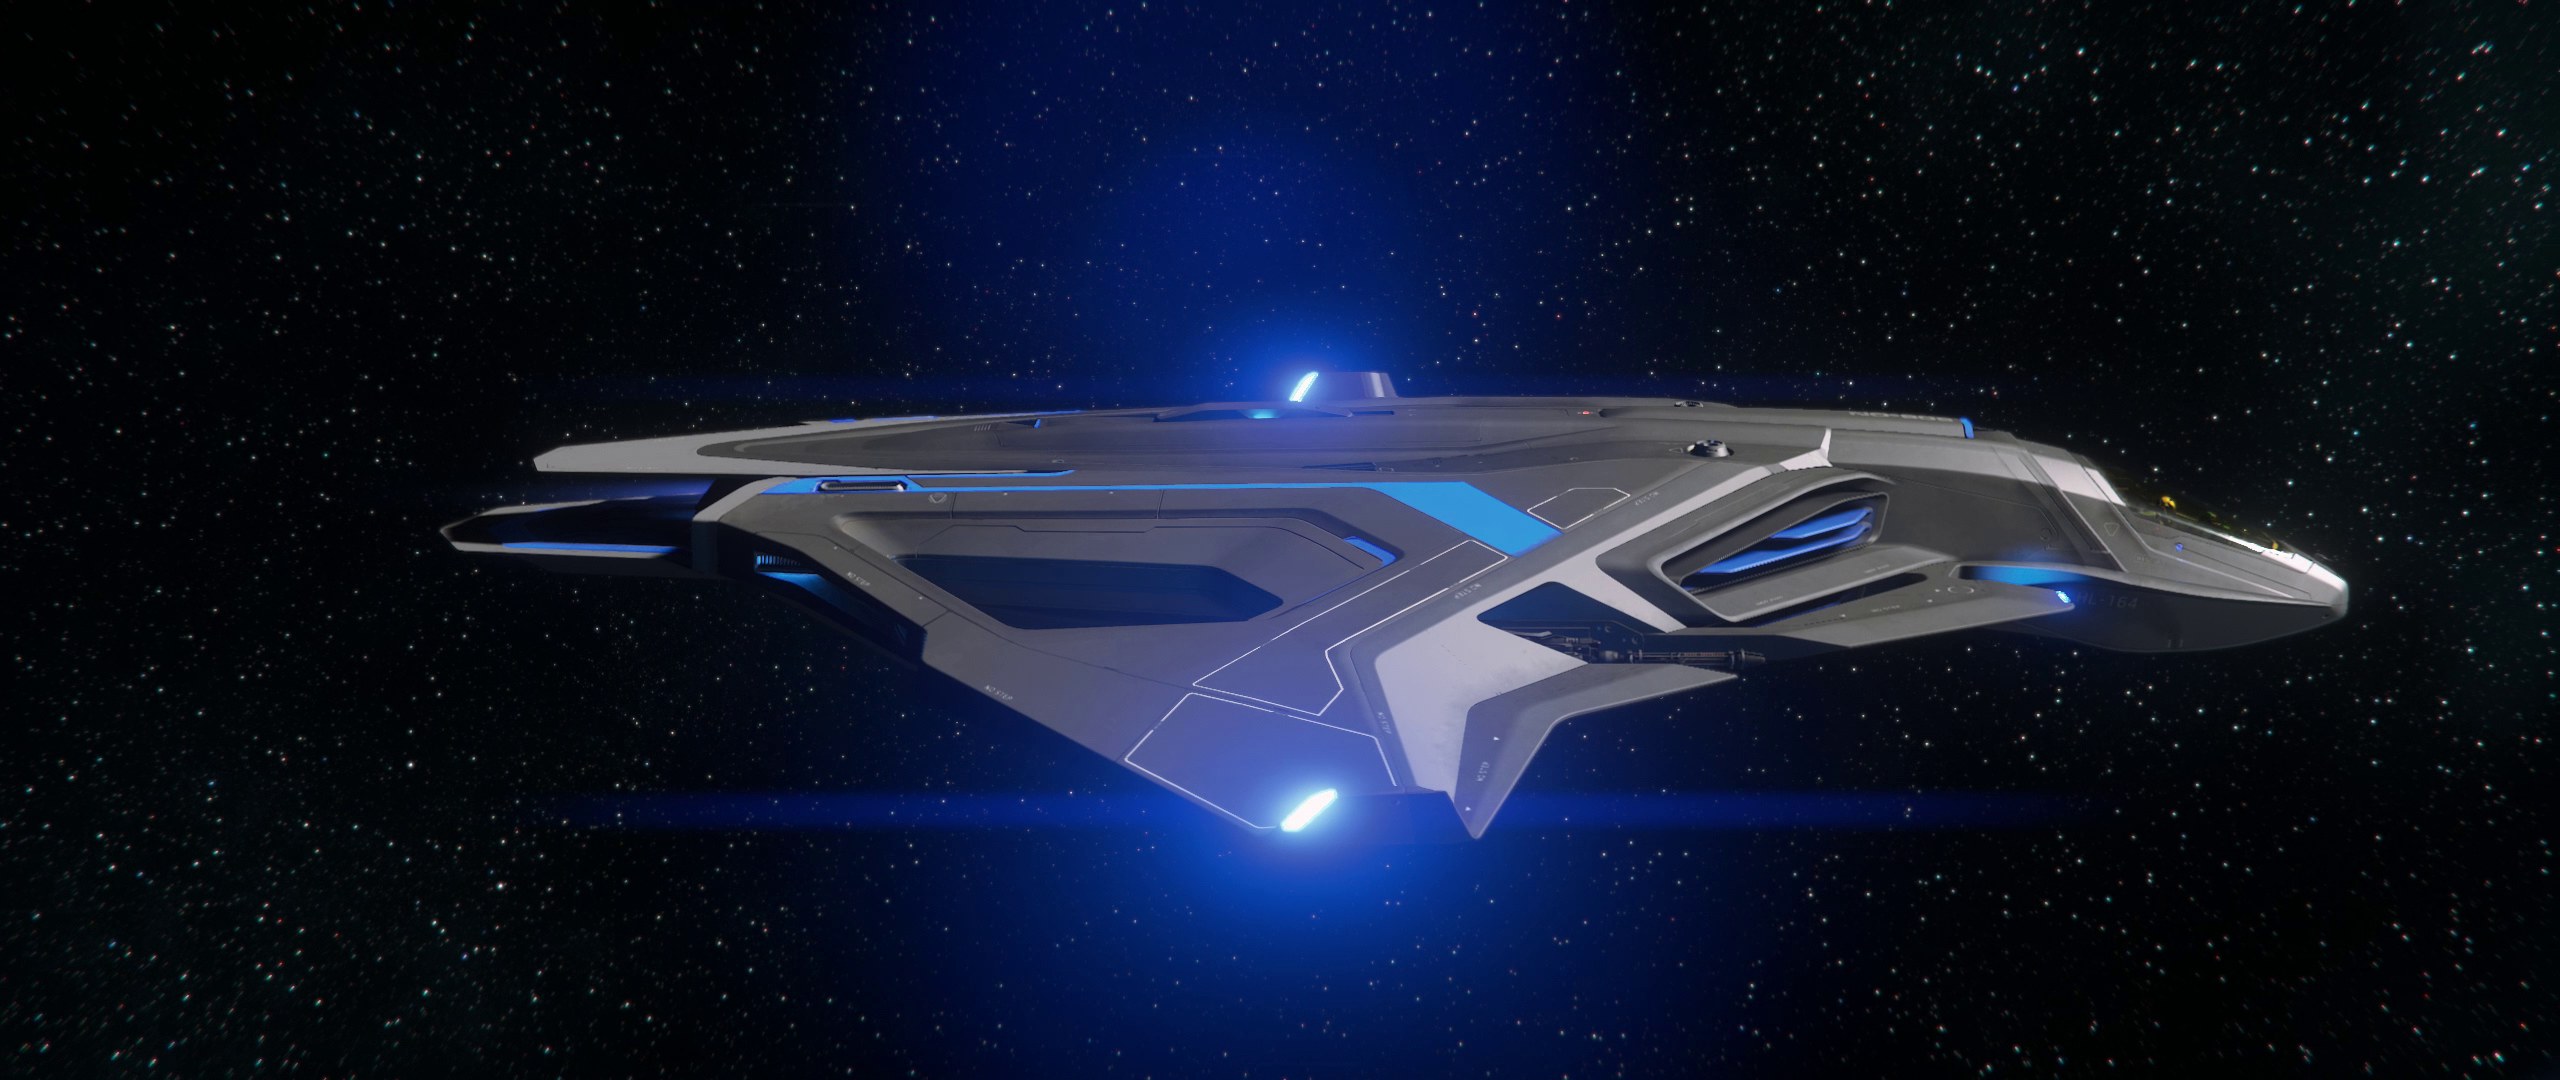
- AEGS Sabre Raven Seitenansicht rechts.png 2.560 × 1.080; 2,8 MB
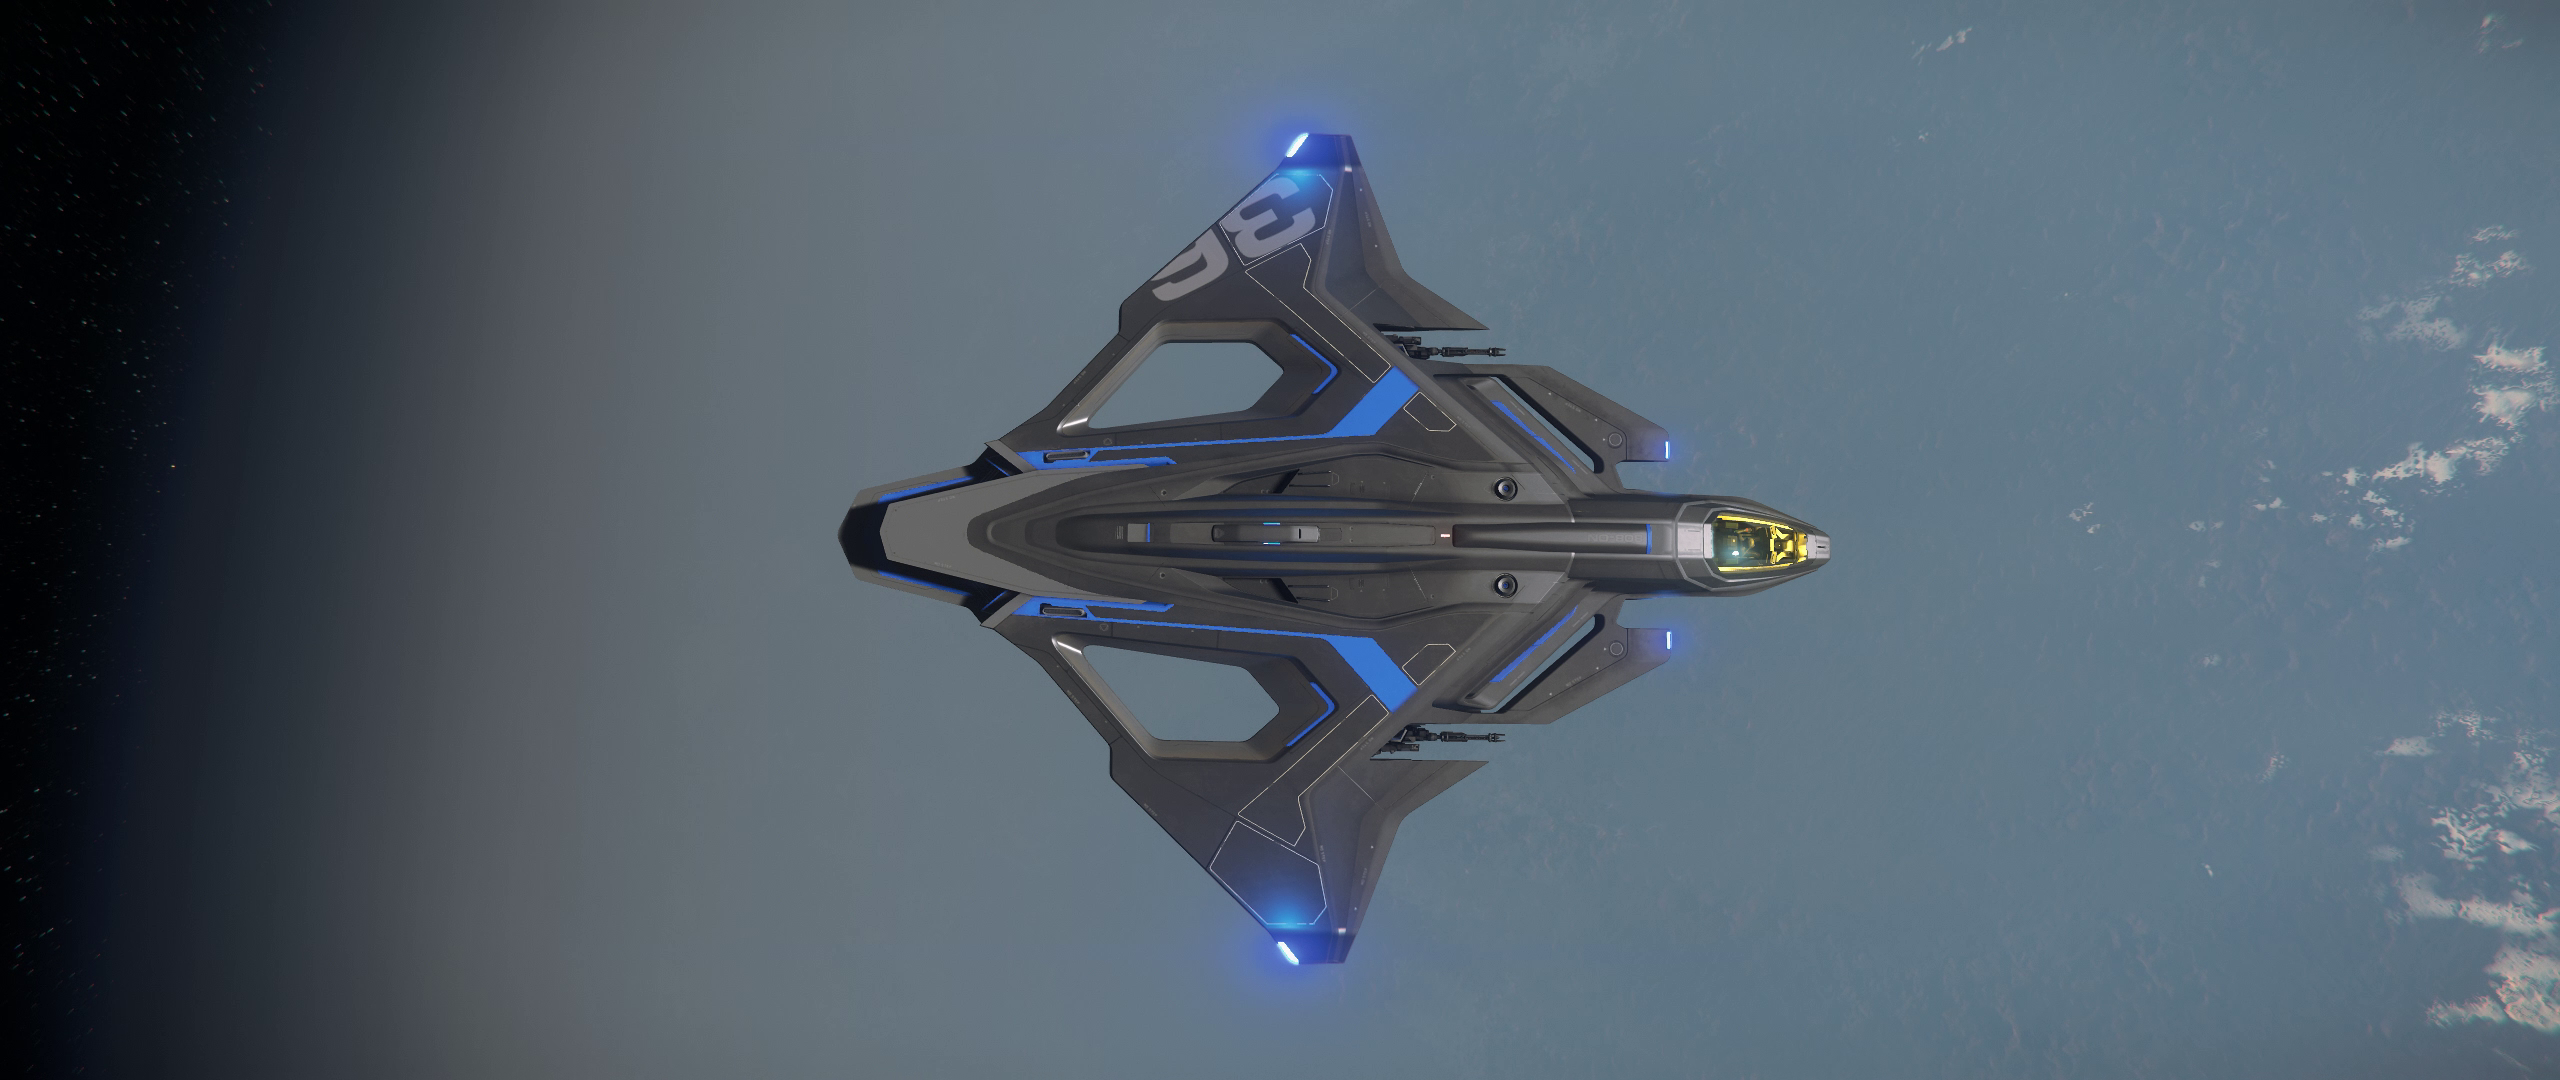
- AEGS Sabre Raven Topshot.png 2.560 × 1.080; 2,35 MB
- AEGS Sabre Raven Über Planet Heckansicht.png 2.560 × 1.080; 3,32 MB
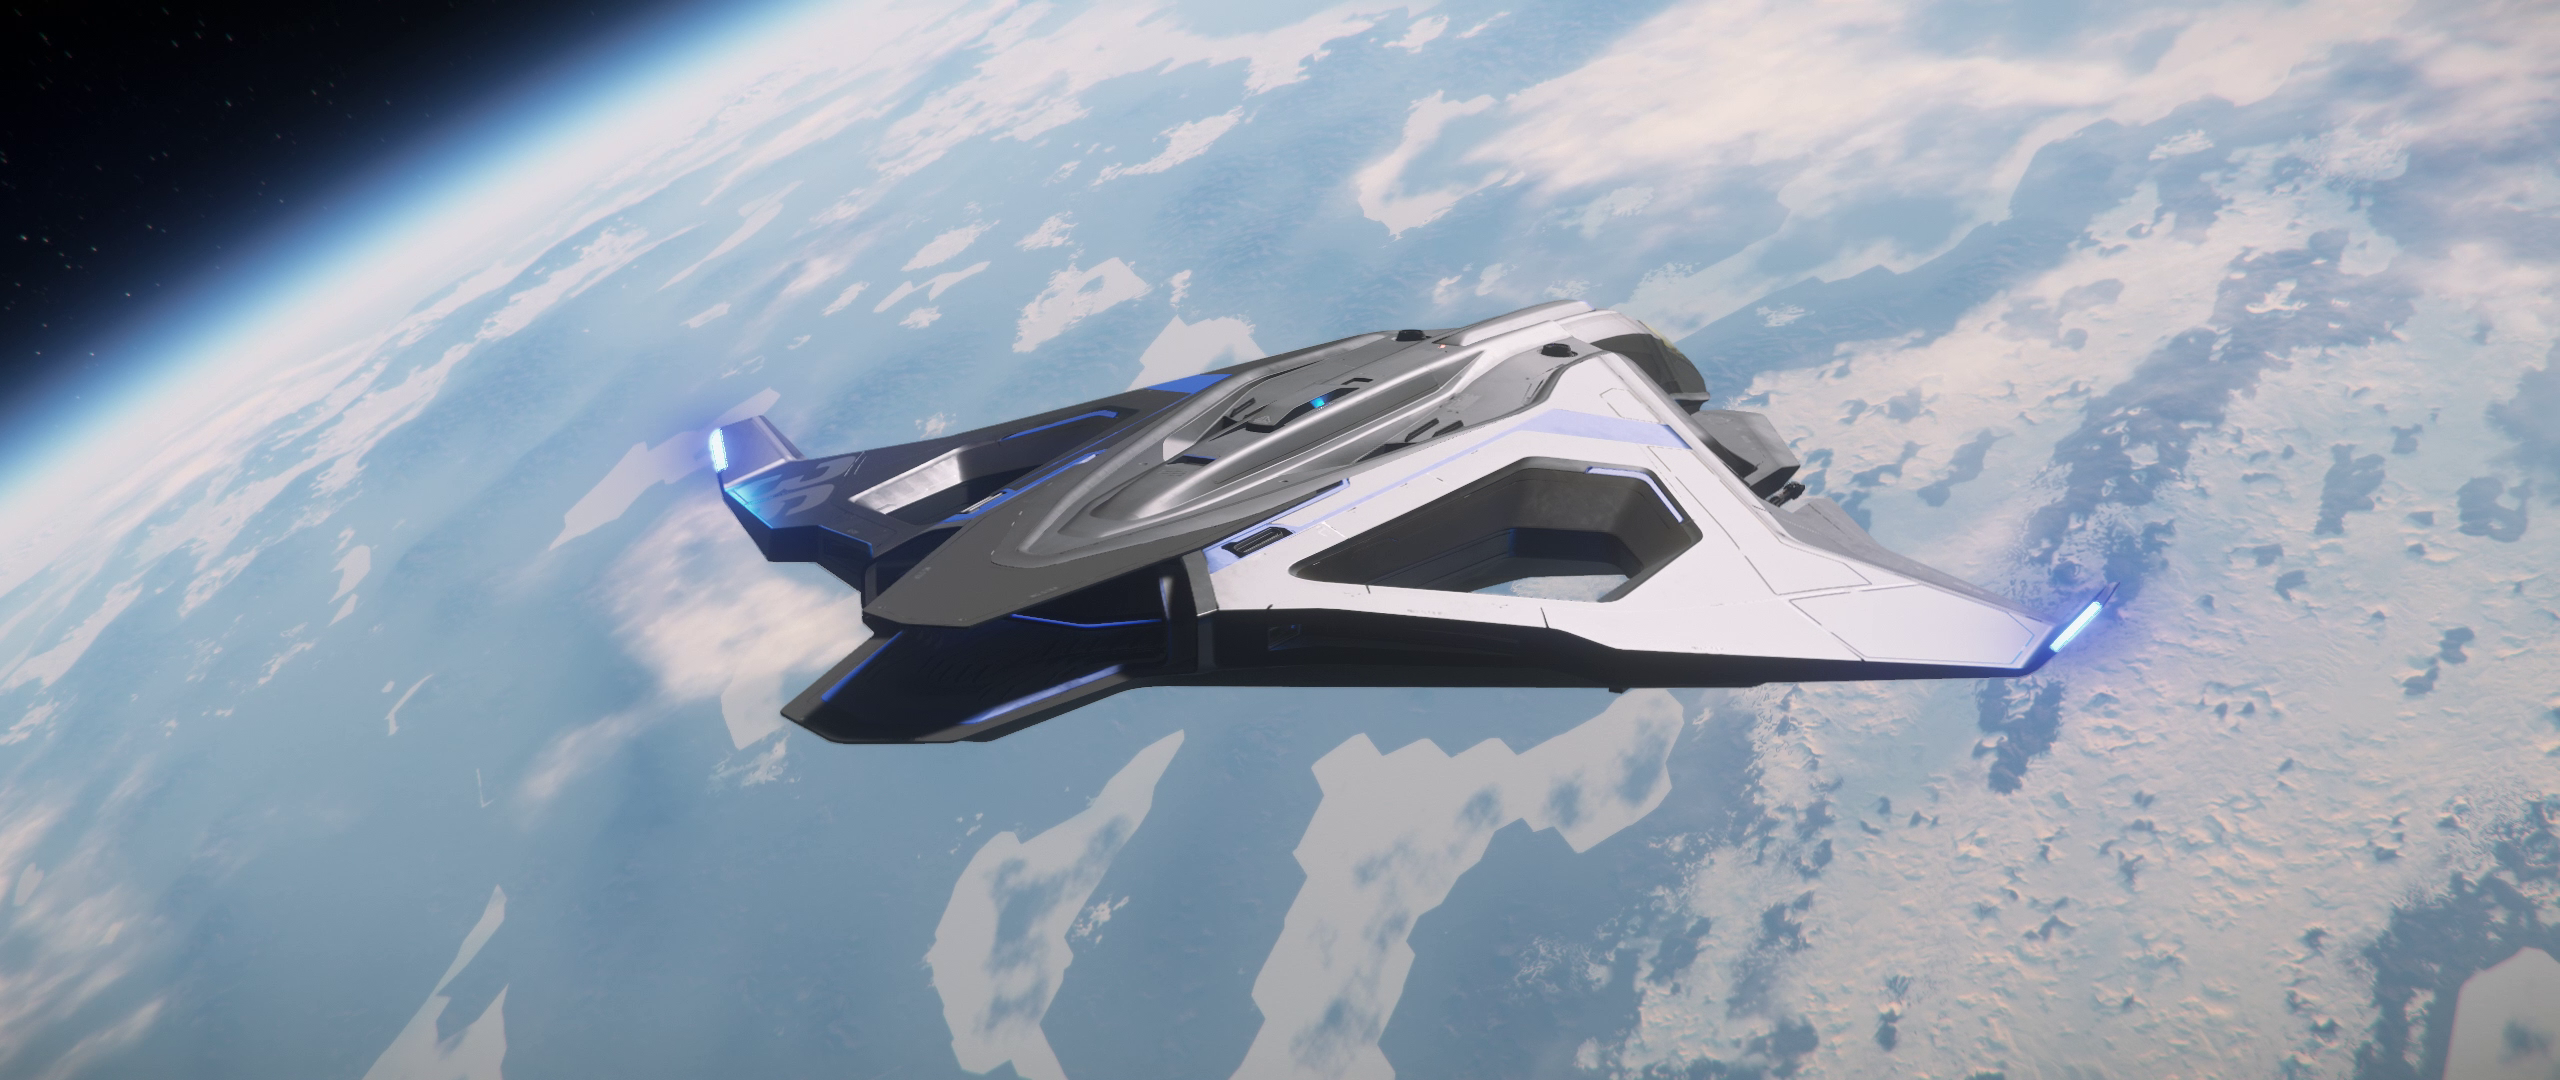
- AEGS Sabre Raven Über Planet.png 2.560 × 1.080; 2,93 MB
- ARC-L1 Wide Forest Station 001.png 2.560 × 1.440; 5,46 MB
- ARC-L1 Wide Forest Station.png 2.560 × 1.440; 5,96 MB
- ARC-L2 (Lagrange Punkt).png 2.560 × 1.440; 5,79 MB
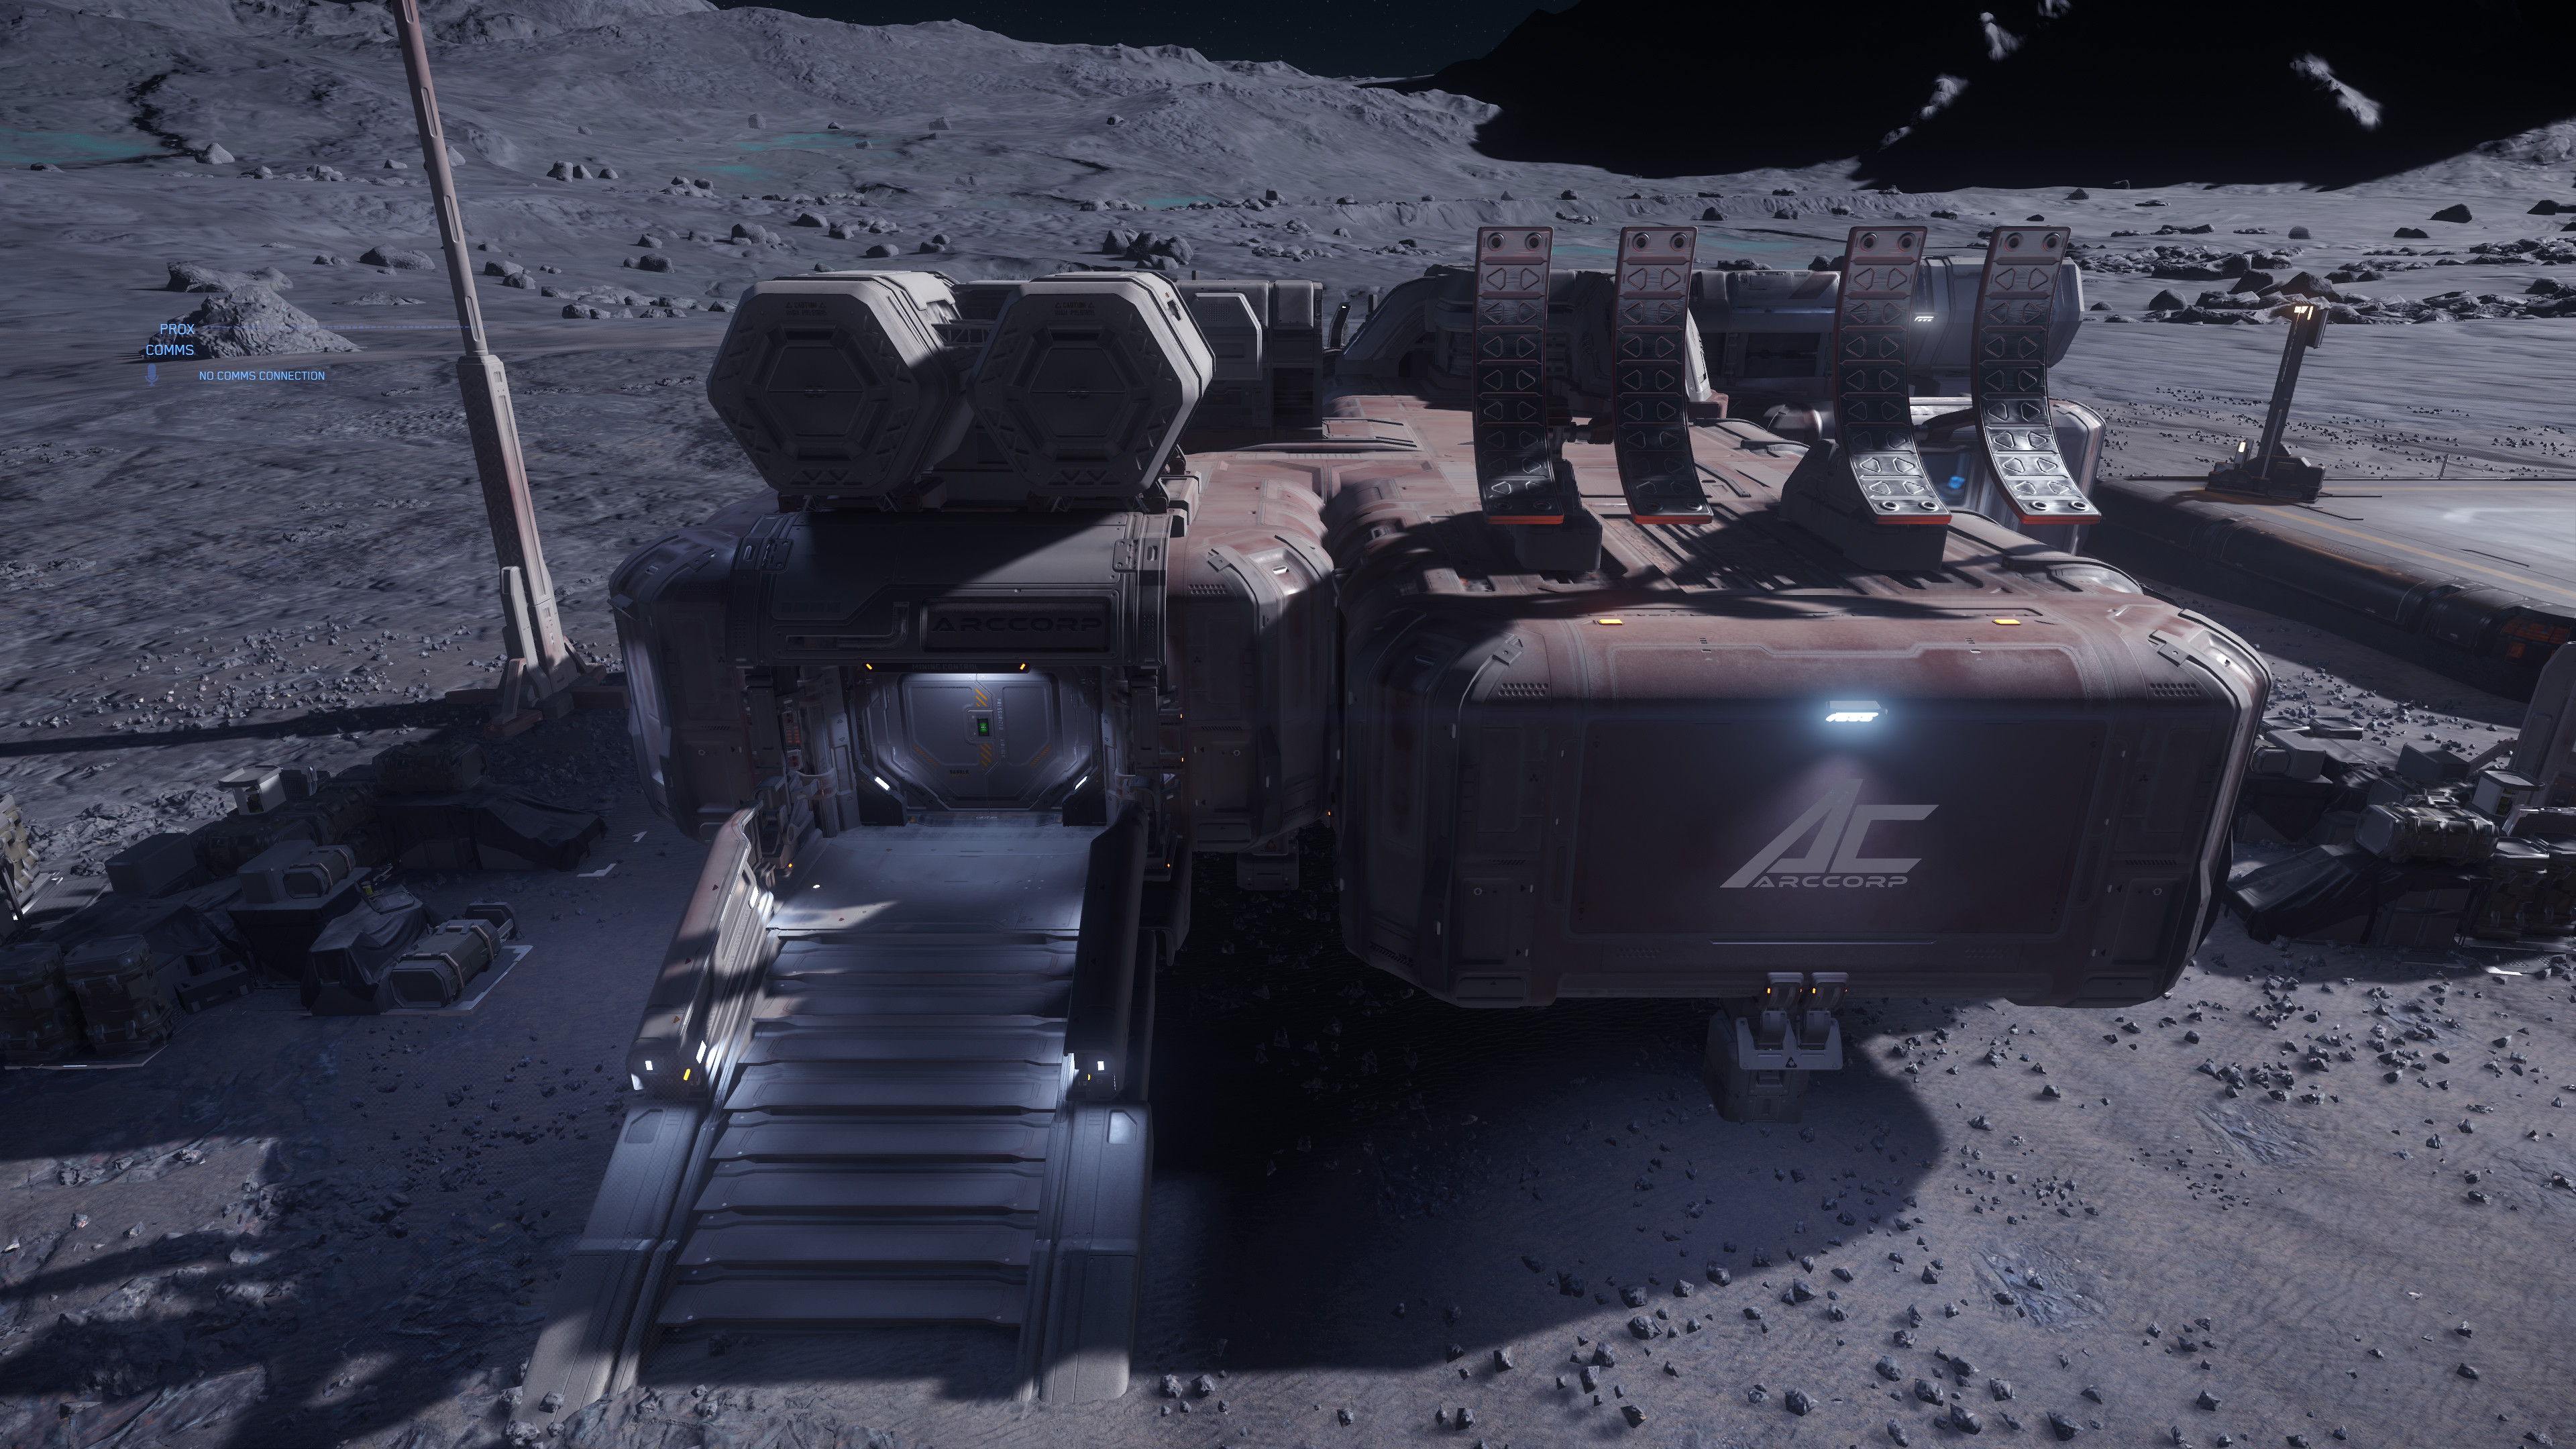
- ArcCorp Mining Area 048 (Mining Modul Bild 1).jpg 3.840 × 2.160; 1,68 MB
- ArcCorp Mining Area 048 (Mining Modul Bild 2).jpg 3.840 × 2.160; 1,81 MB
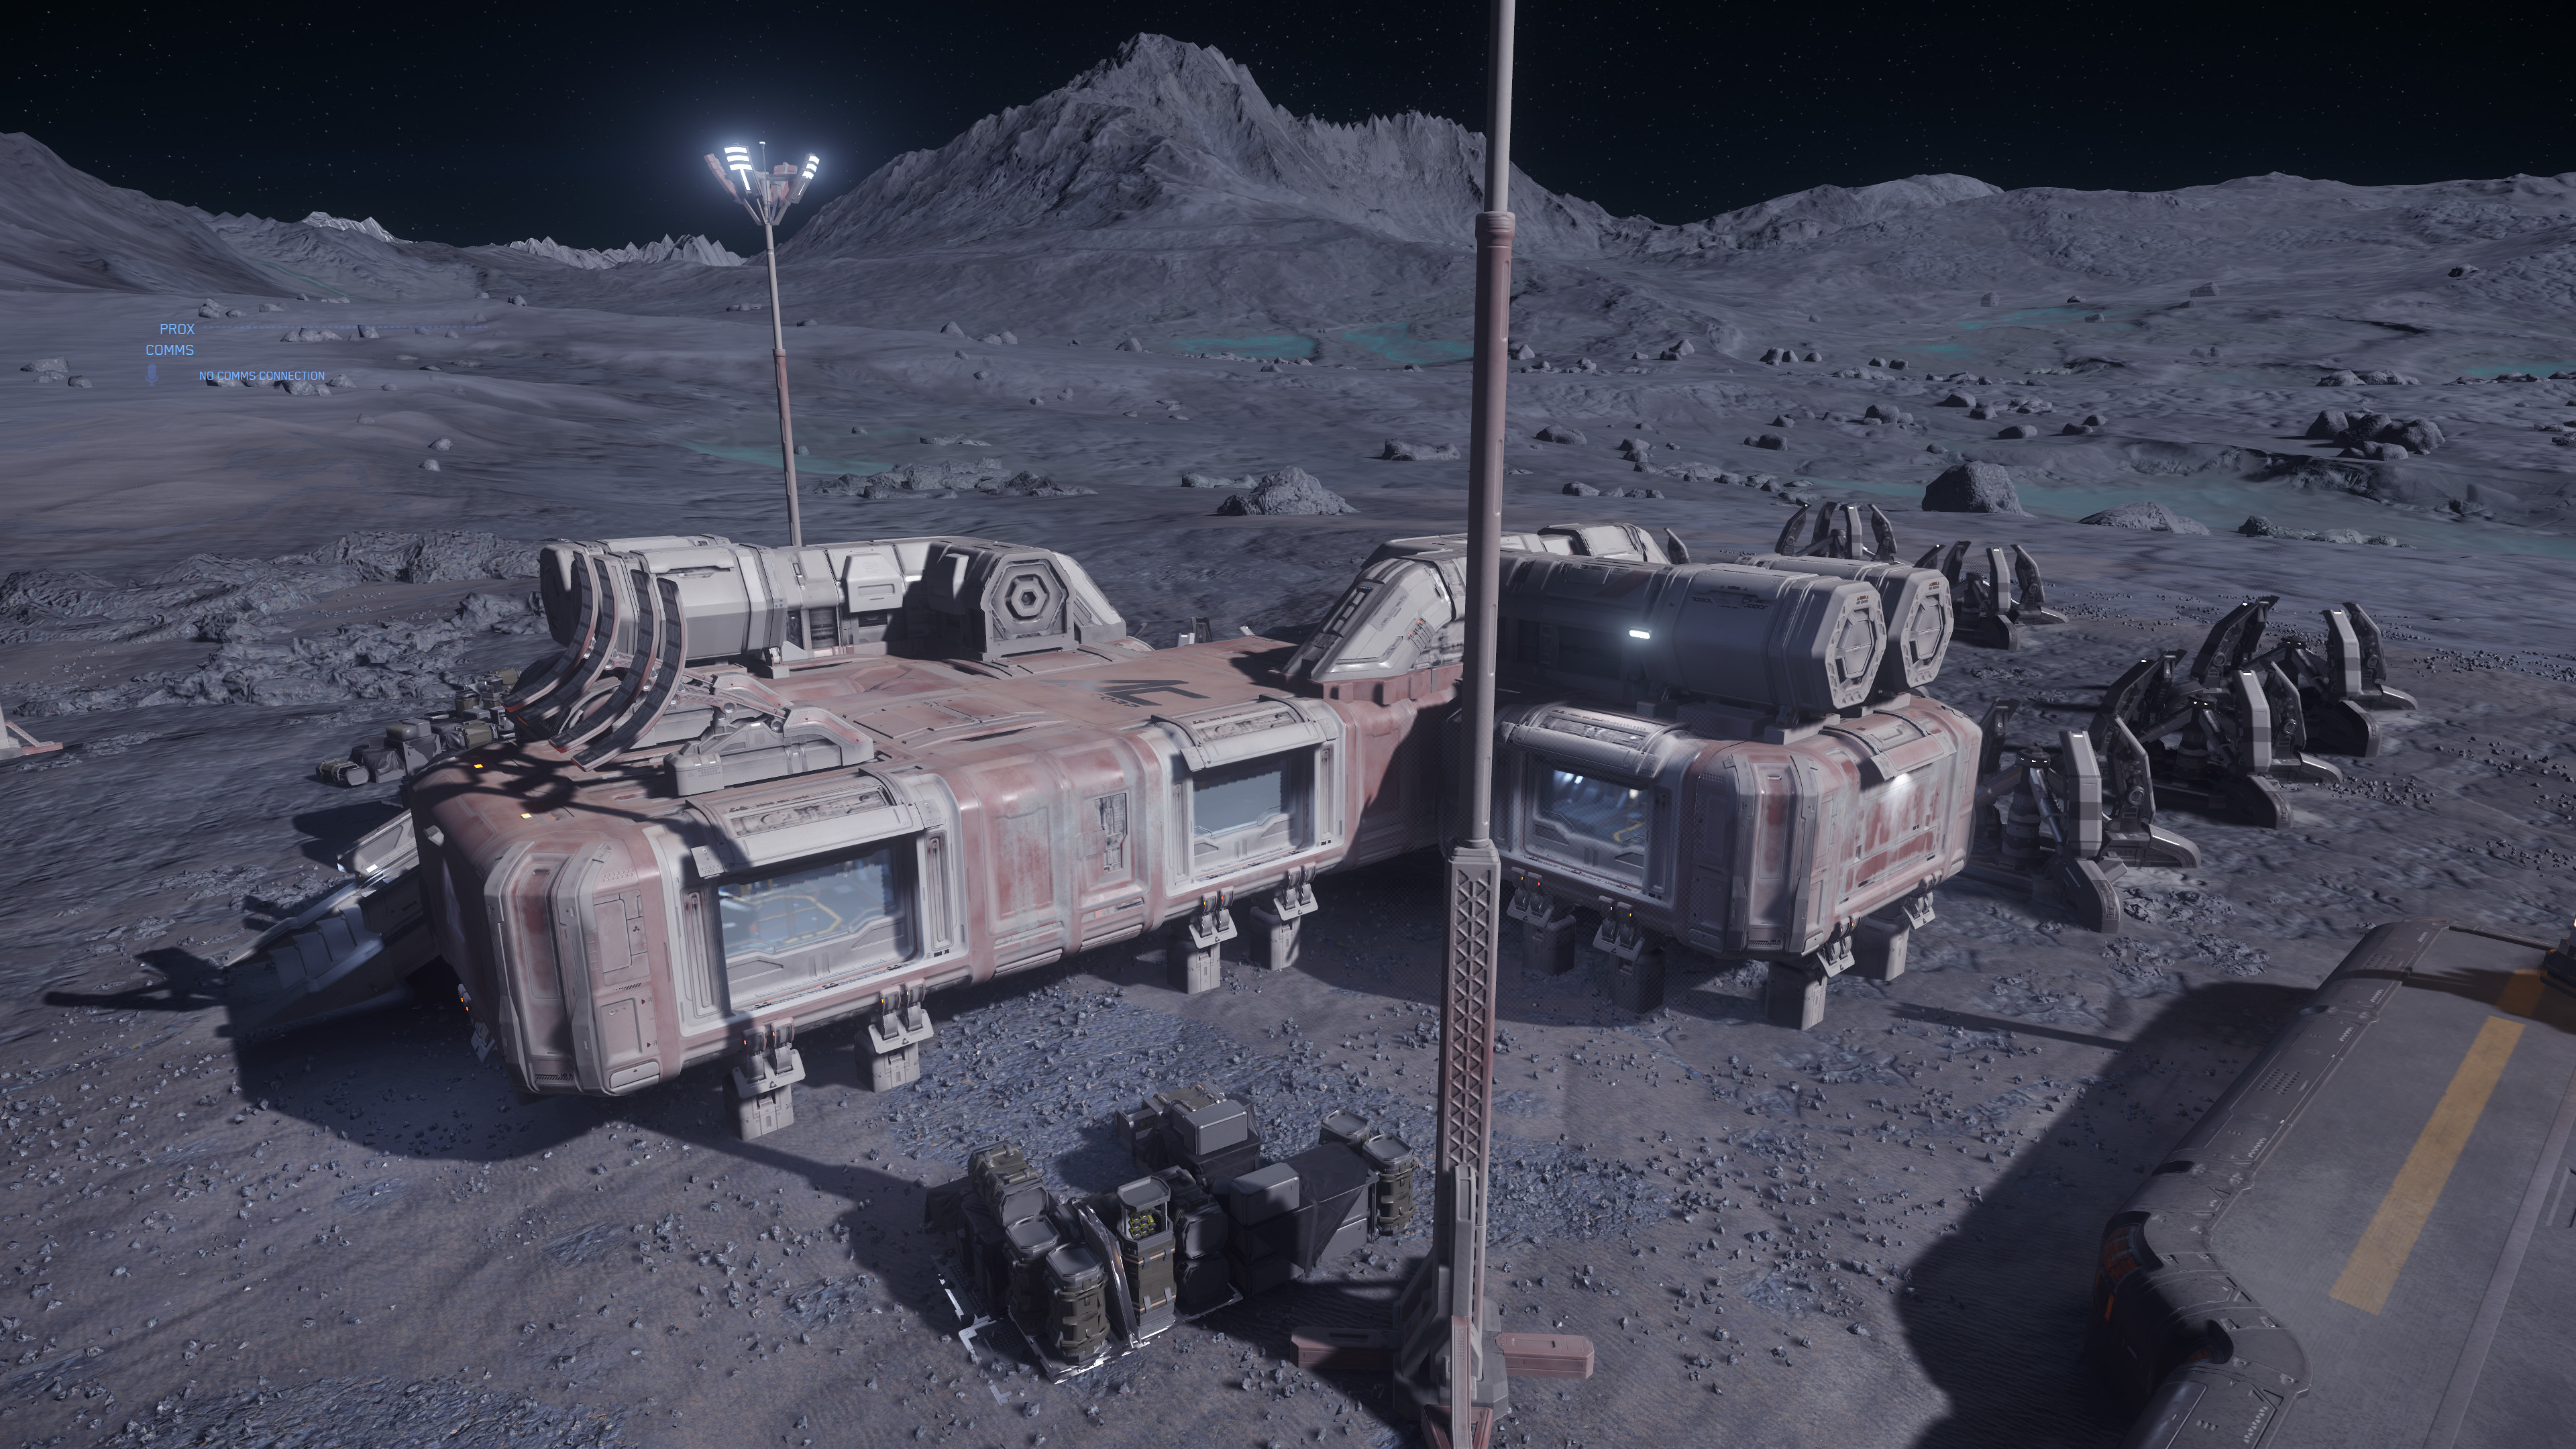
- ArcCorp Mining Area 048 (Storage Modul).jpg 3.840 × 2.160; 1,43 MB
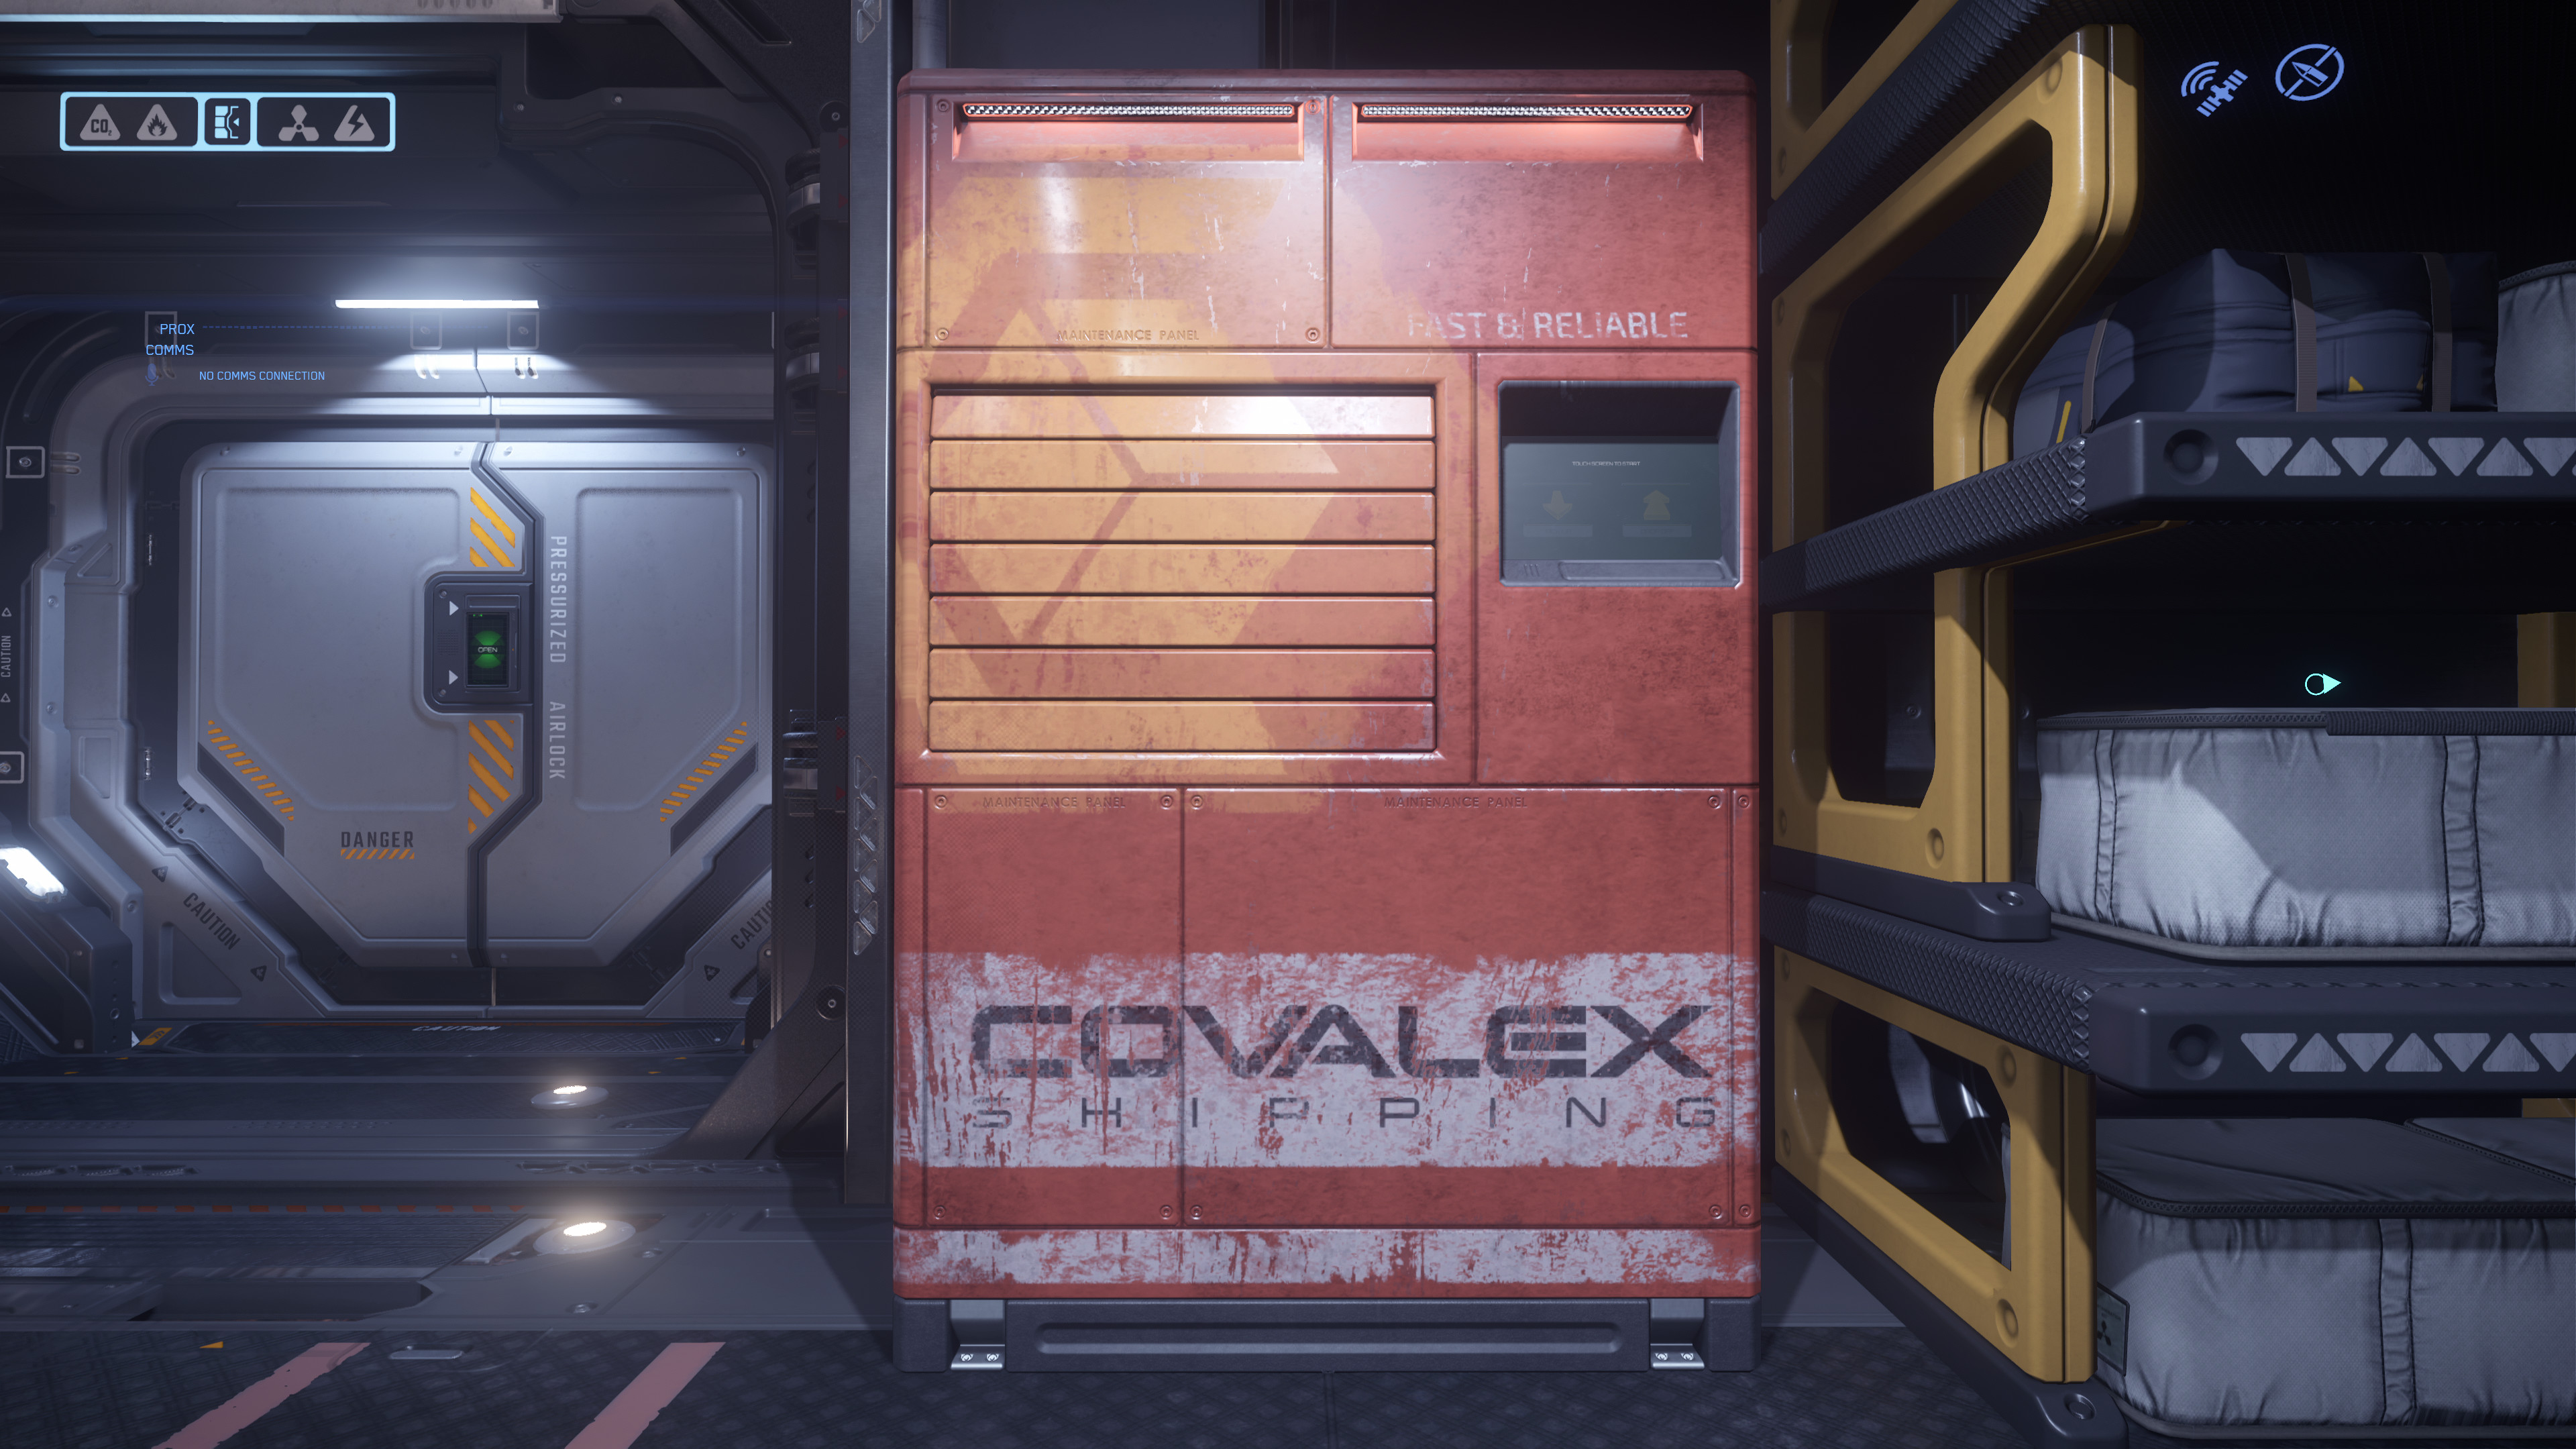
- ArcCorp Mining Area 048 Covalex Shipping Paketstation.jpg 3.840 × 2.160; 1,29 MB
- ArcCorp Mining Area 048 Habitation Modul (innen).jpg 3.840 × 2.160; 981 KB
- ArcCorp Mining Area 048 Habitation Modul.jpg 3.840 × 2.160; 1,32 MB
- ArcCorp Mining Area 048 Mining Modul (innen 1).jpg 3.840 × 2.160; 1,15 MB
- ArcCorp Mining Area 048 Mining Modul (innen 2).jpg 3.840 × 2.160; 995 KB
- ArcCorp Mining Area 048 NPC im Storage Modul.jpg 3.840 × 2.160; 984 KB
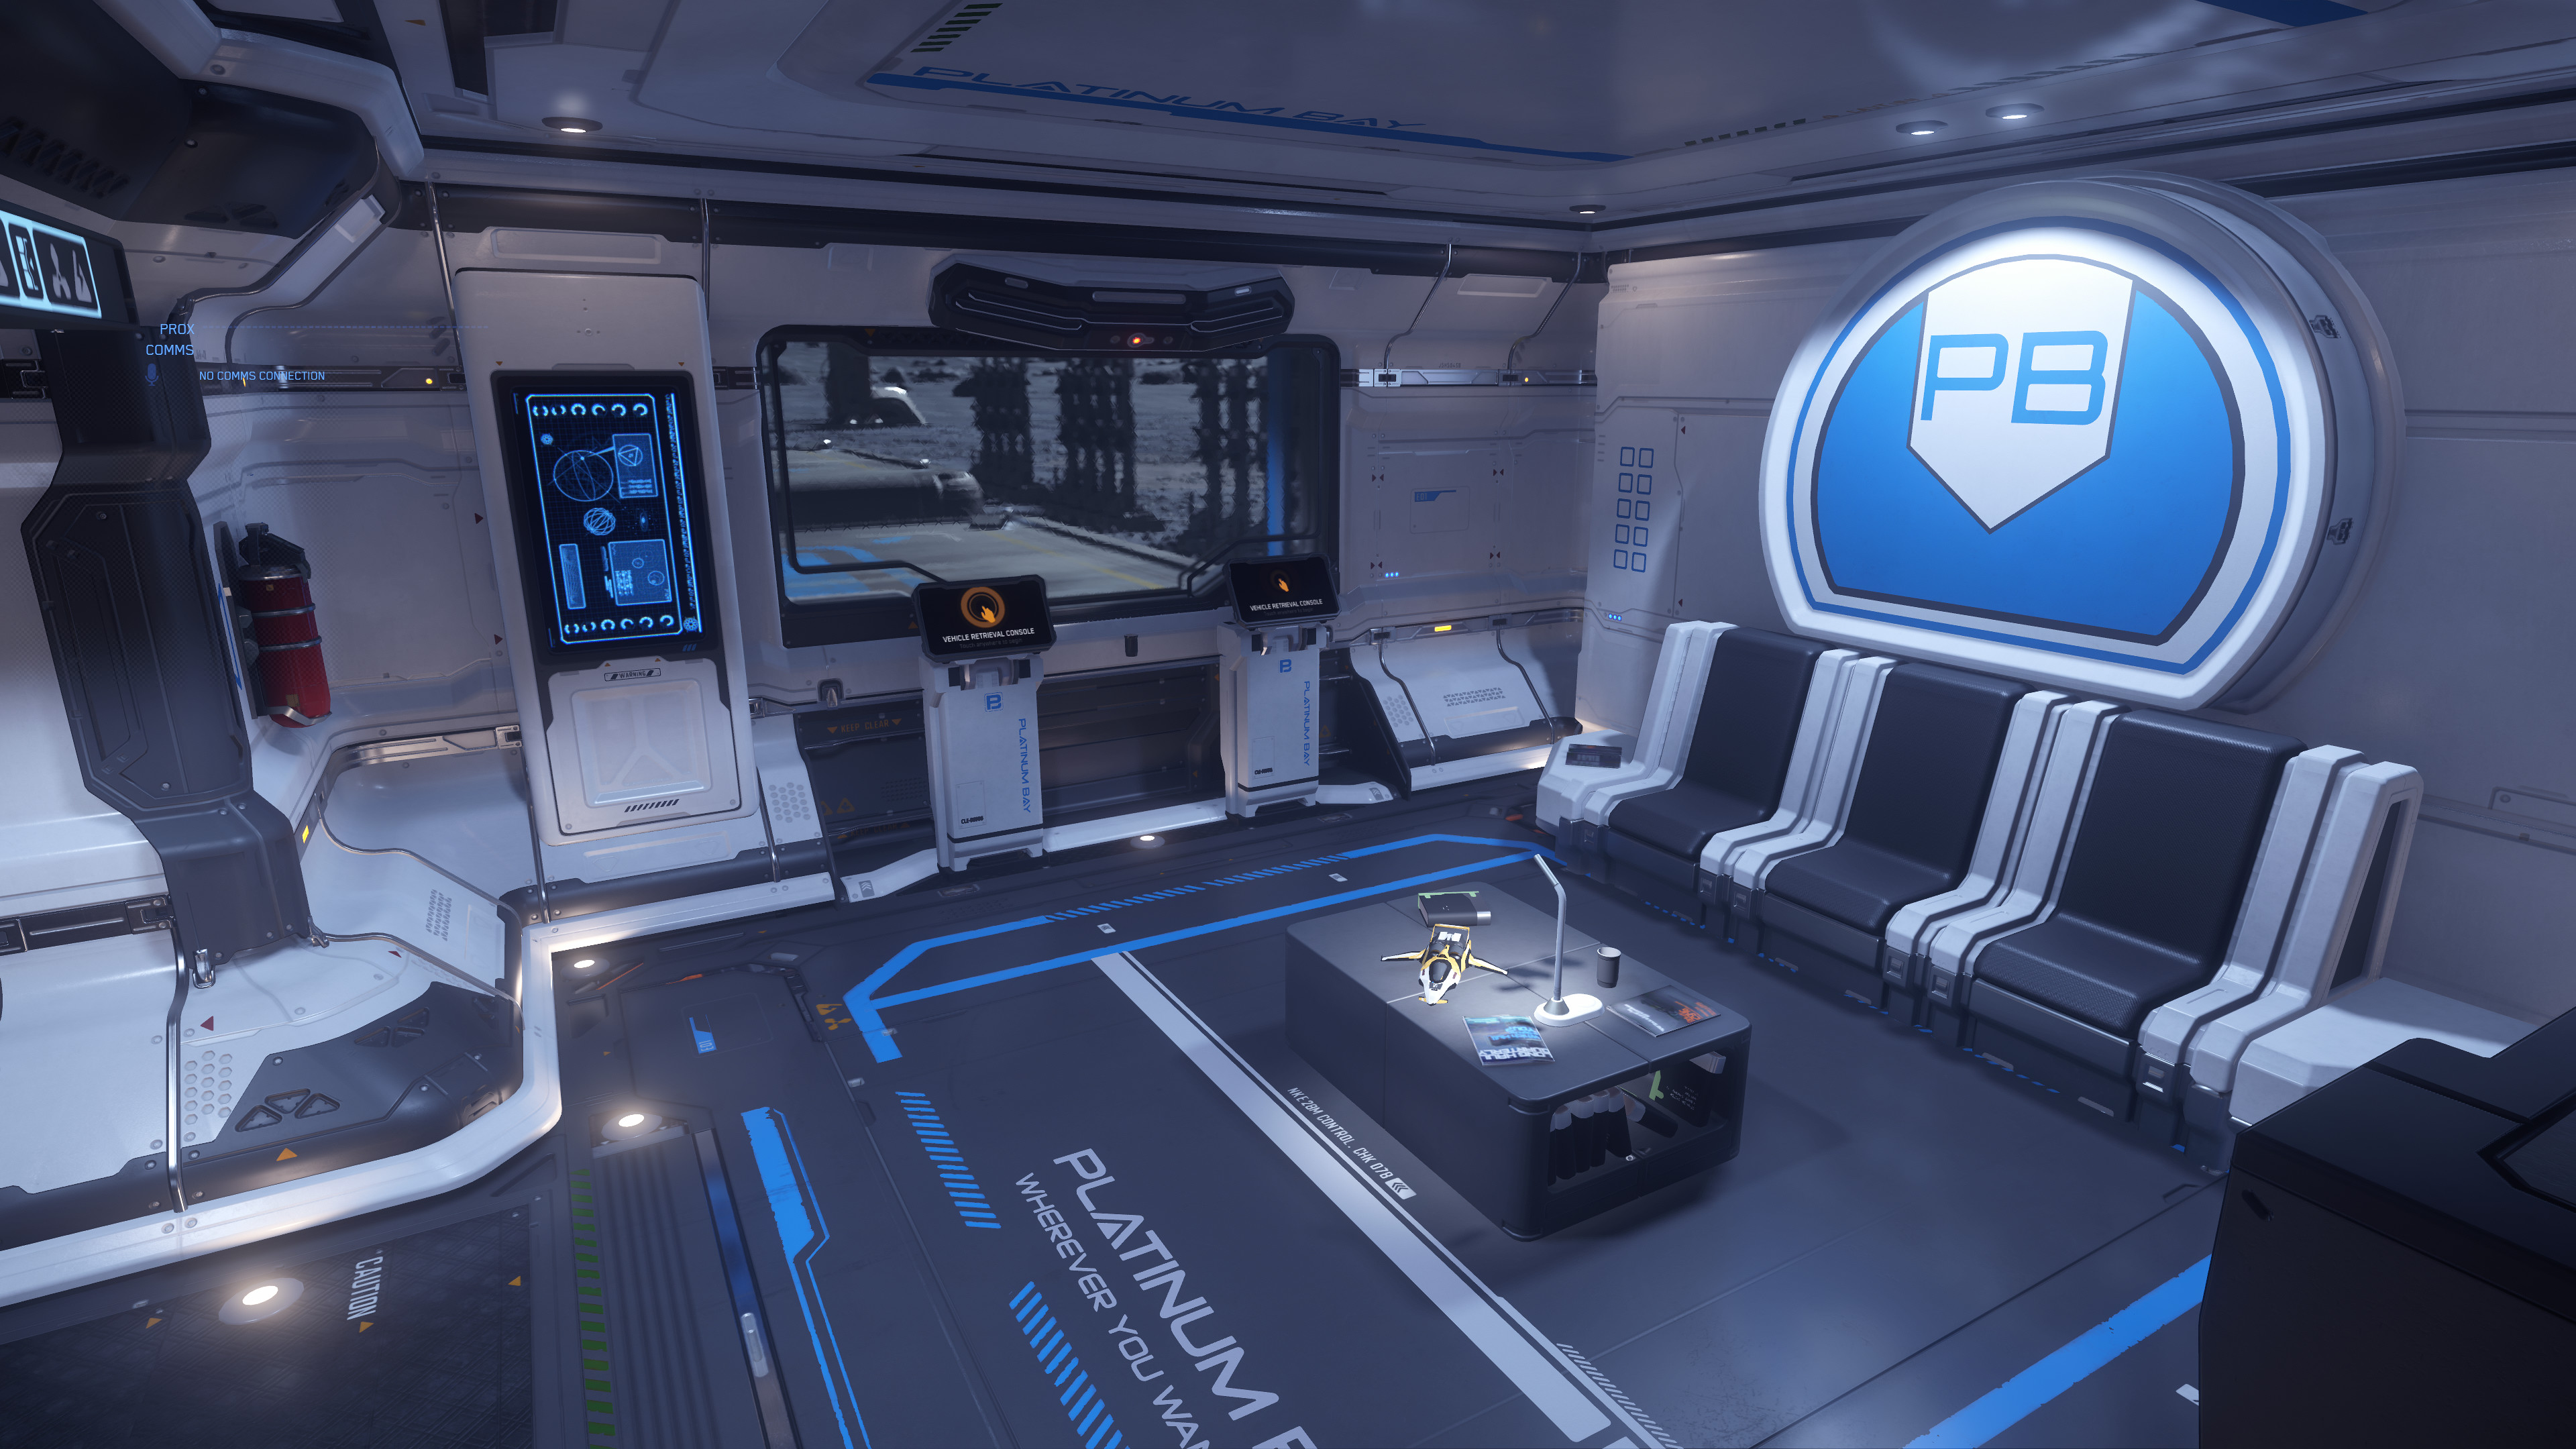
- ArcCorp Mining Area 048 Platinum Bay (innen).jpg 3.840 × 2.160; 1,23 MB
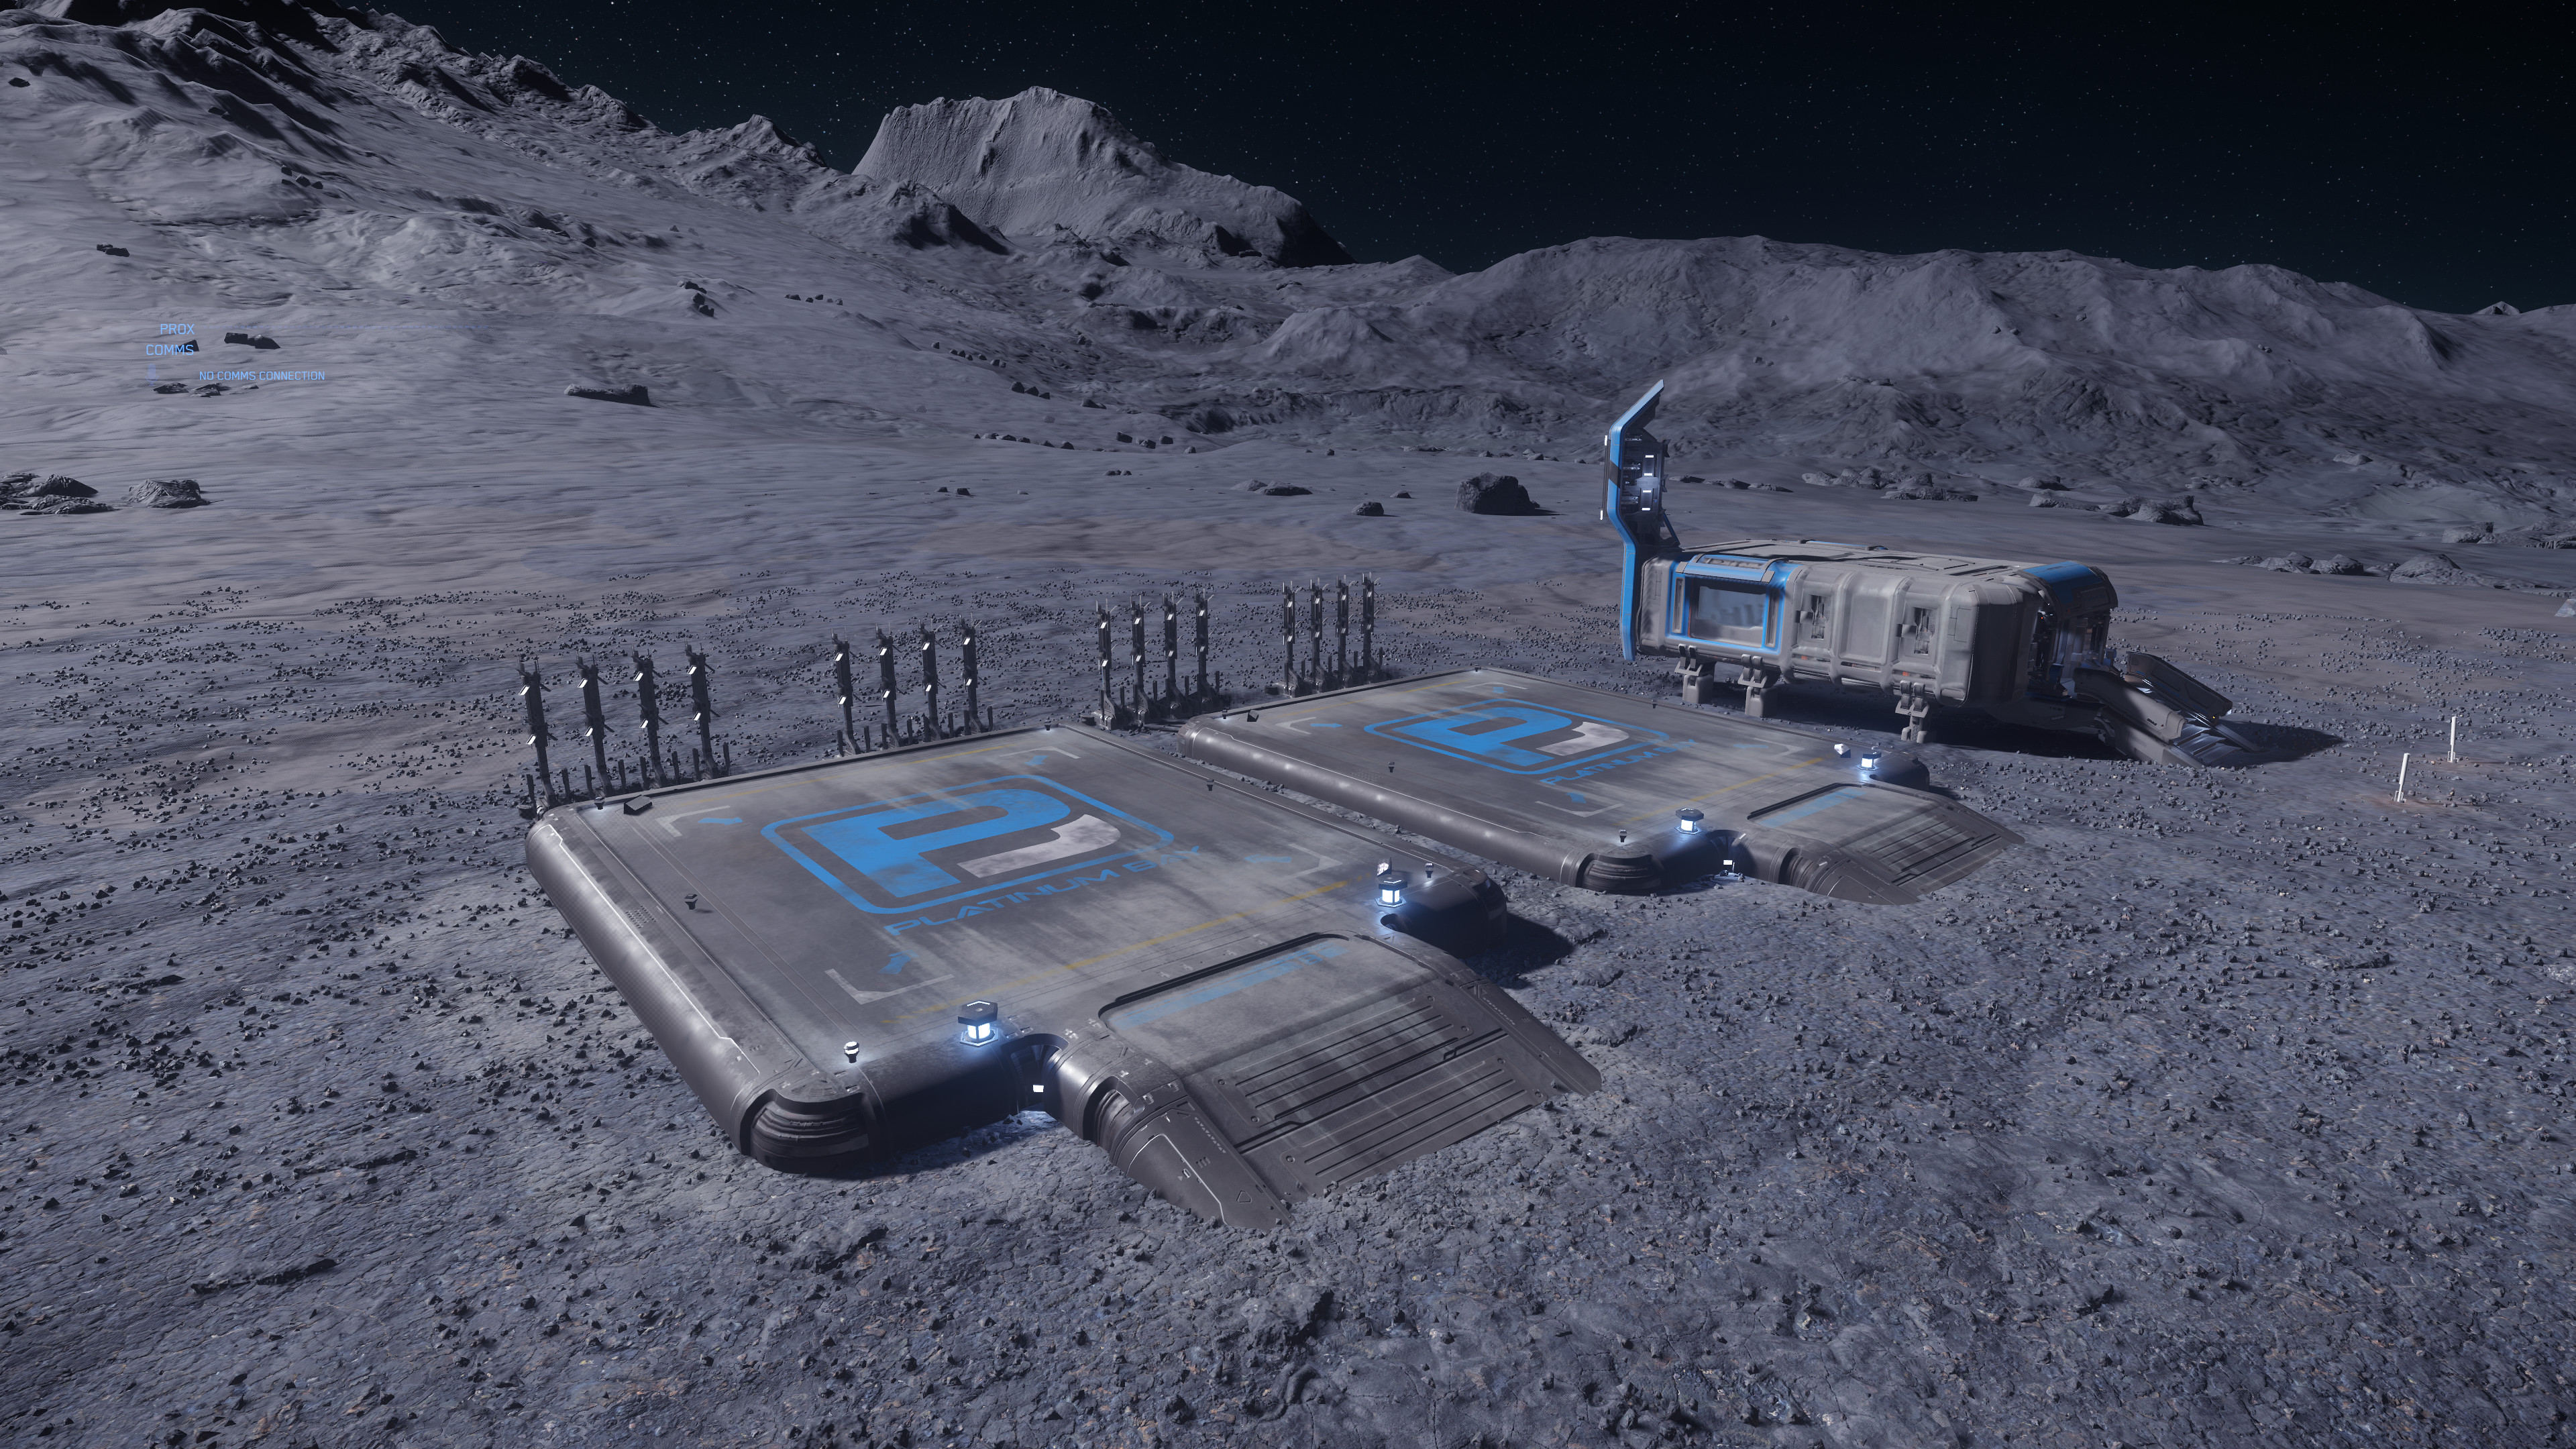
- ArcCorp Mining Area 048 Platinum Bay.jpg 3.840 × 2.160; 2,43 MB
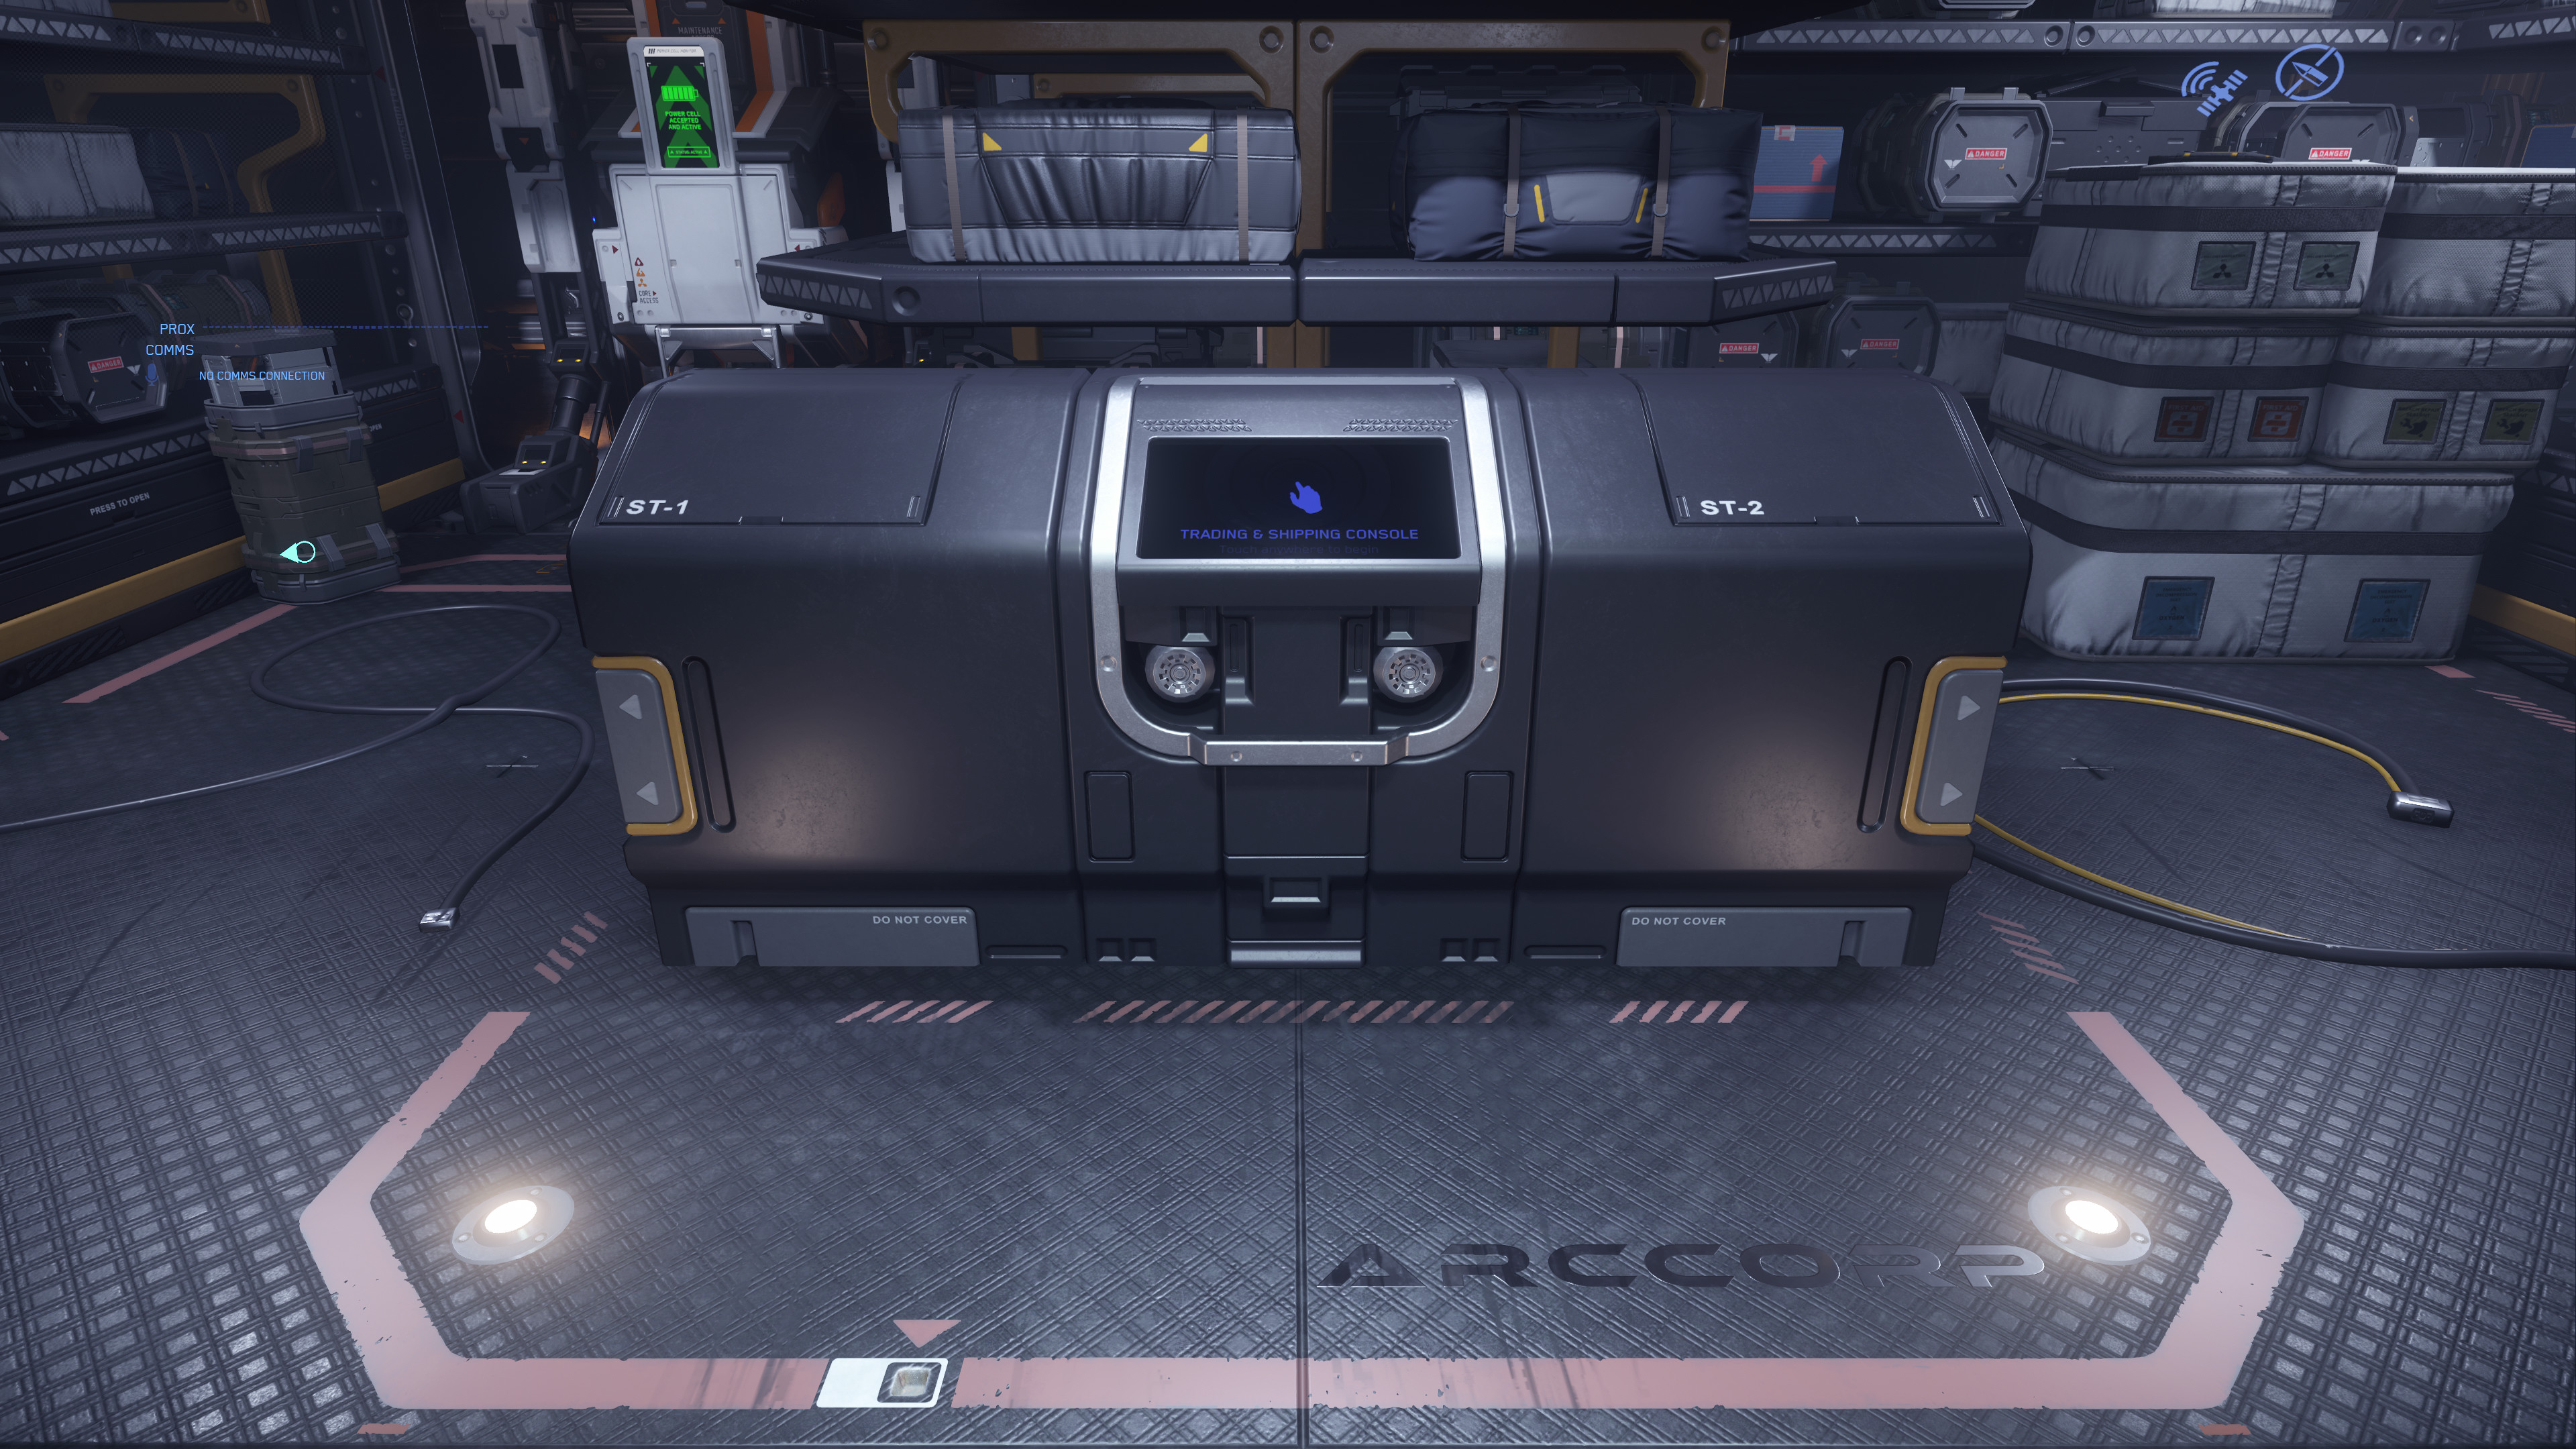
- ArcCorp Mining Area 048 Trading & Shipping Konsole.jpg 3.840 × 2.160; 1,58 MB
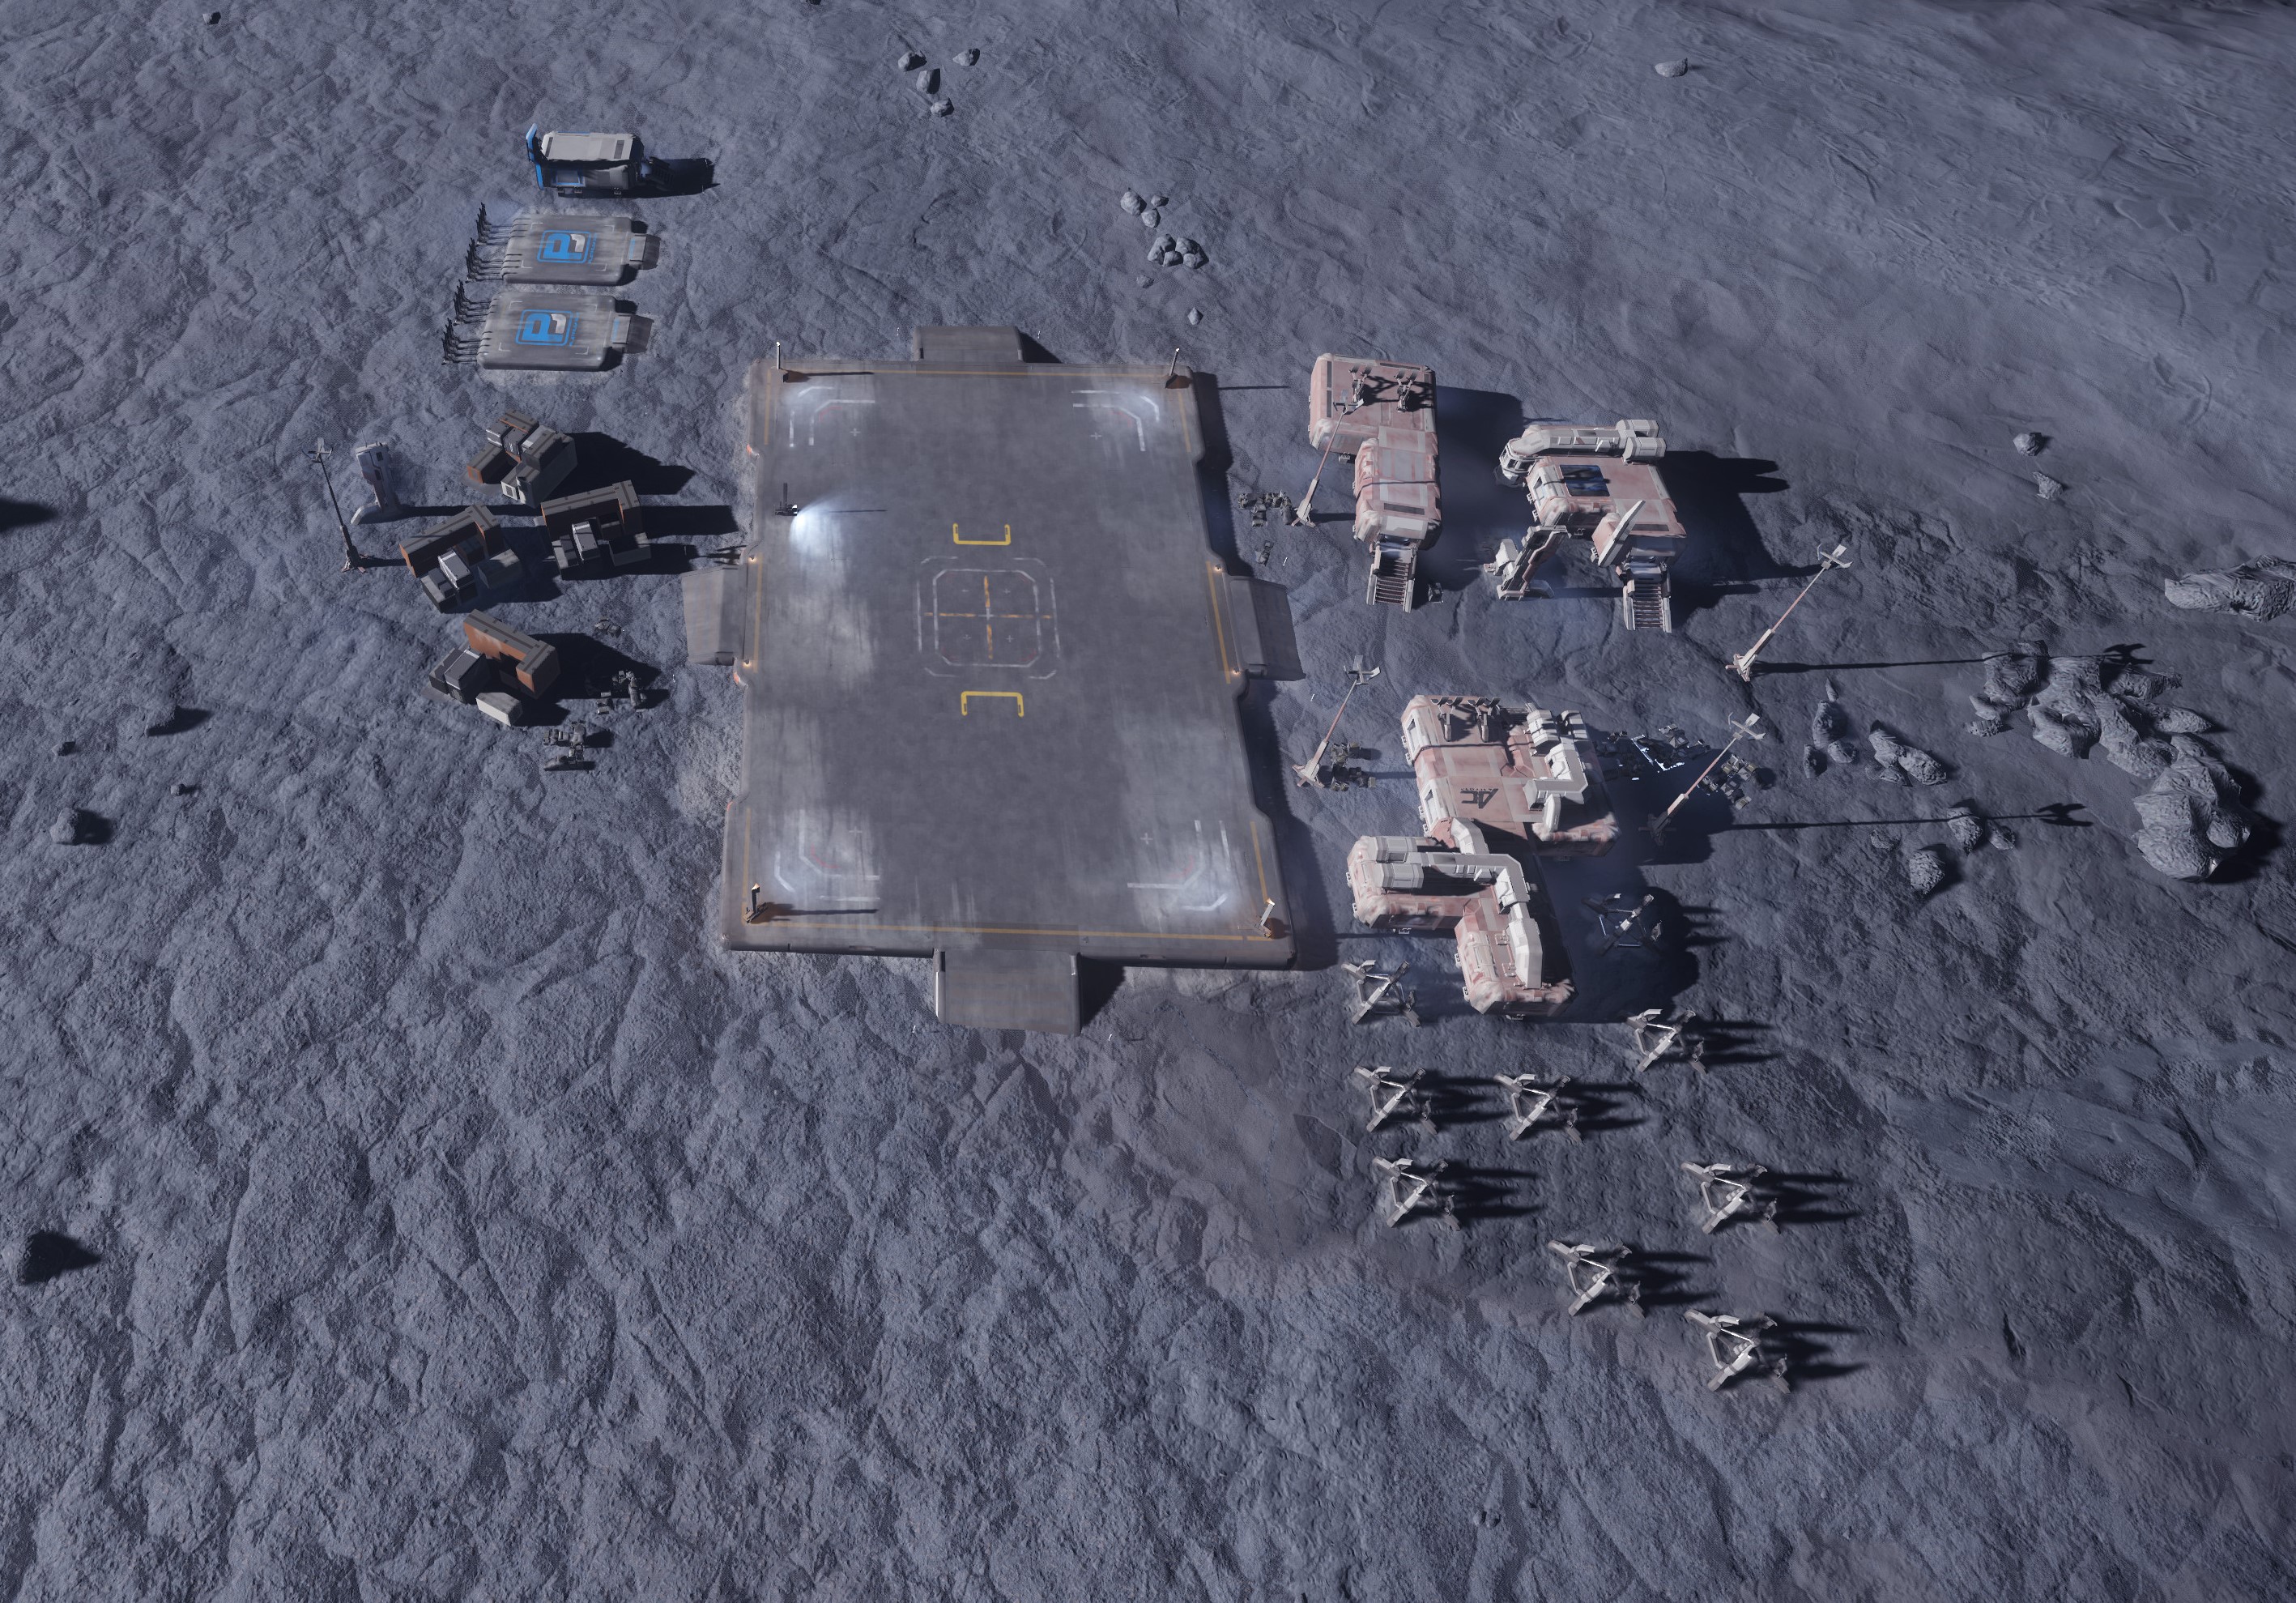
- ArcCorp Mining Area 048 Übersicht inkl. Annotationen.jpg 2.675 × 2.024; 1,68 MB
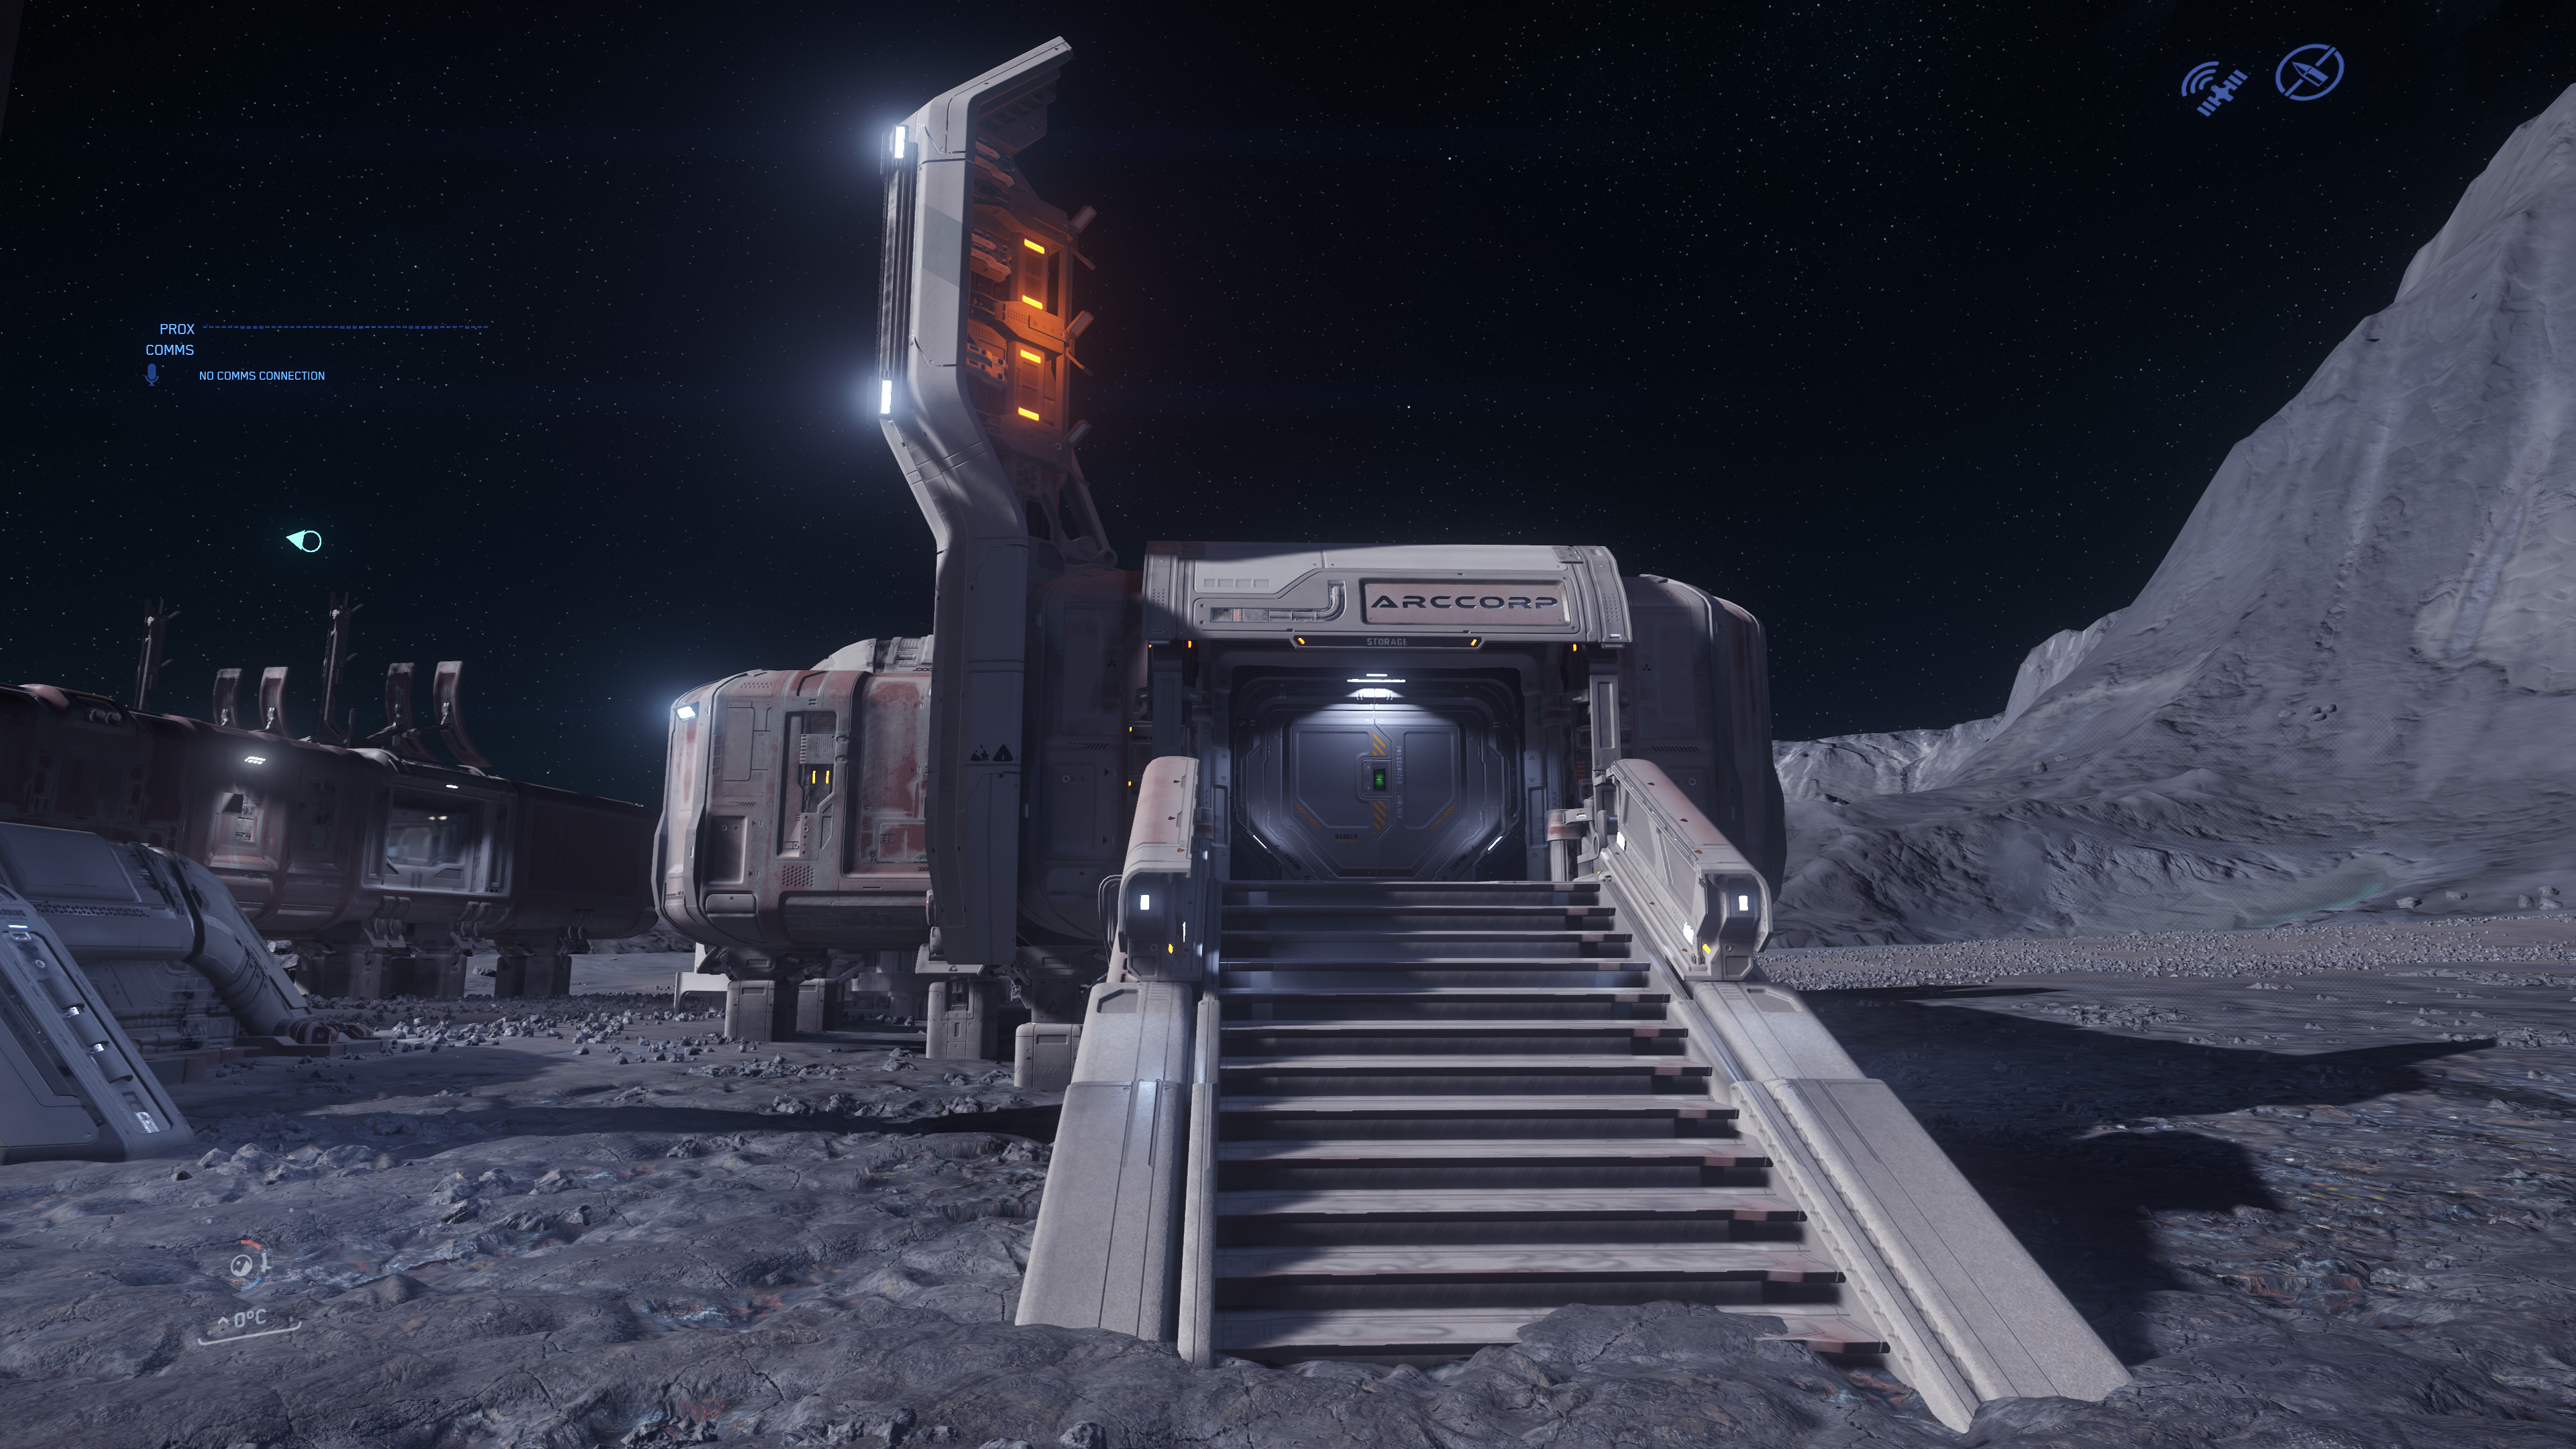
- ArcCorp Mining Area 048.jpg 2.835 × 1.979; 1,68 MB
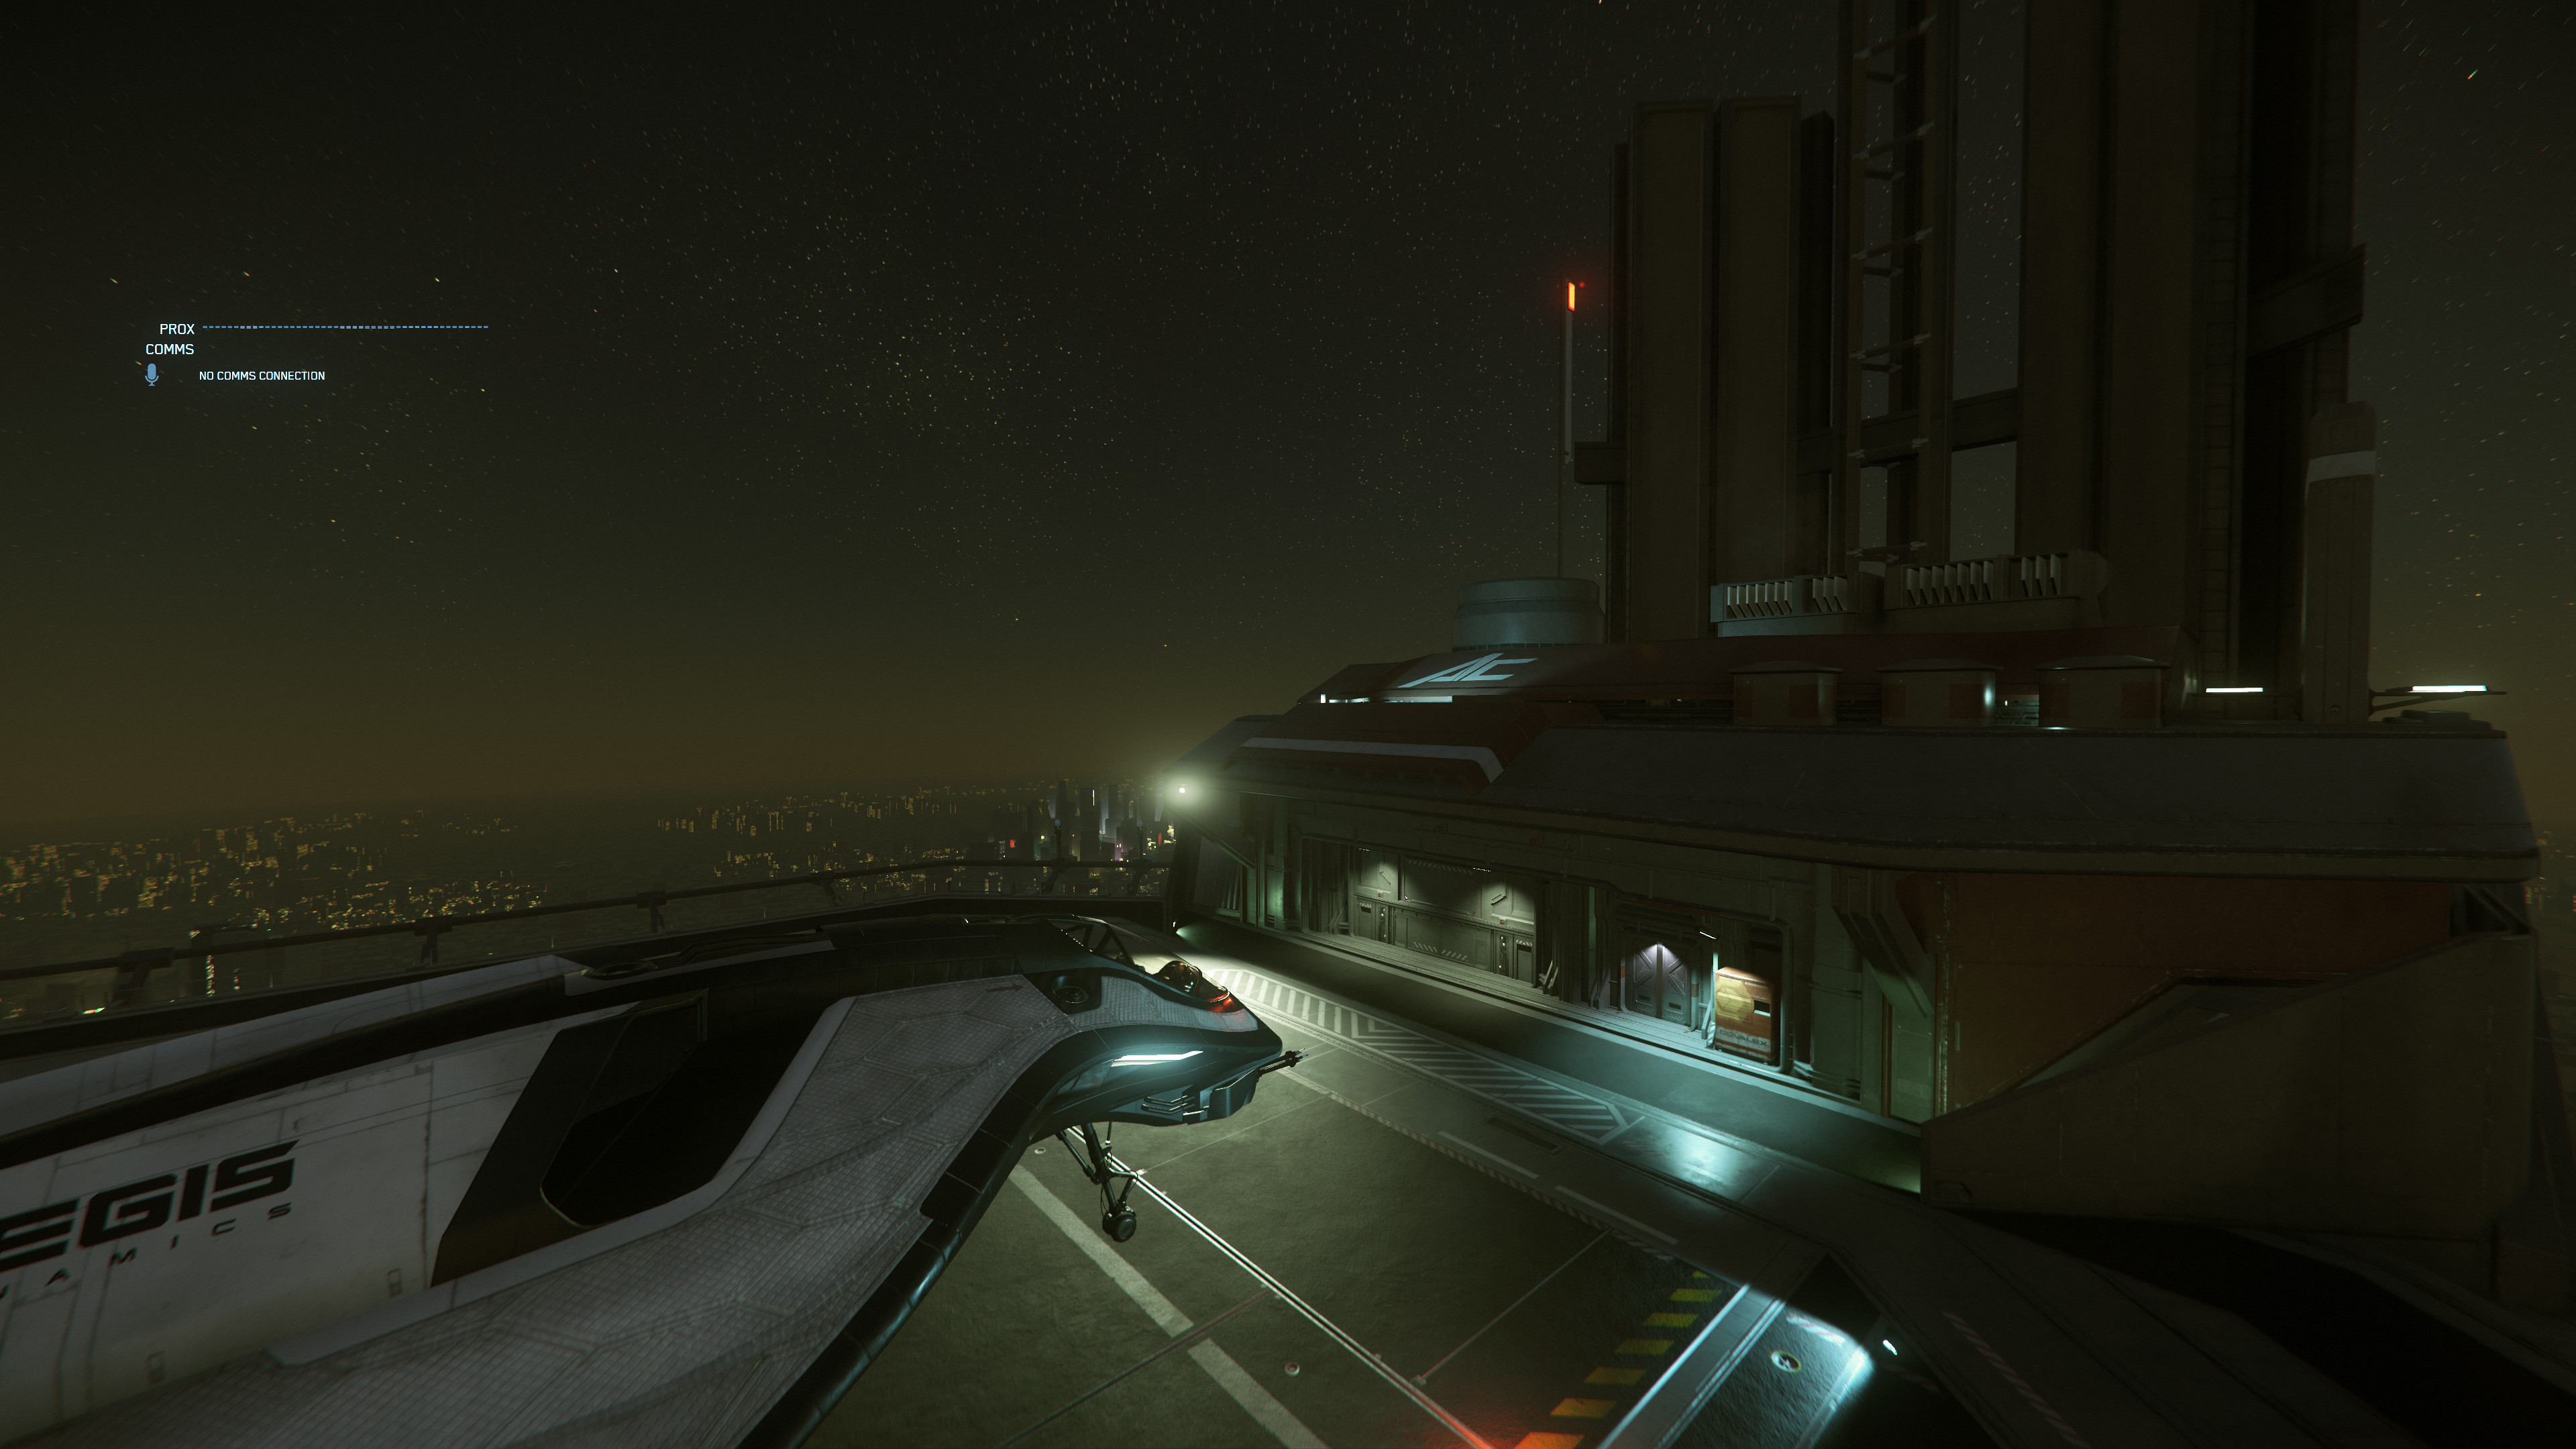
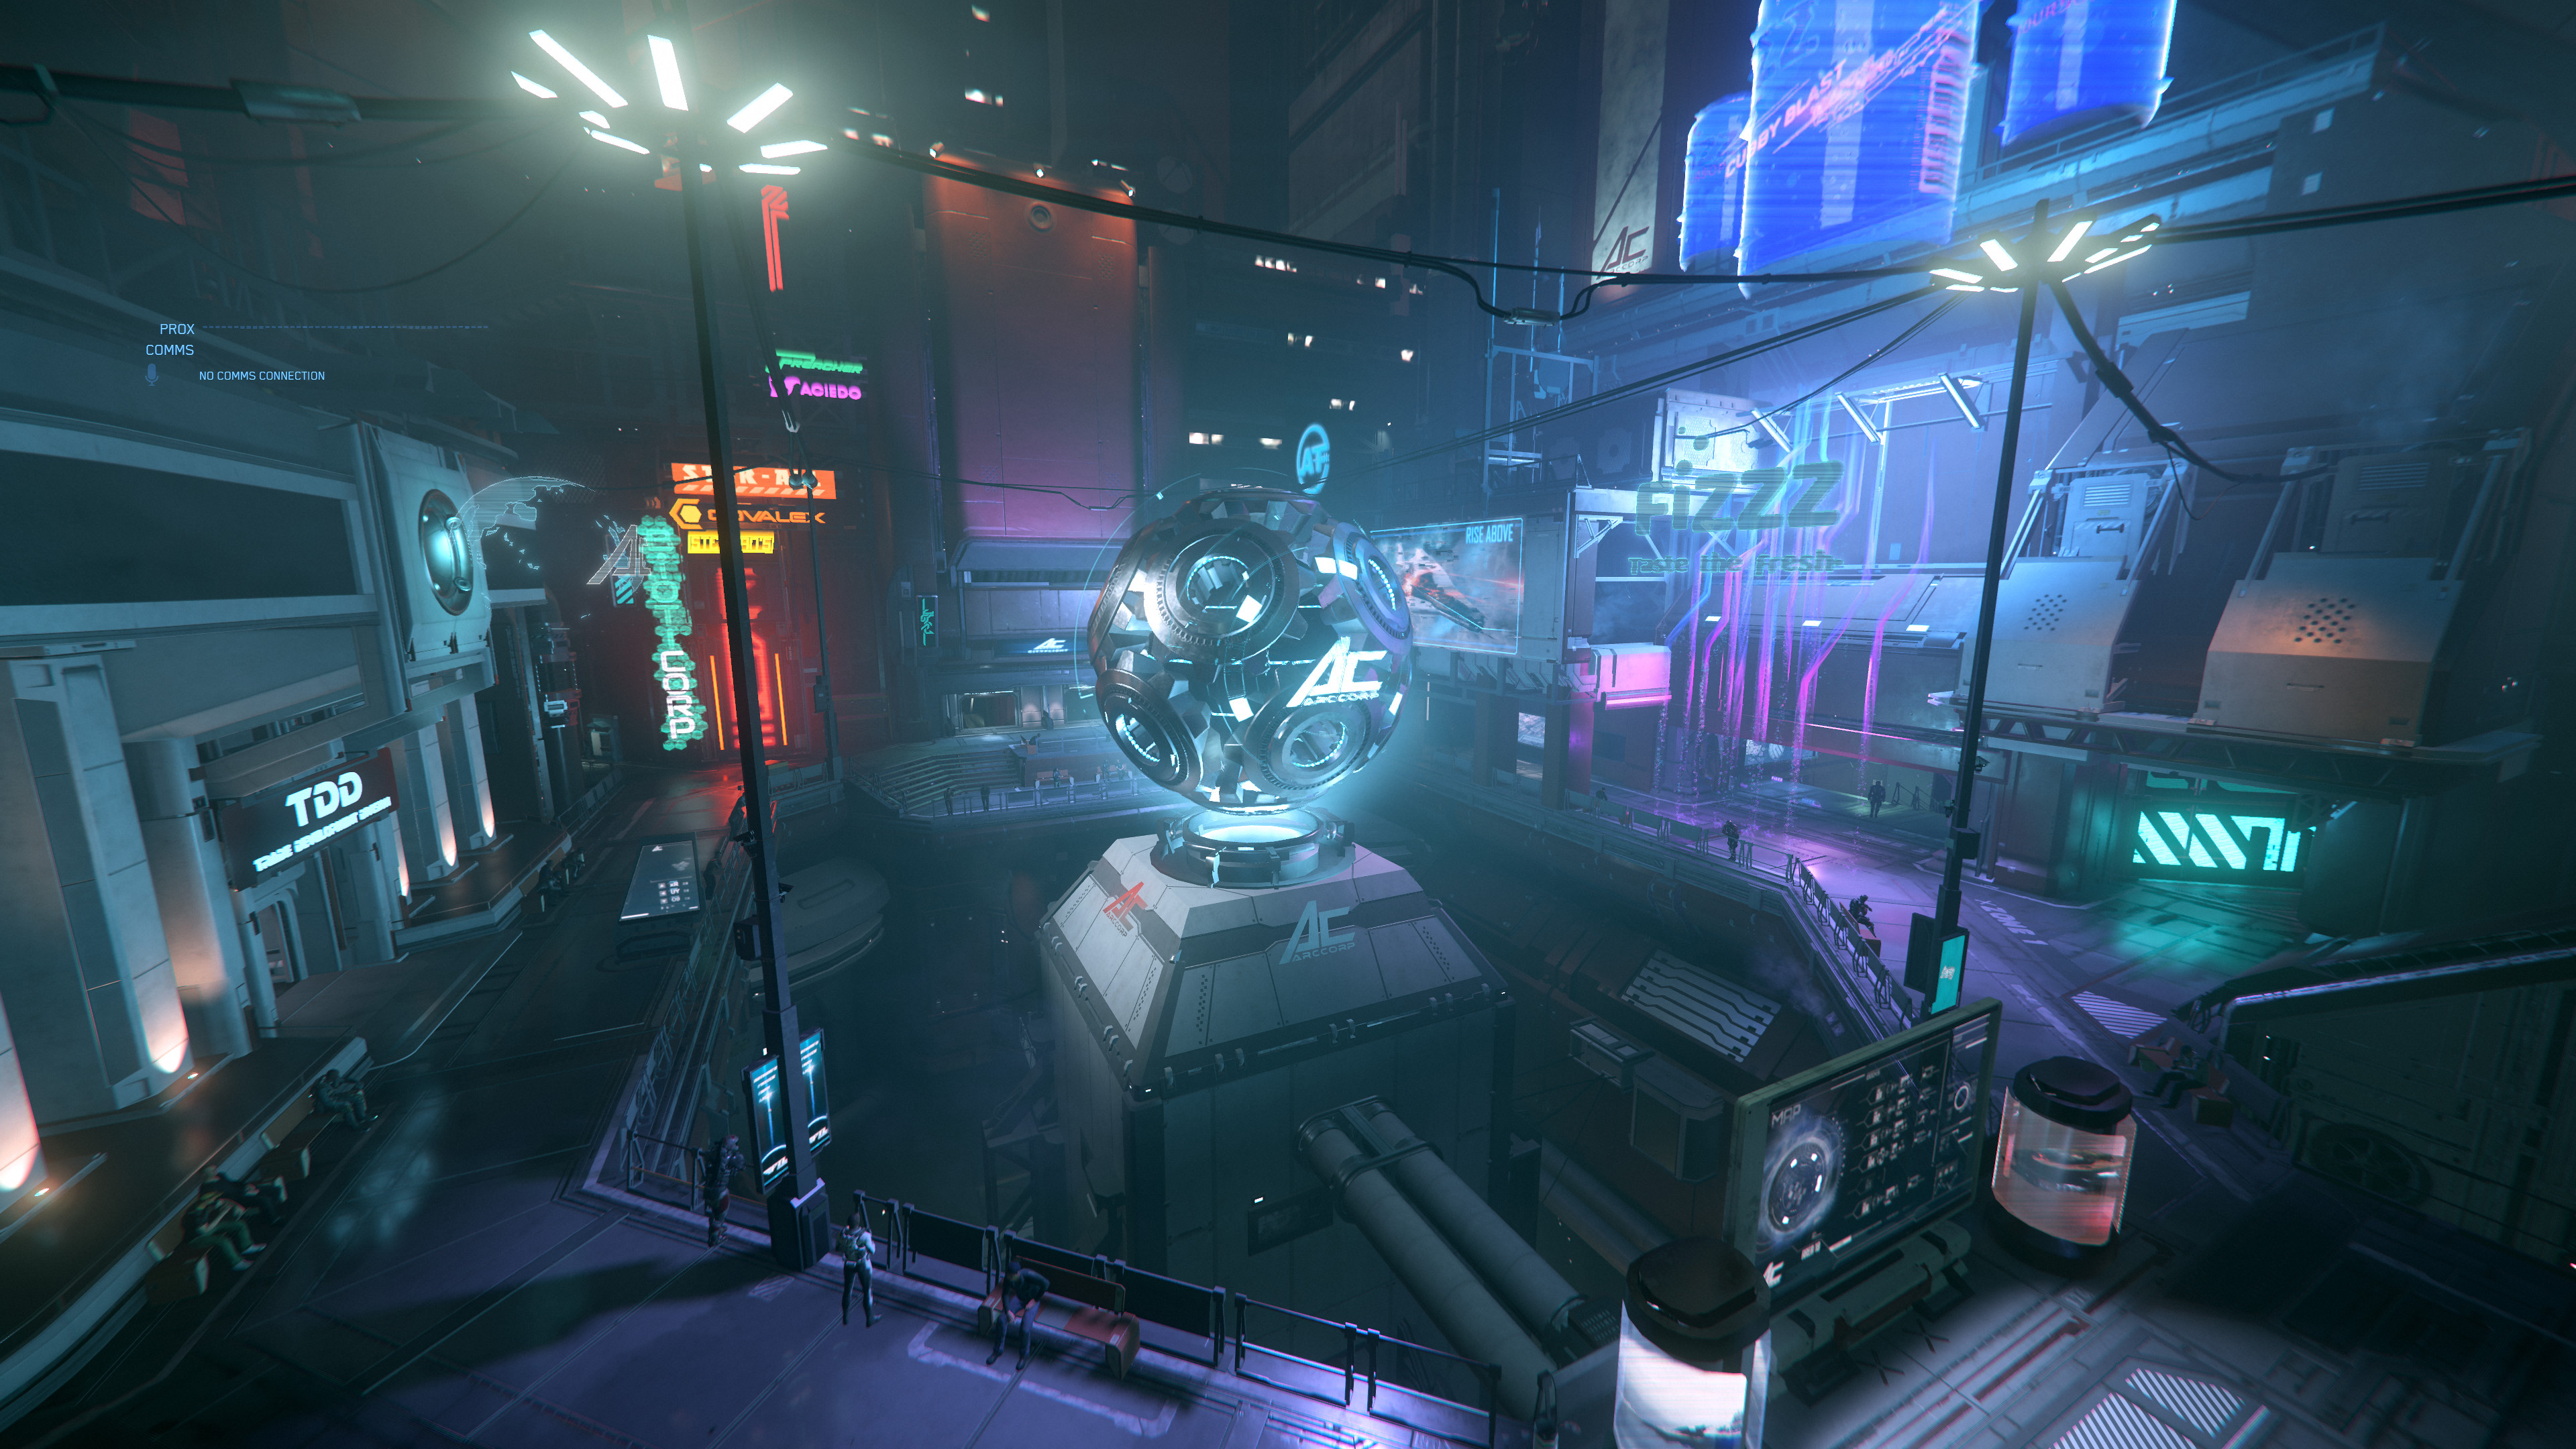
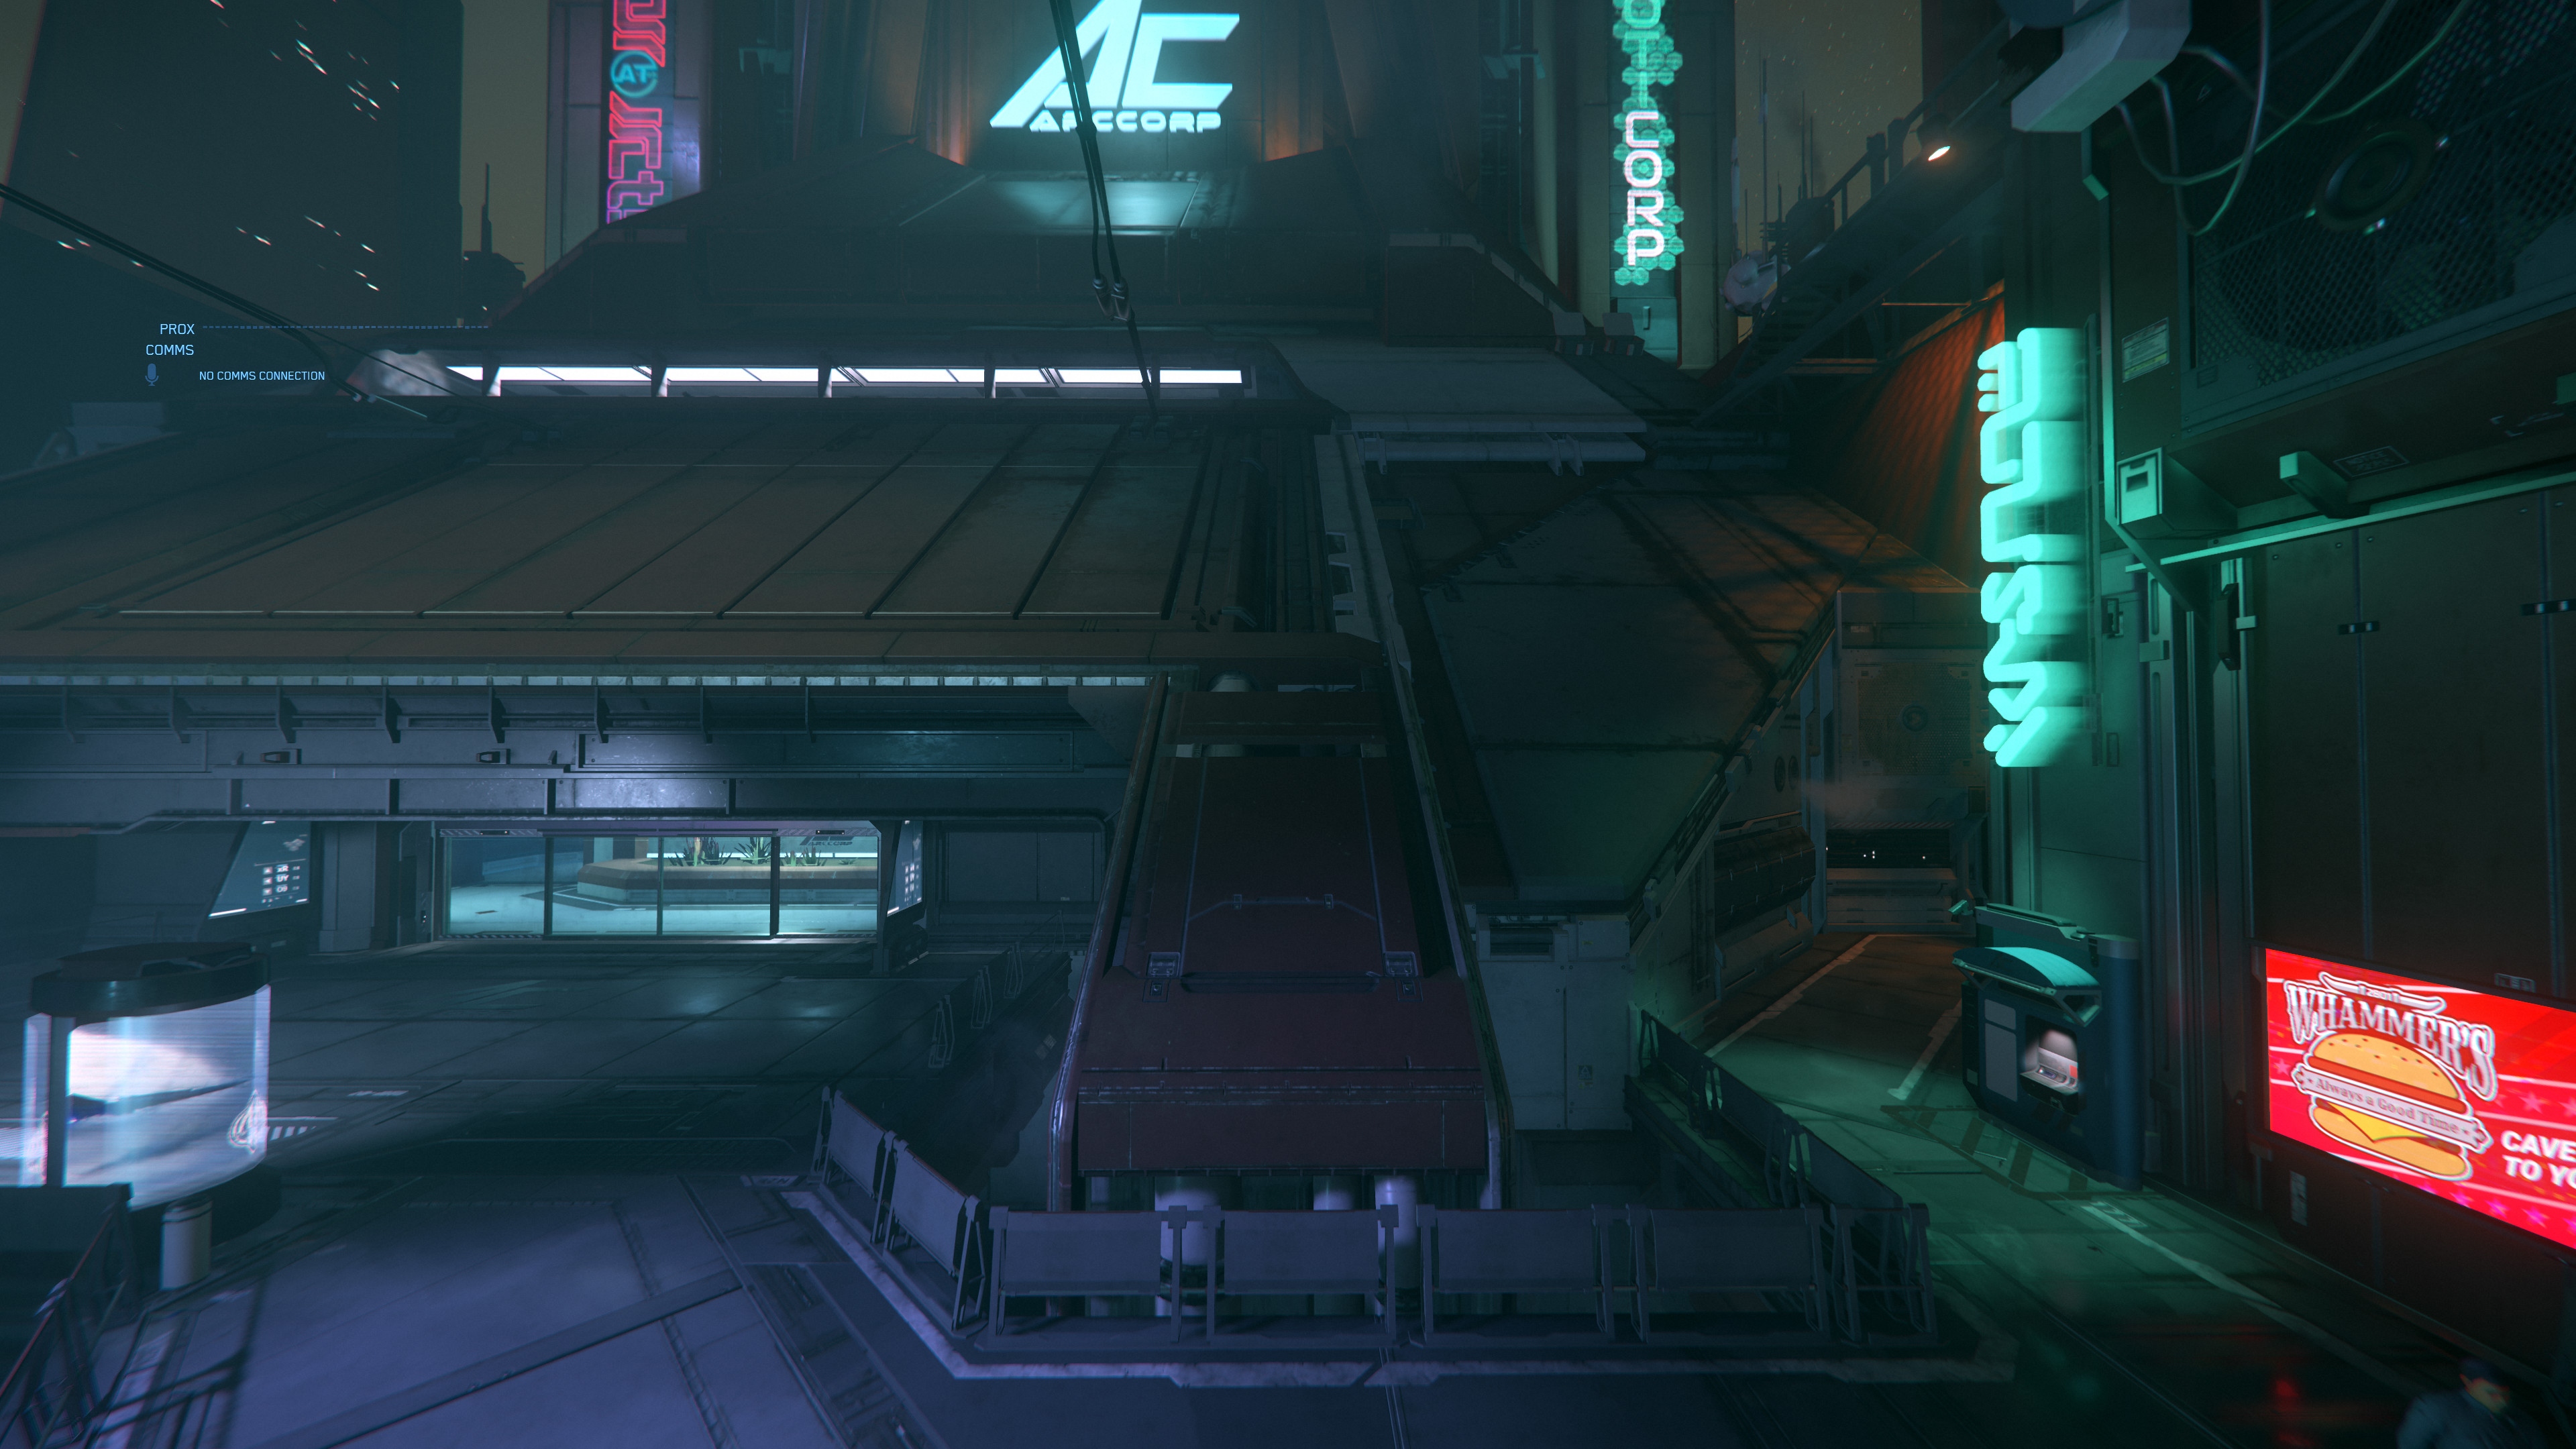
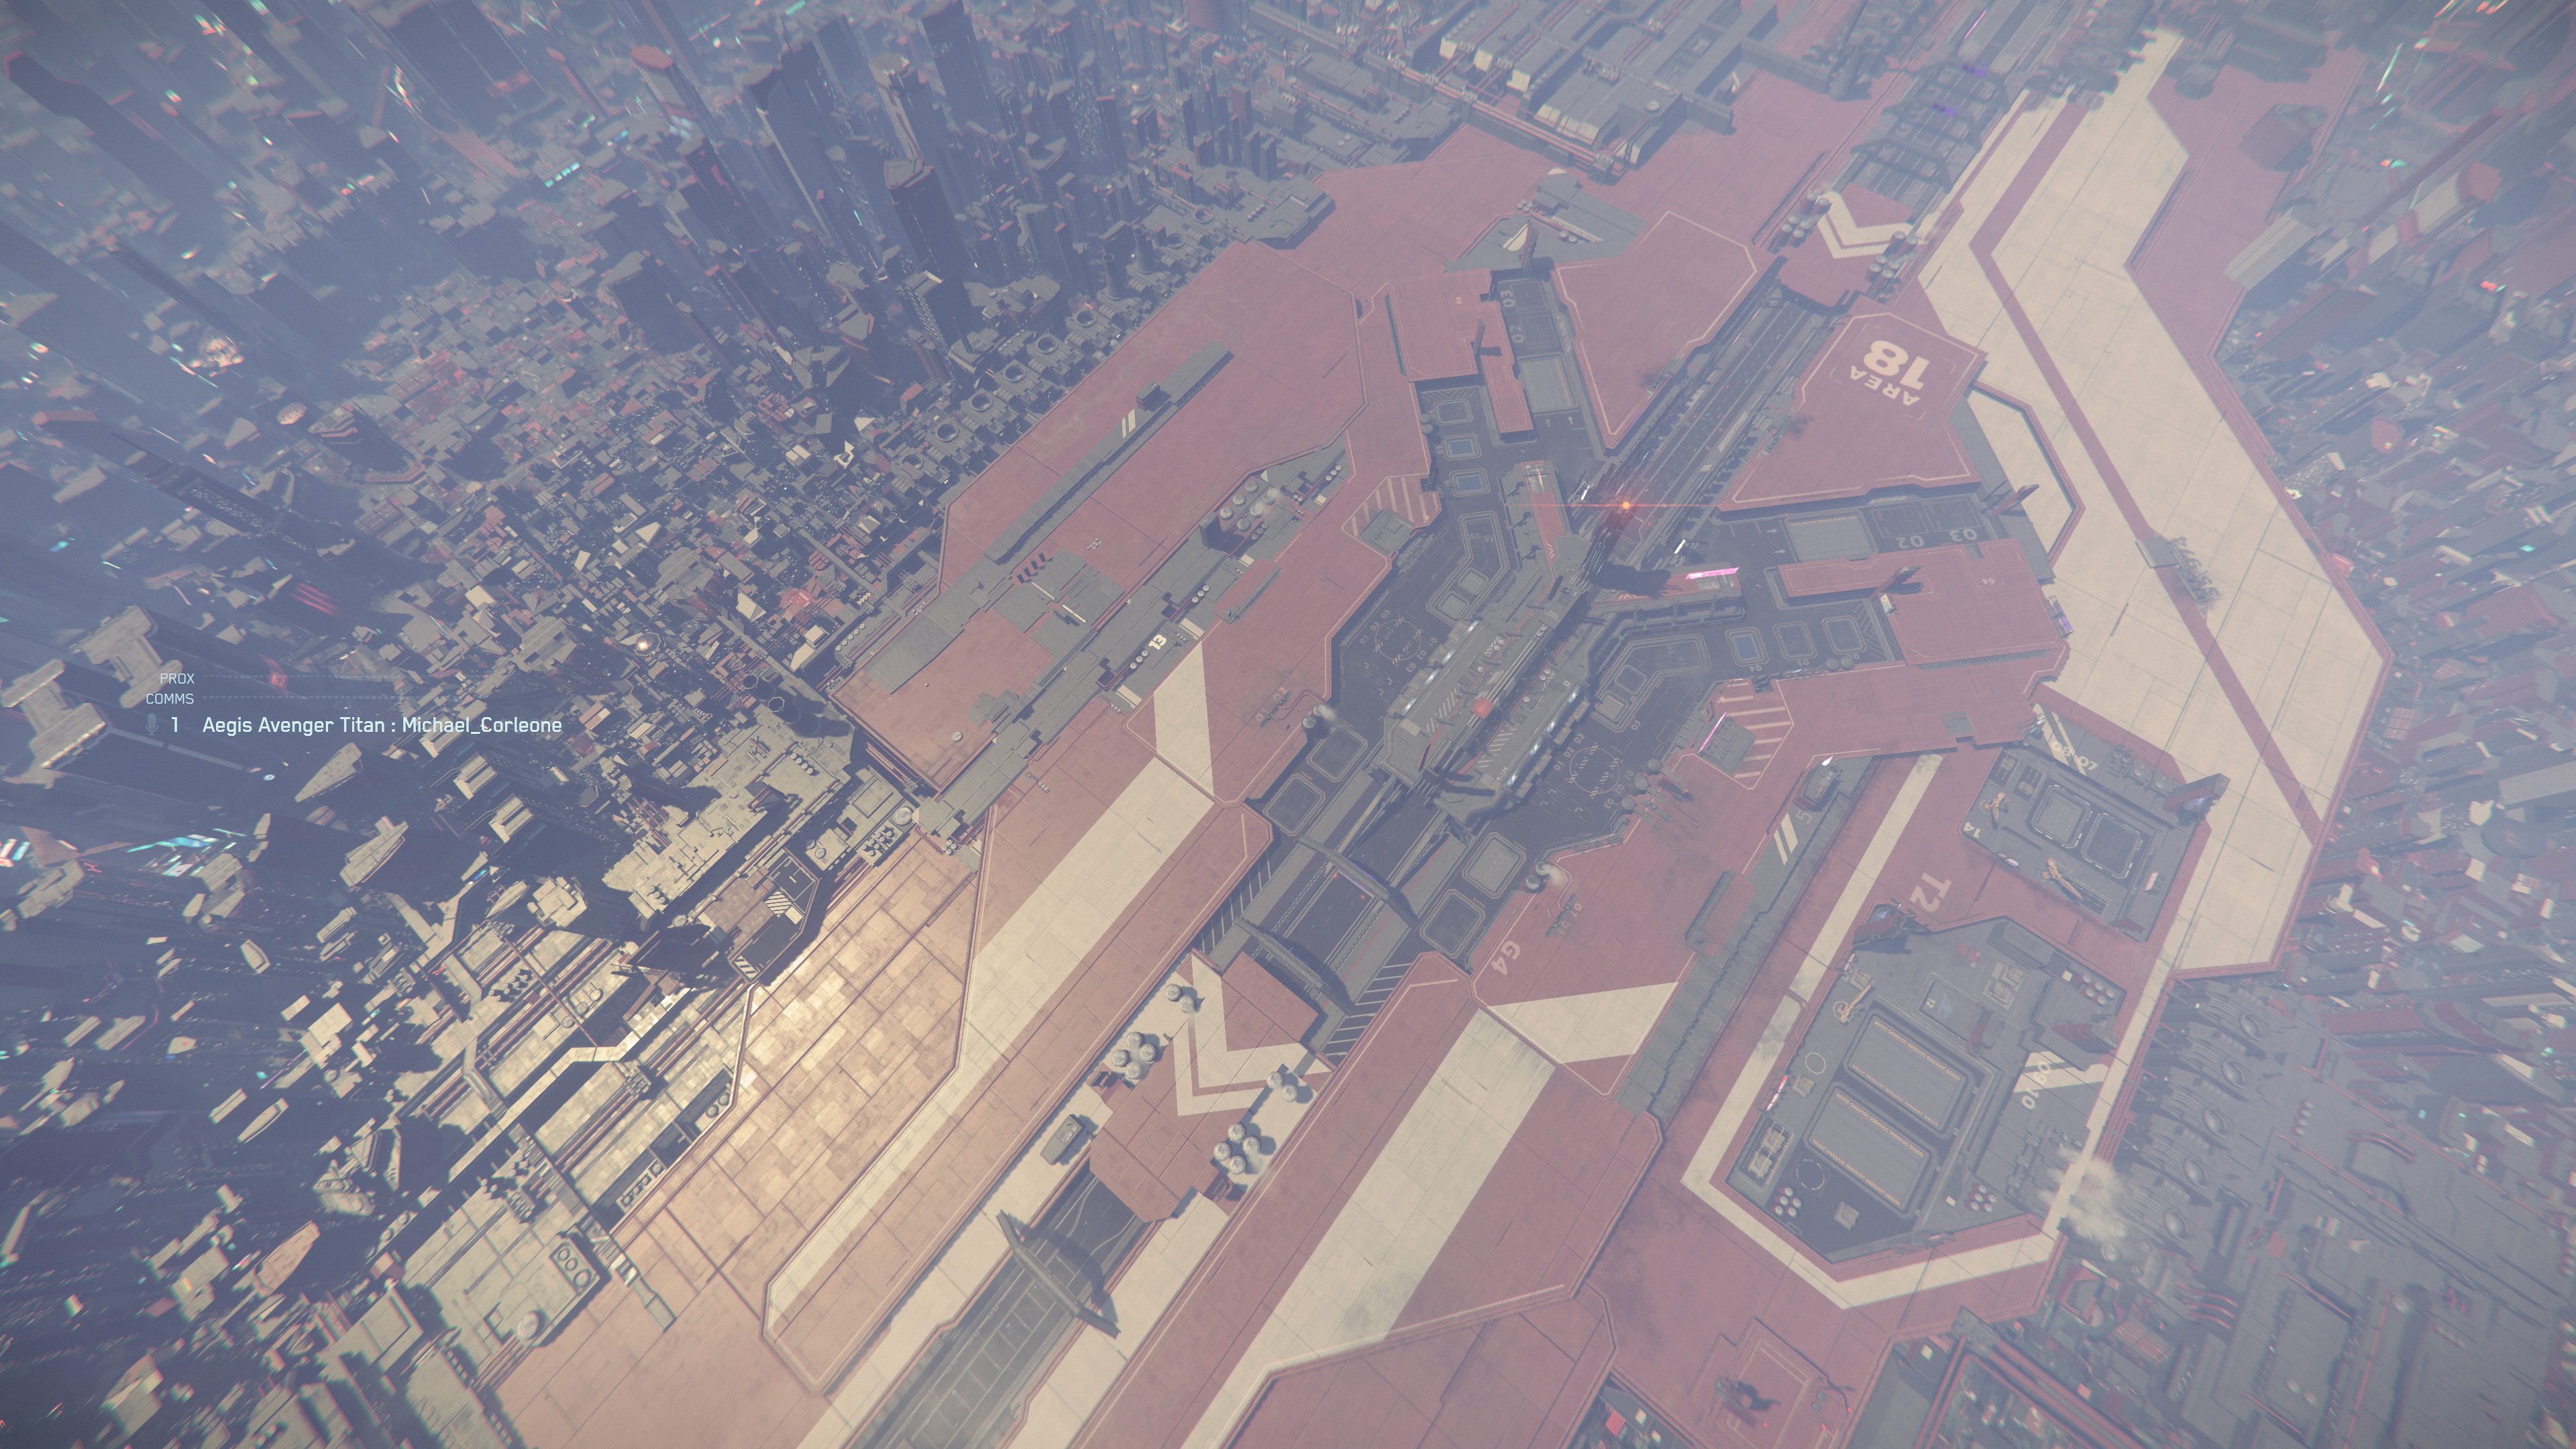
- Area 18 ArcCorp Central Gebäude Landedeck.jpg 3.840 × 2.160; 1,14 MB
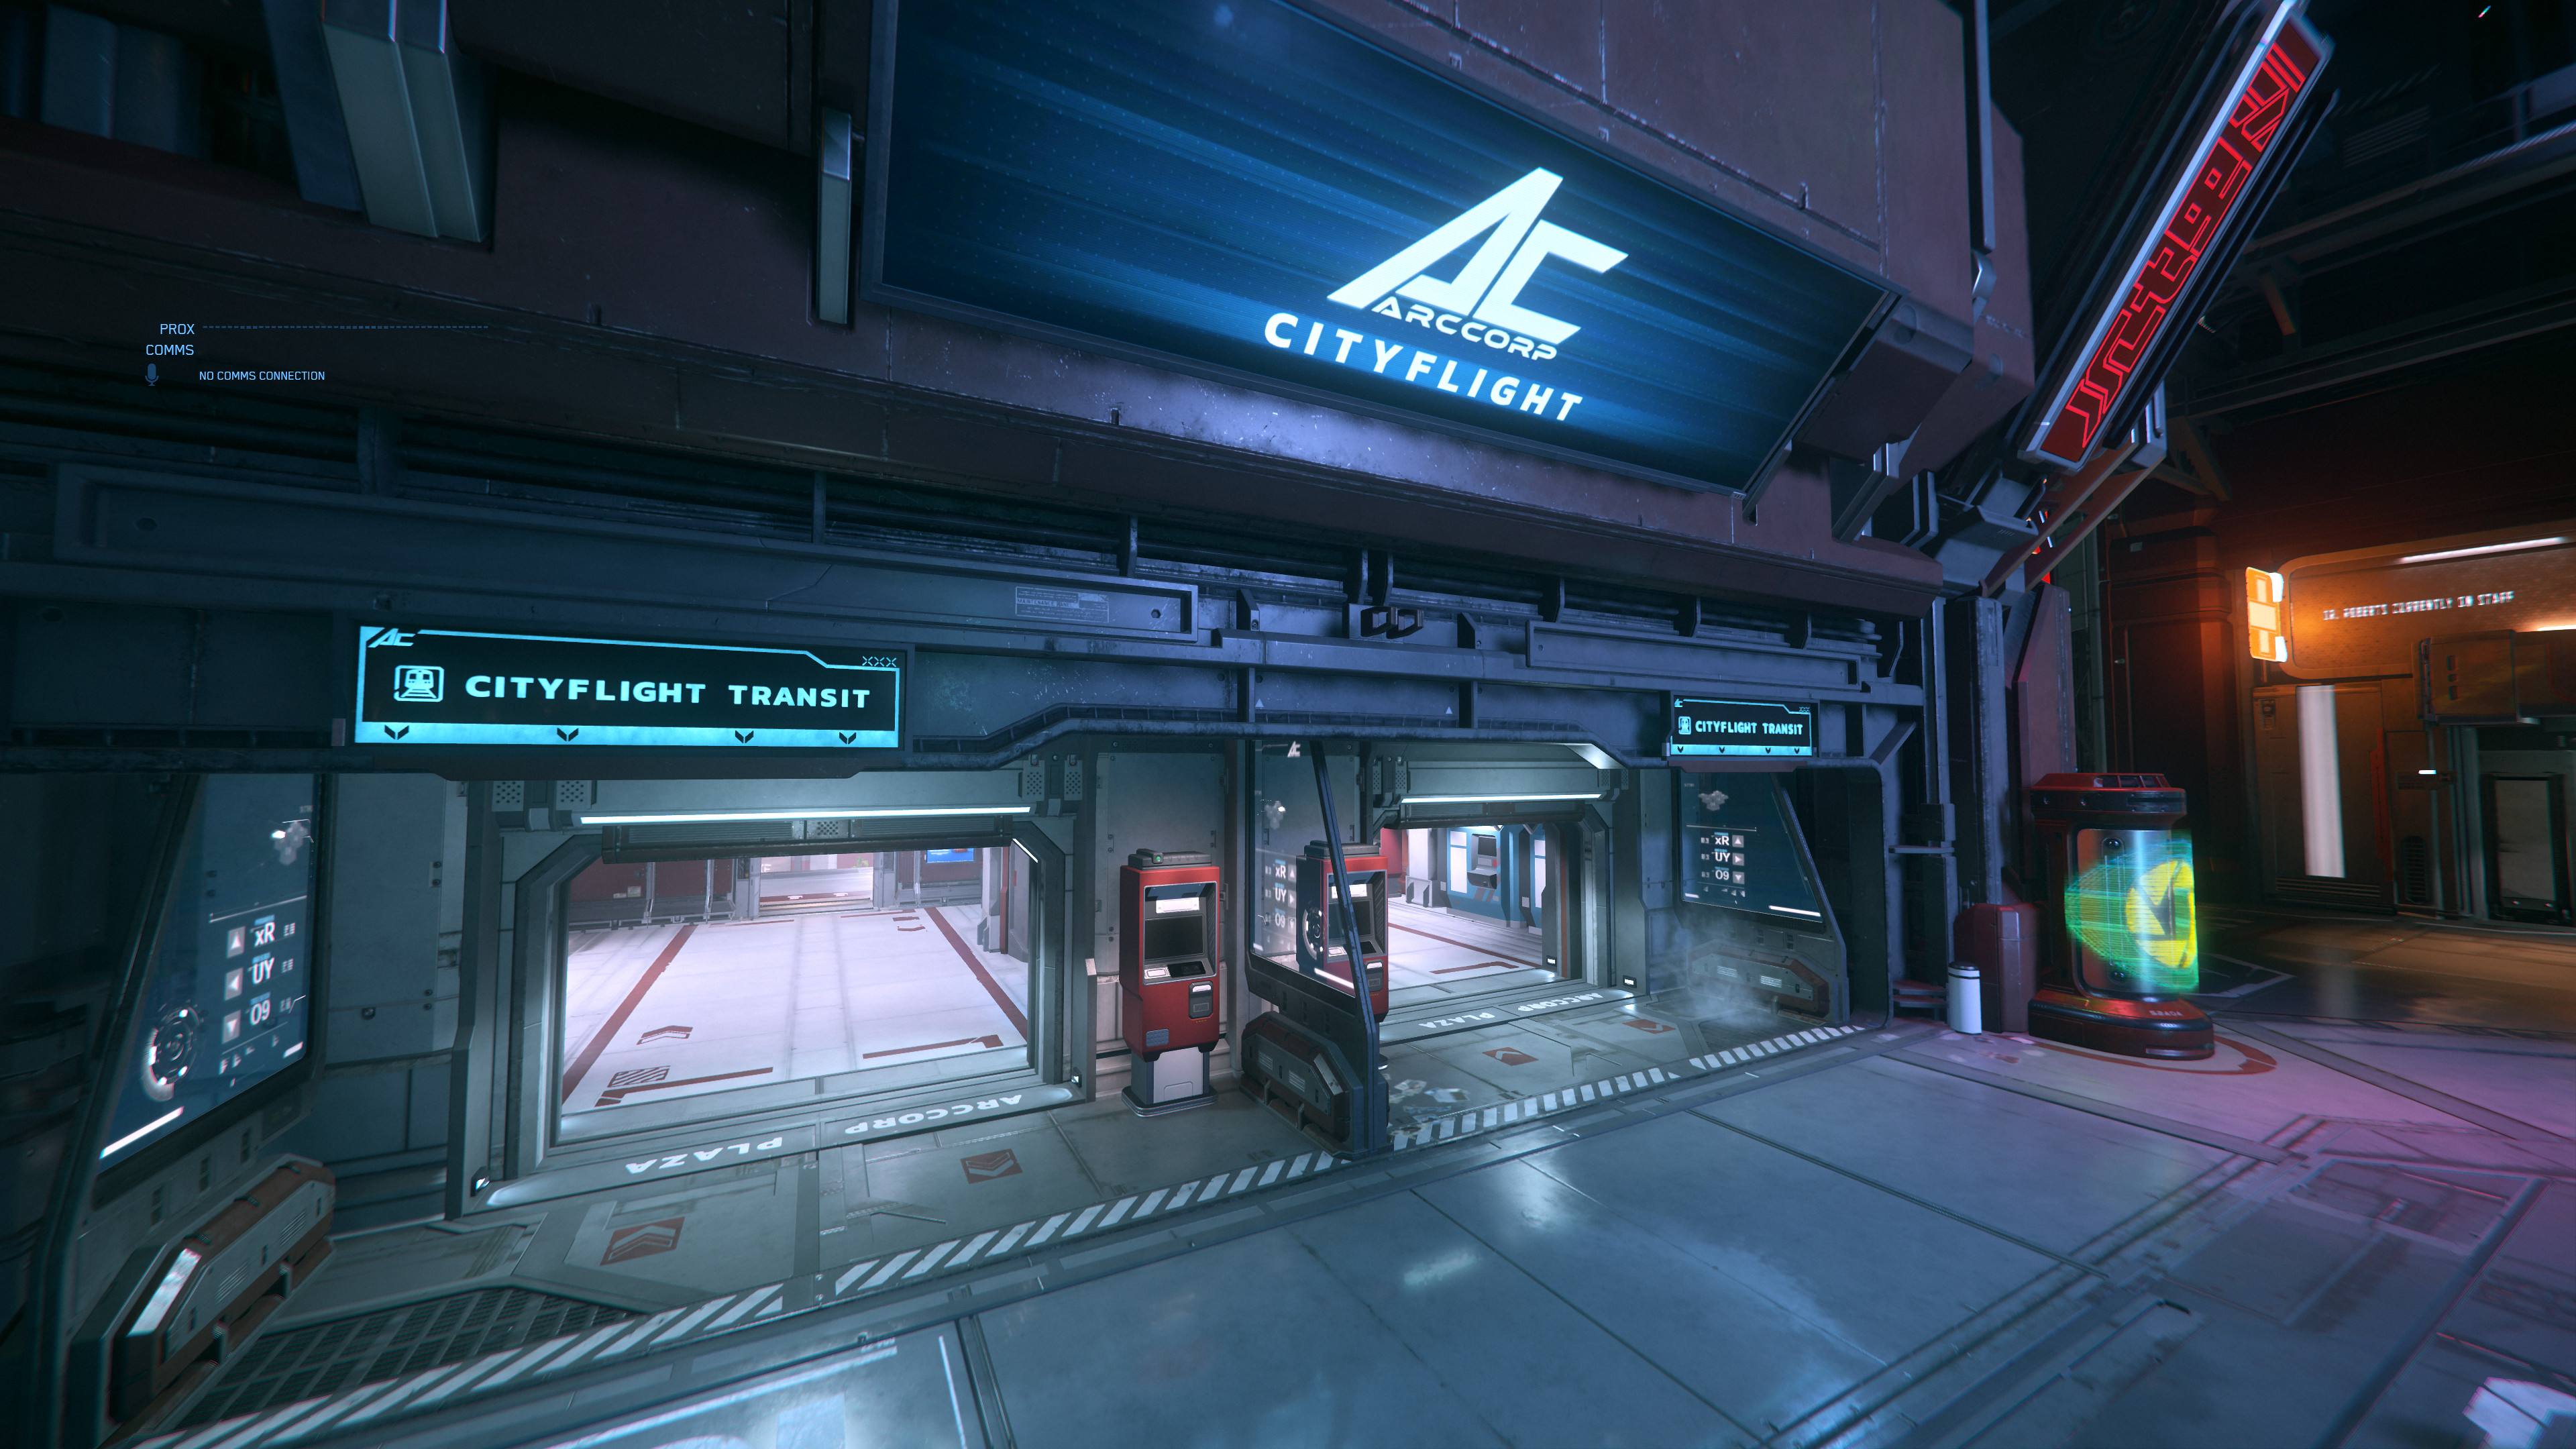
- Area 18 ArcCorp Plaza - Cityflight.jpg 3.840 × 2.160; 1,6 MB
- Area 18 ArcCorp Plaza Admin Office Innengebäude Bild 1.jpg 3.840 × 2.160; 1,69 MB
- Area 18 ArcCorp Plaza Admin Office Innengebäude Bild 2.jpg 3.840 × 2.160; 1,29 MB
- Area 18 ArcCorp Plaza Admin Office Innengebäude Eingangsbereich.jpg 3.840 × 2.160; 1,3 MB
- Area 18 ArcCorp Plaza Centermass Eingang.jpg 3.840 × 2.160; 1,22 MB
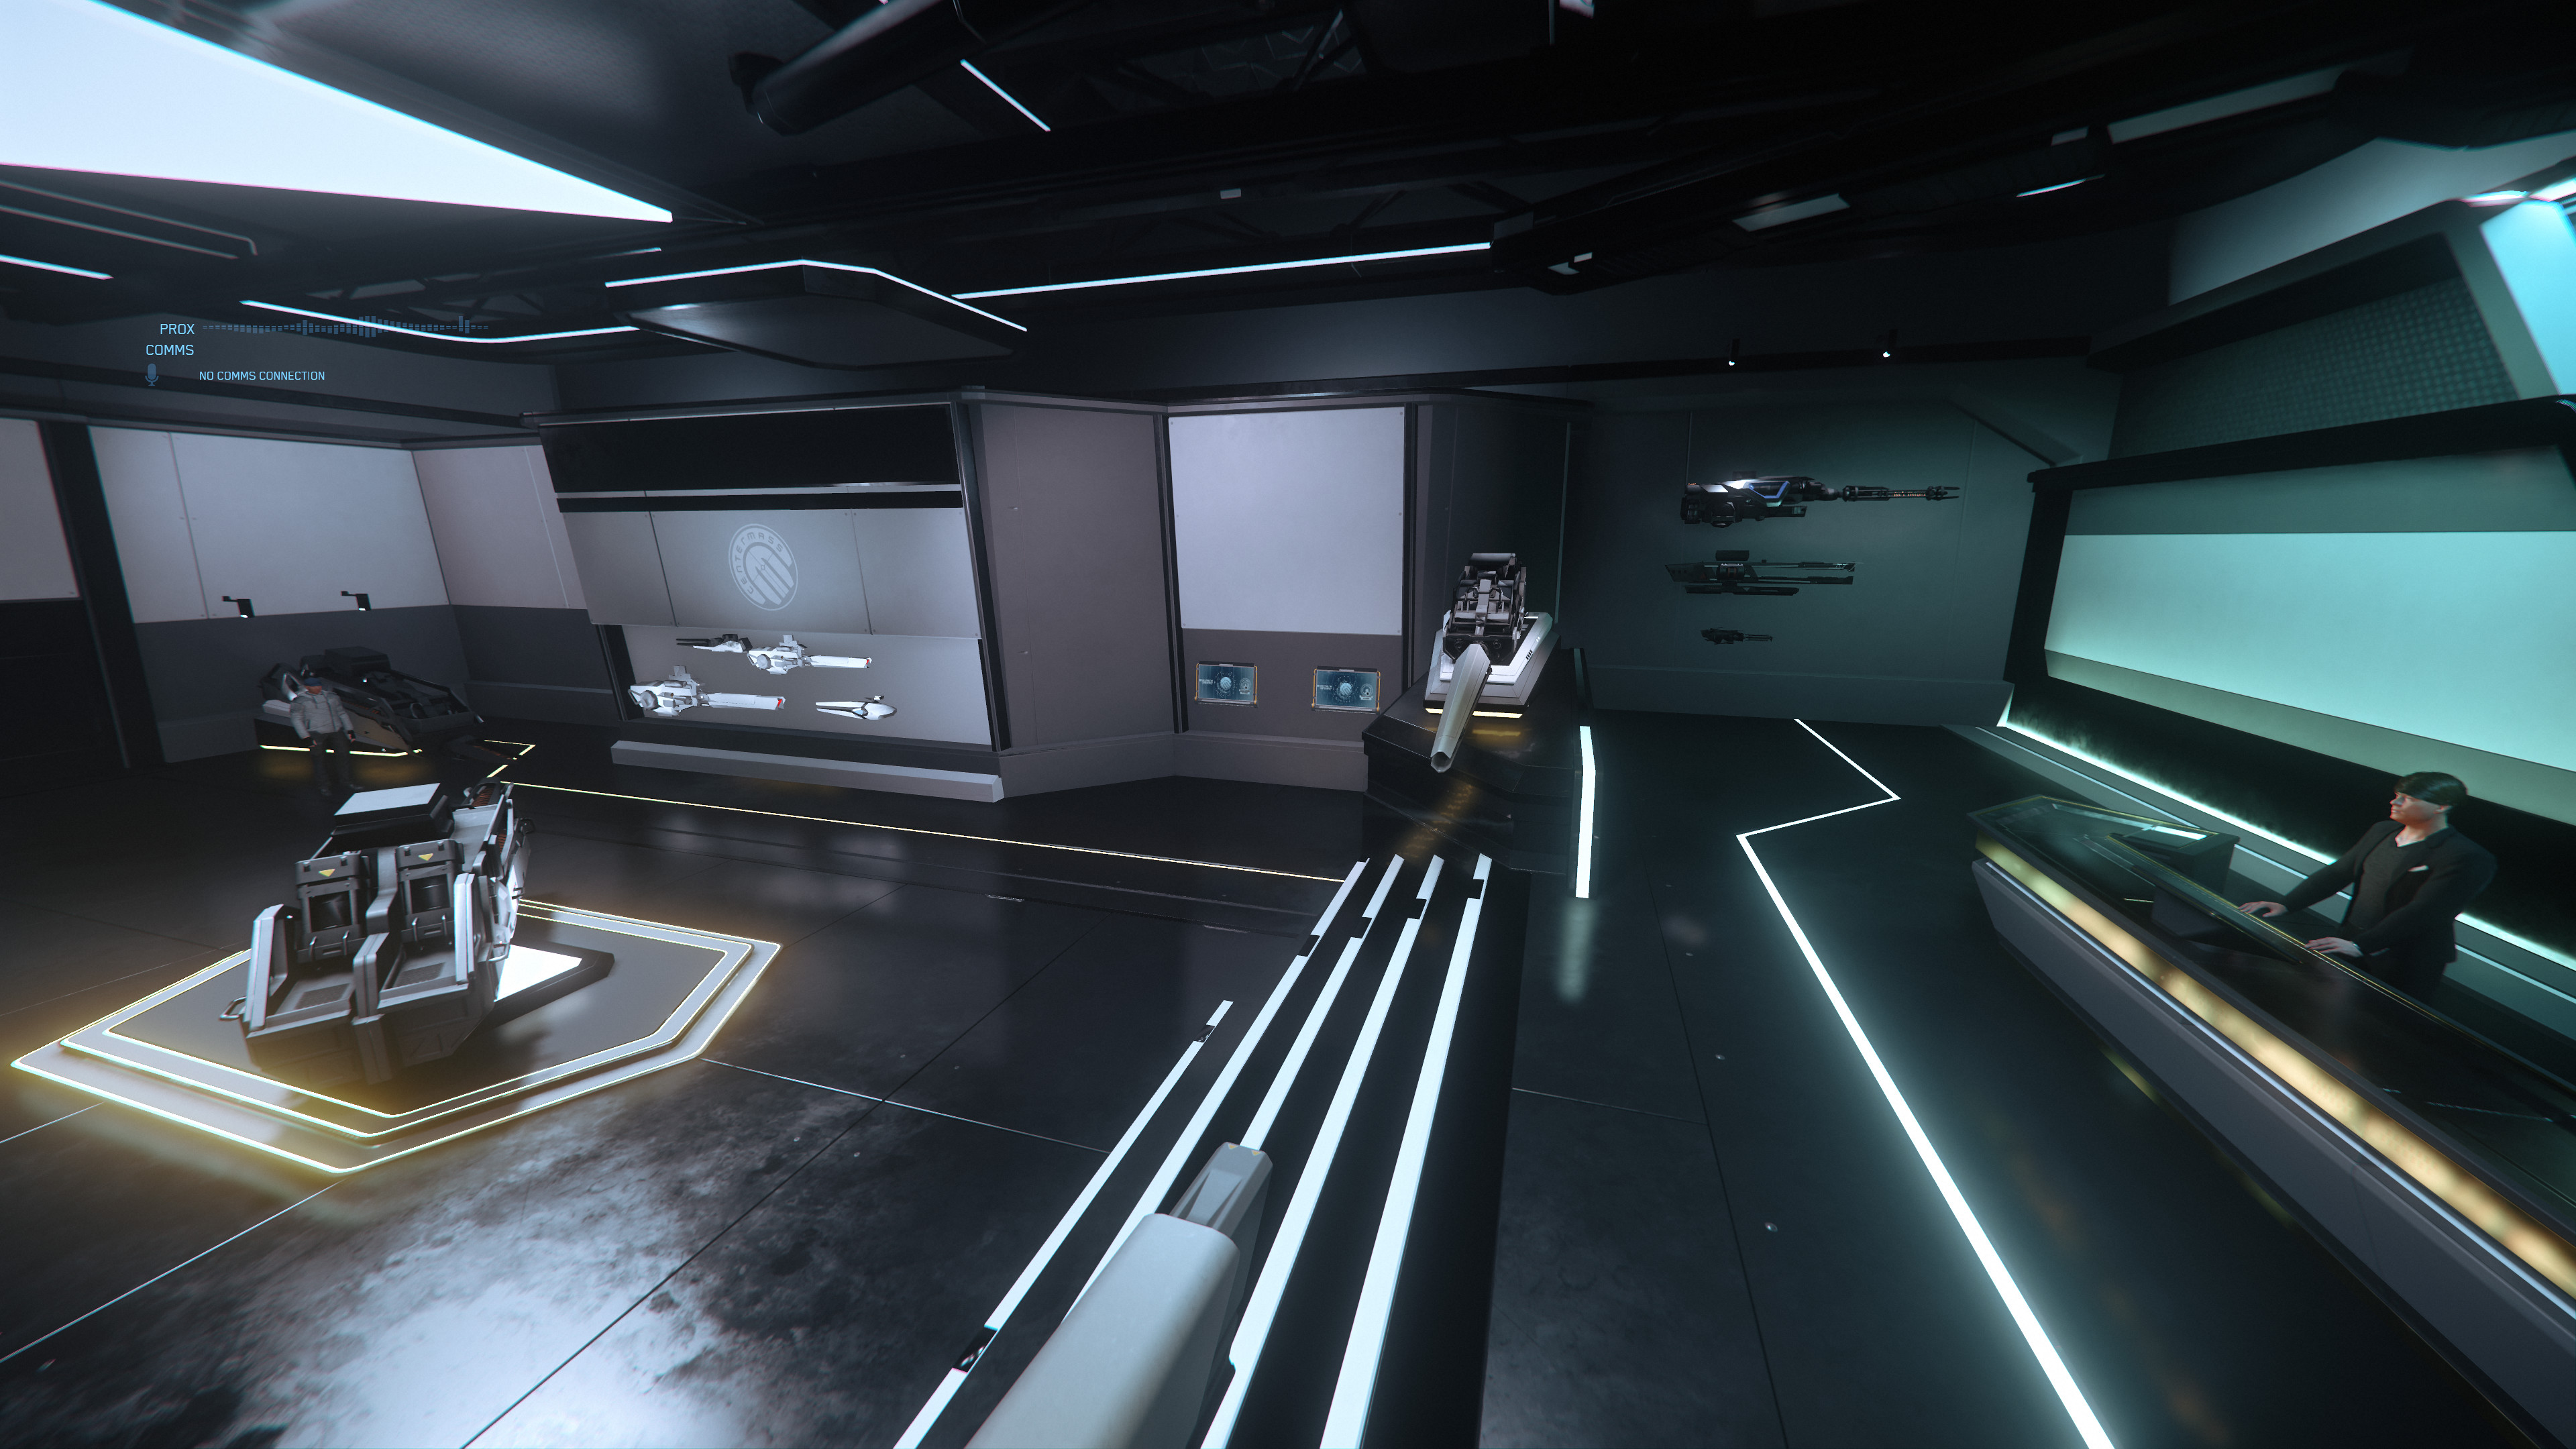
- Area 18 ArcCorp Plaza Centermass Innenraum.jpg 3.840 × 2.160; 1,28 MB
- Area 18 ArcCorp Plaza Cityflight Passage.jpg 3.840 × 2.160; 1,38 MB
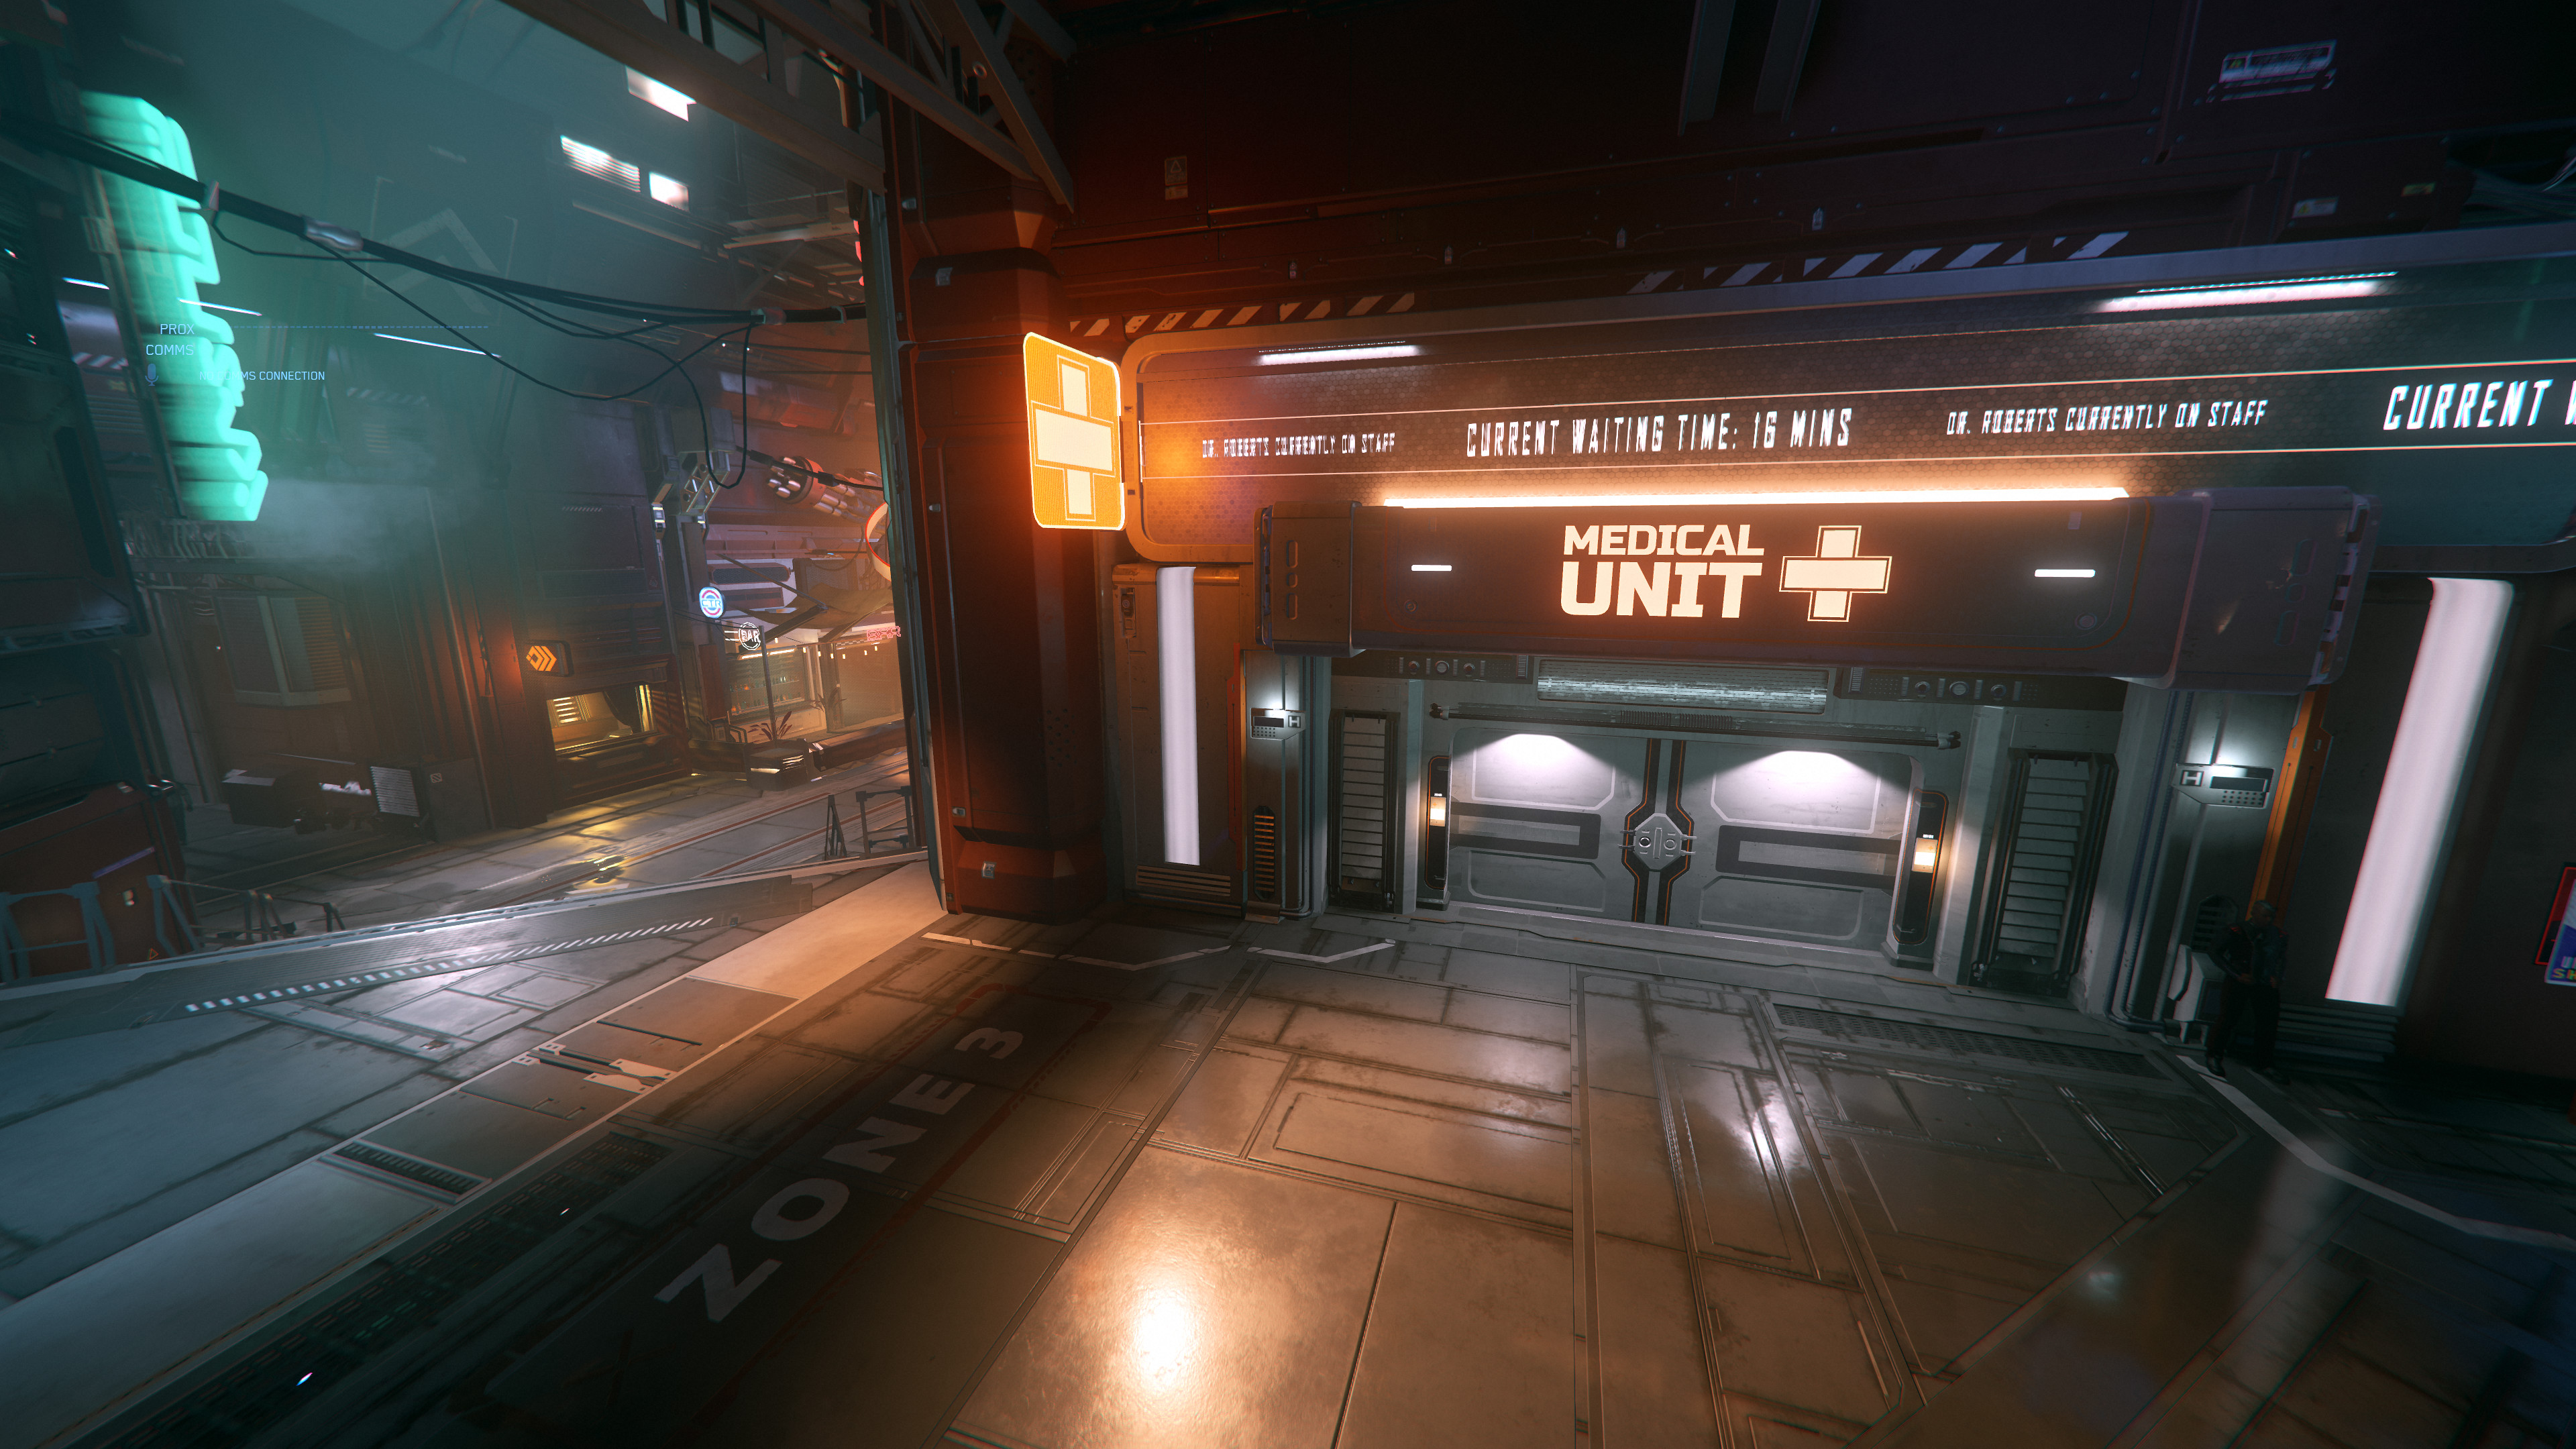
- Area 18 ArcCorp Plaza Medical Unit.jpg 3.840 × 2.160; 1,56 MB
- Area 18 ArcCorp Plaza TDD (rechts), Admin Office (links).jpg 3.840 × 2.160; 1,46 MB
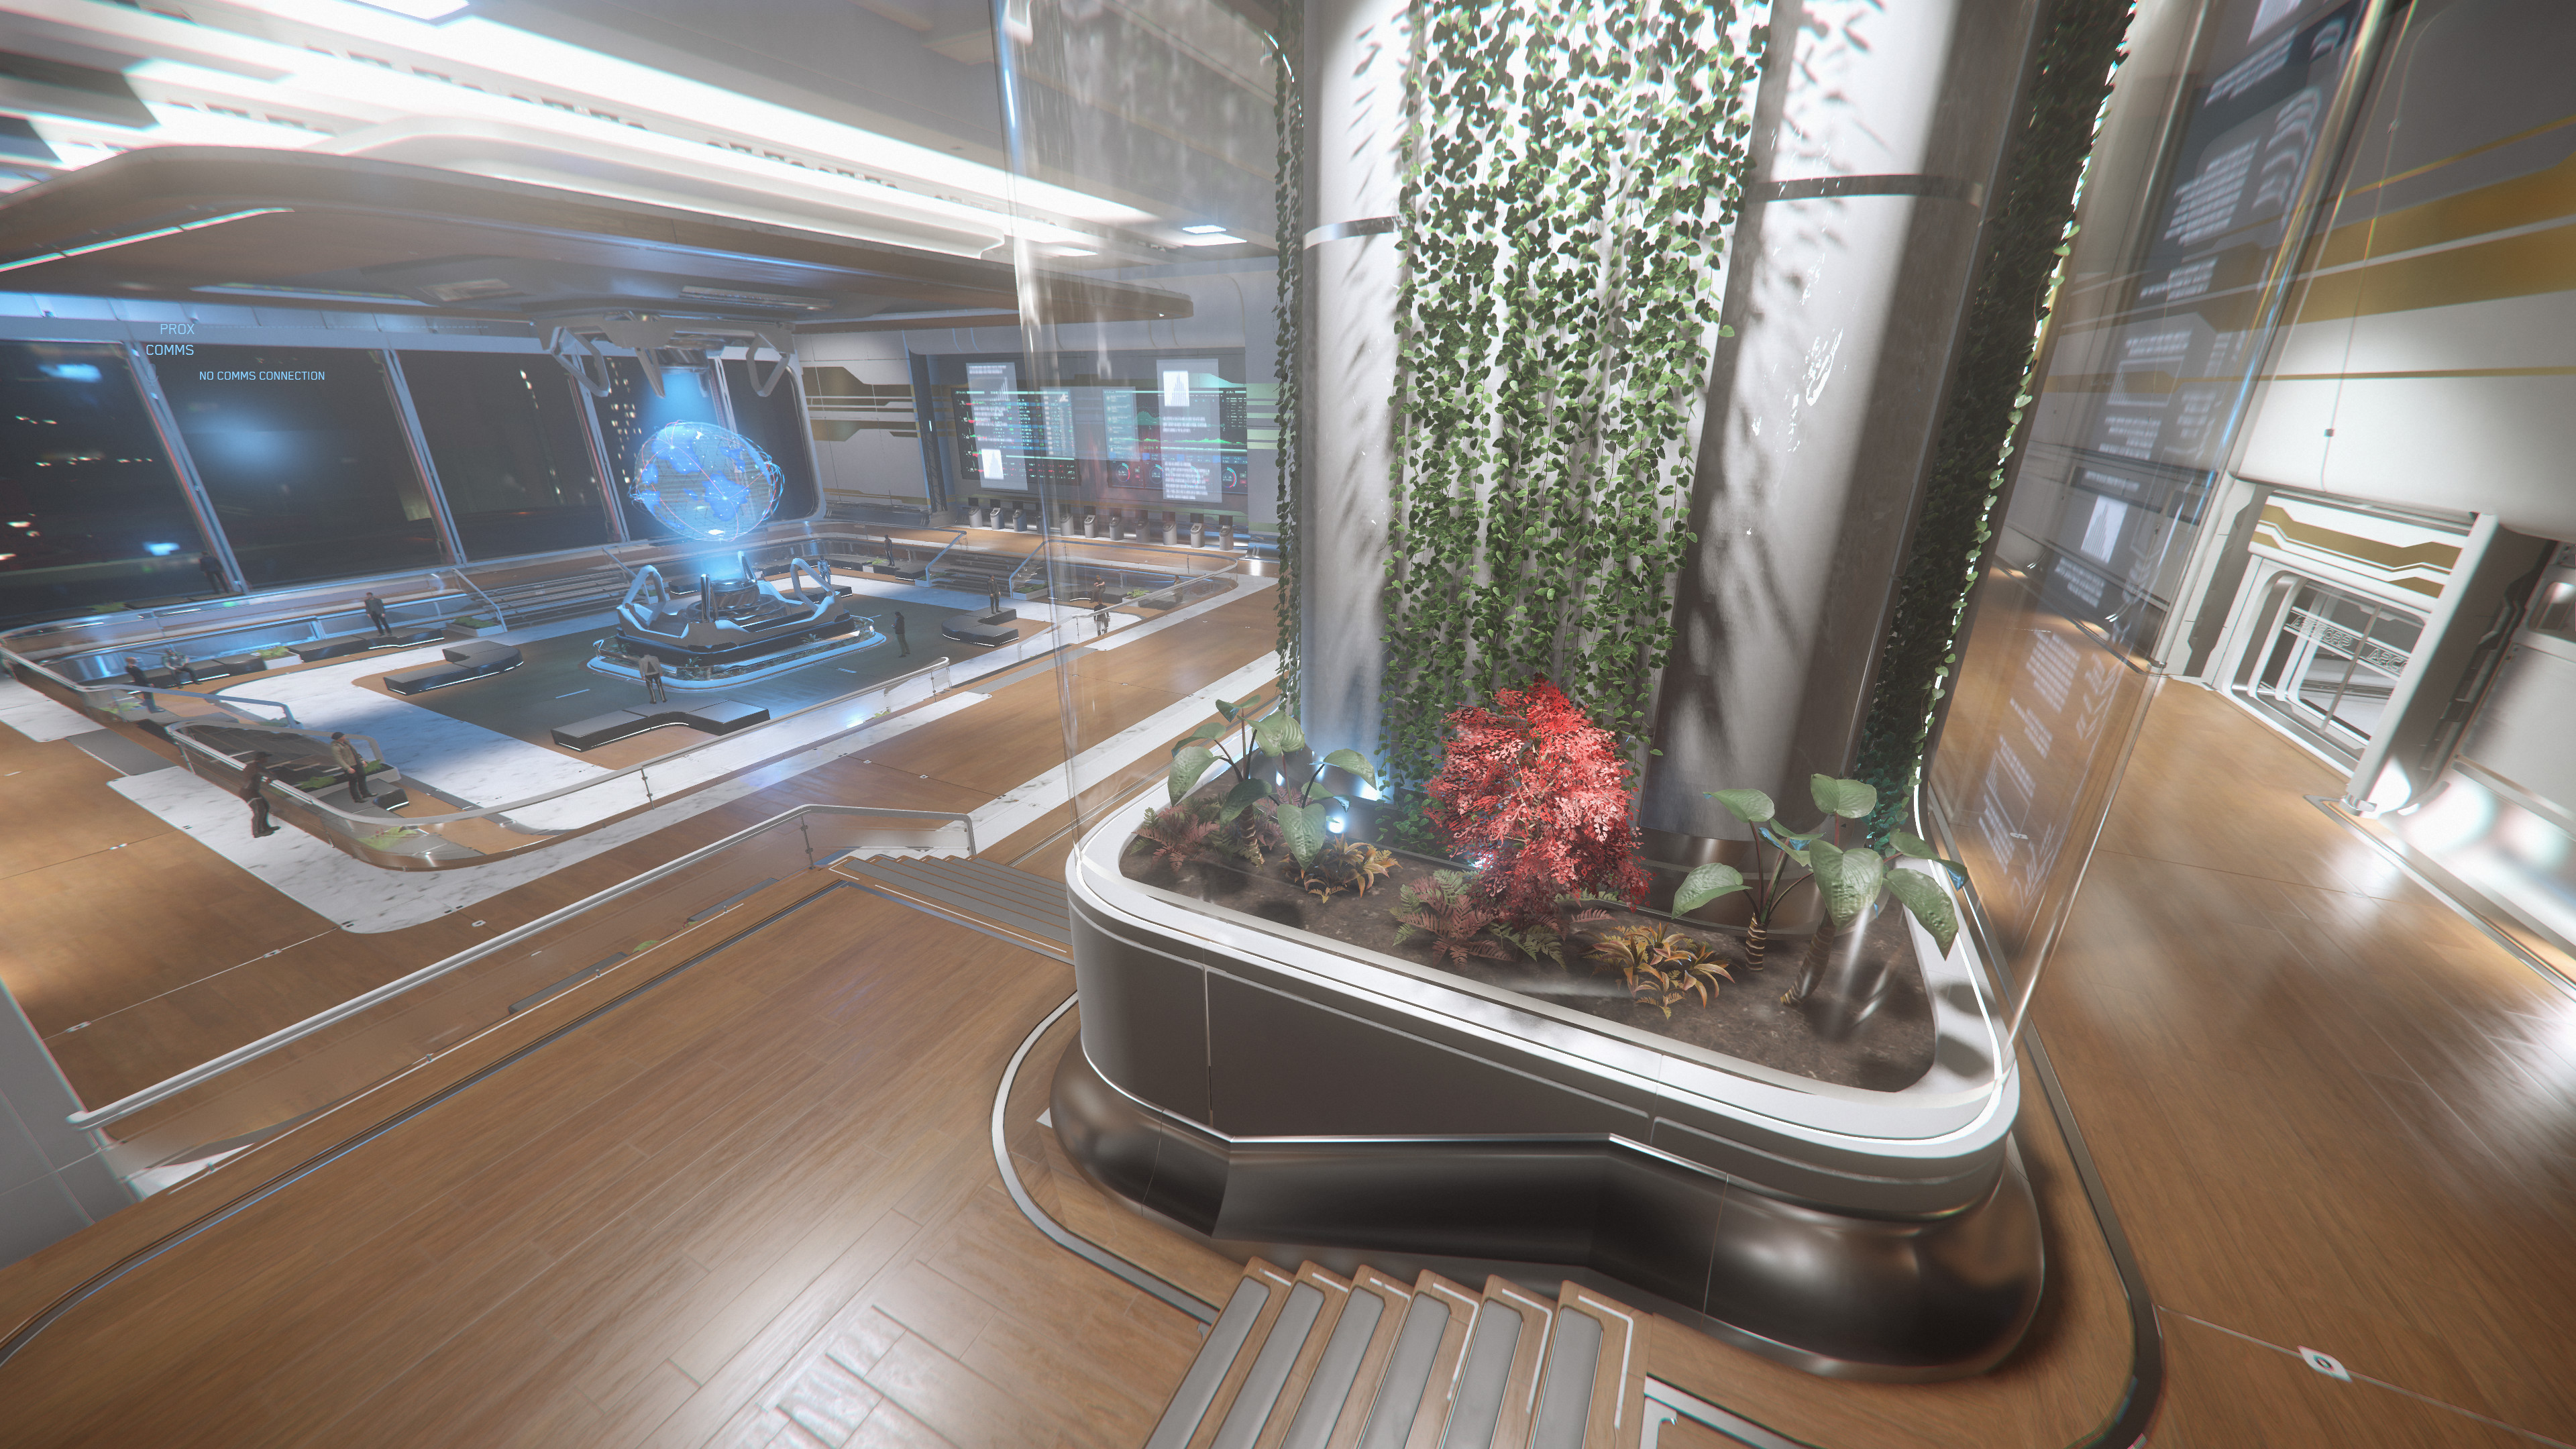
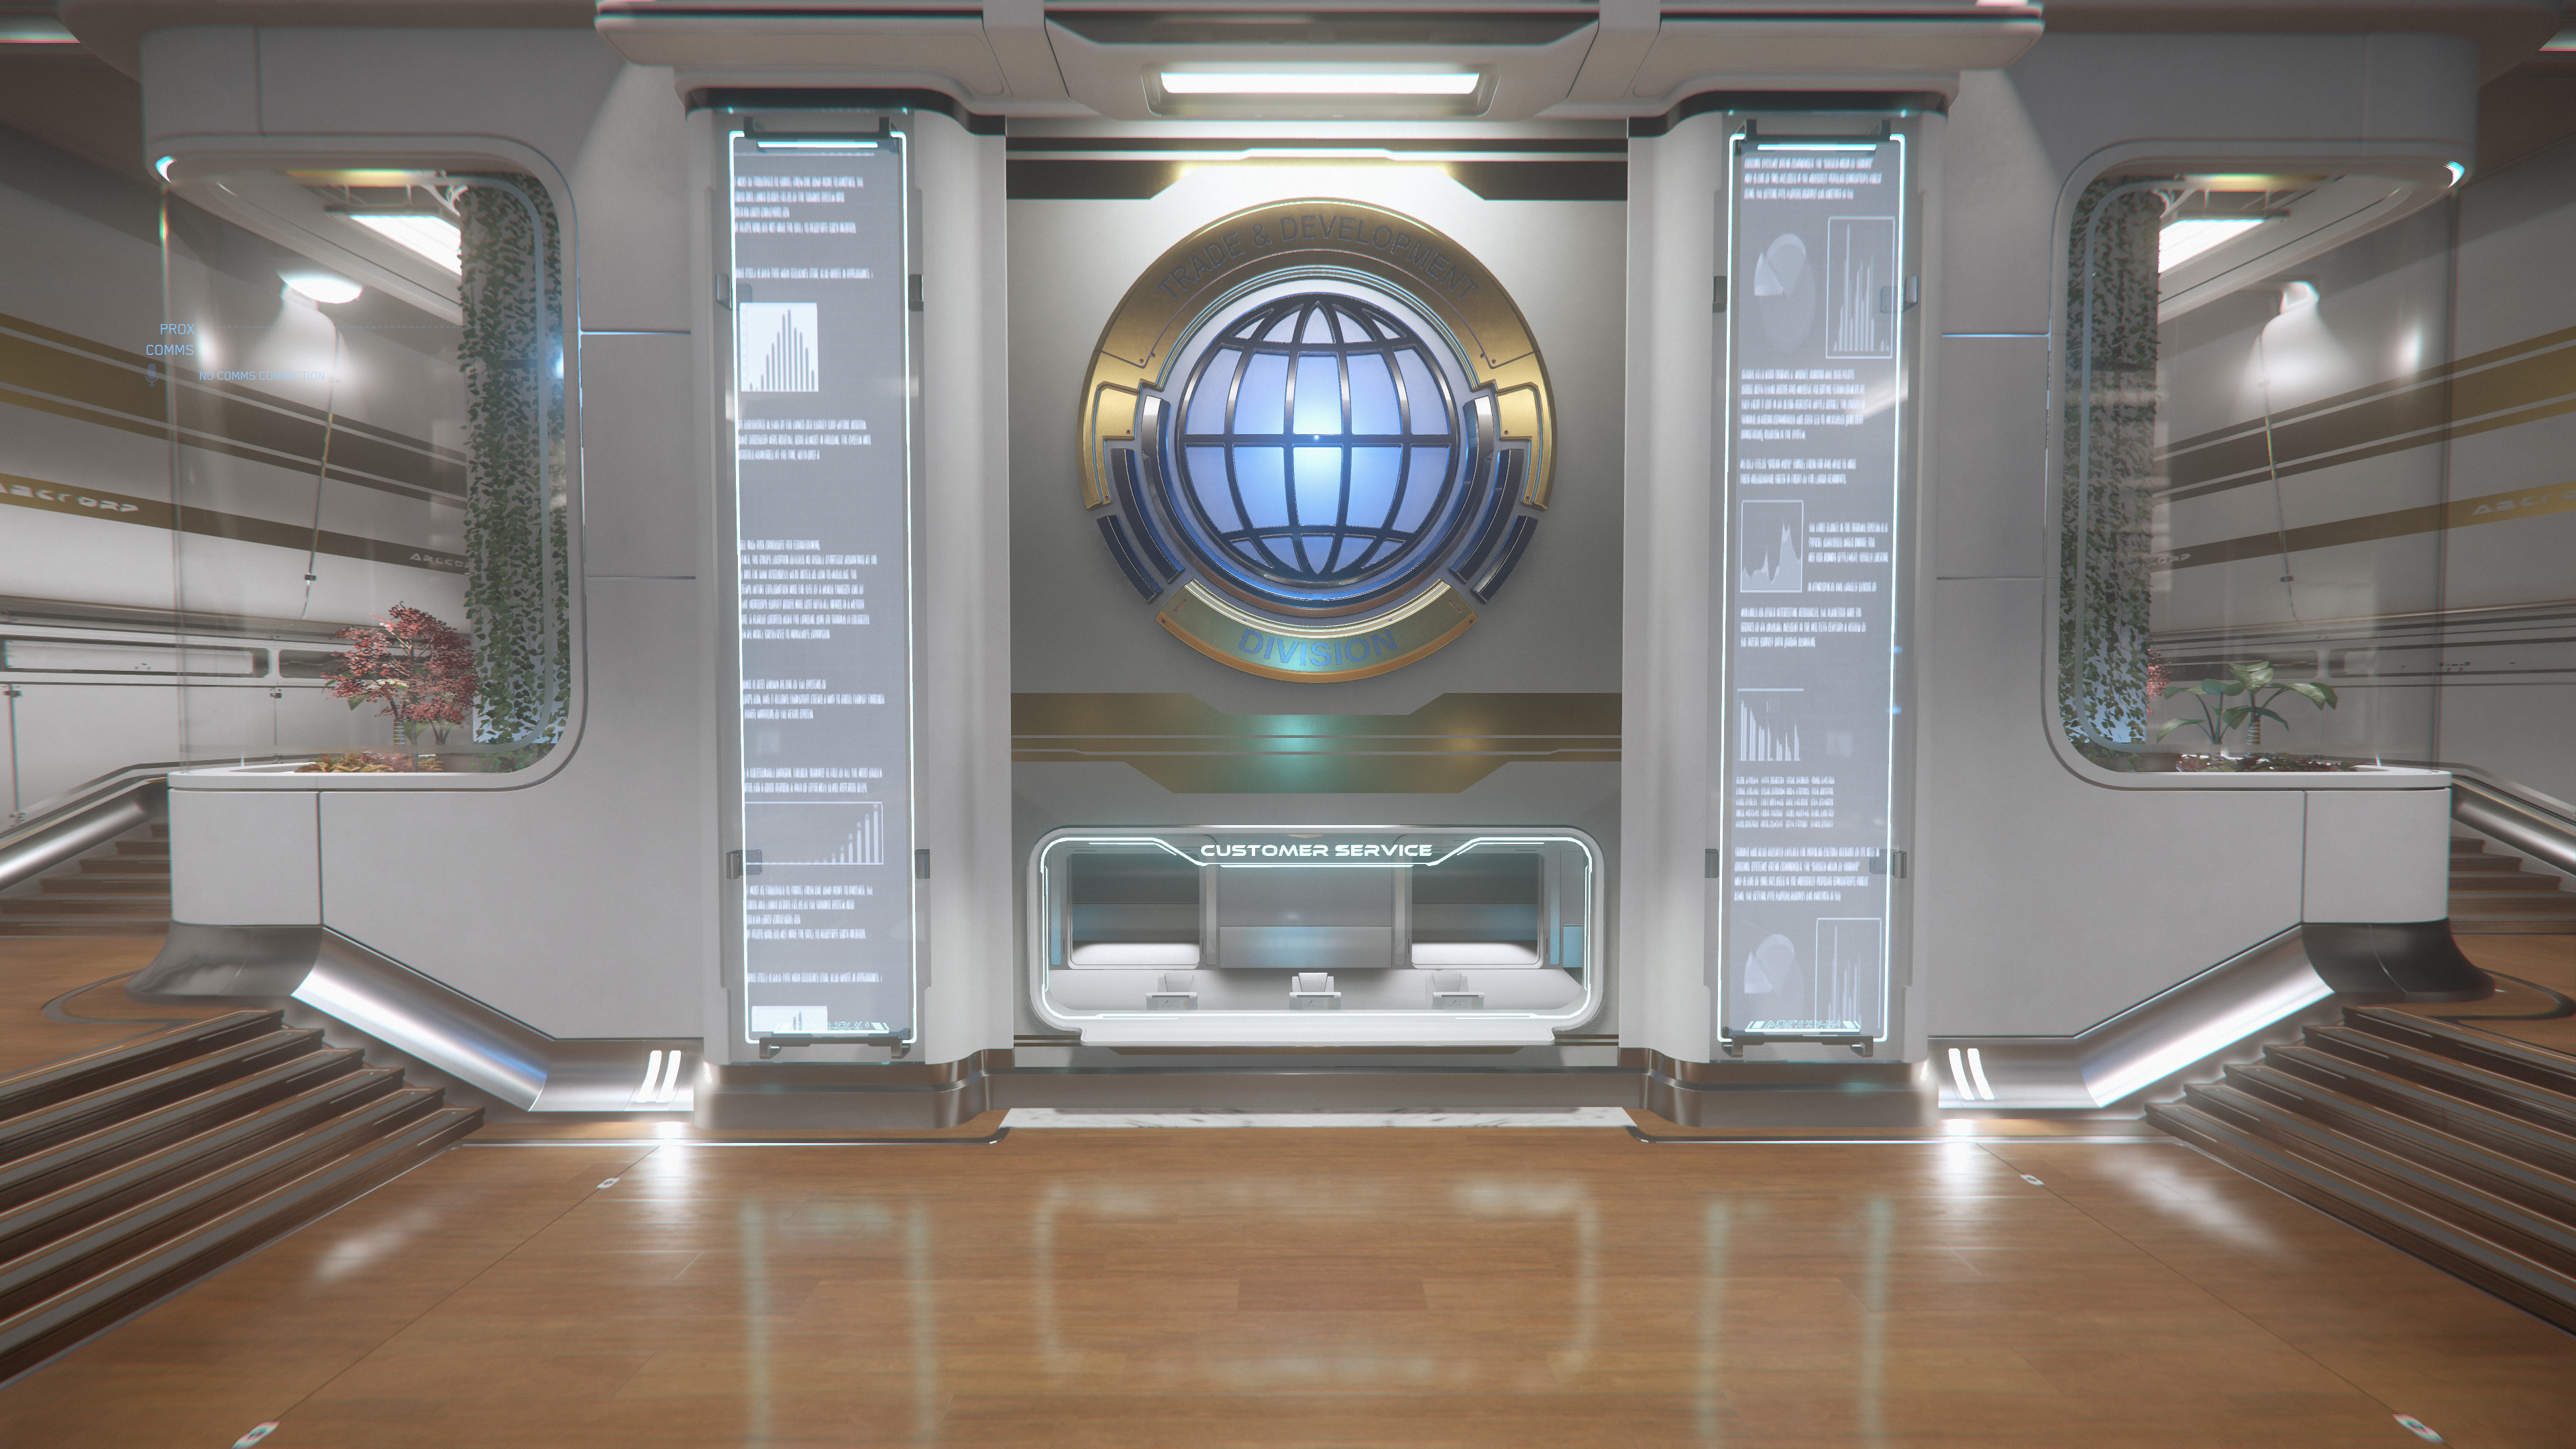
- Area 18 ArcCorp Plaza TDD Innenraum Bild 1.jpg 3.840 × 2.160; 1,62 MB
- Area 18 ArcCorp Plaza TDD Innenraum Bild 2.jpg 3.840 × 2.160; 1,98 MB
- Area 18 ArcCorp Plaza TDD Innenraum Bild 3.jpg 3.840 × 2.160; 1,49 MB
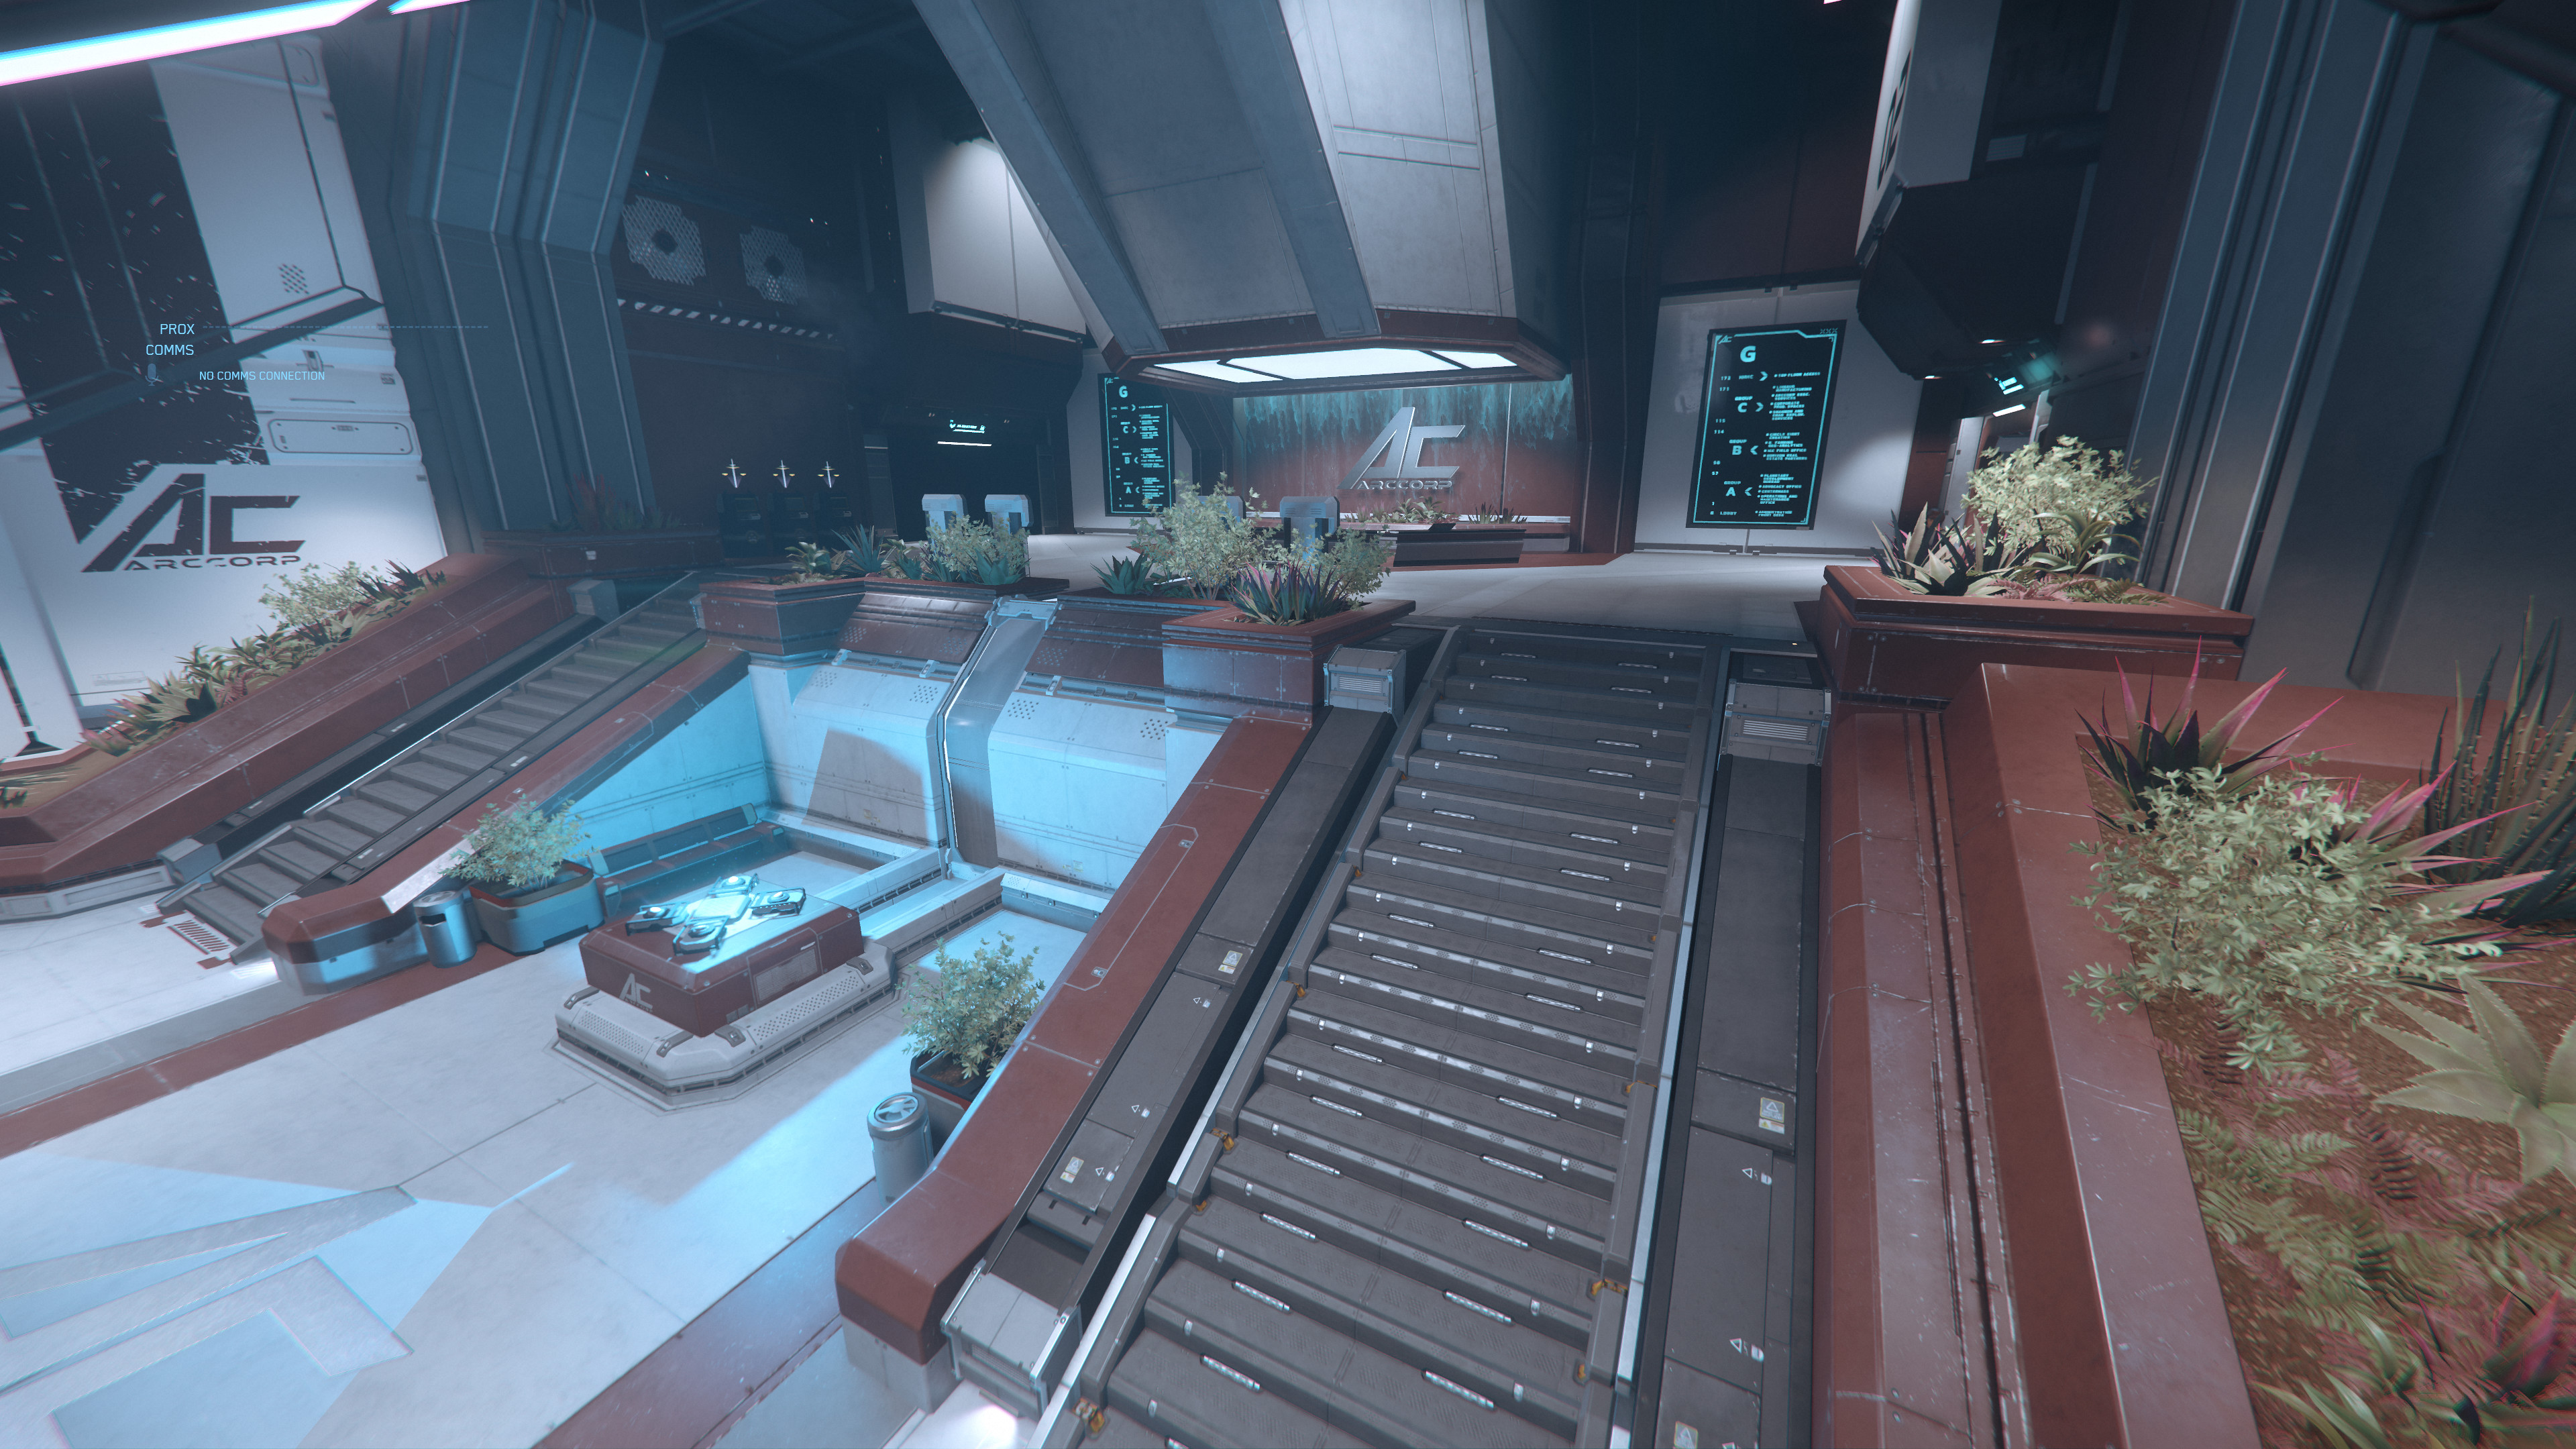
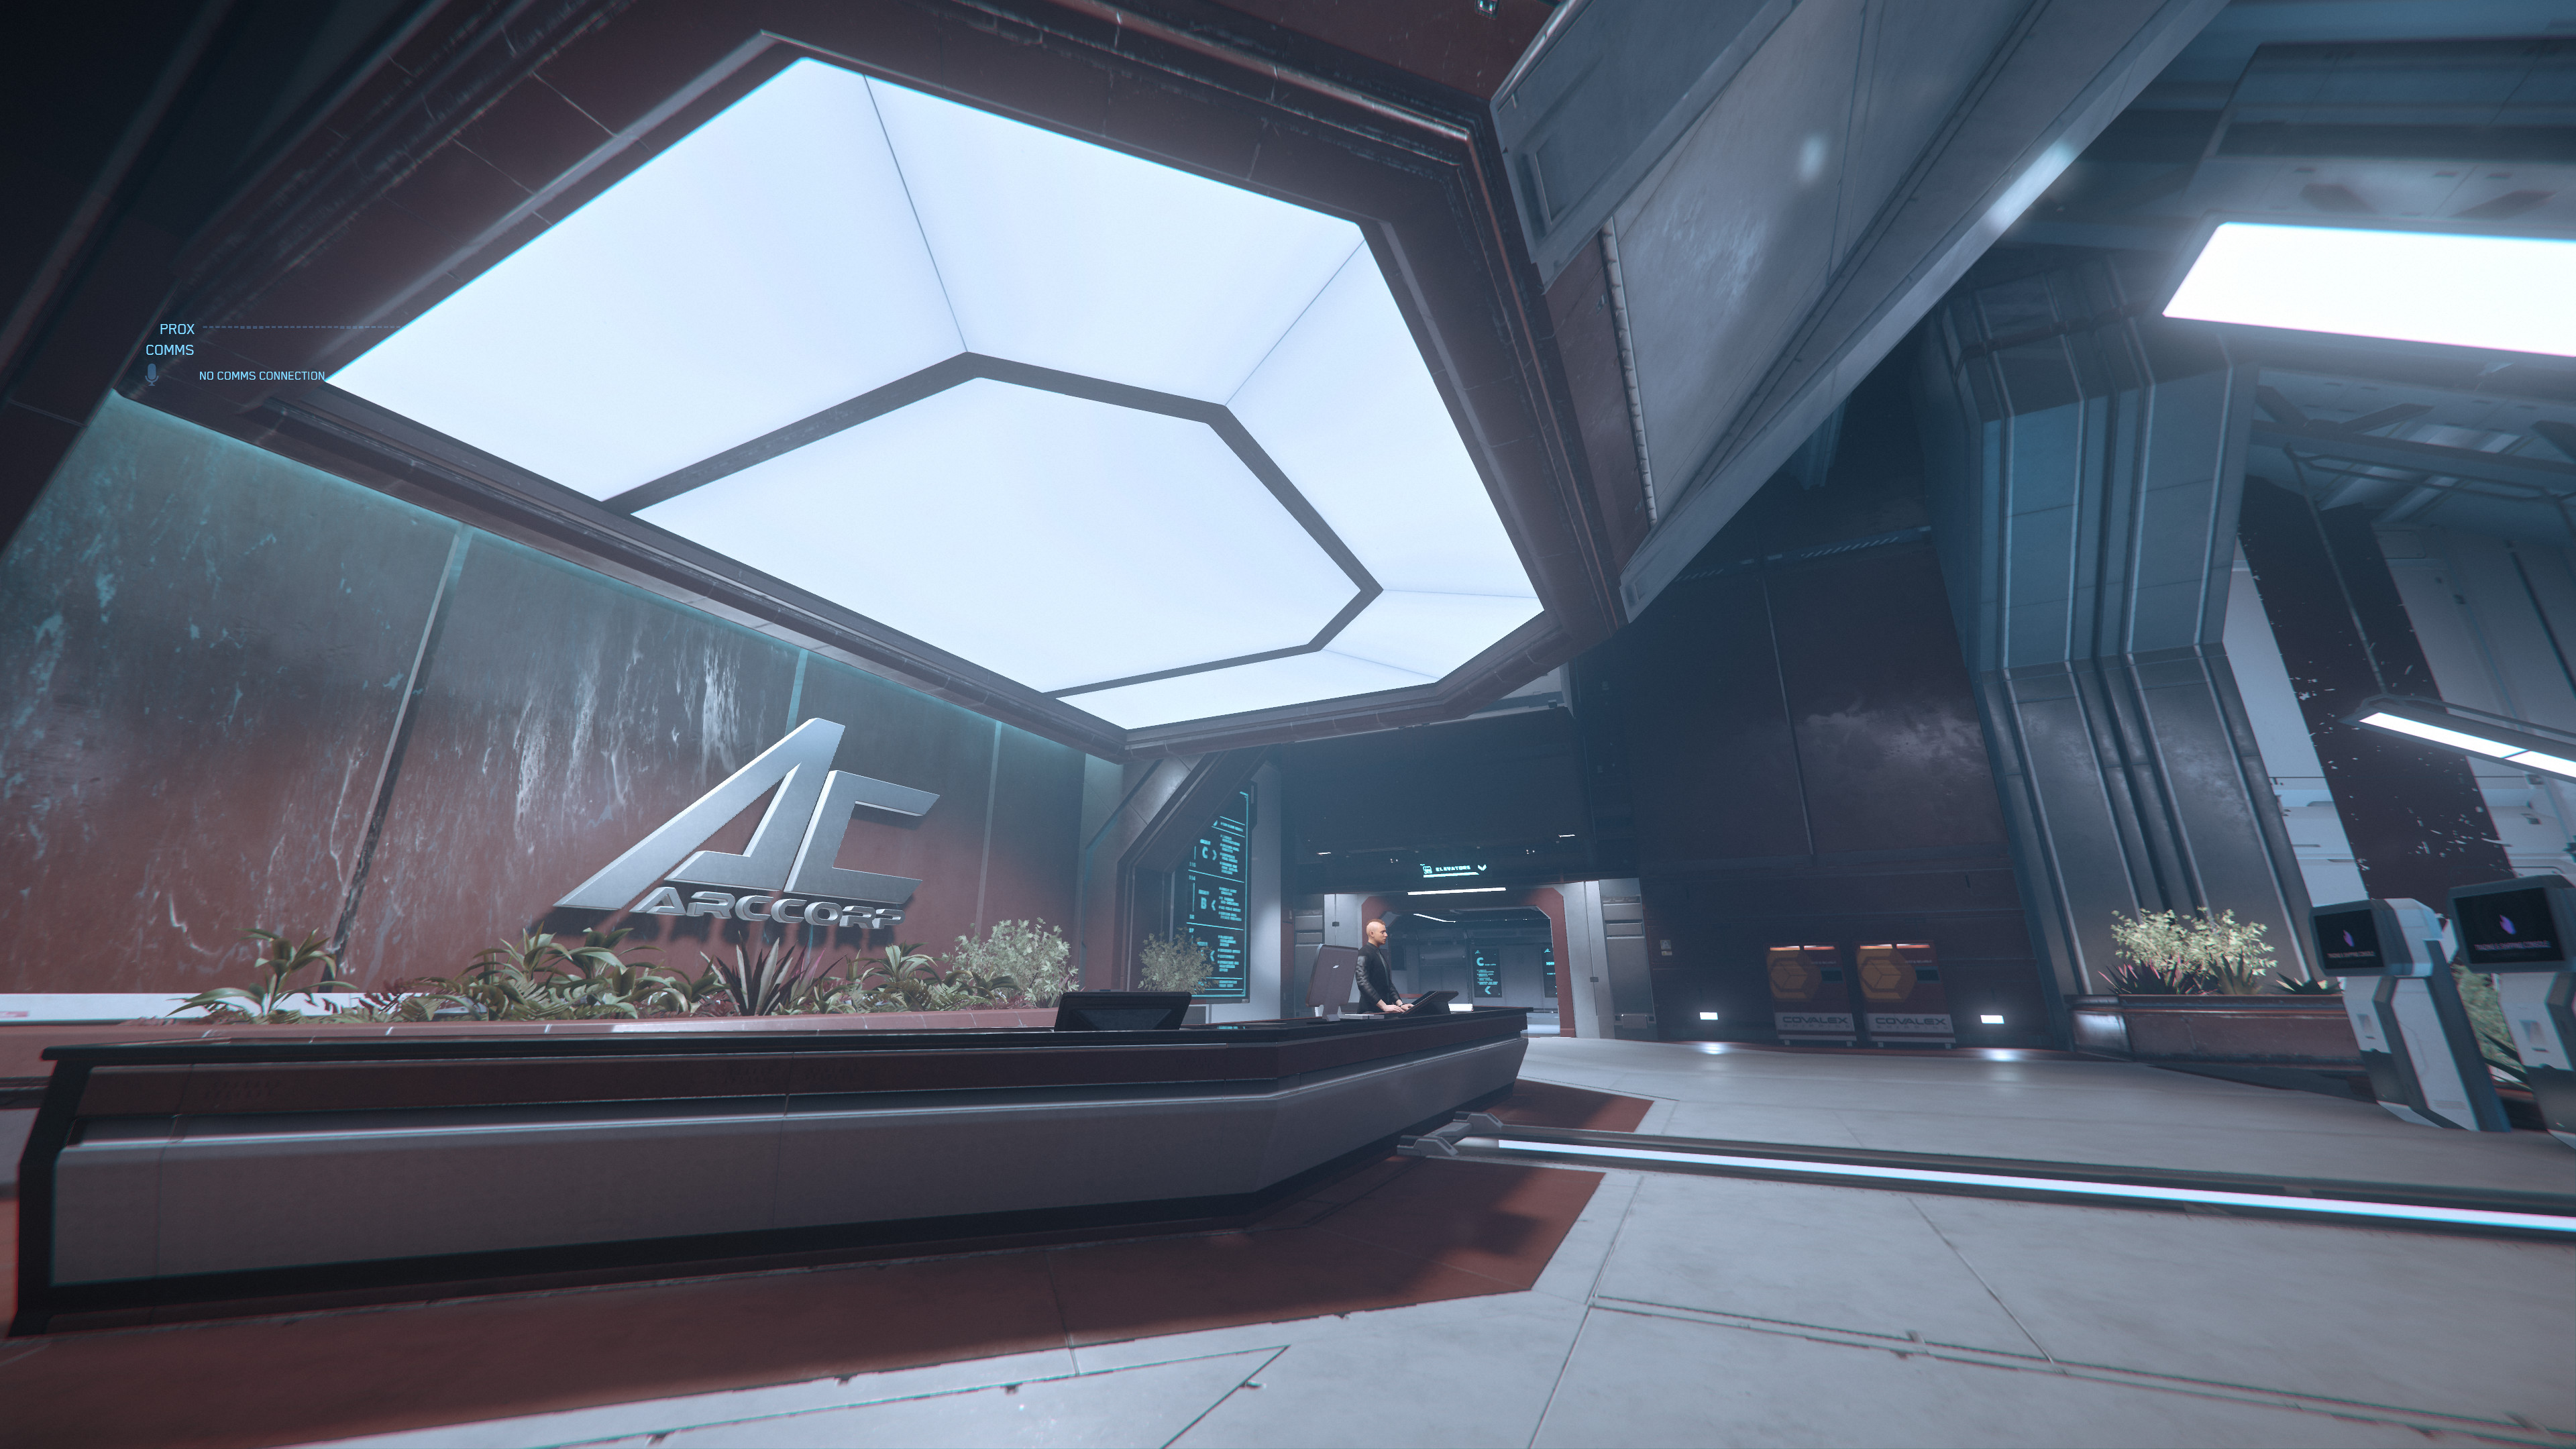
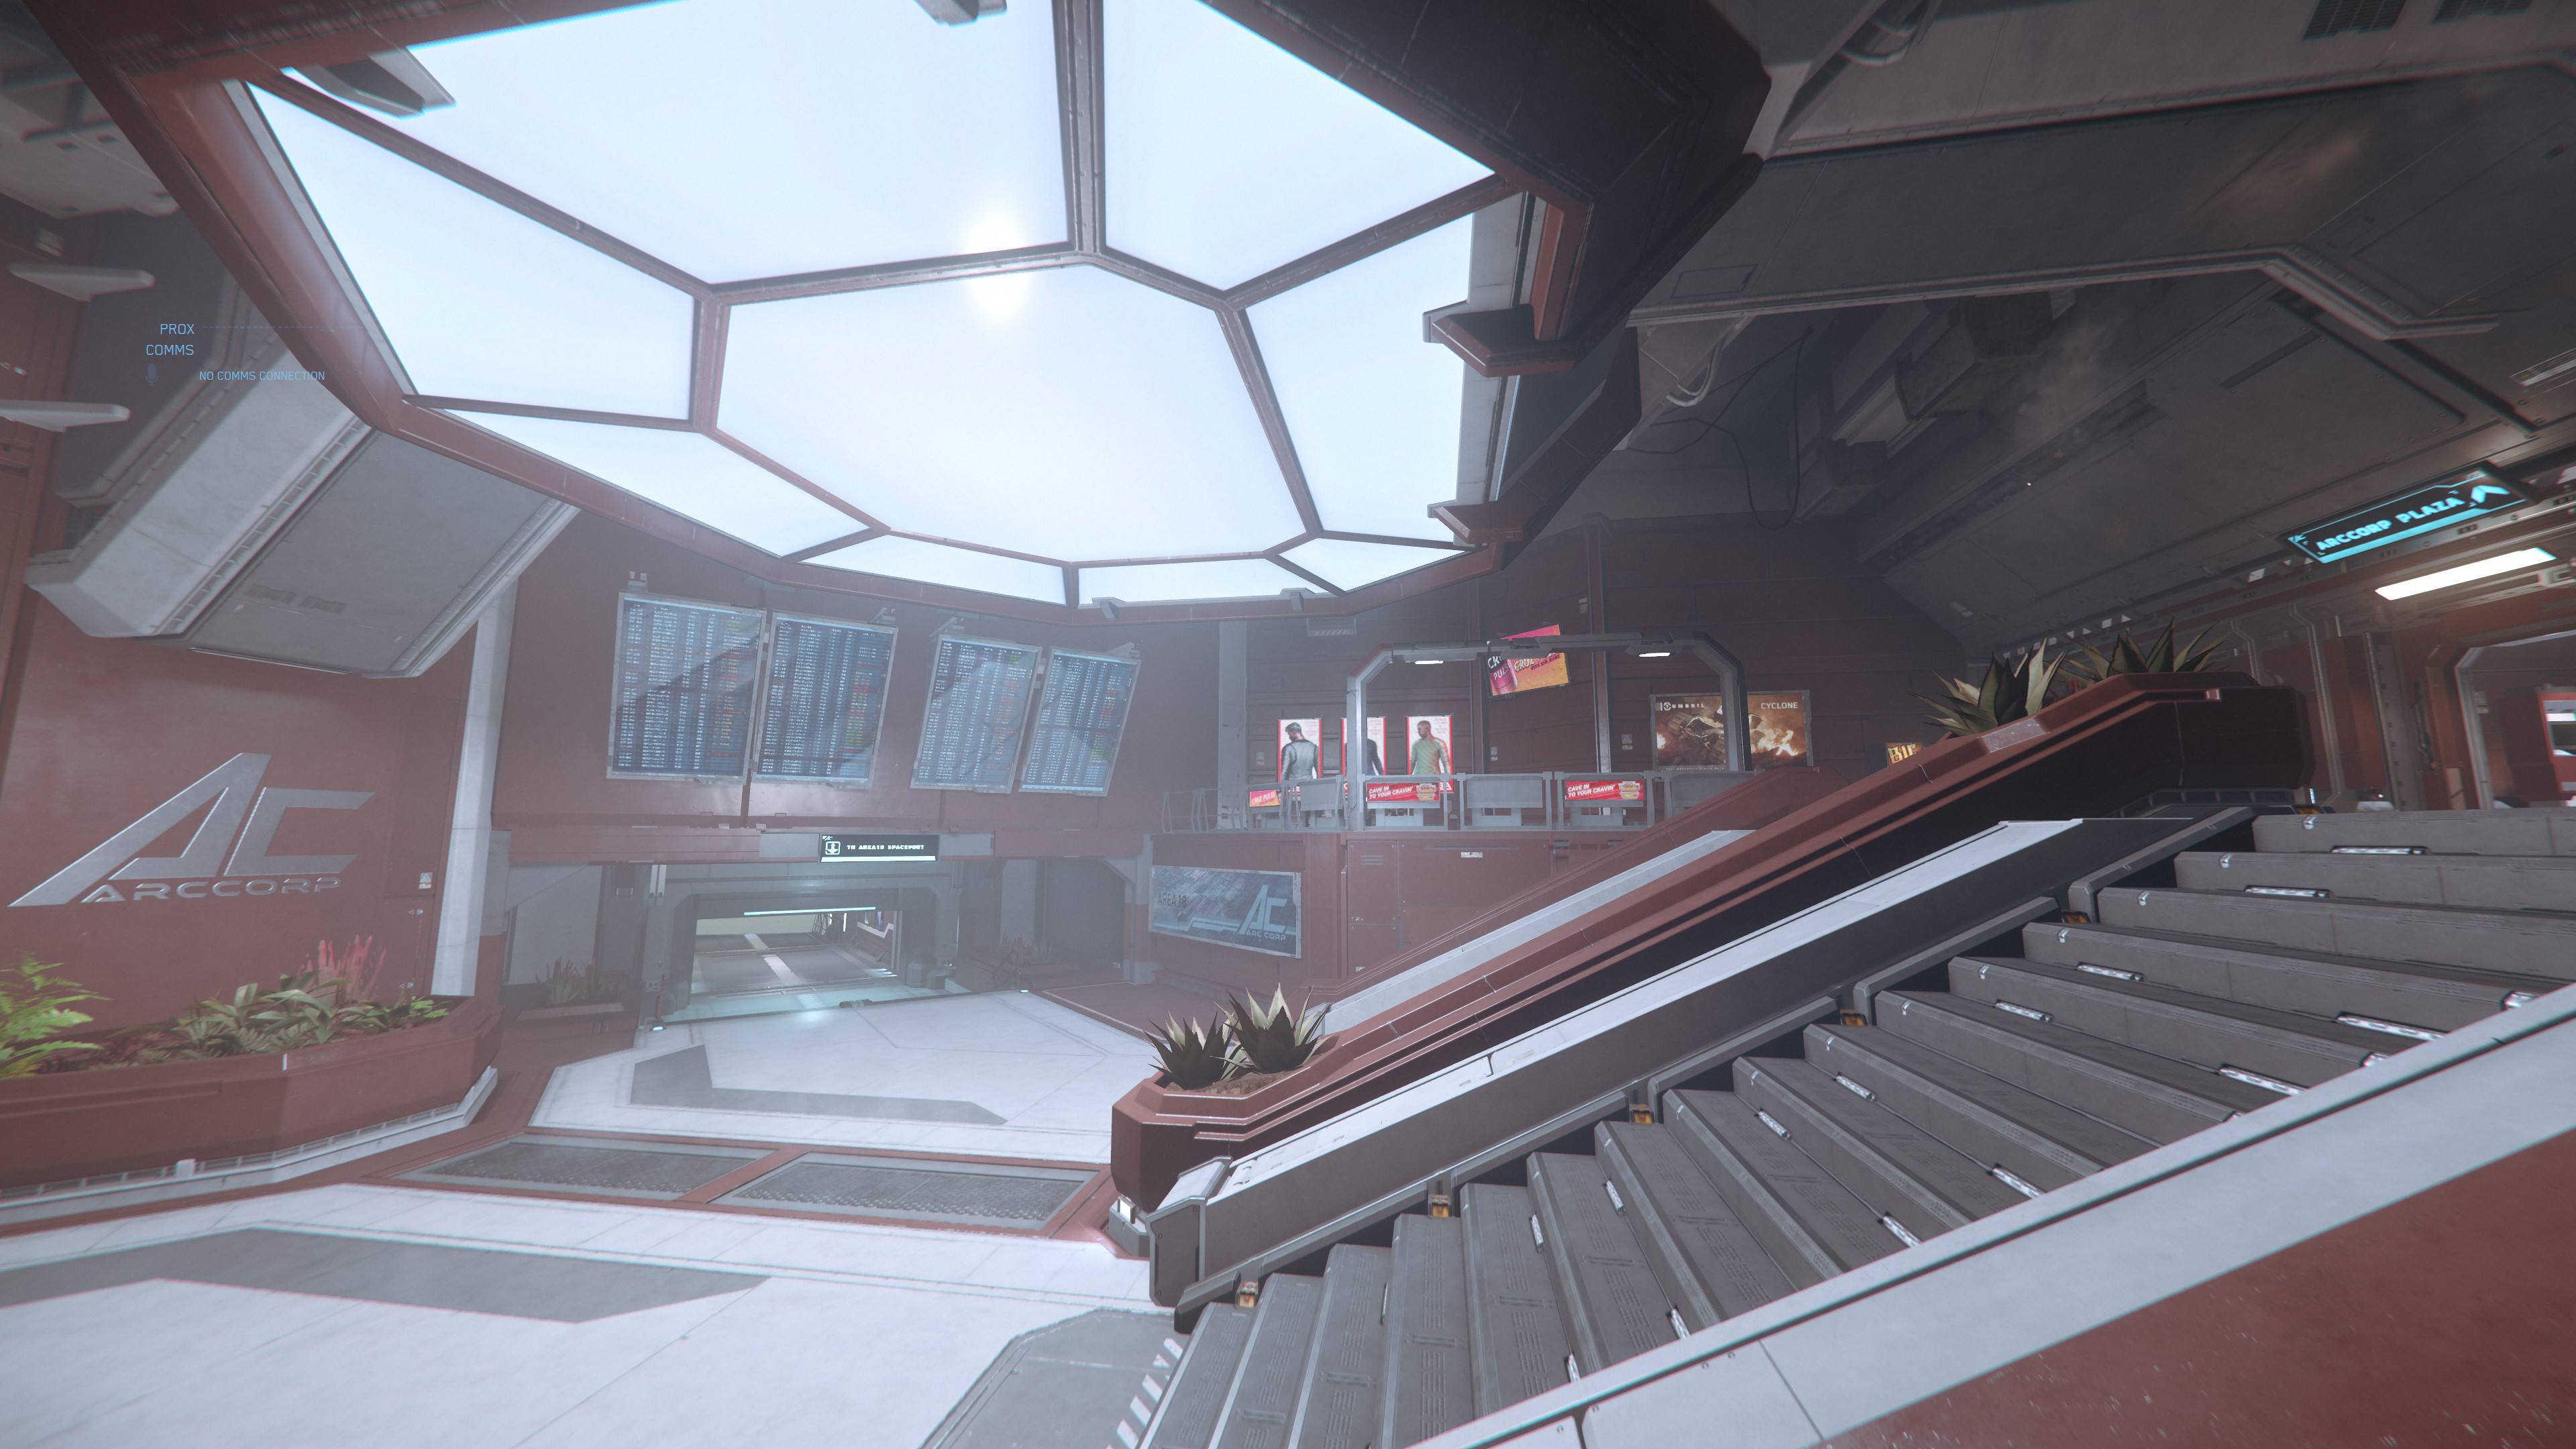
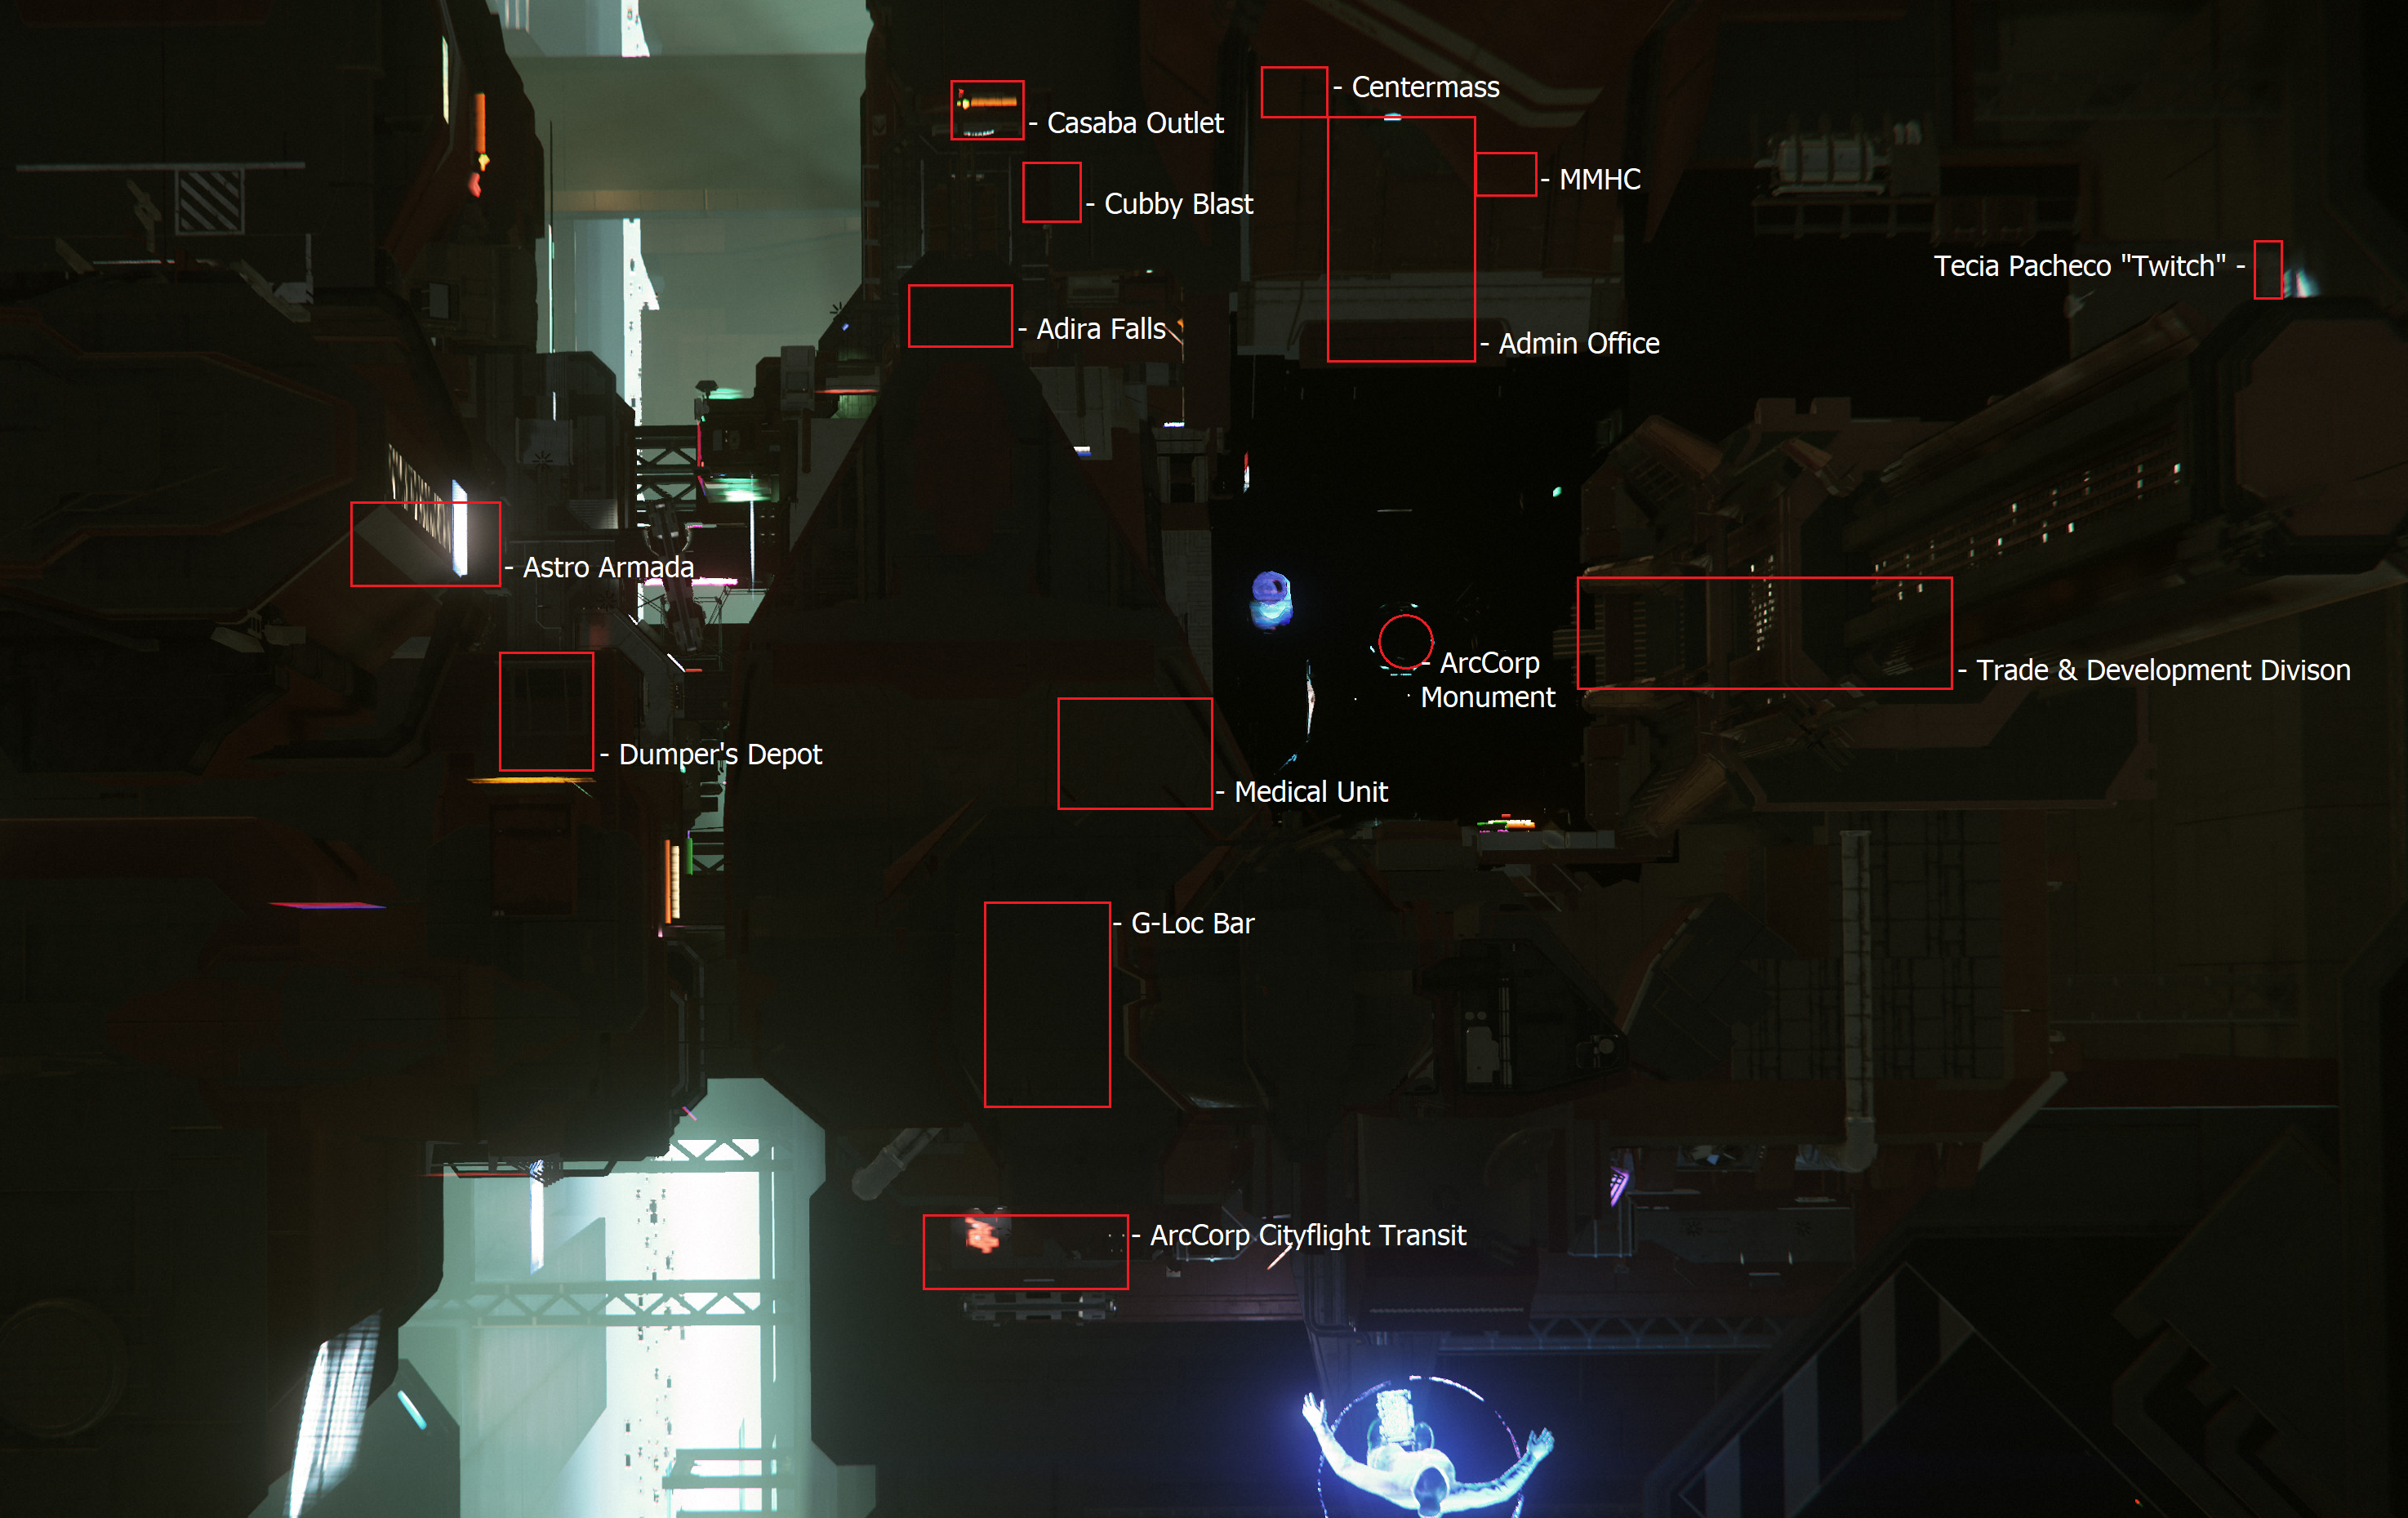
- Area 18 ArcCorp Plaza.jpg 3.840 × 2.160; 1,66 MB
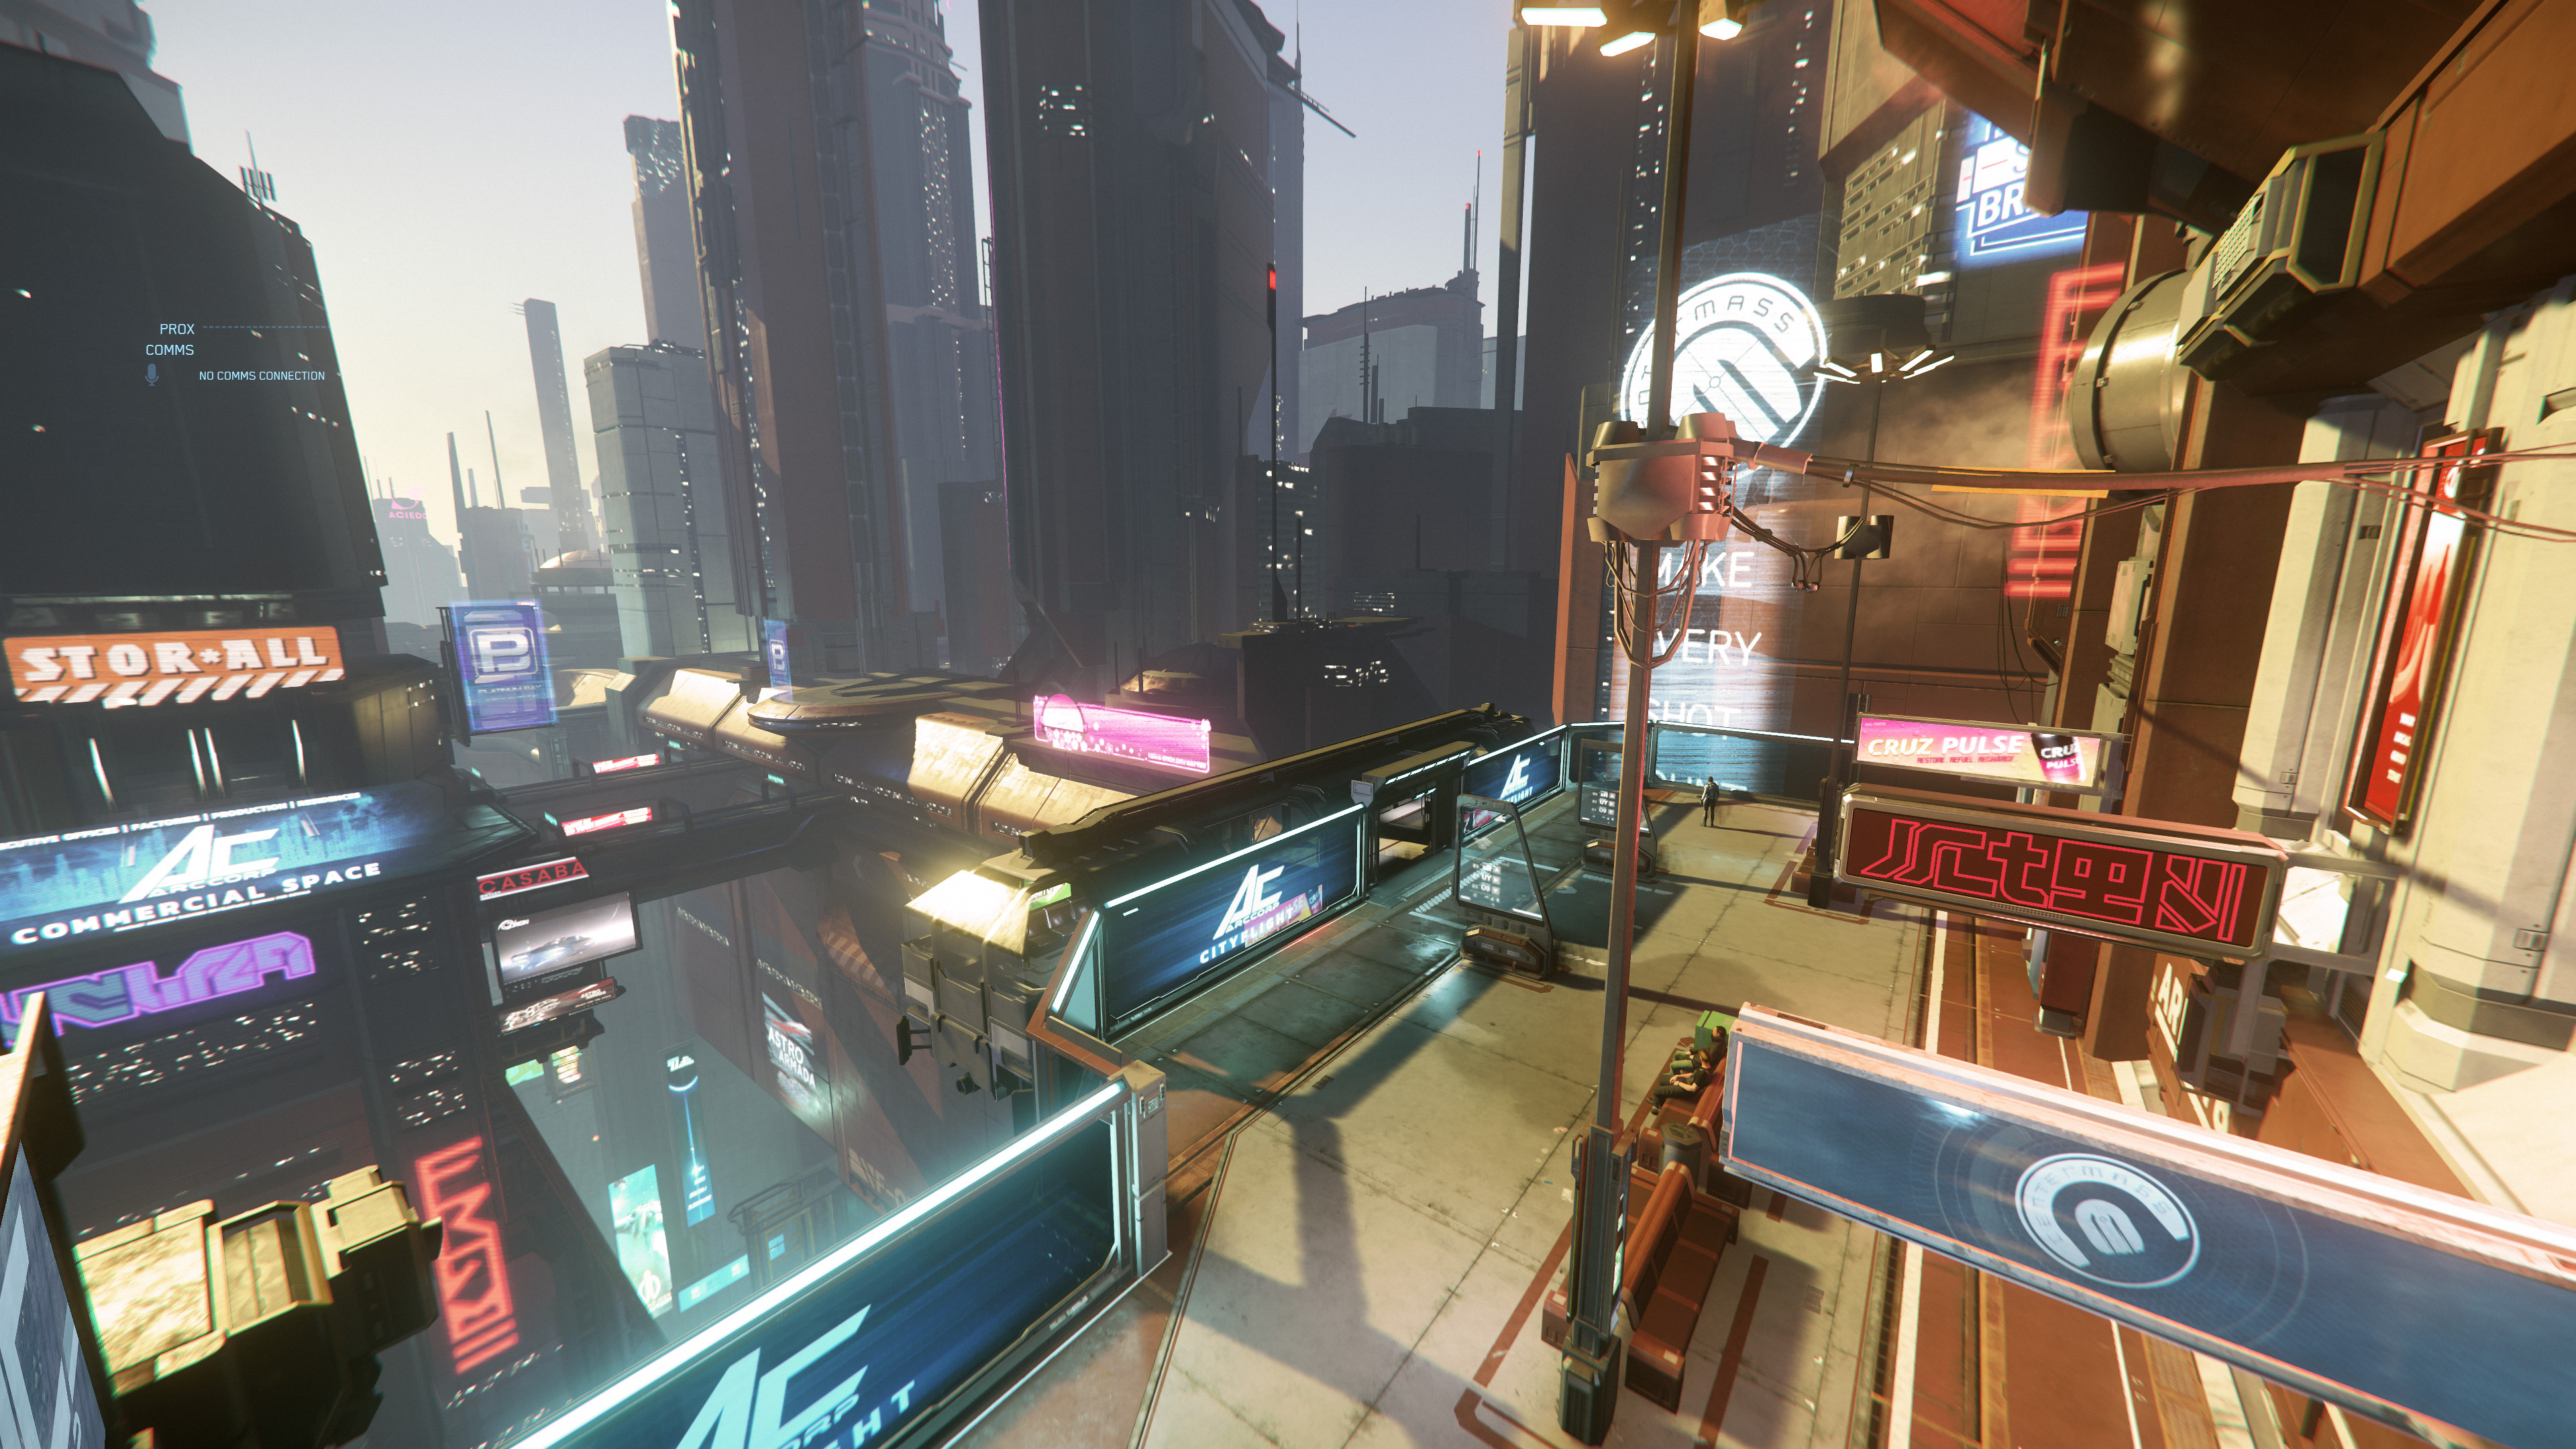
- Area 18 Central - Cityflight Transit.jpg 3.840 × 2.160; 1,84 MB
- Area 18 Central - Karte.png 2.949 × 1.859; 4,23 MB
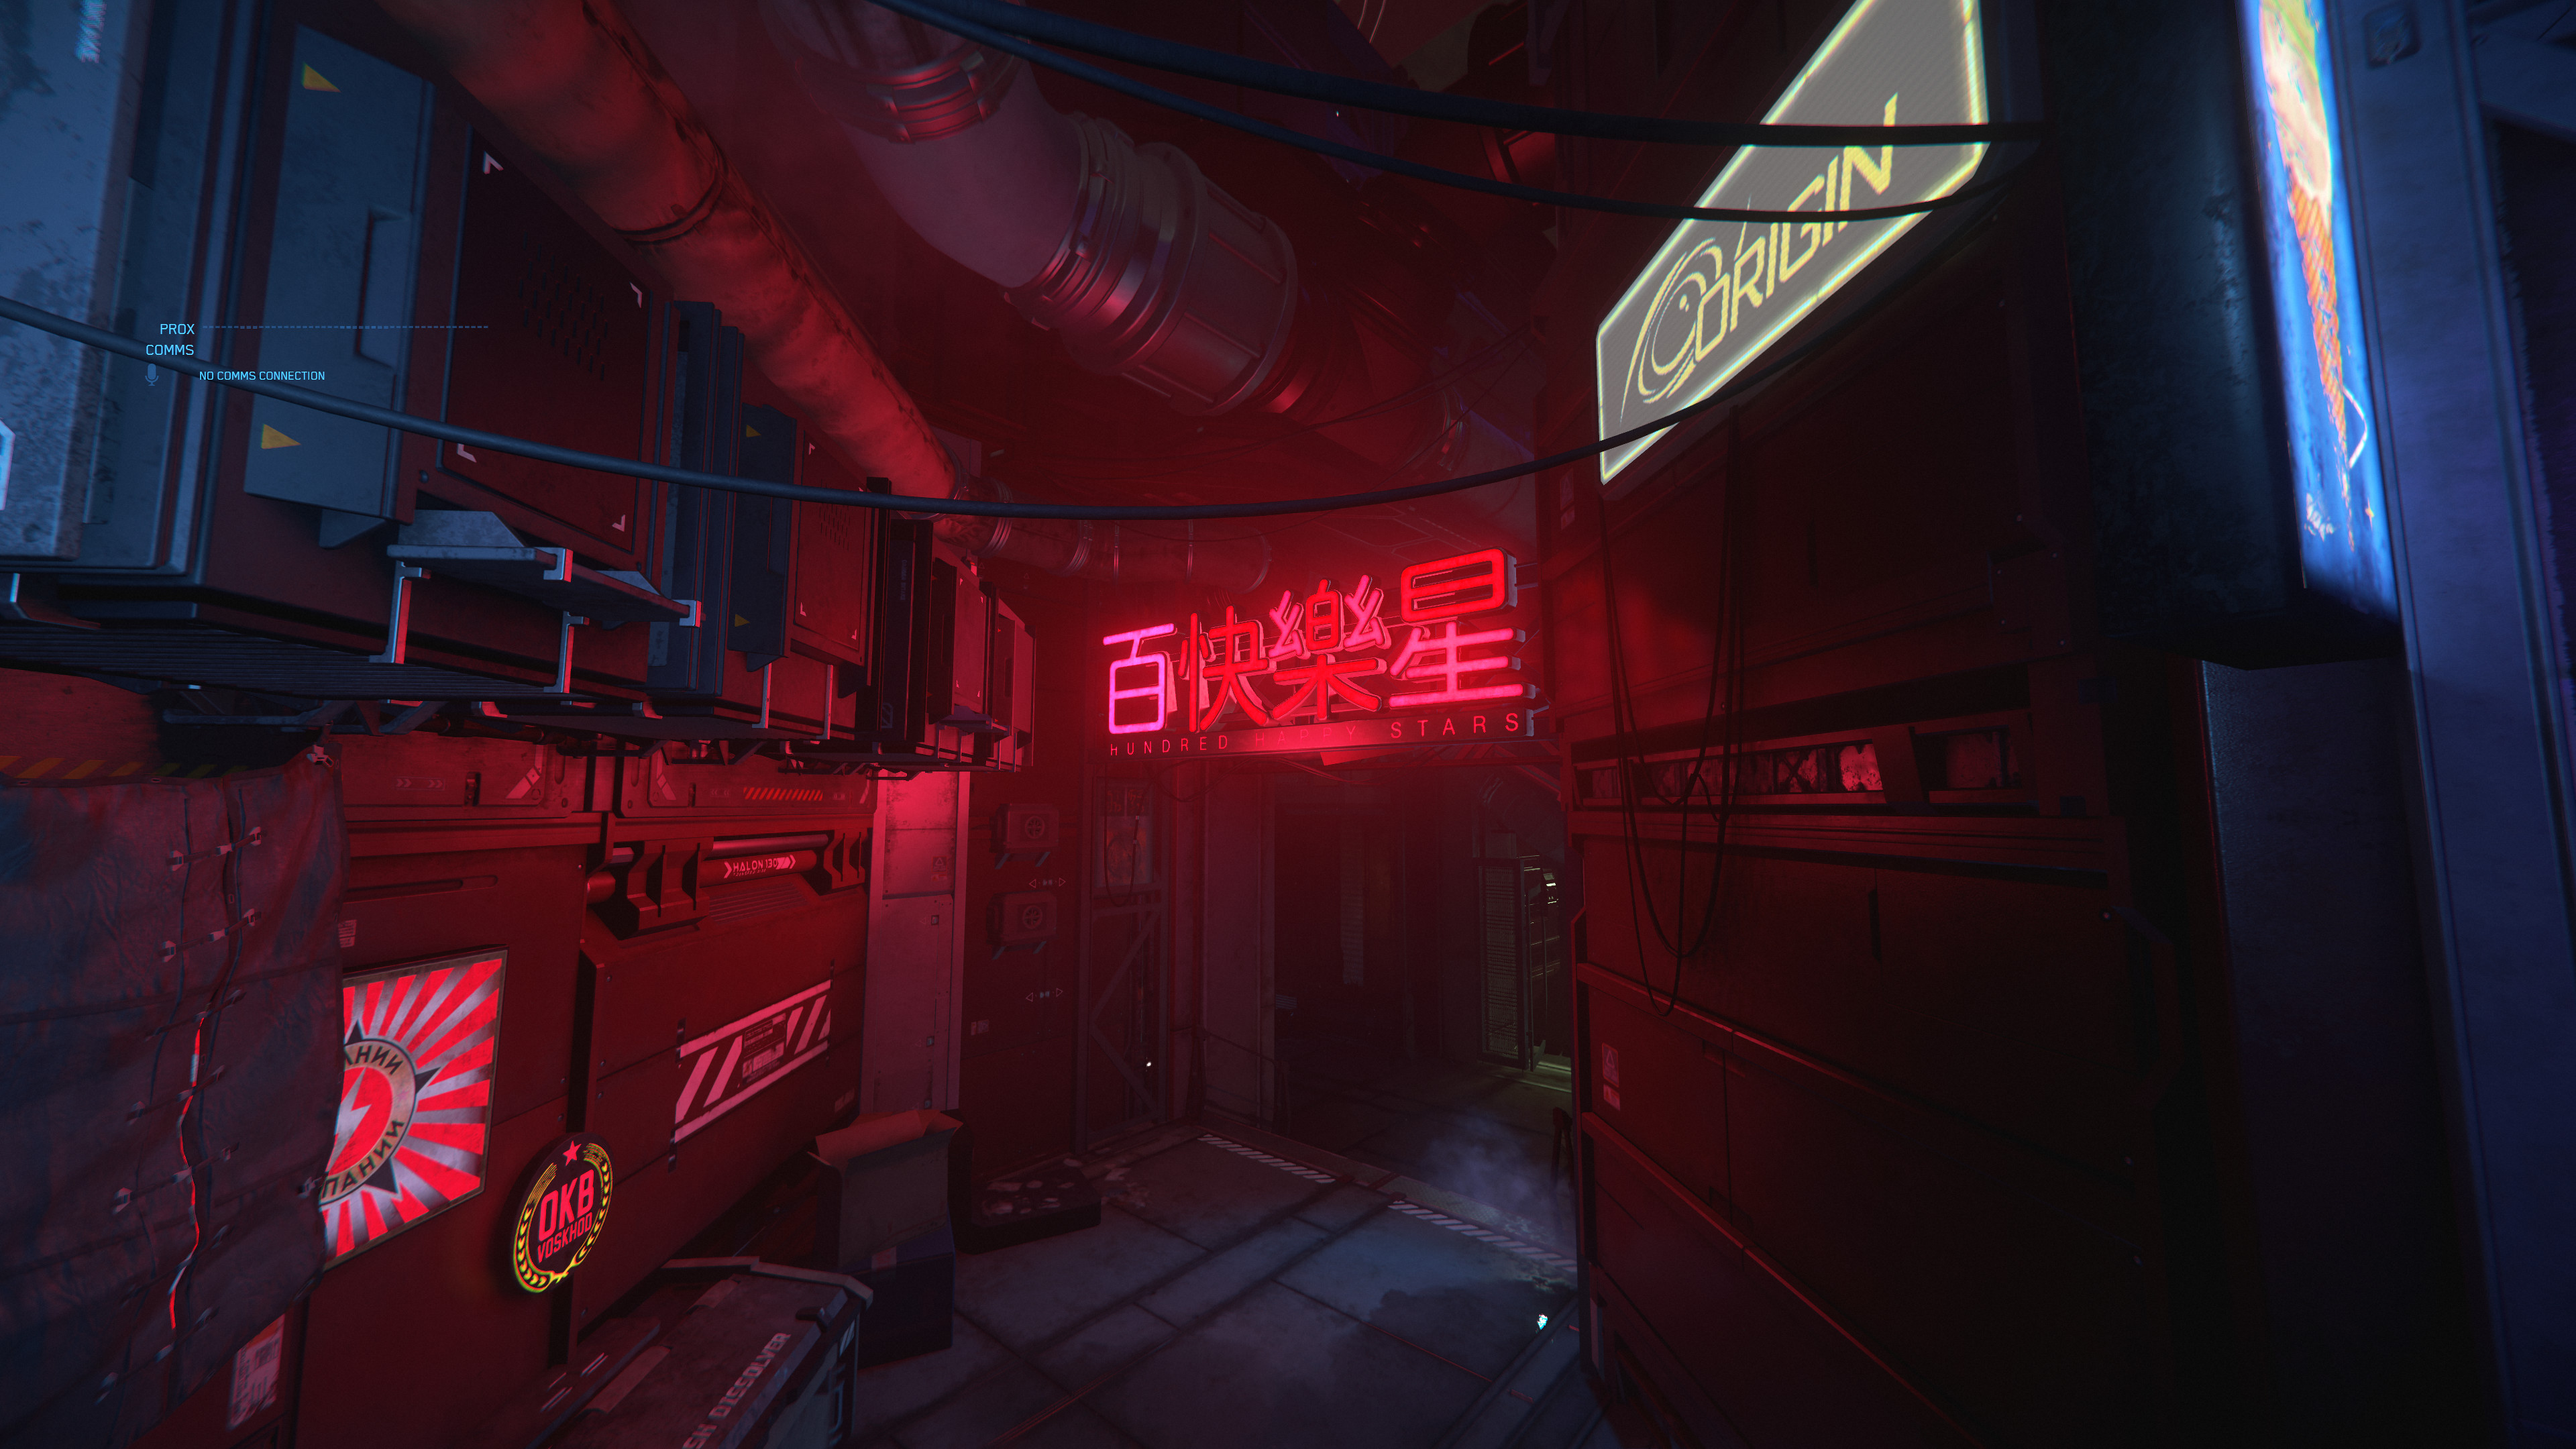
- Area 18 Gasse zum Unterschlupf von Tecia Pacheco Bild 1.jpg 3.840 × 2.160; 1,28 MB
- Area 18 Gasse zum Unterschlupf von Tecia Pacheco Bild 2.jpg 3.840 × 2.160; 1,3 MB
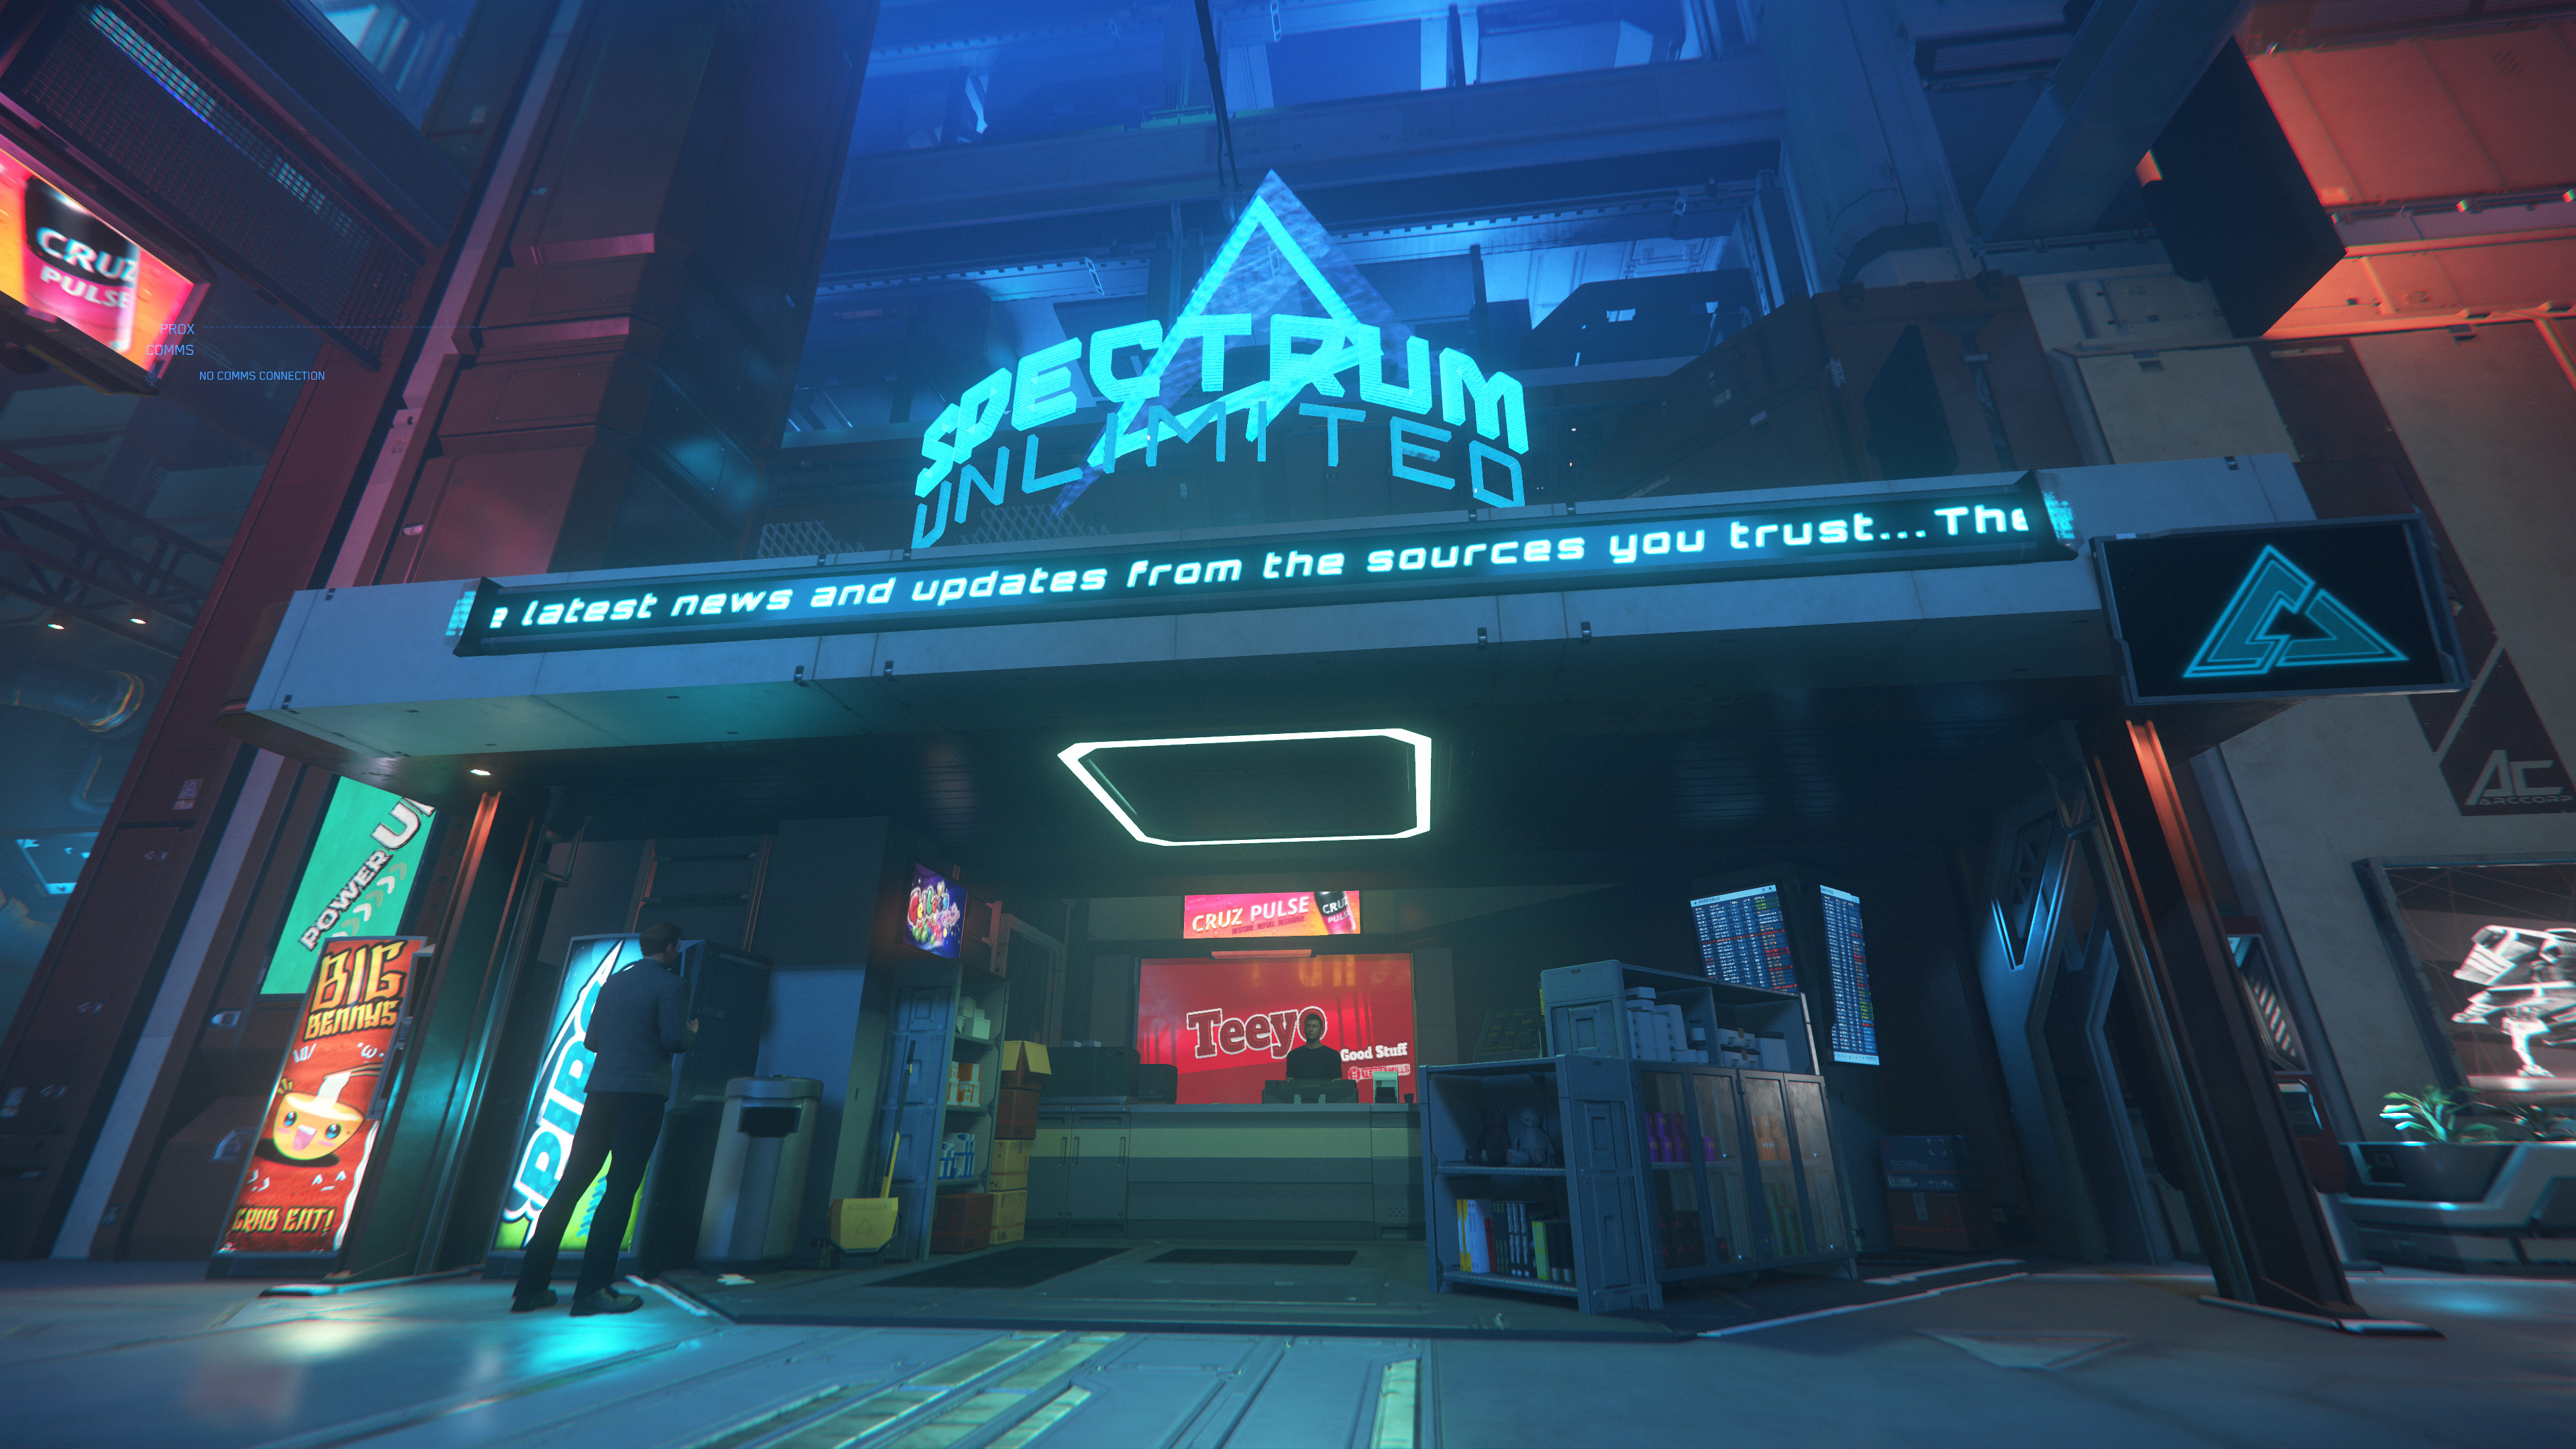
- Area 18 Passage Spectrum Unlimited Kiosk.jpg 3.840 × 2.160; 1,5 MB
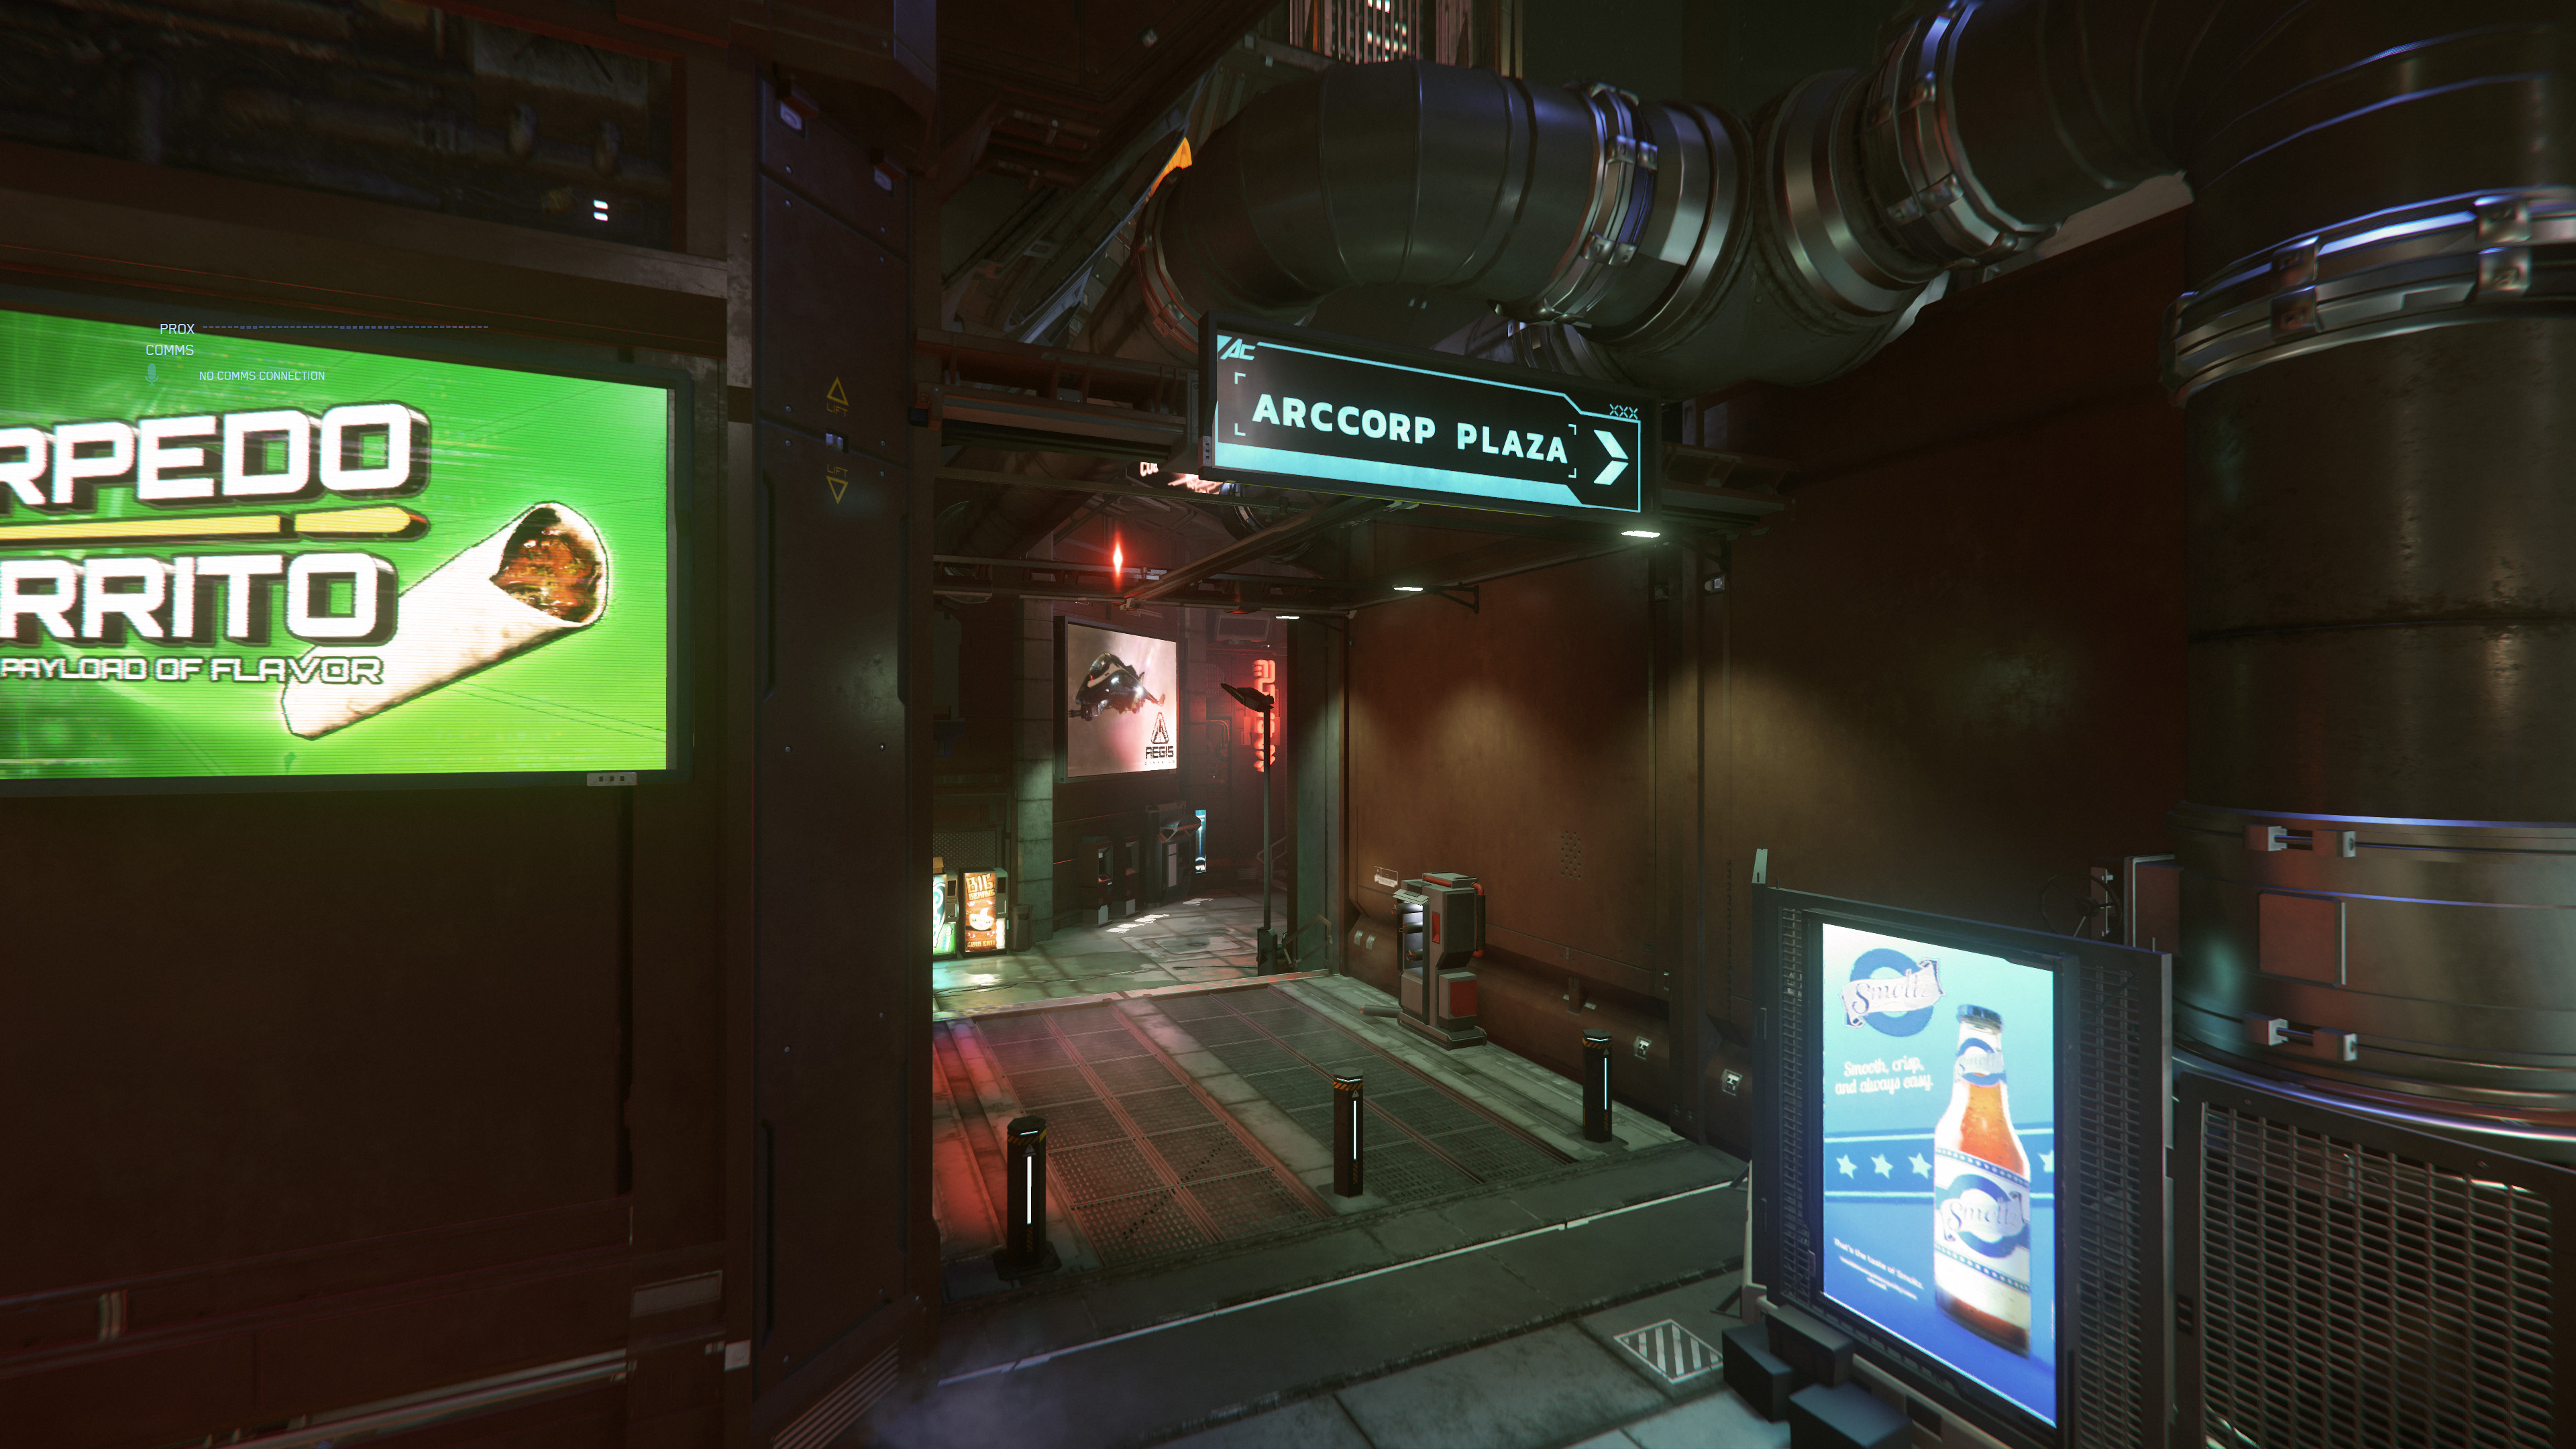
- Area 18 Passage Zone 2 zu Zone 3 und ArcCorp Plaza Torpedo Burrito.jpg 3.840 × 2.160; 1,49 MB
- Area 18 Passage.jpg 3.840 × 2.160; 1,22 MB
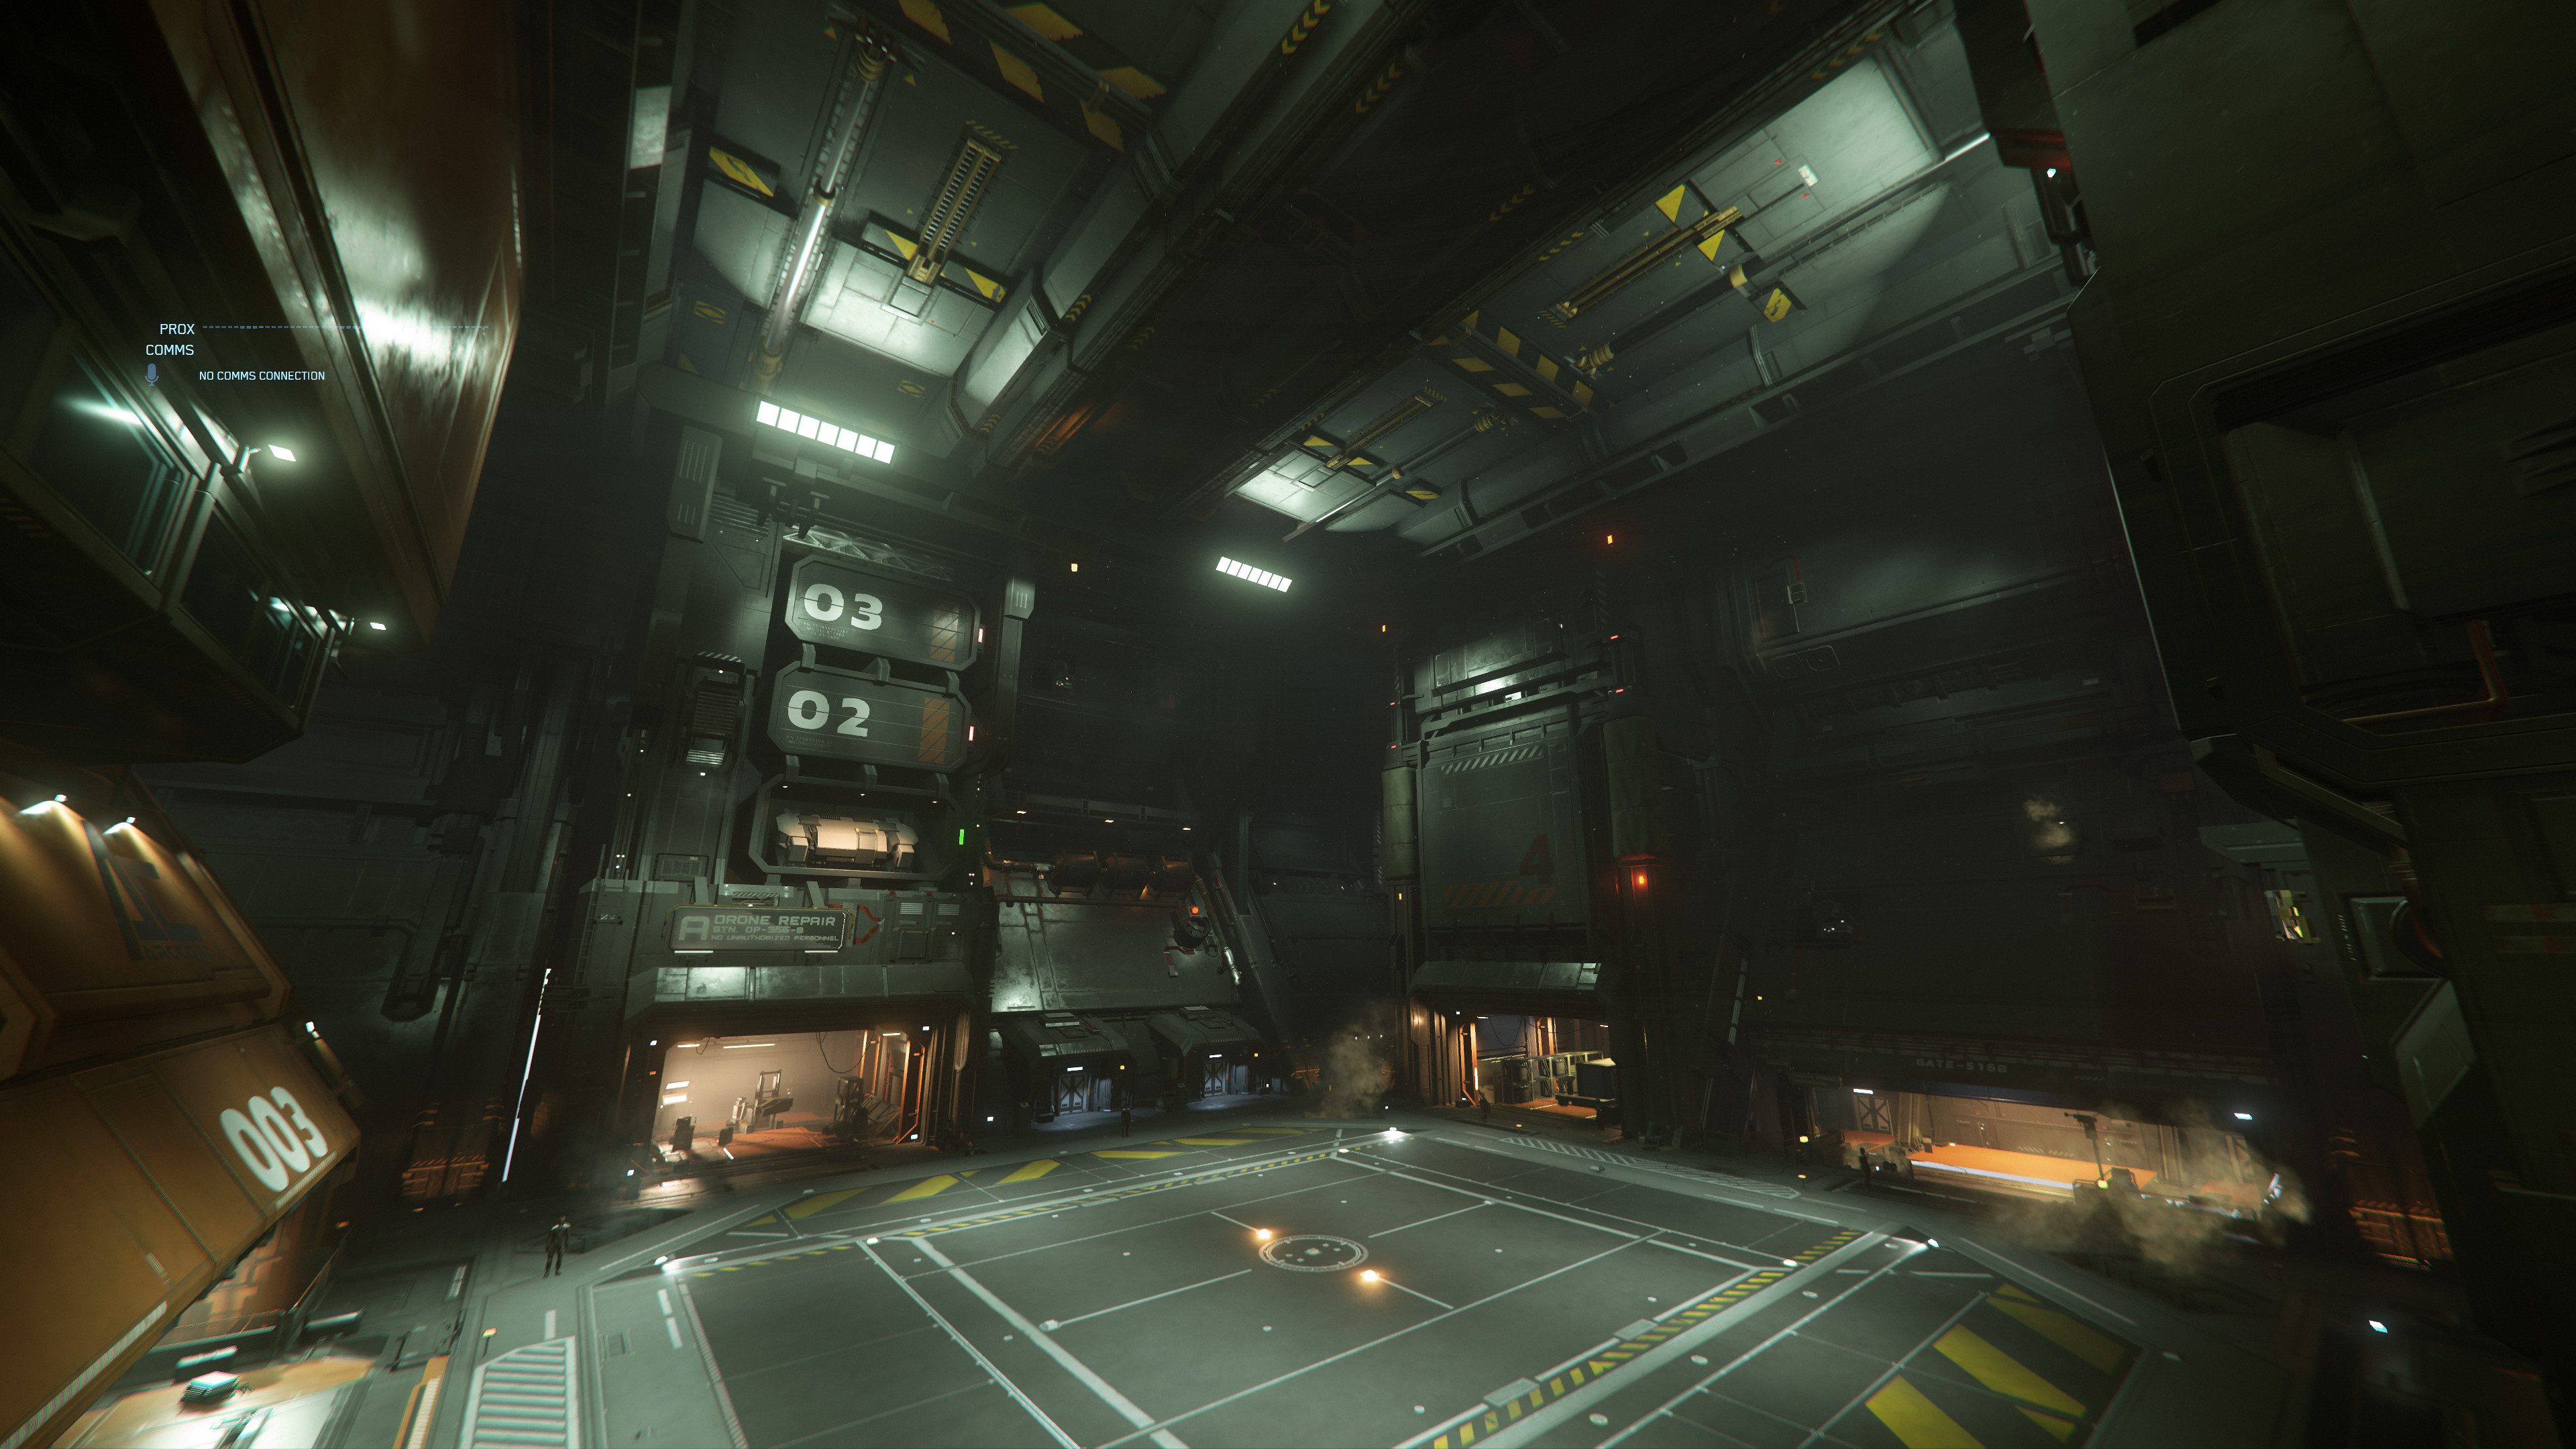
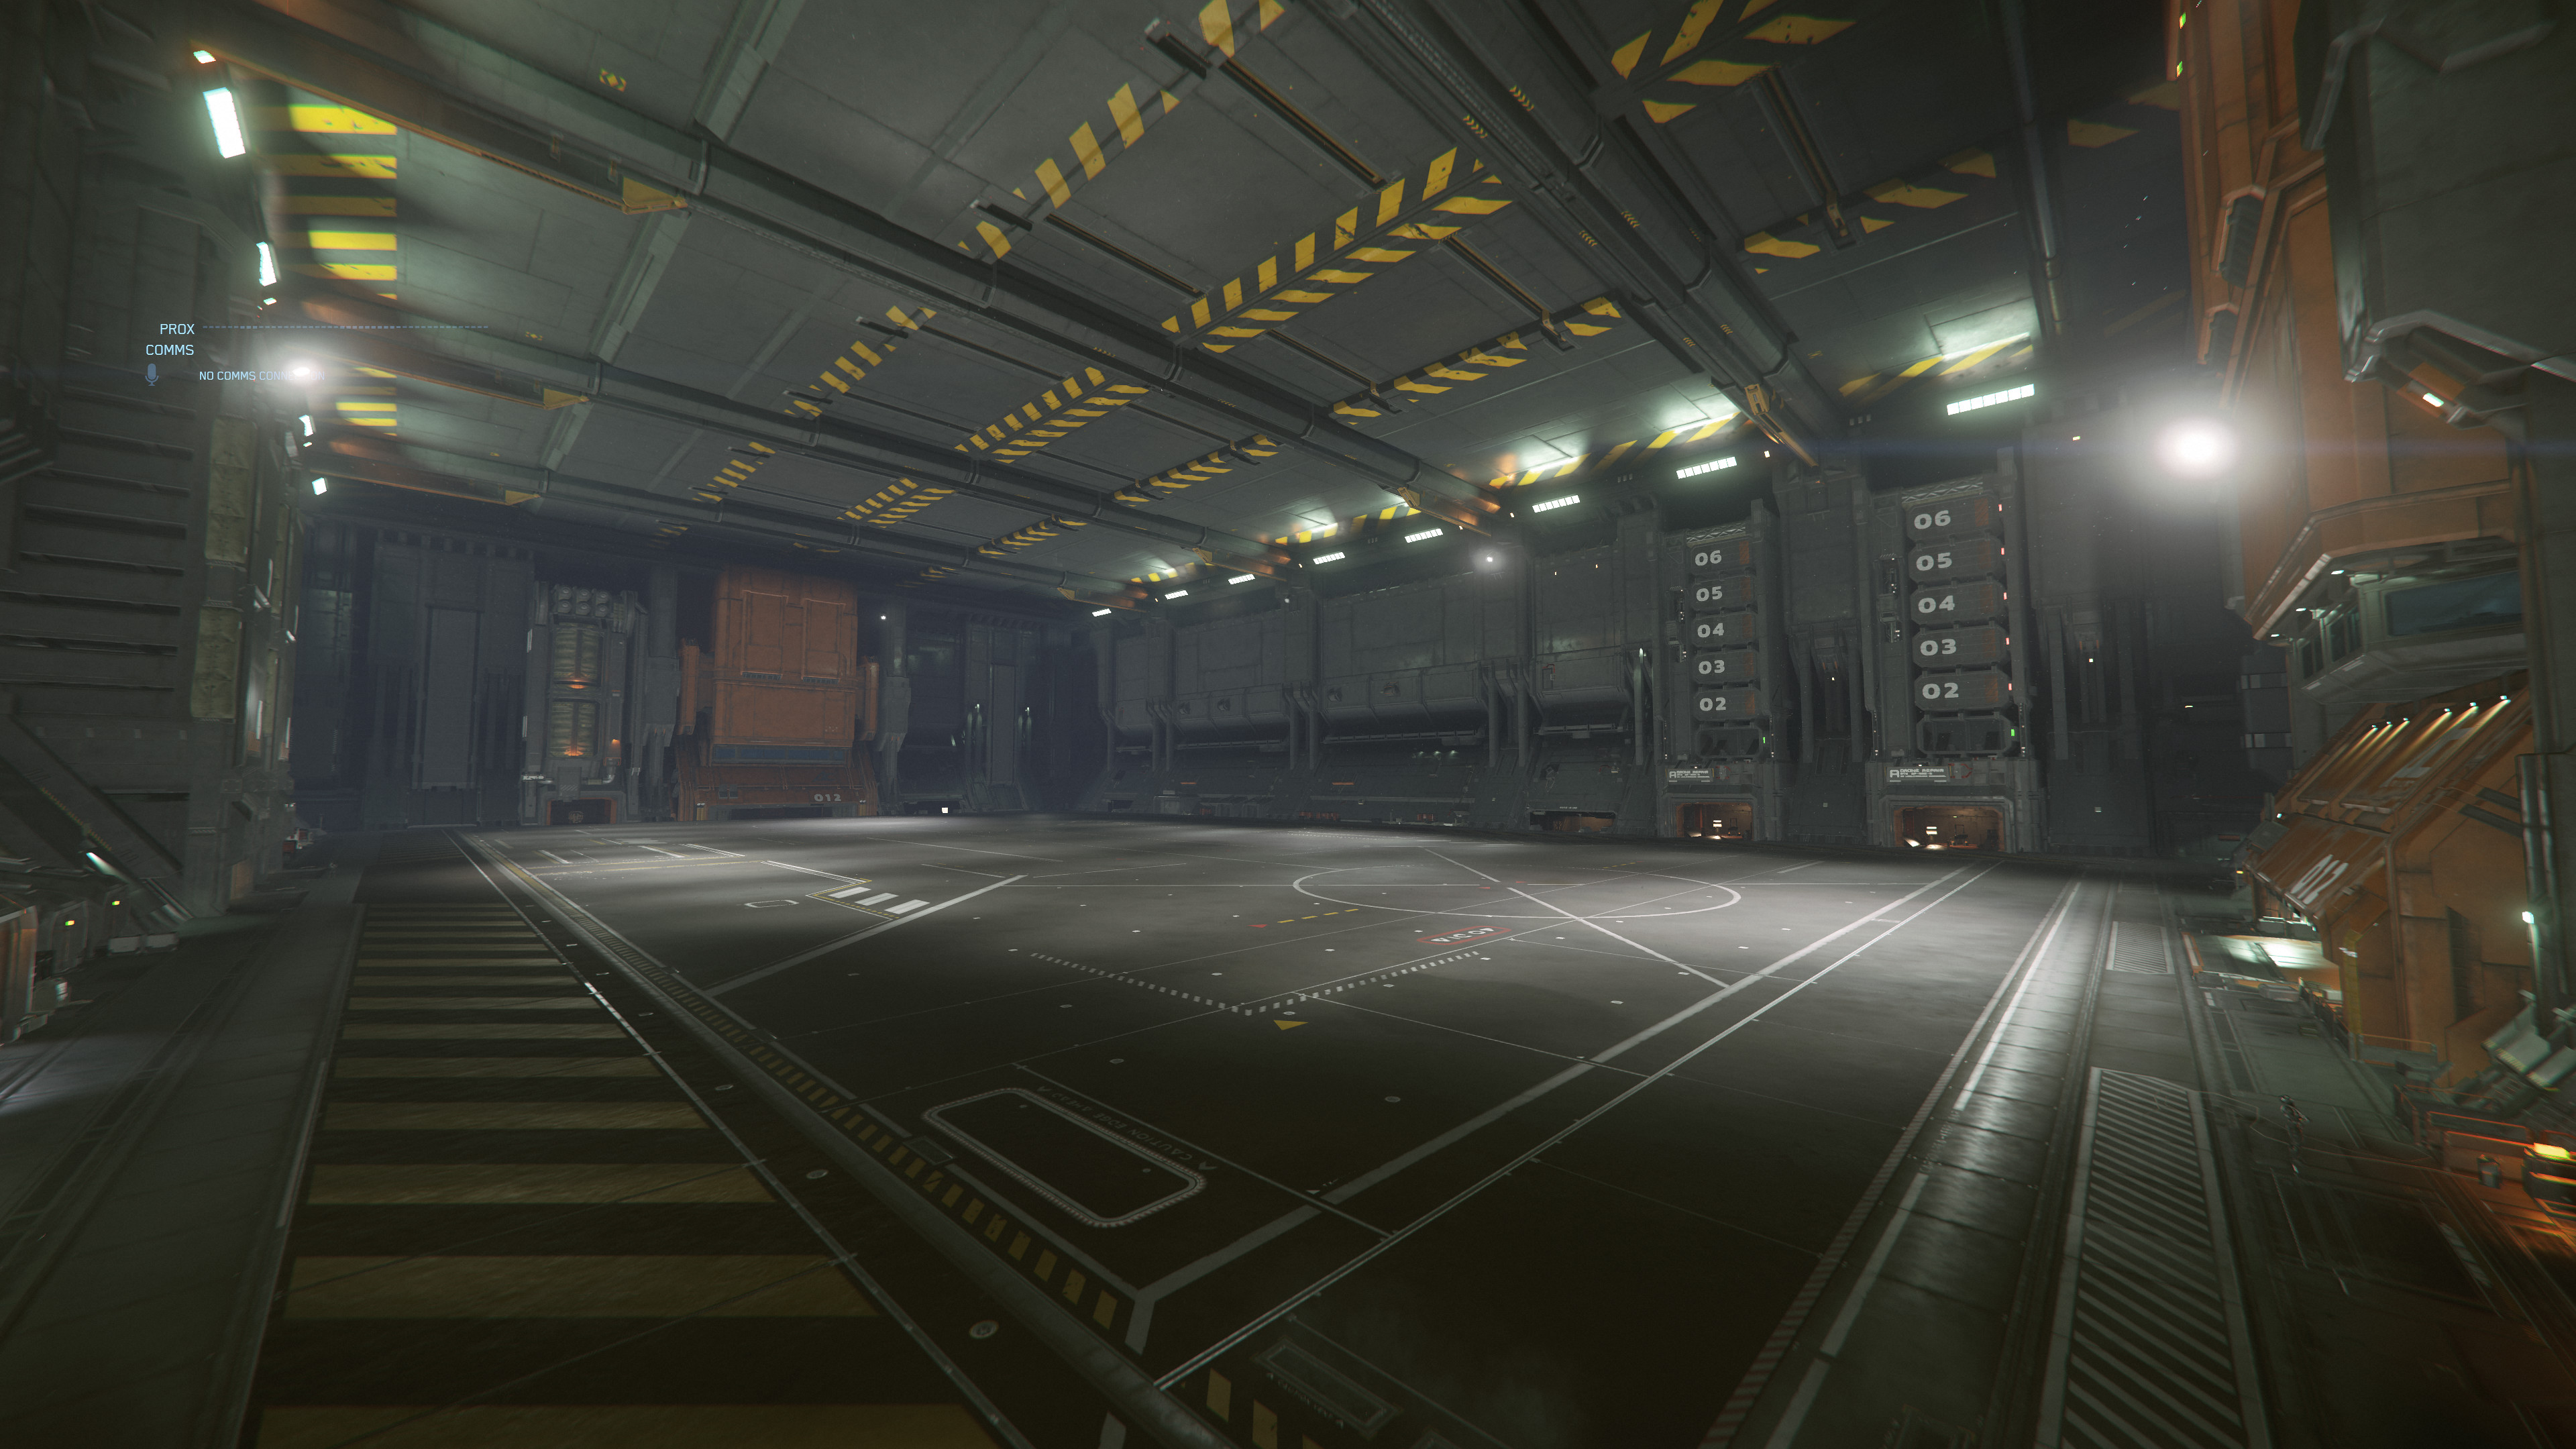
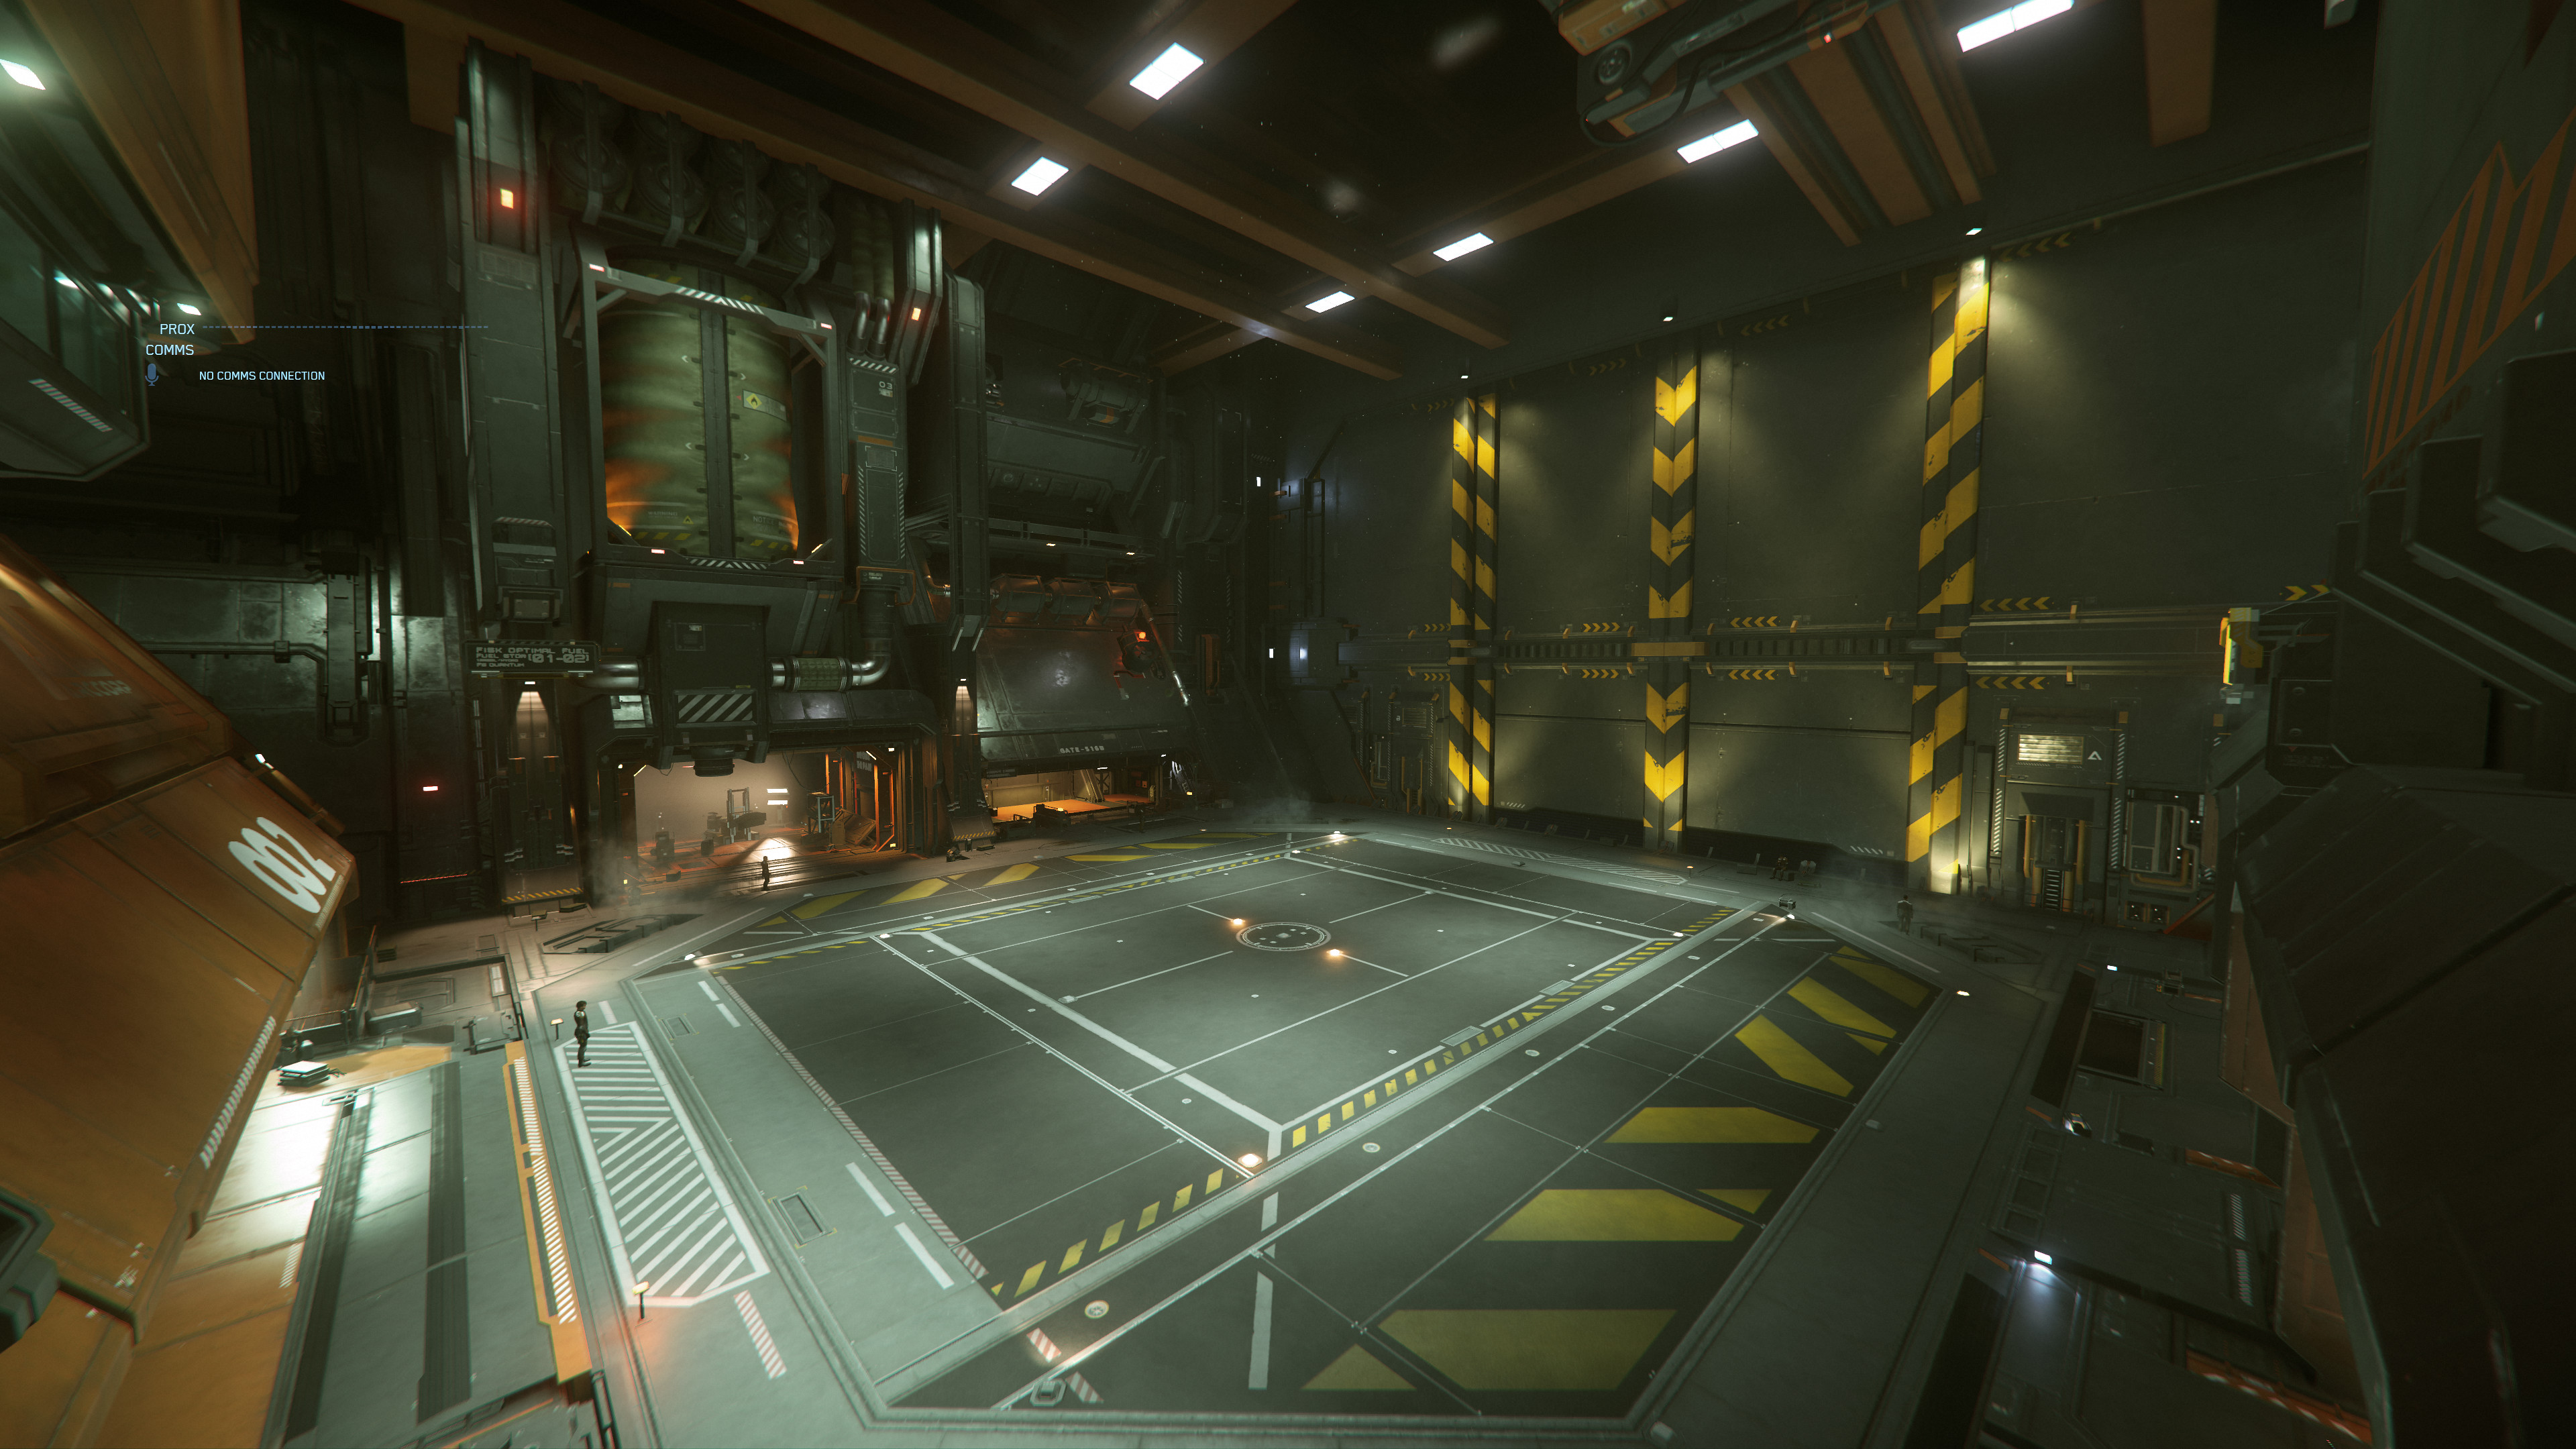
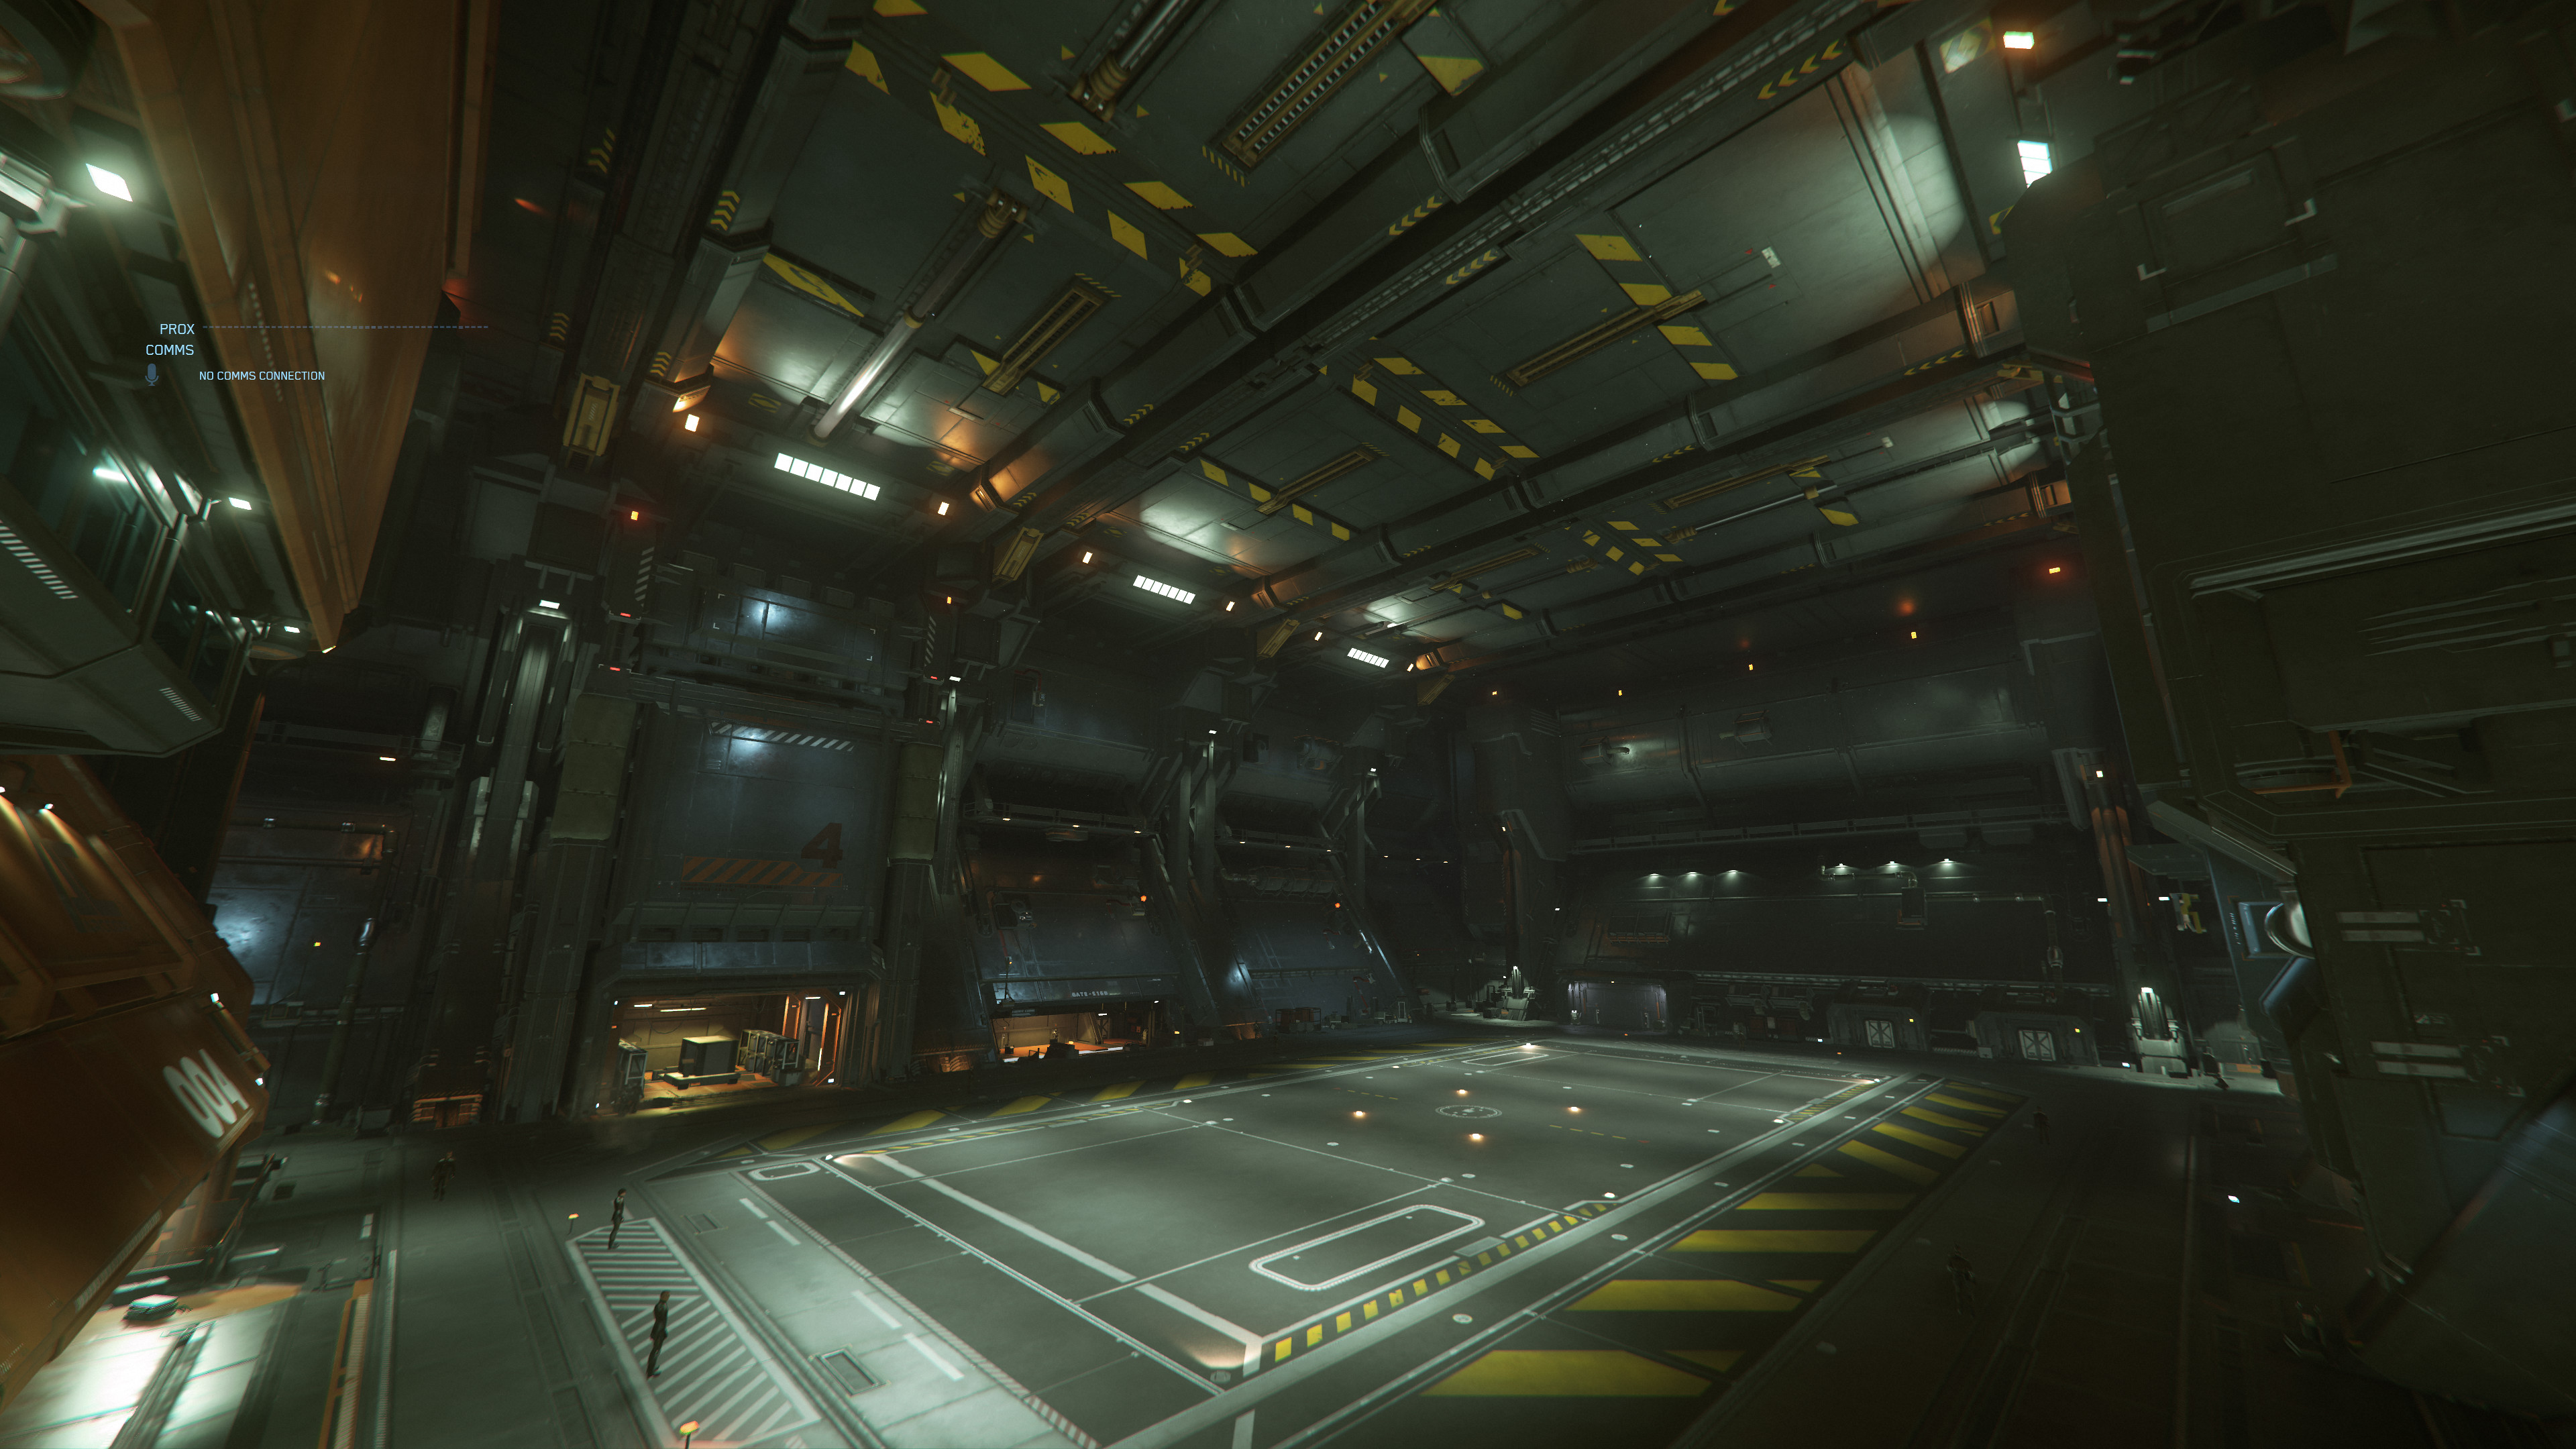
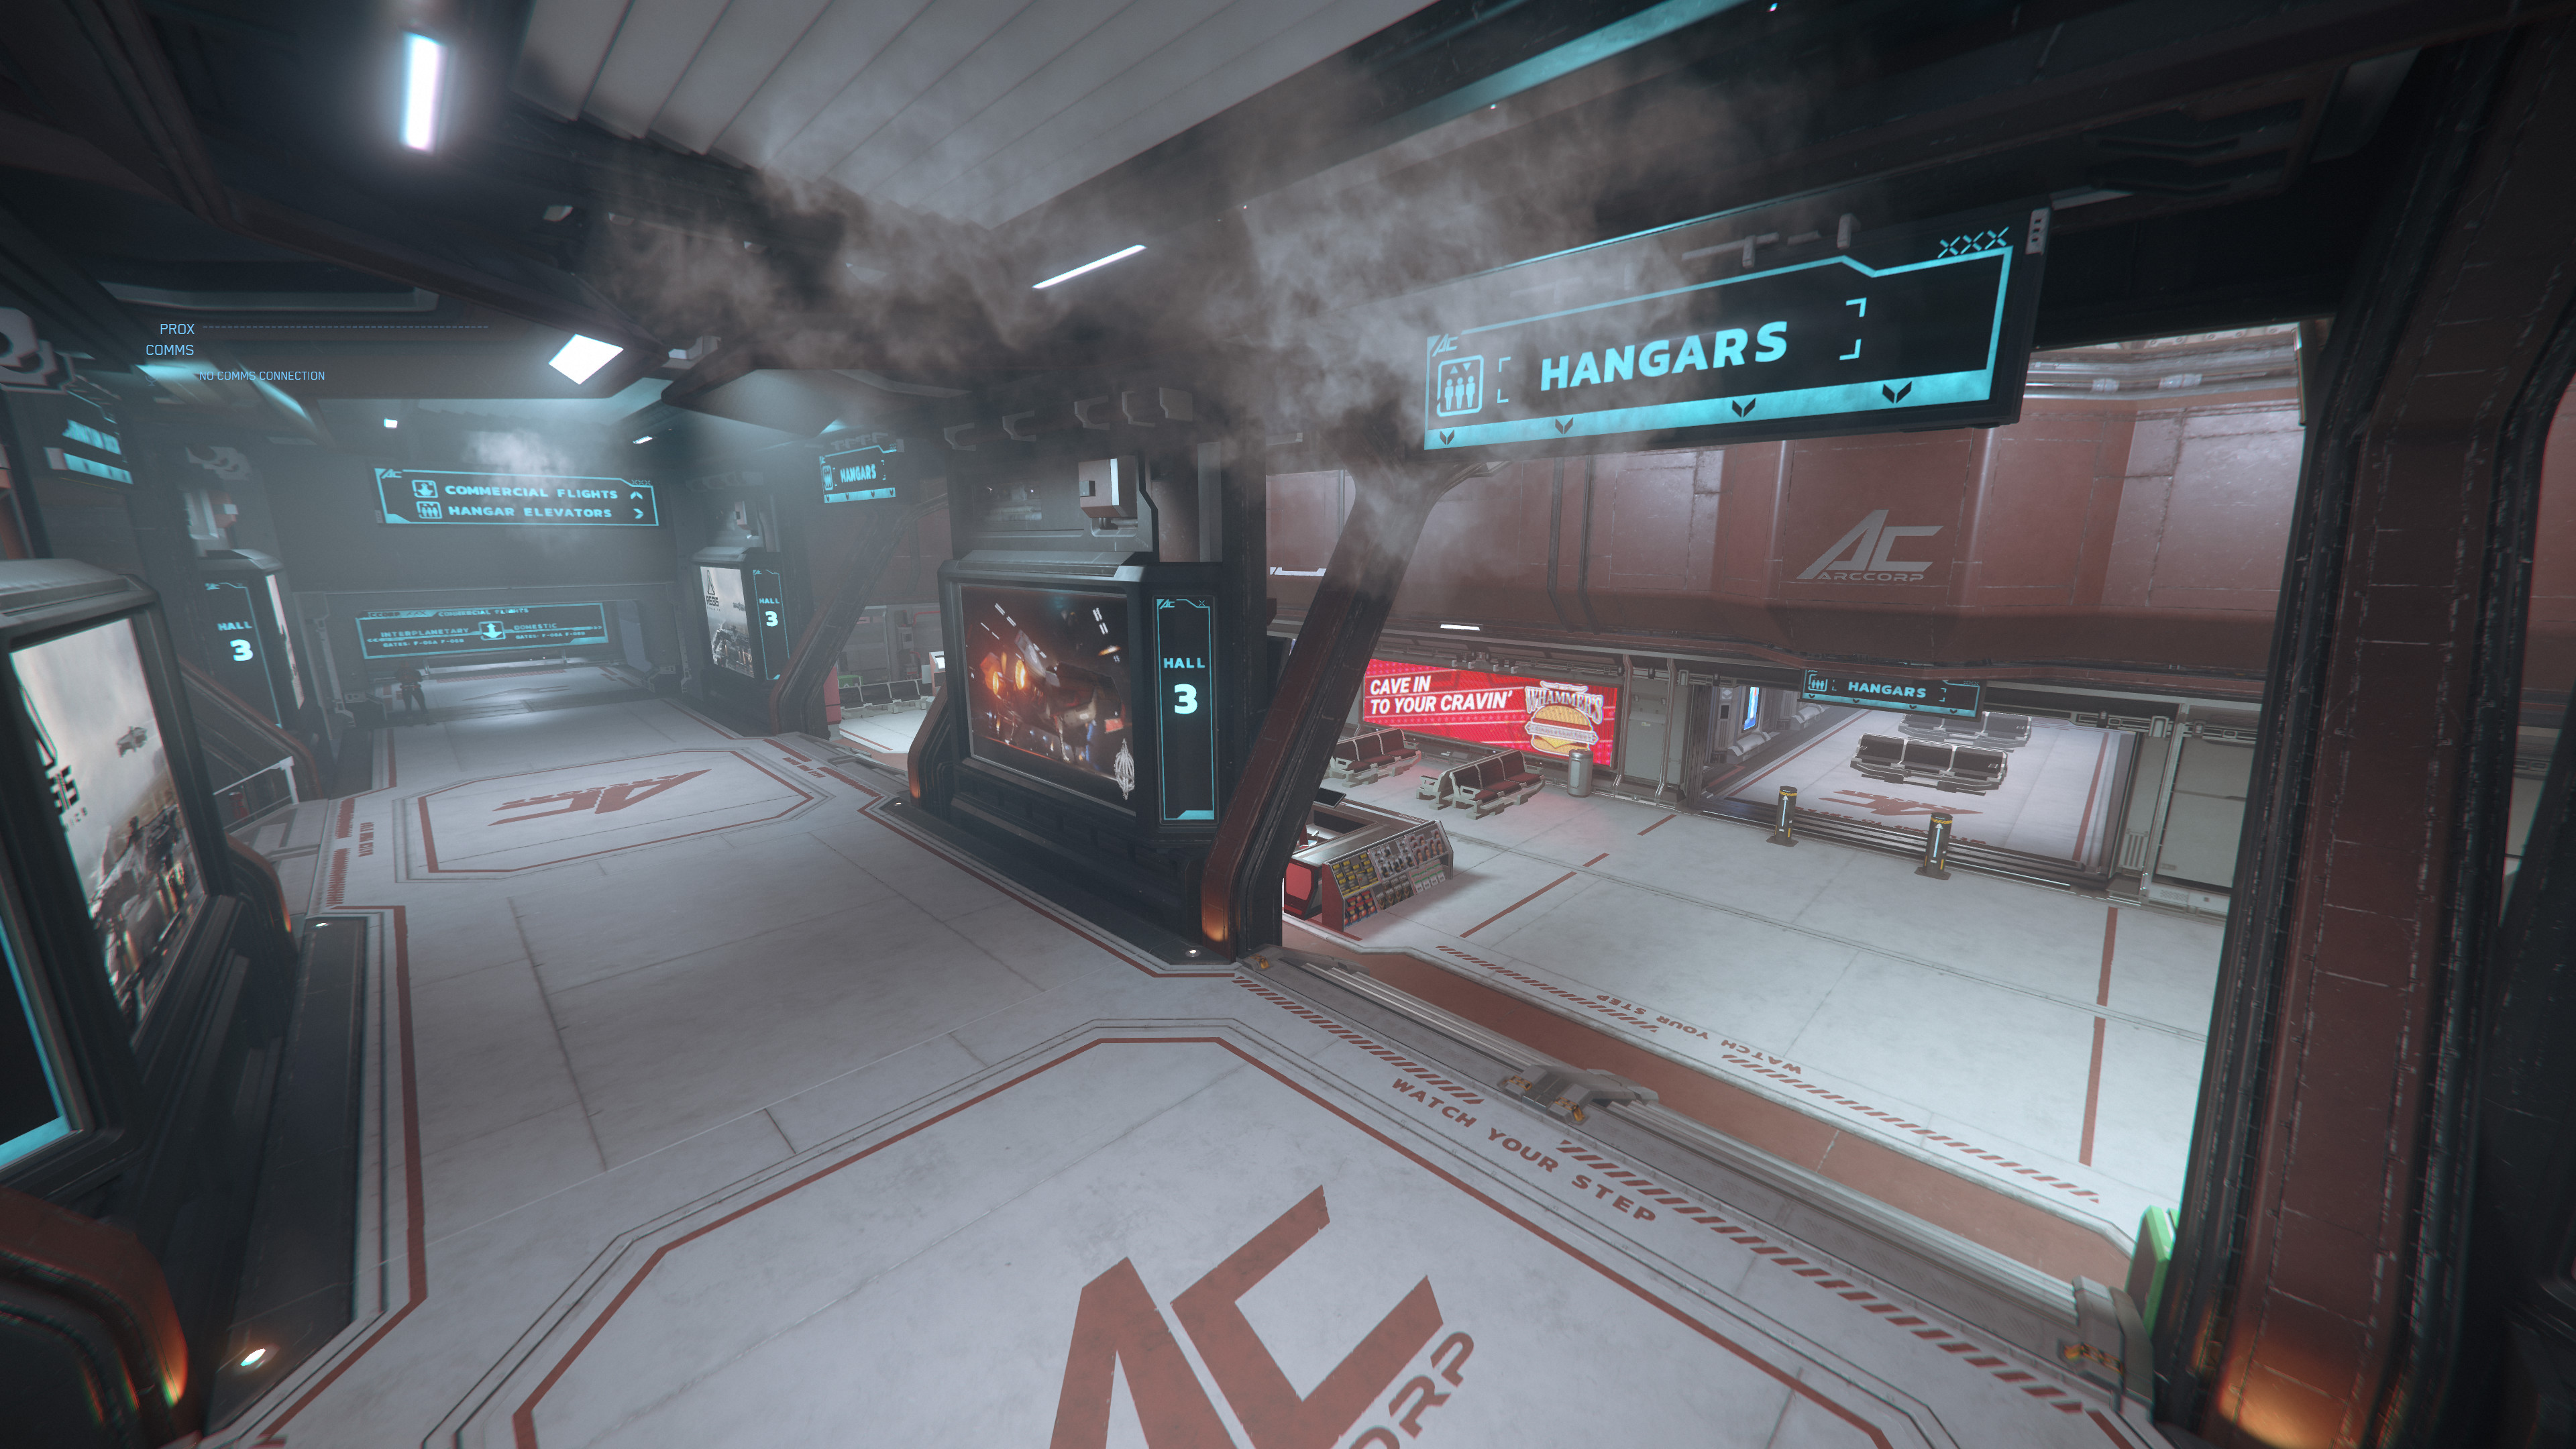
- Area 18 Riker Memorial Raumhafen Hangar 3.jpg 3.840 × 2.160; 1,3 MB
- Area 18 Riker Memorial Raumhafen Hangargröße groß.jpg 3.840 × 2.160; 1,27 MB
- Area 18 Riker Memorial Raumhafen Hangargröße klein.jpg 3.840 × 2.160; 1,36 MB
- Area 18 Riker Memorial Raumhafen Hangargröße mittel.jpg 3.840 × 2.160; 1,31 MB
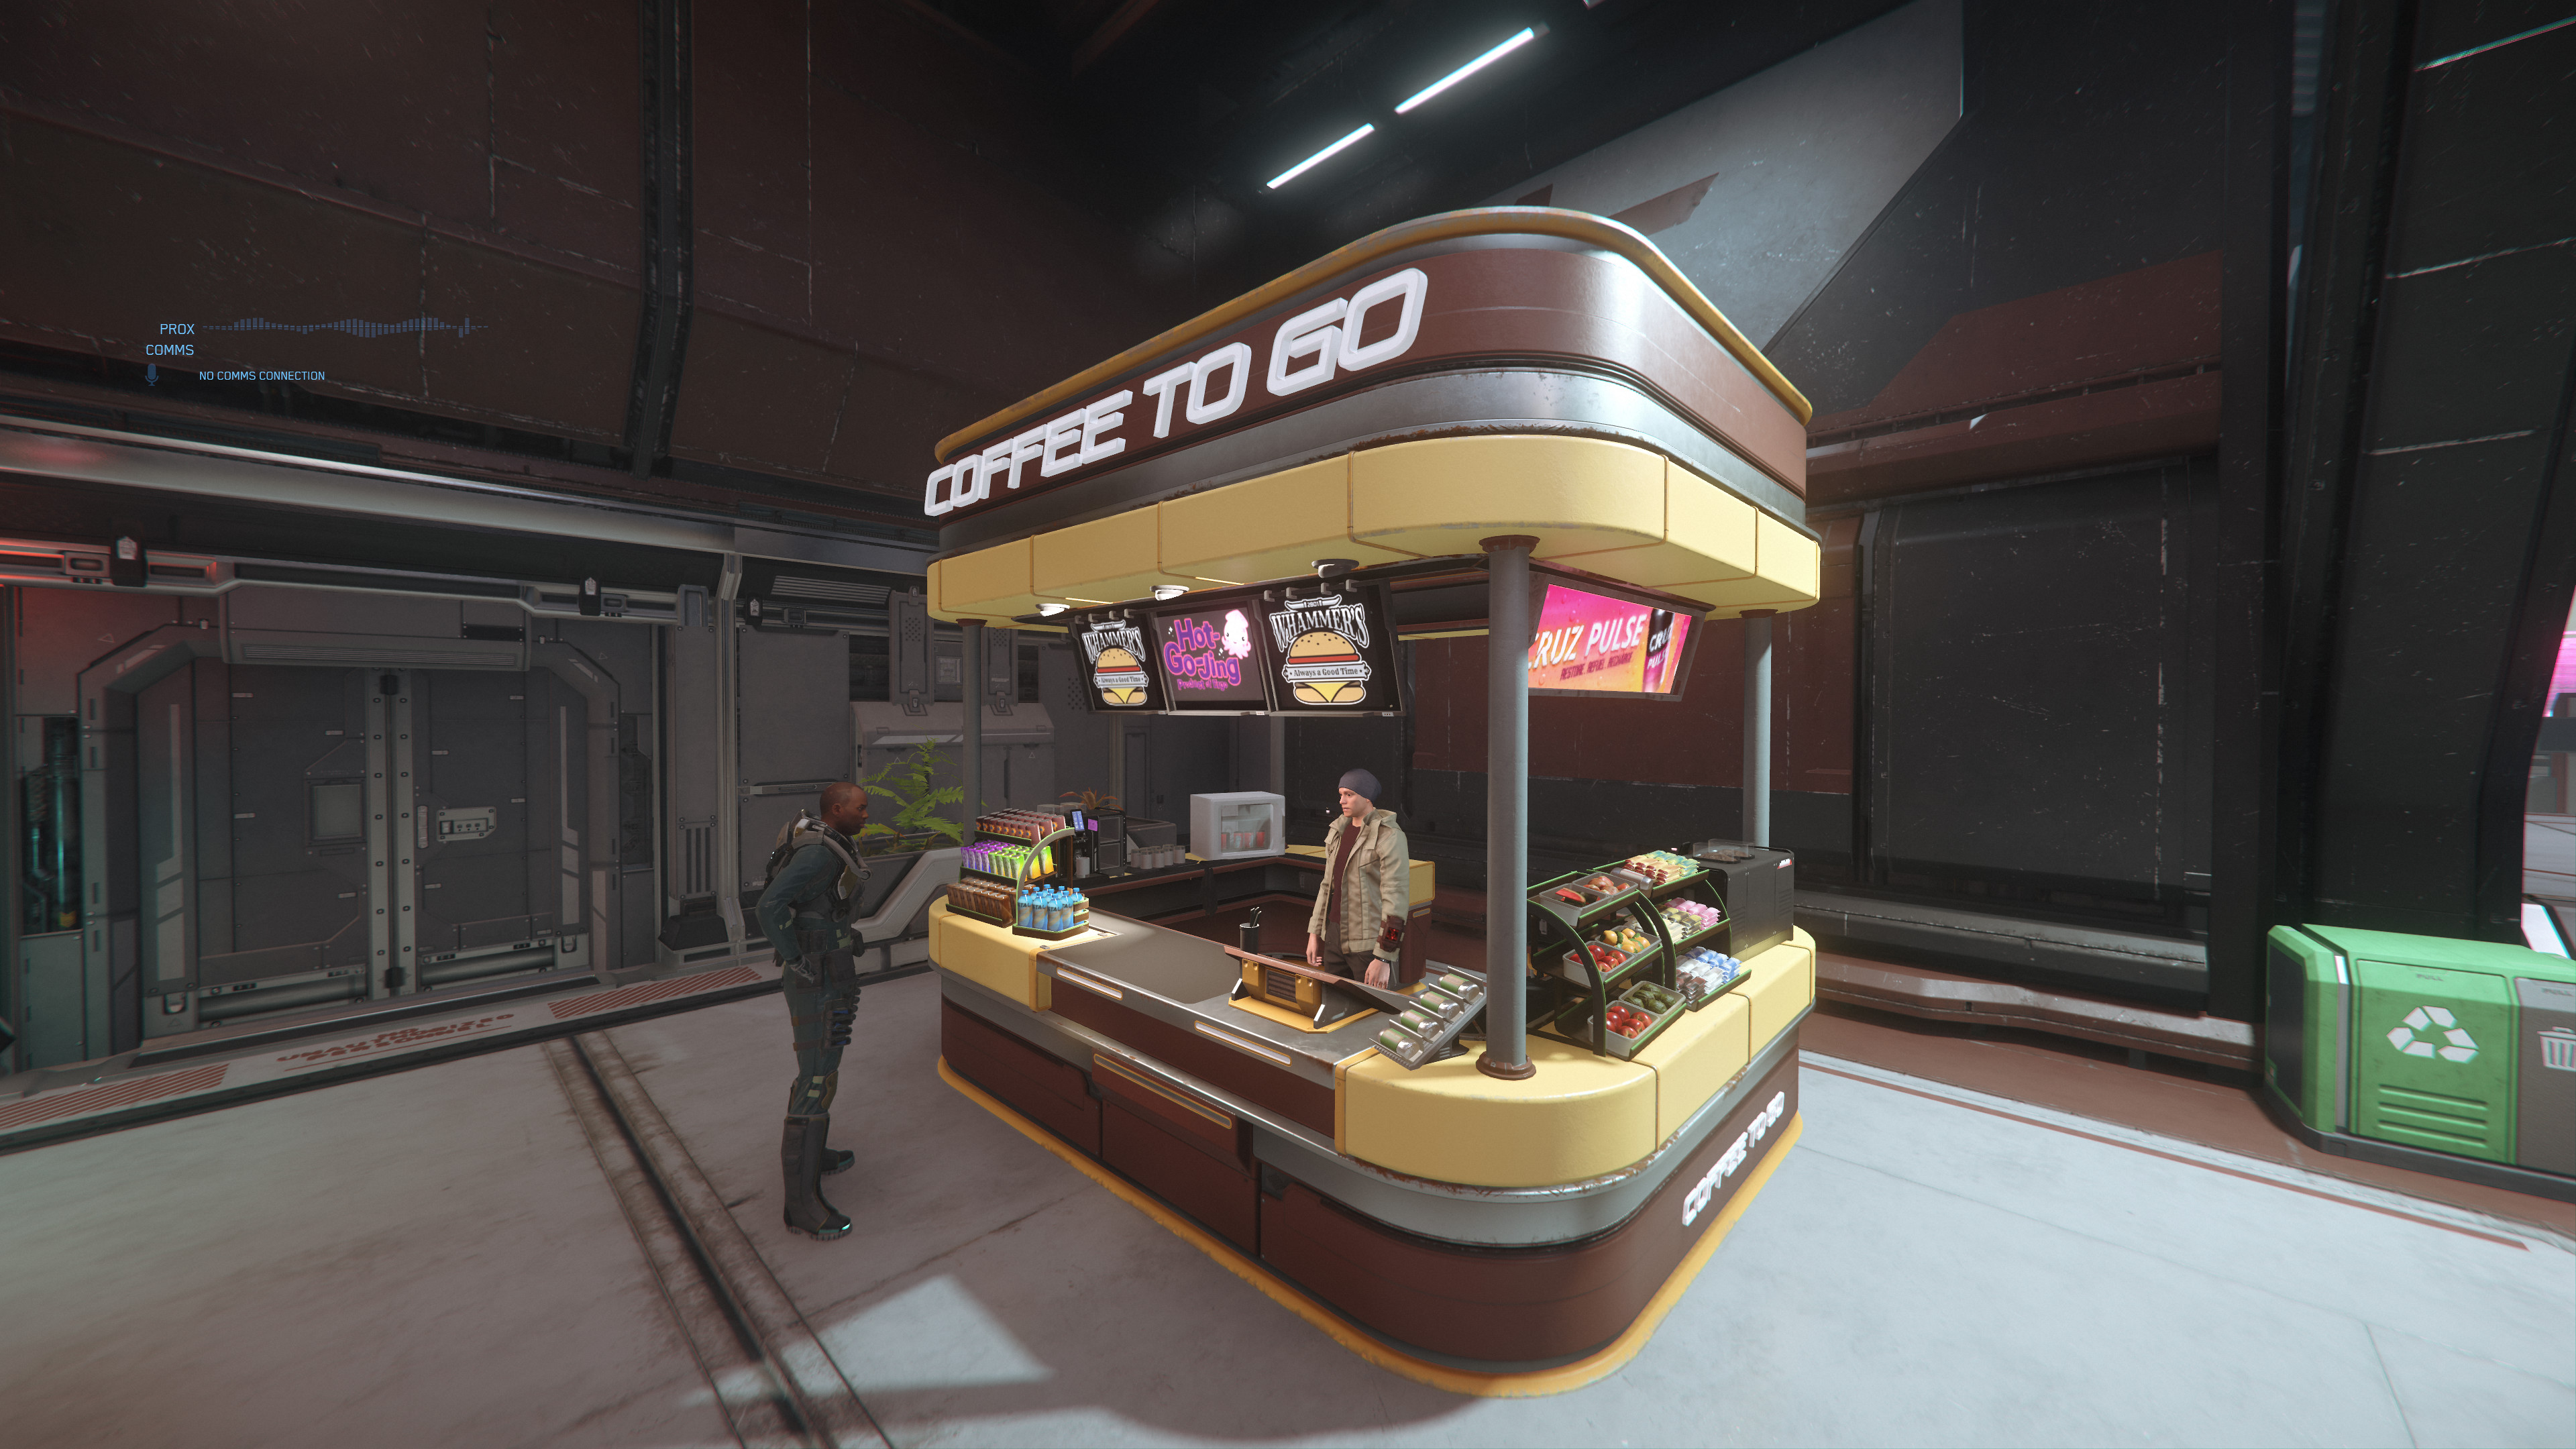
- Area 18 Riker Memorial Raumhafen Kiosk im Wartebereich.jpg 3.840 × 2.160; 1,38 MB
- Area 18 Riker Memorial Raumhafen Kontrollbereich.jpg 3.840 × 2.160; 1,47 MB
- Area 18 Riker Memorial Raumhafen Passage Bild 1.jpg 3.840 × 2.160; 1,39 MB
- Area 18 Riker Memorial Raumhafen Passage Bild 2.jpg 3.840 × 2.160; 1,29 MB
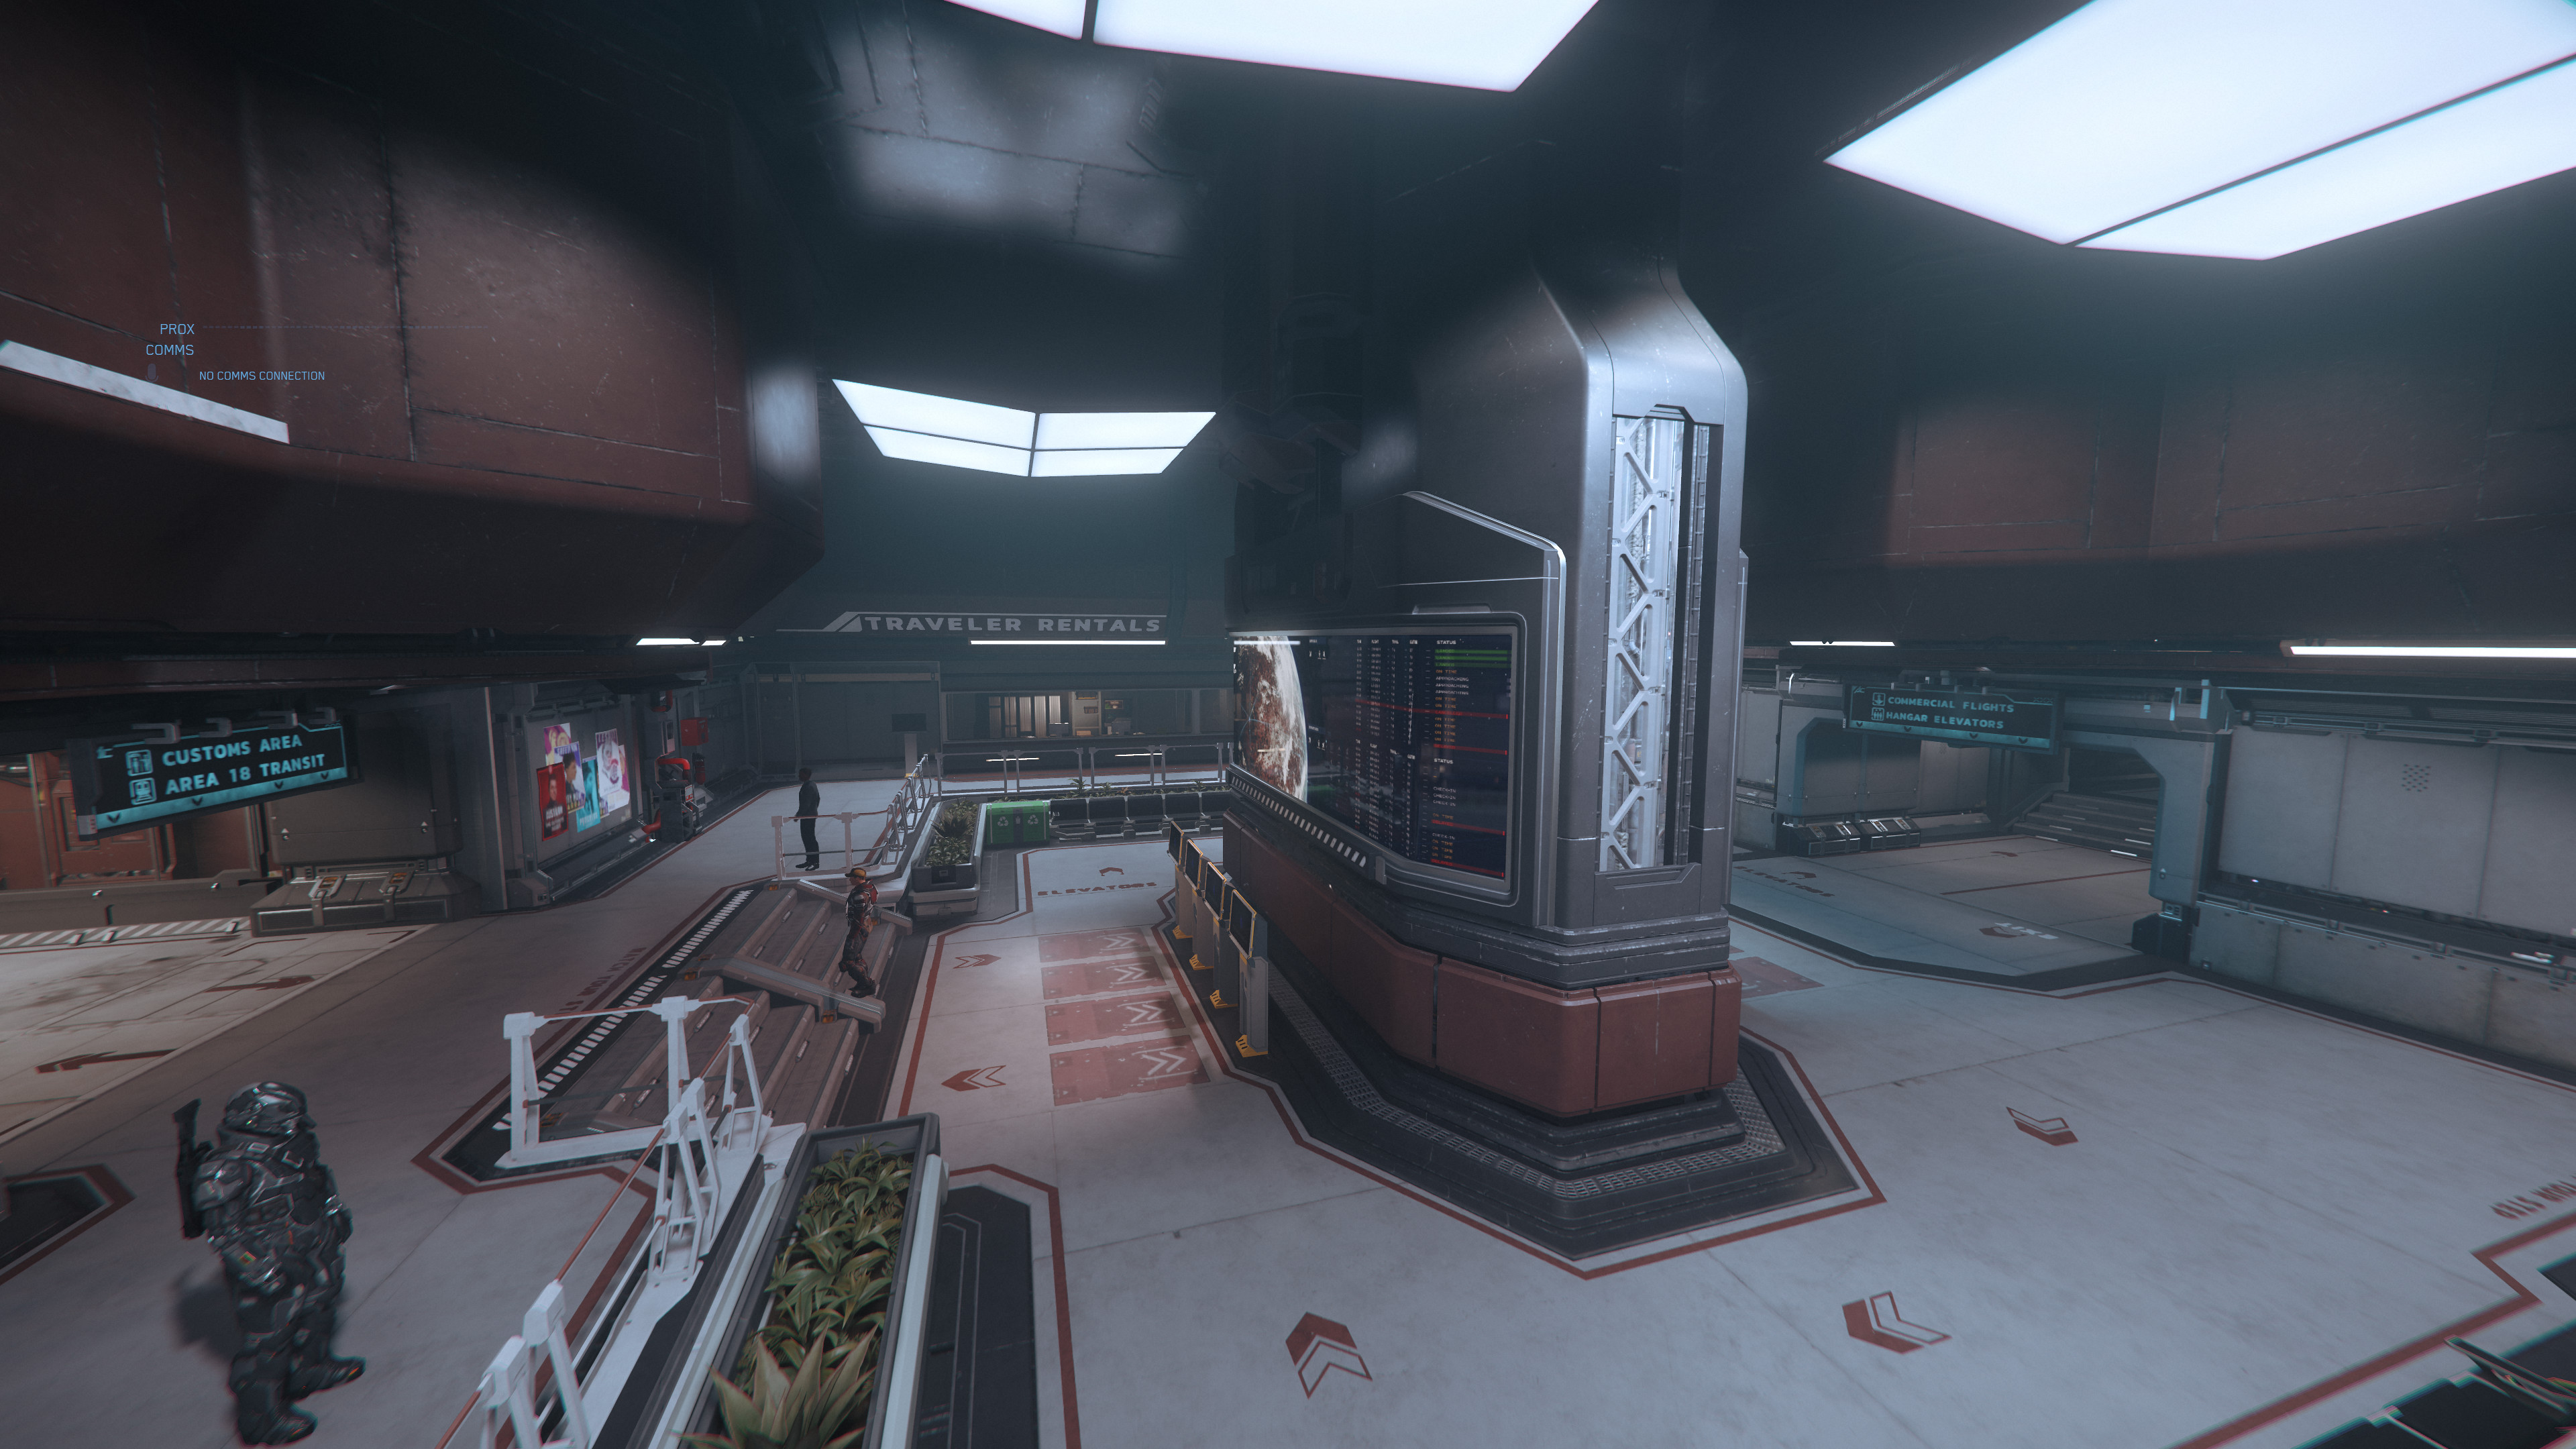
- Area 18 Riker Memorial Raumhafen Transitbereich.jpg 3.840 × 2.160; 1,39 MB
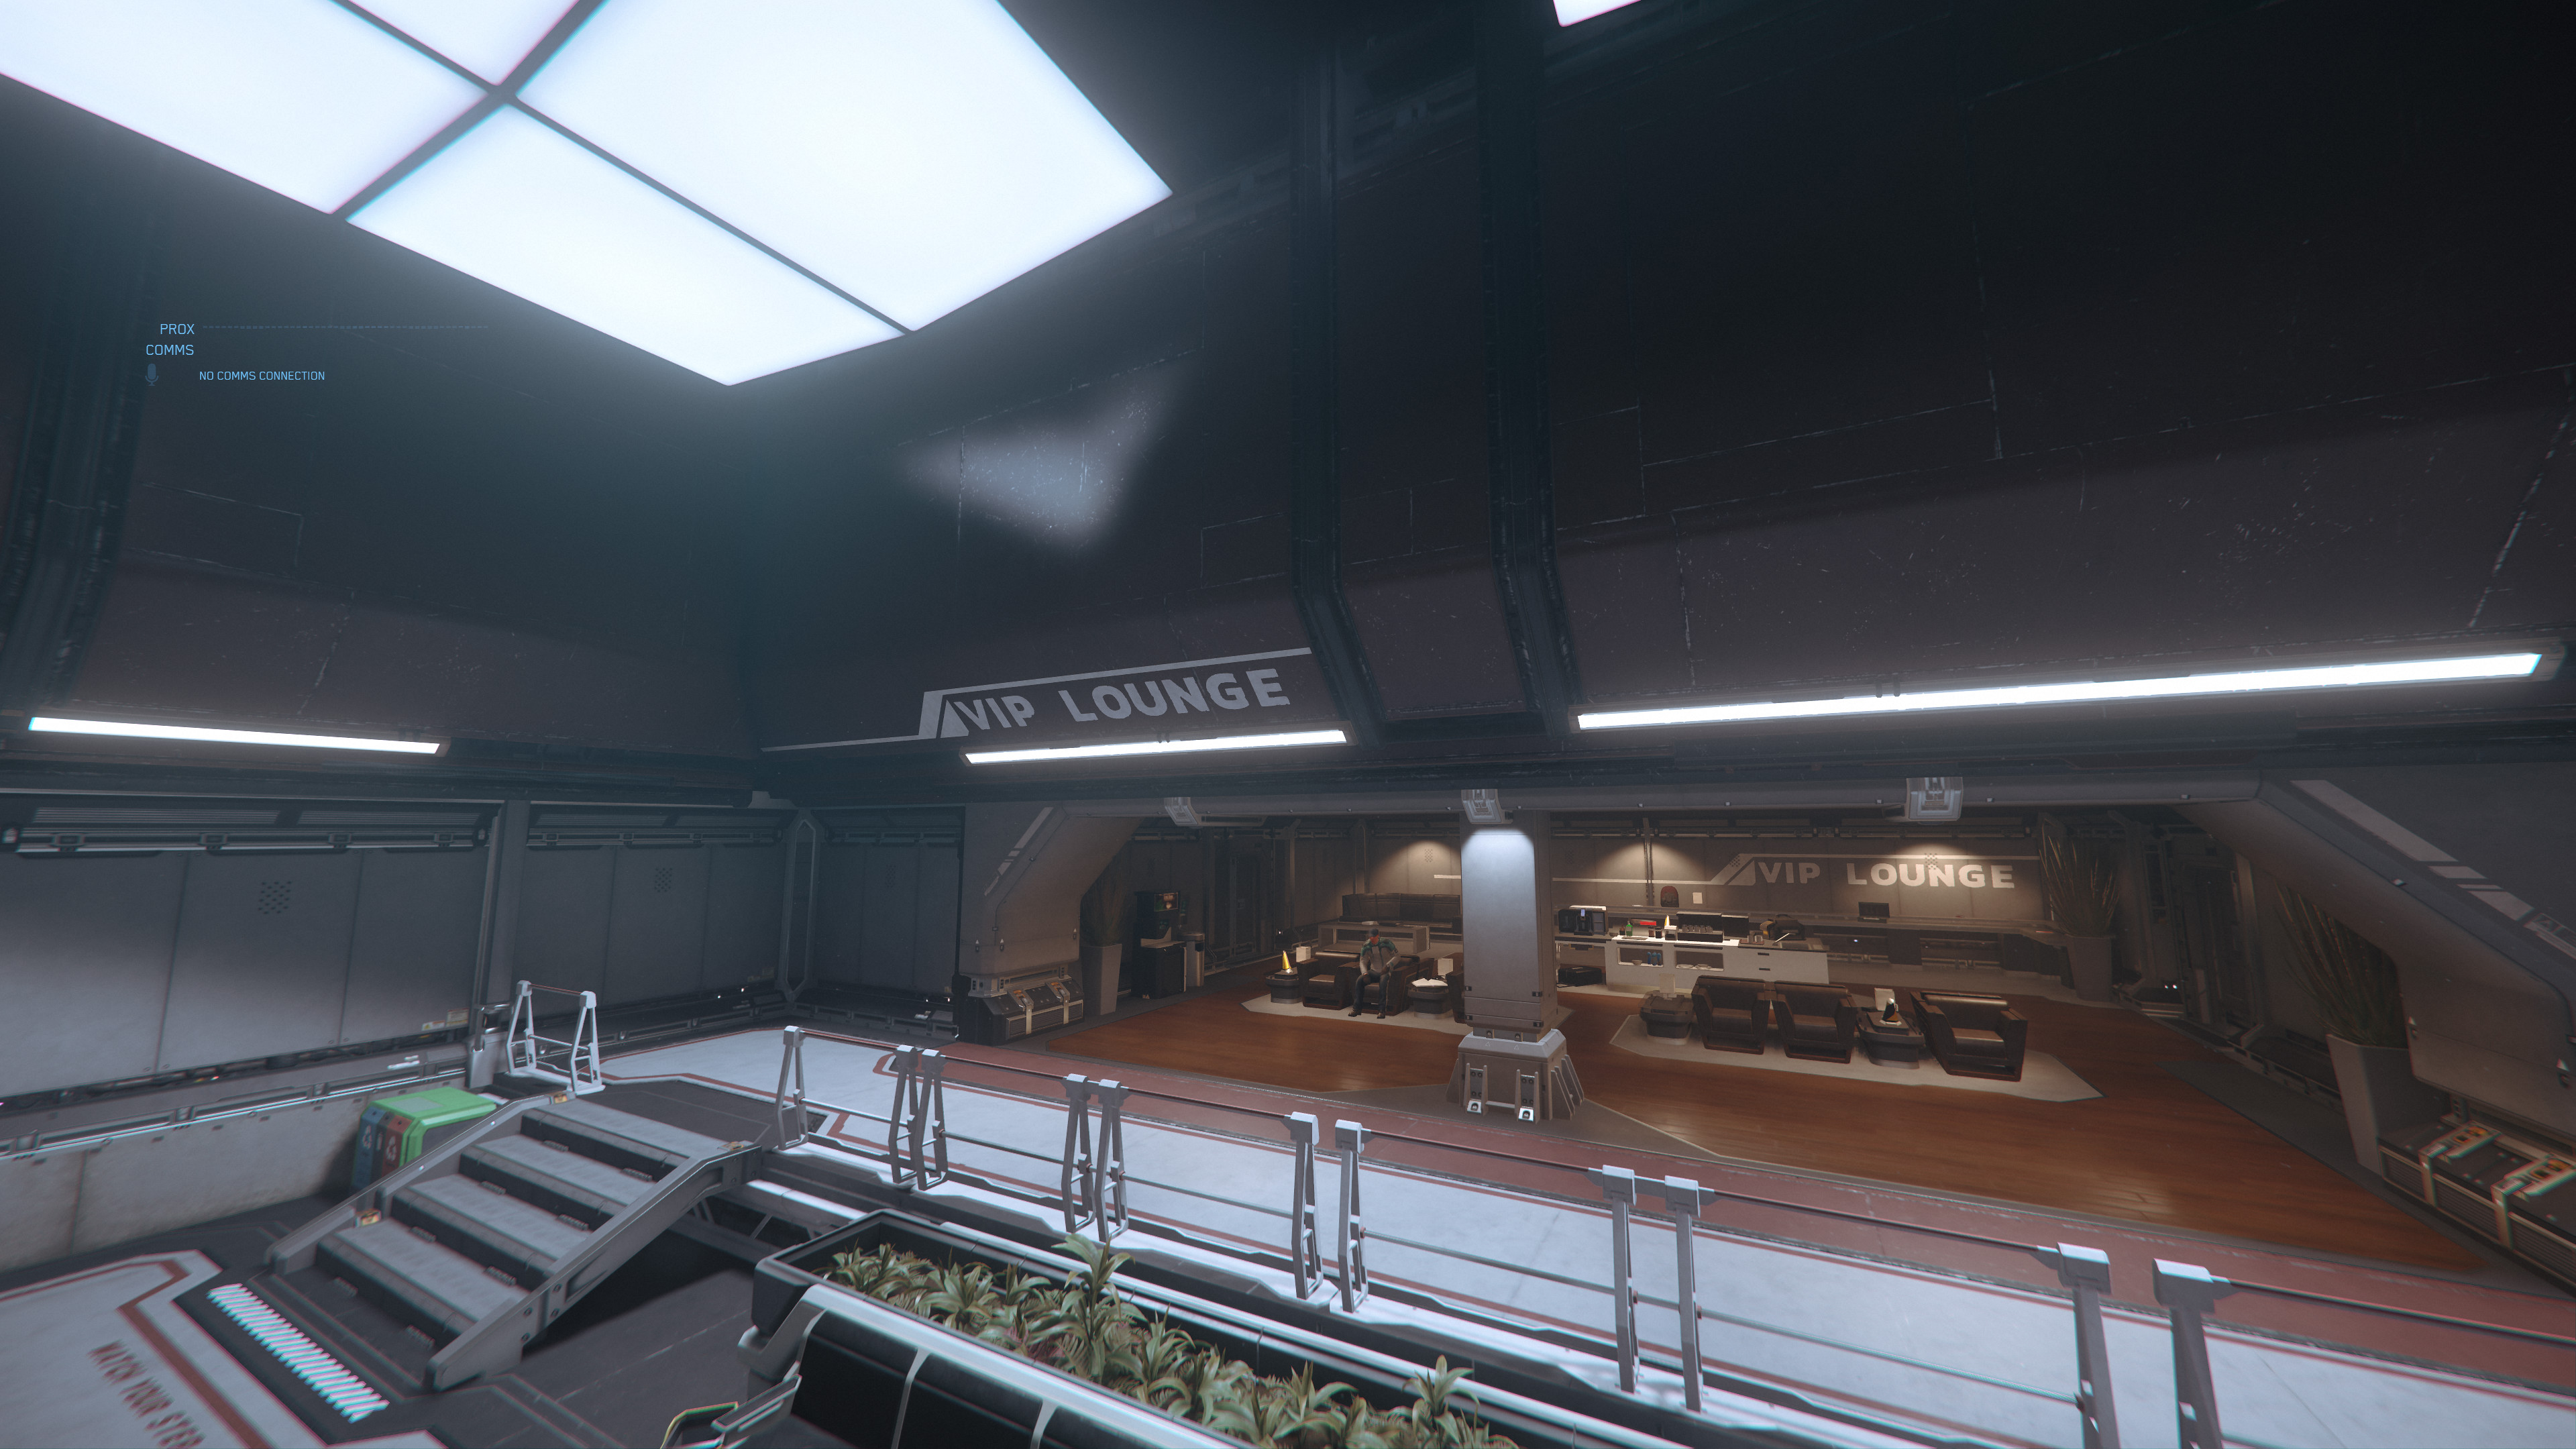
- Area 18 Riker Memorial Raumhafen VIP Lounge.jpg 3.840 × 2.160; 1,29 MB
- Area 18 Riker Memorial Raumhafen Wartebereich.jpg 3.840 × 2.160; 1,29 MB
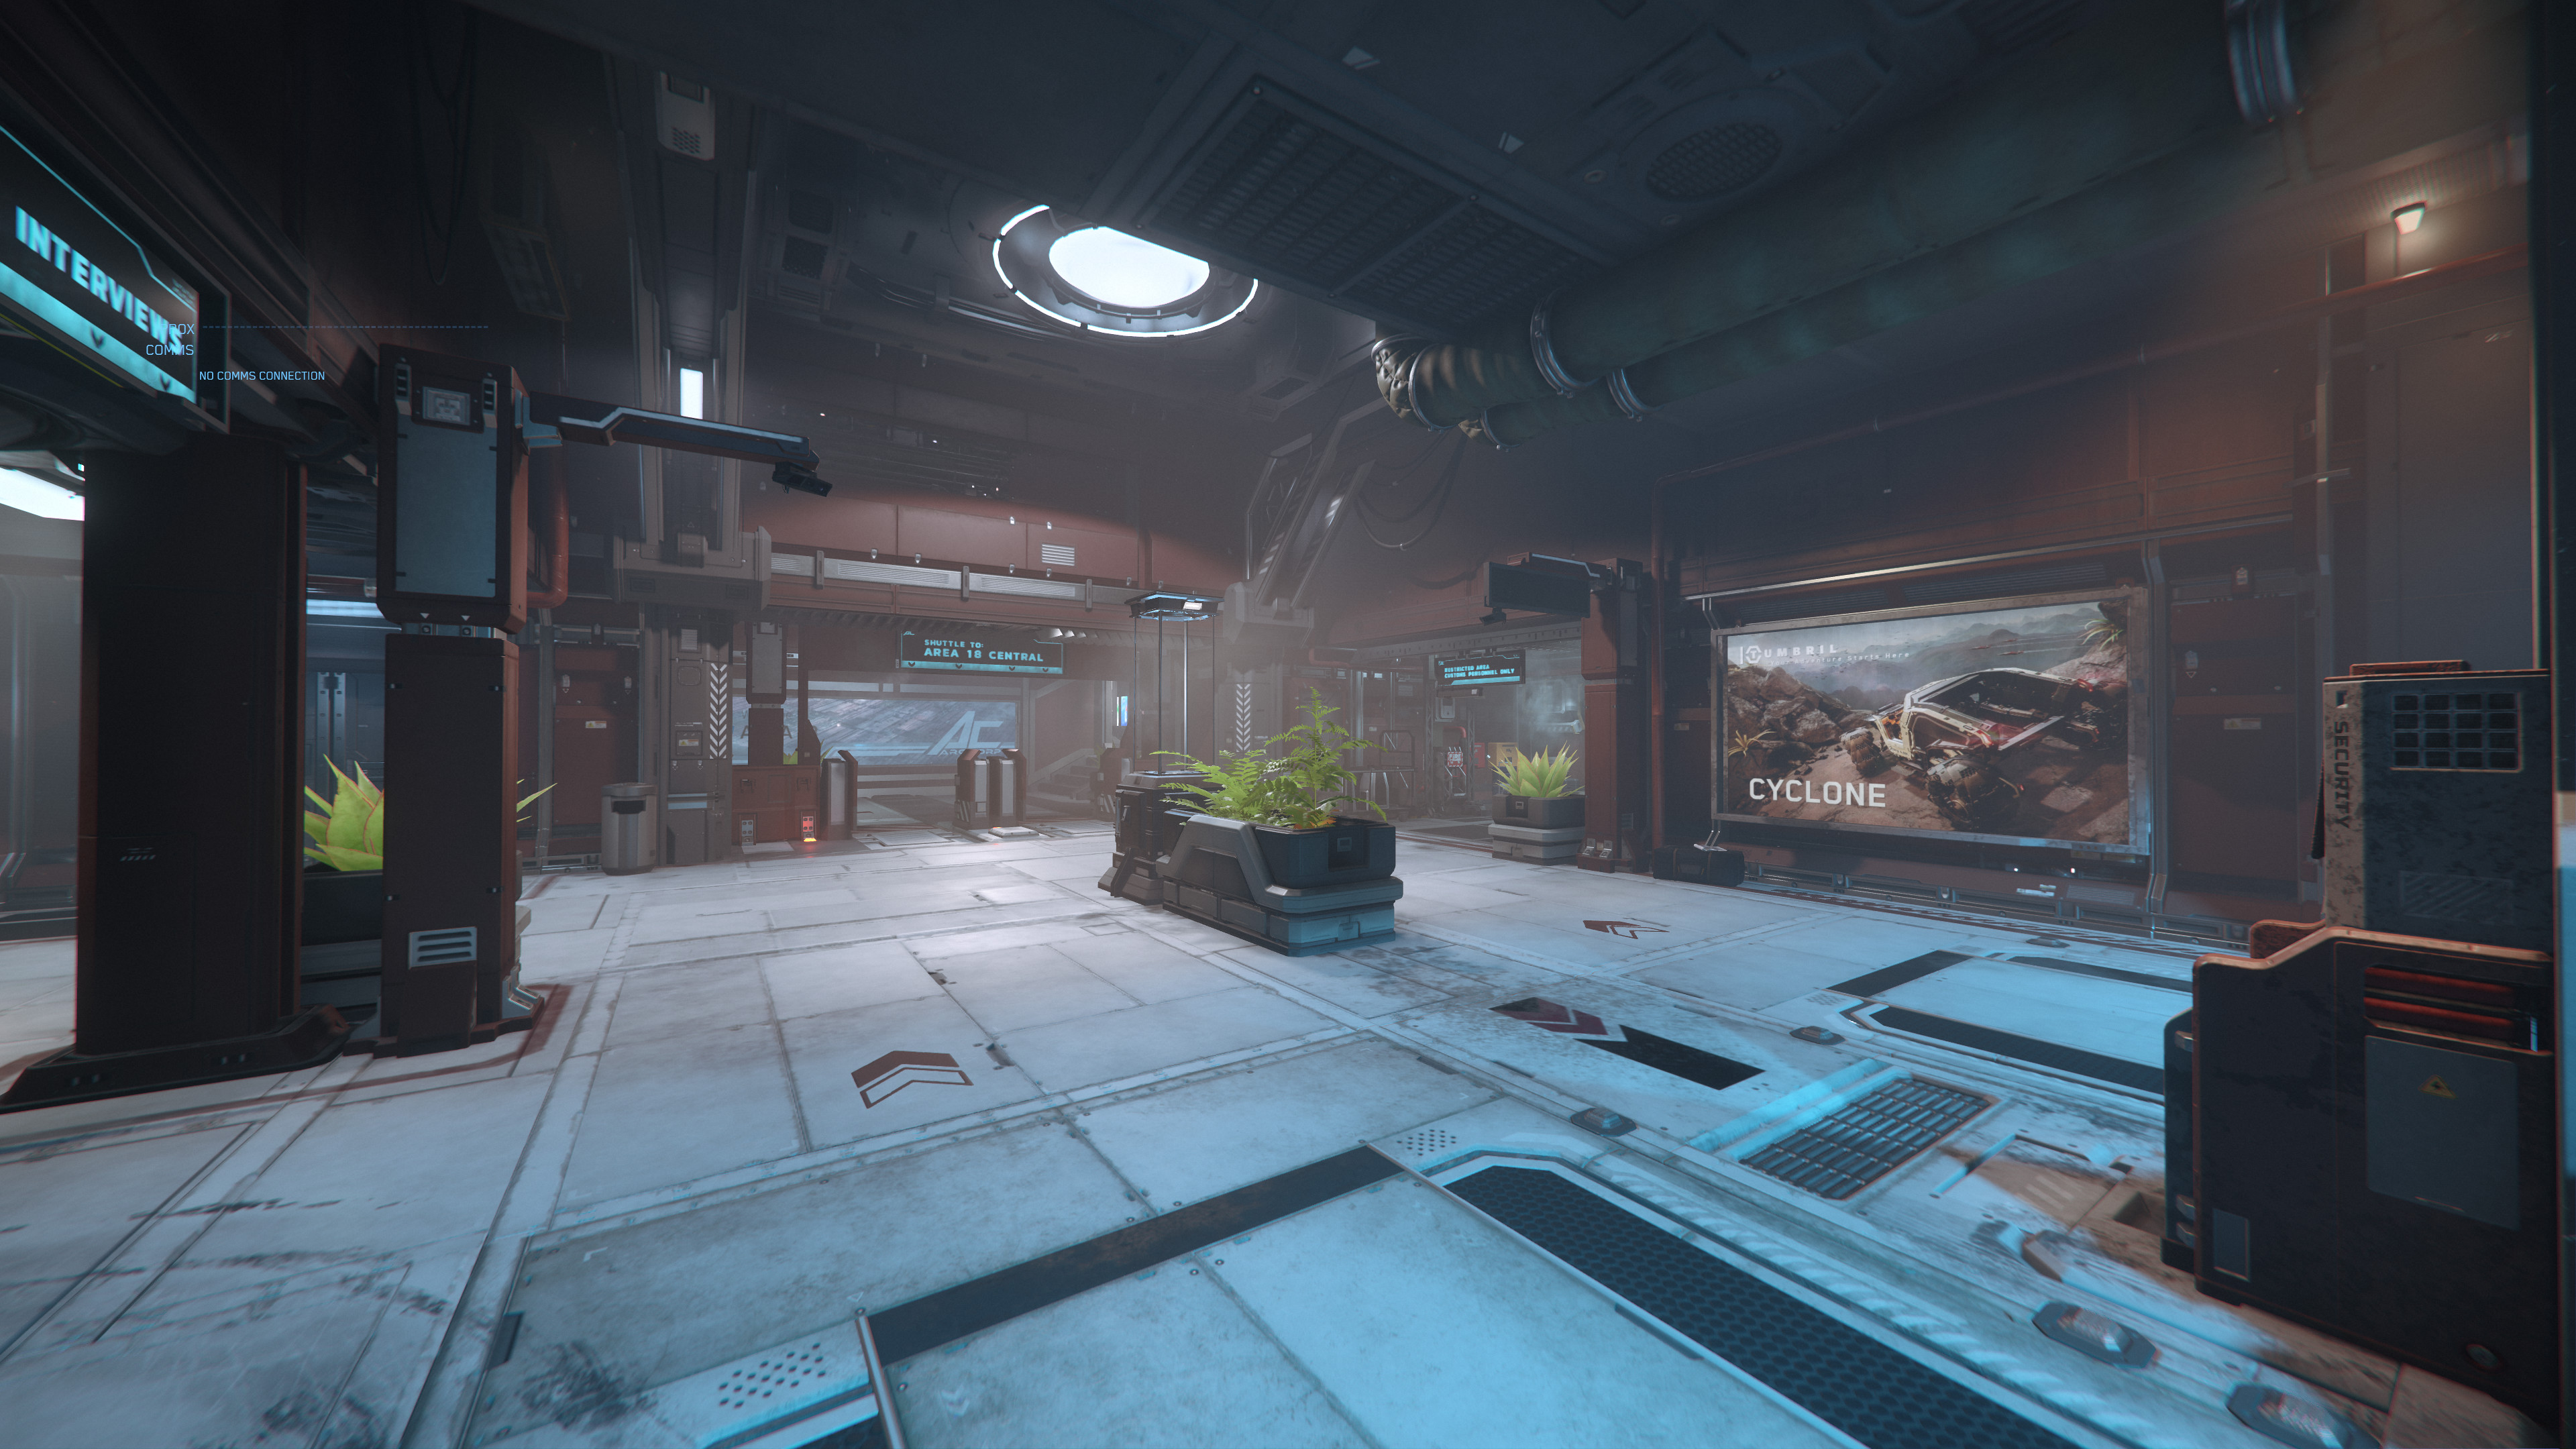
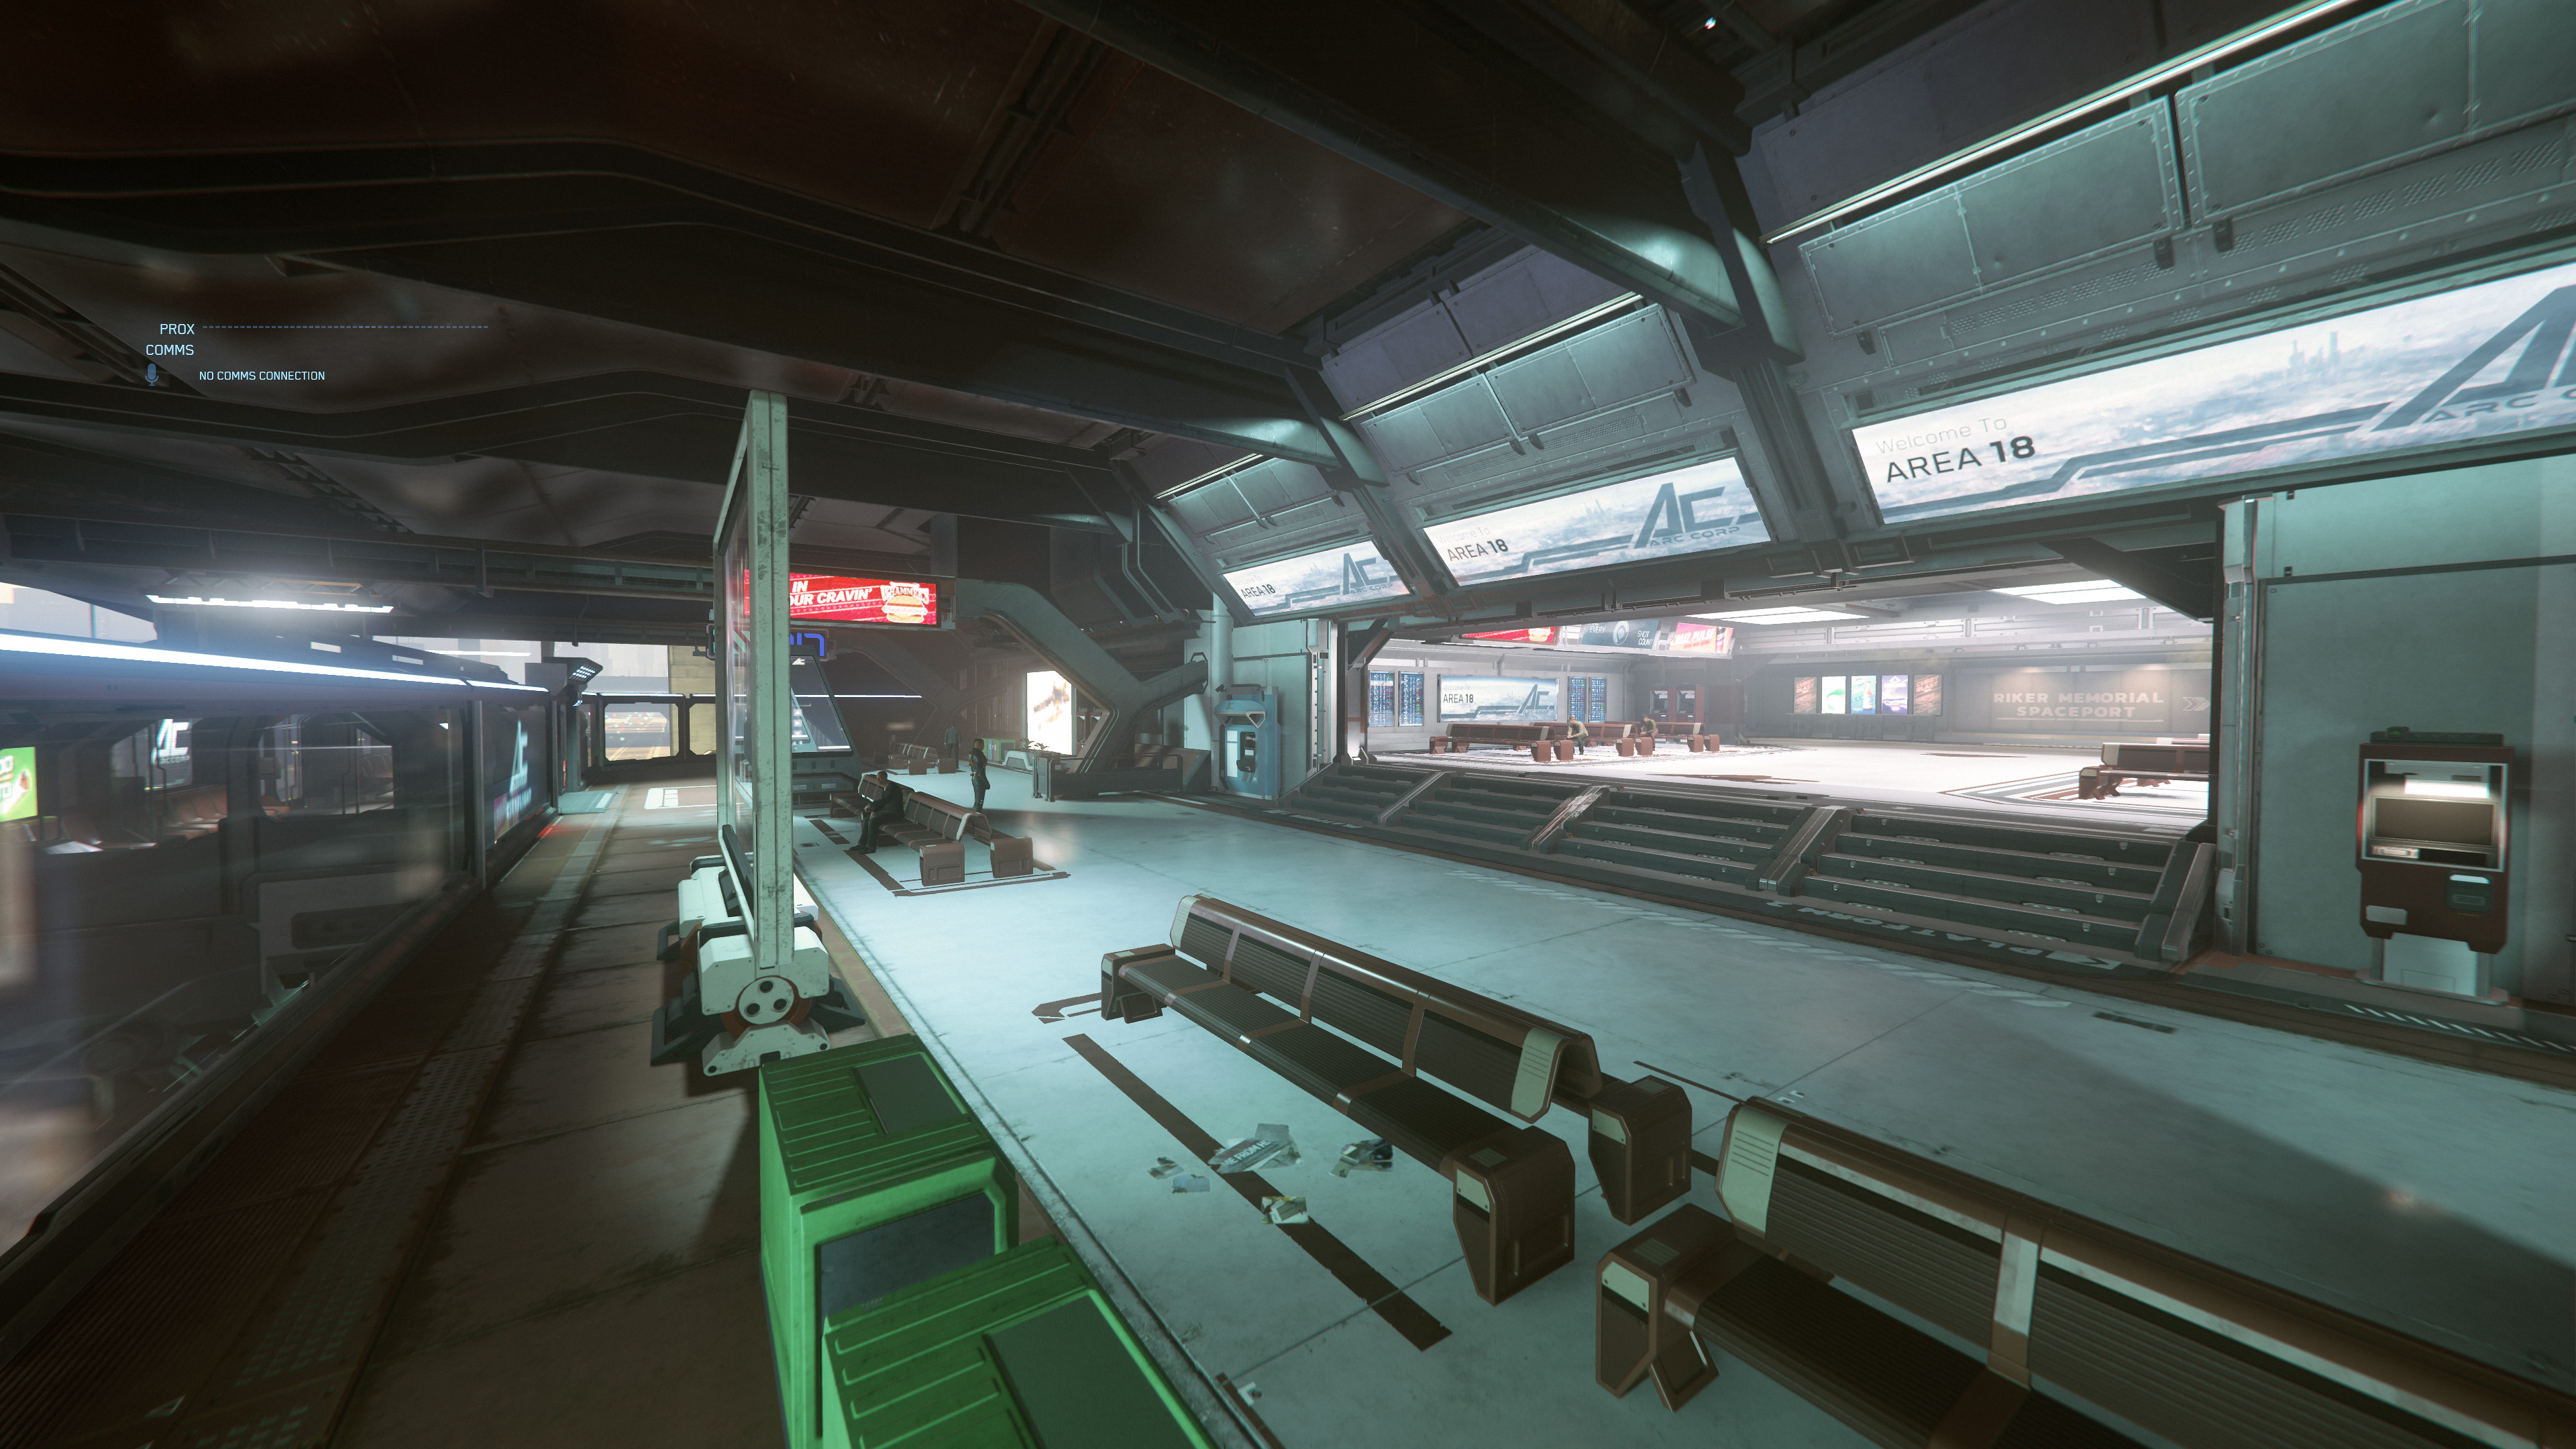
- Area 18 Riker Memorial Raumhafen.jpg 3.840 × 2.160; 1,95 MB
- Area 18 Riker Memorial Spaceport - Cityflight Transit.jpg 3.840 × 2.160; 1,46 MB
- Area 18 Unterschlupf von Tecia Twitch Pacheco.jpg 3.840 × 2.160; 1,22 MB
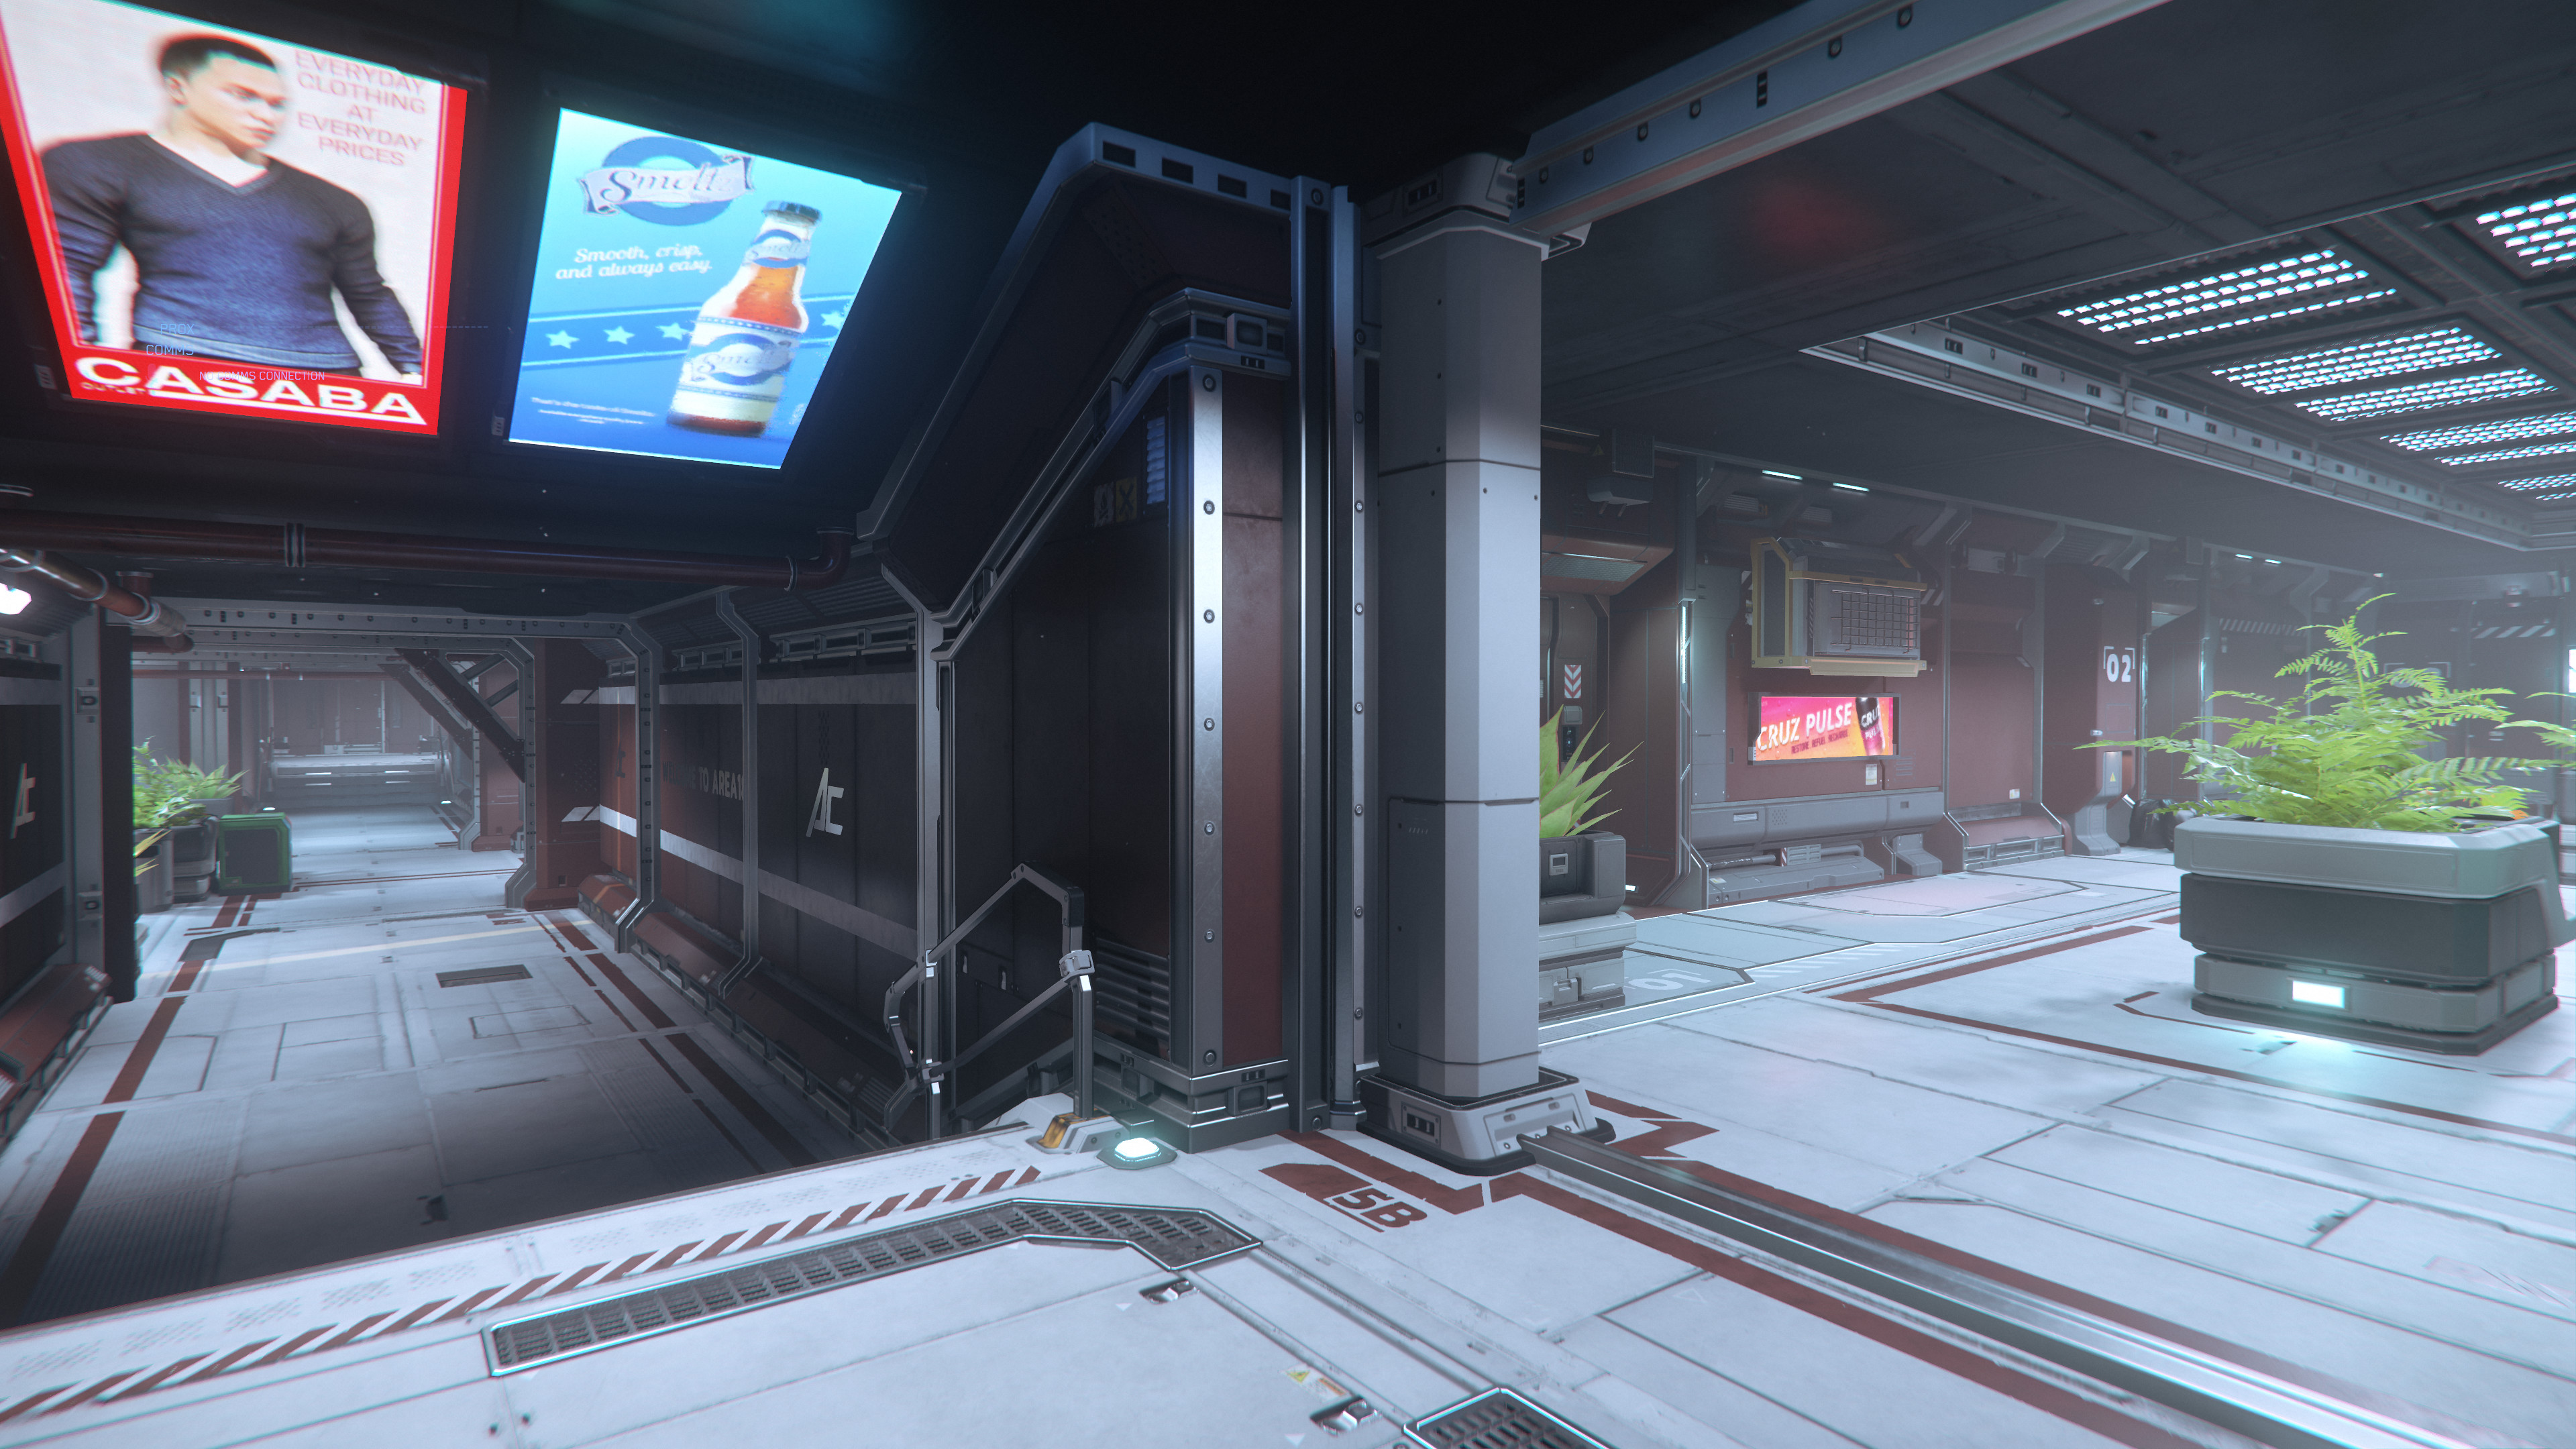
- Area 18 Zone 1 - Adira Falls zu ArcCorp Plaza Passage.jpg 3.840 × 2.160; 1,41 MB
- Area 18 Zone 1 Adira Falls Apartment Bild 1.jpg 3.840 × 2.160; 1,37 MB
- Area 18 Zone 1 Adira Falls Apartment Bild 2.jpg 3.840 × 2.160; 1,26 MB
- Area 18 Zone 1 Adira Falls Apartment Flur - Big Benny und Pips Automat.jpg 3.840 × 2.160; 1,43 MB
- Area 18 Zone 1 Adira Falls Apartment Flur.jpg 3.840 × 2.160; 1,6 MB
- Area 18 Zone 1 Adira Falls Lounge mit Terminal des Office of Imperial Justice.jpg 3.840 × 2.160; 1,29 MB
- Area 18 Zone 1 Adira Falls Lounge.jpg 3.840 × 2.160; 1,65 MB
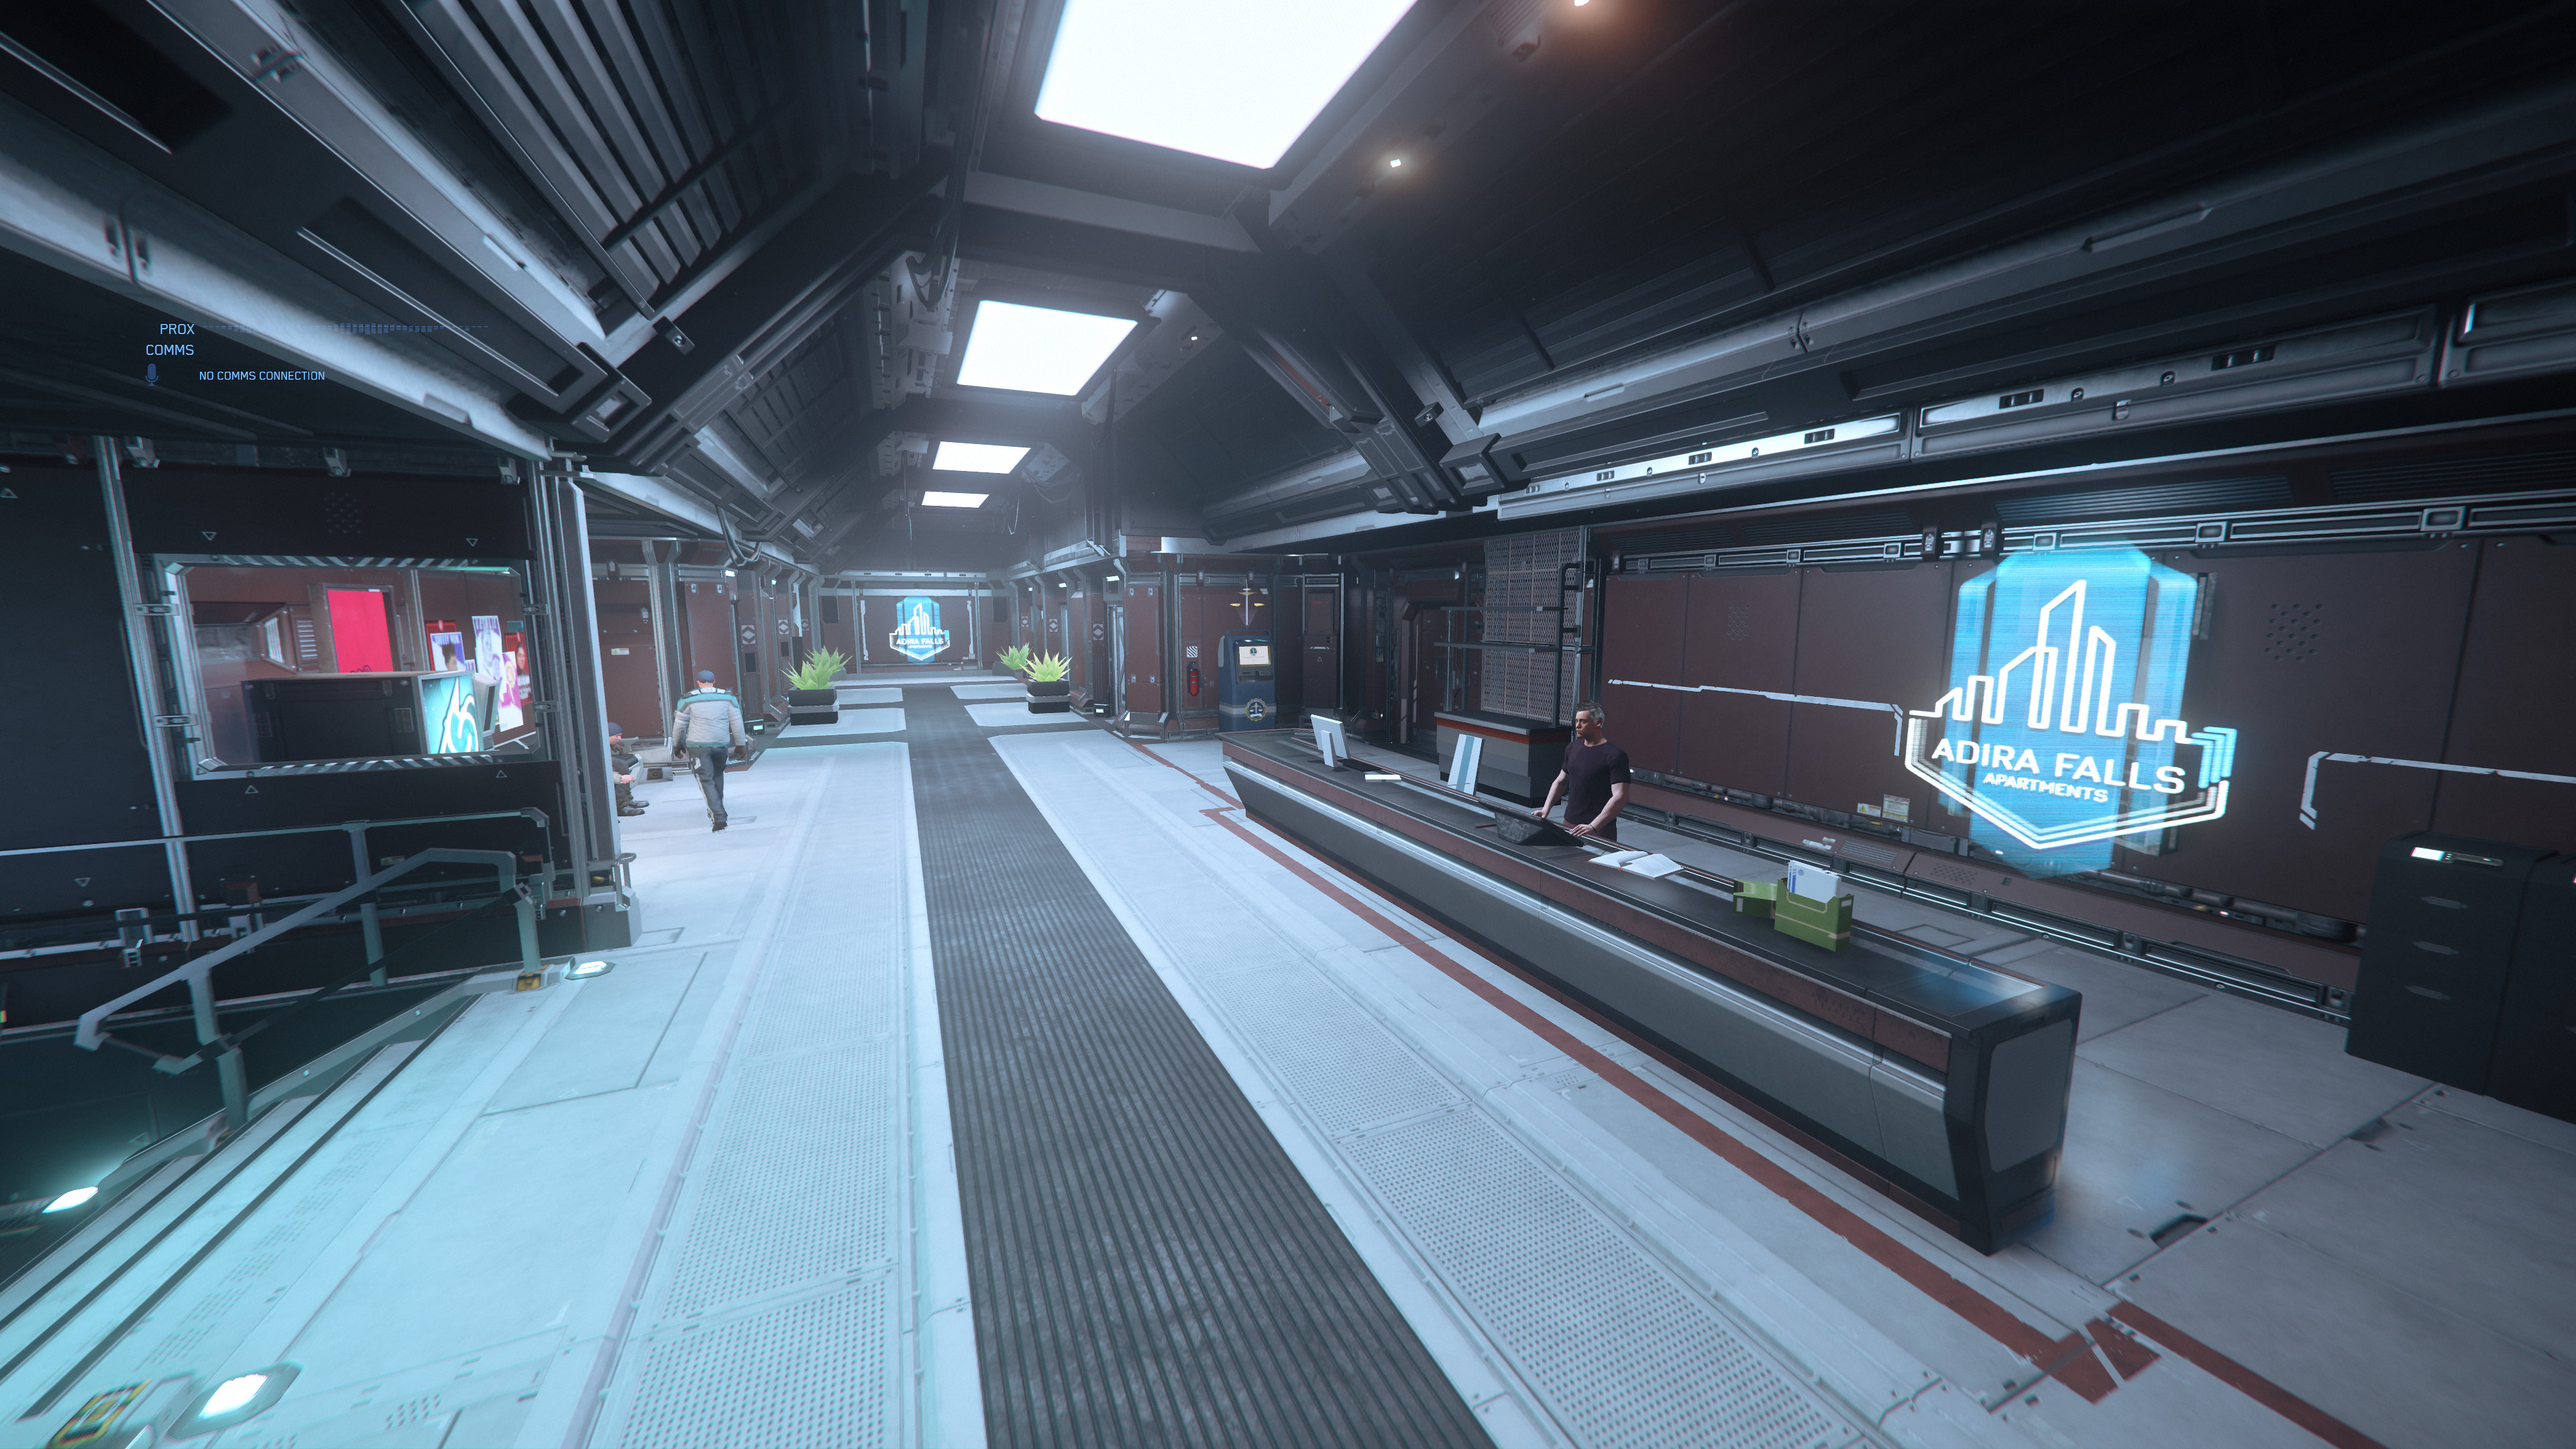
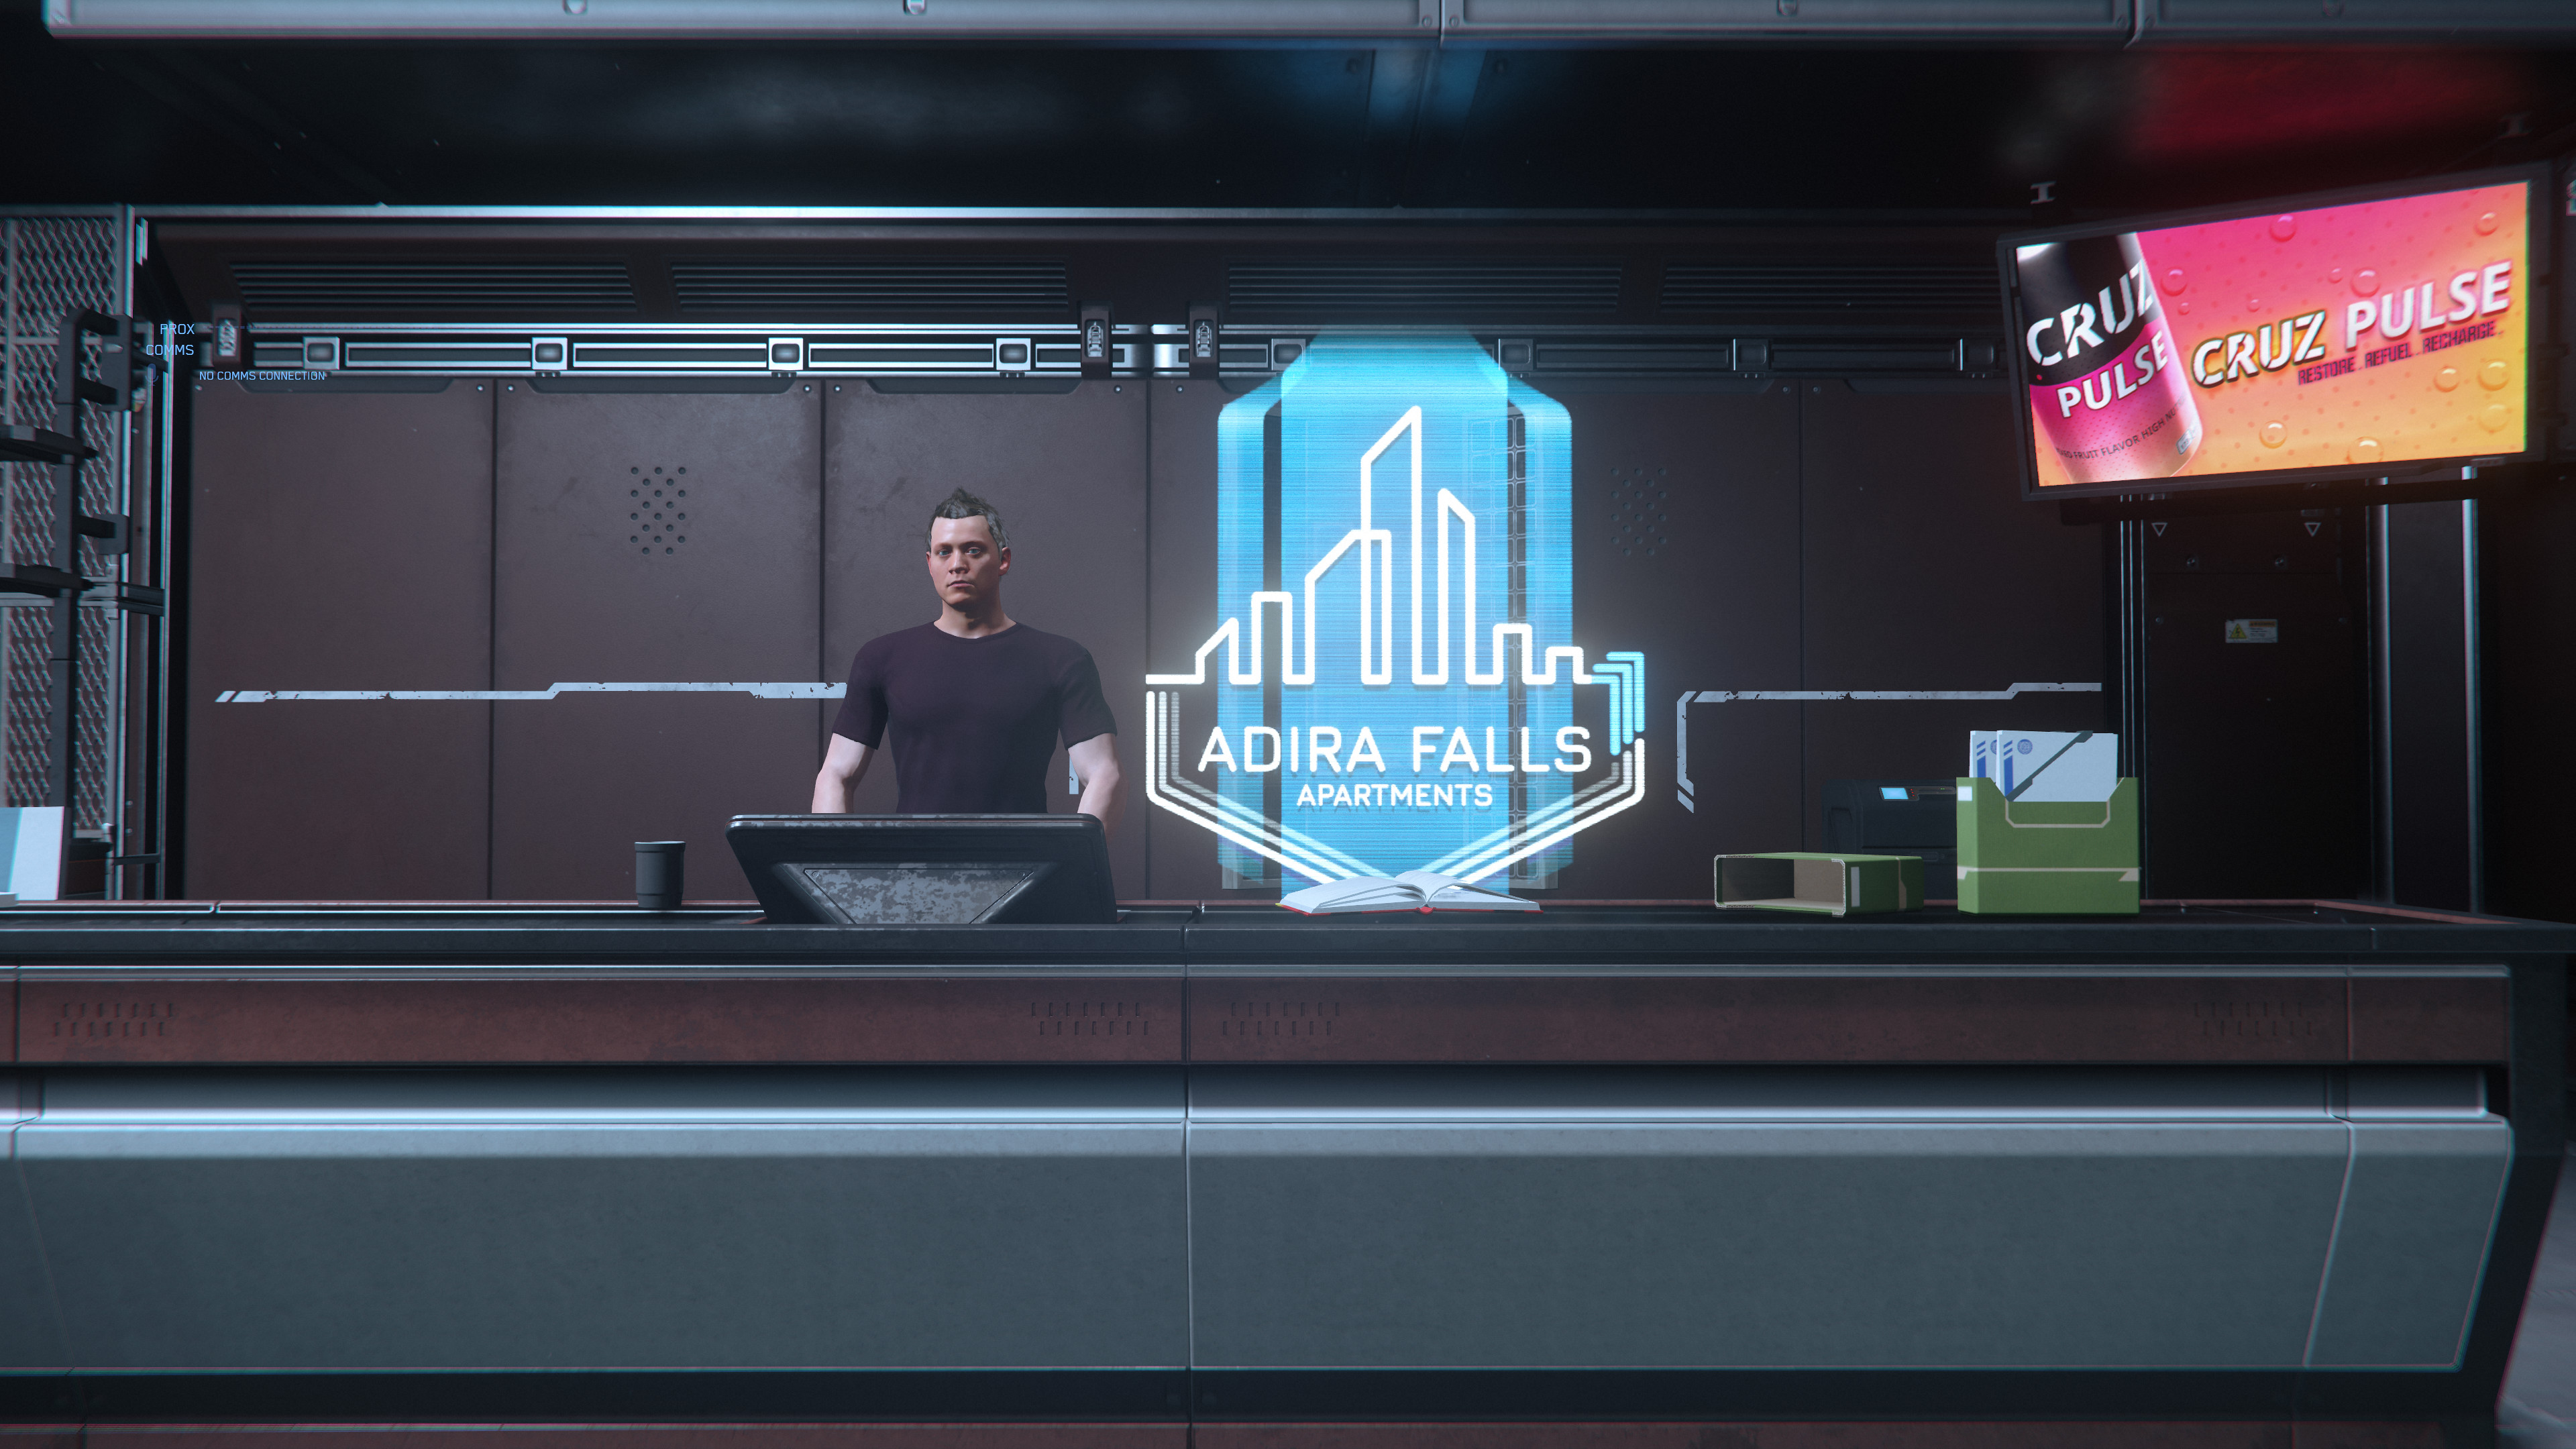
- Area 18 Zone 1 Adira Falls Rezeption.jpg 3.840 × 2.160; 1,39 MB
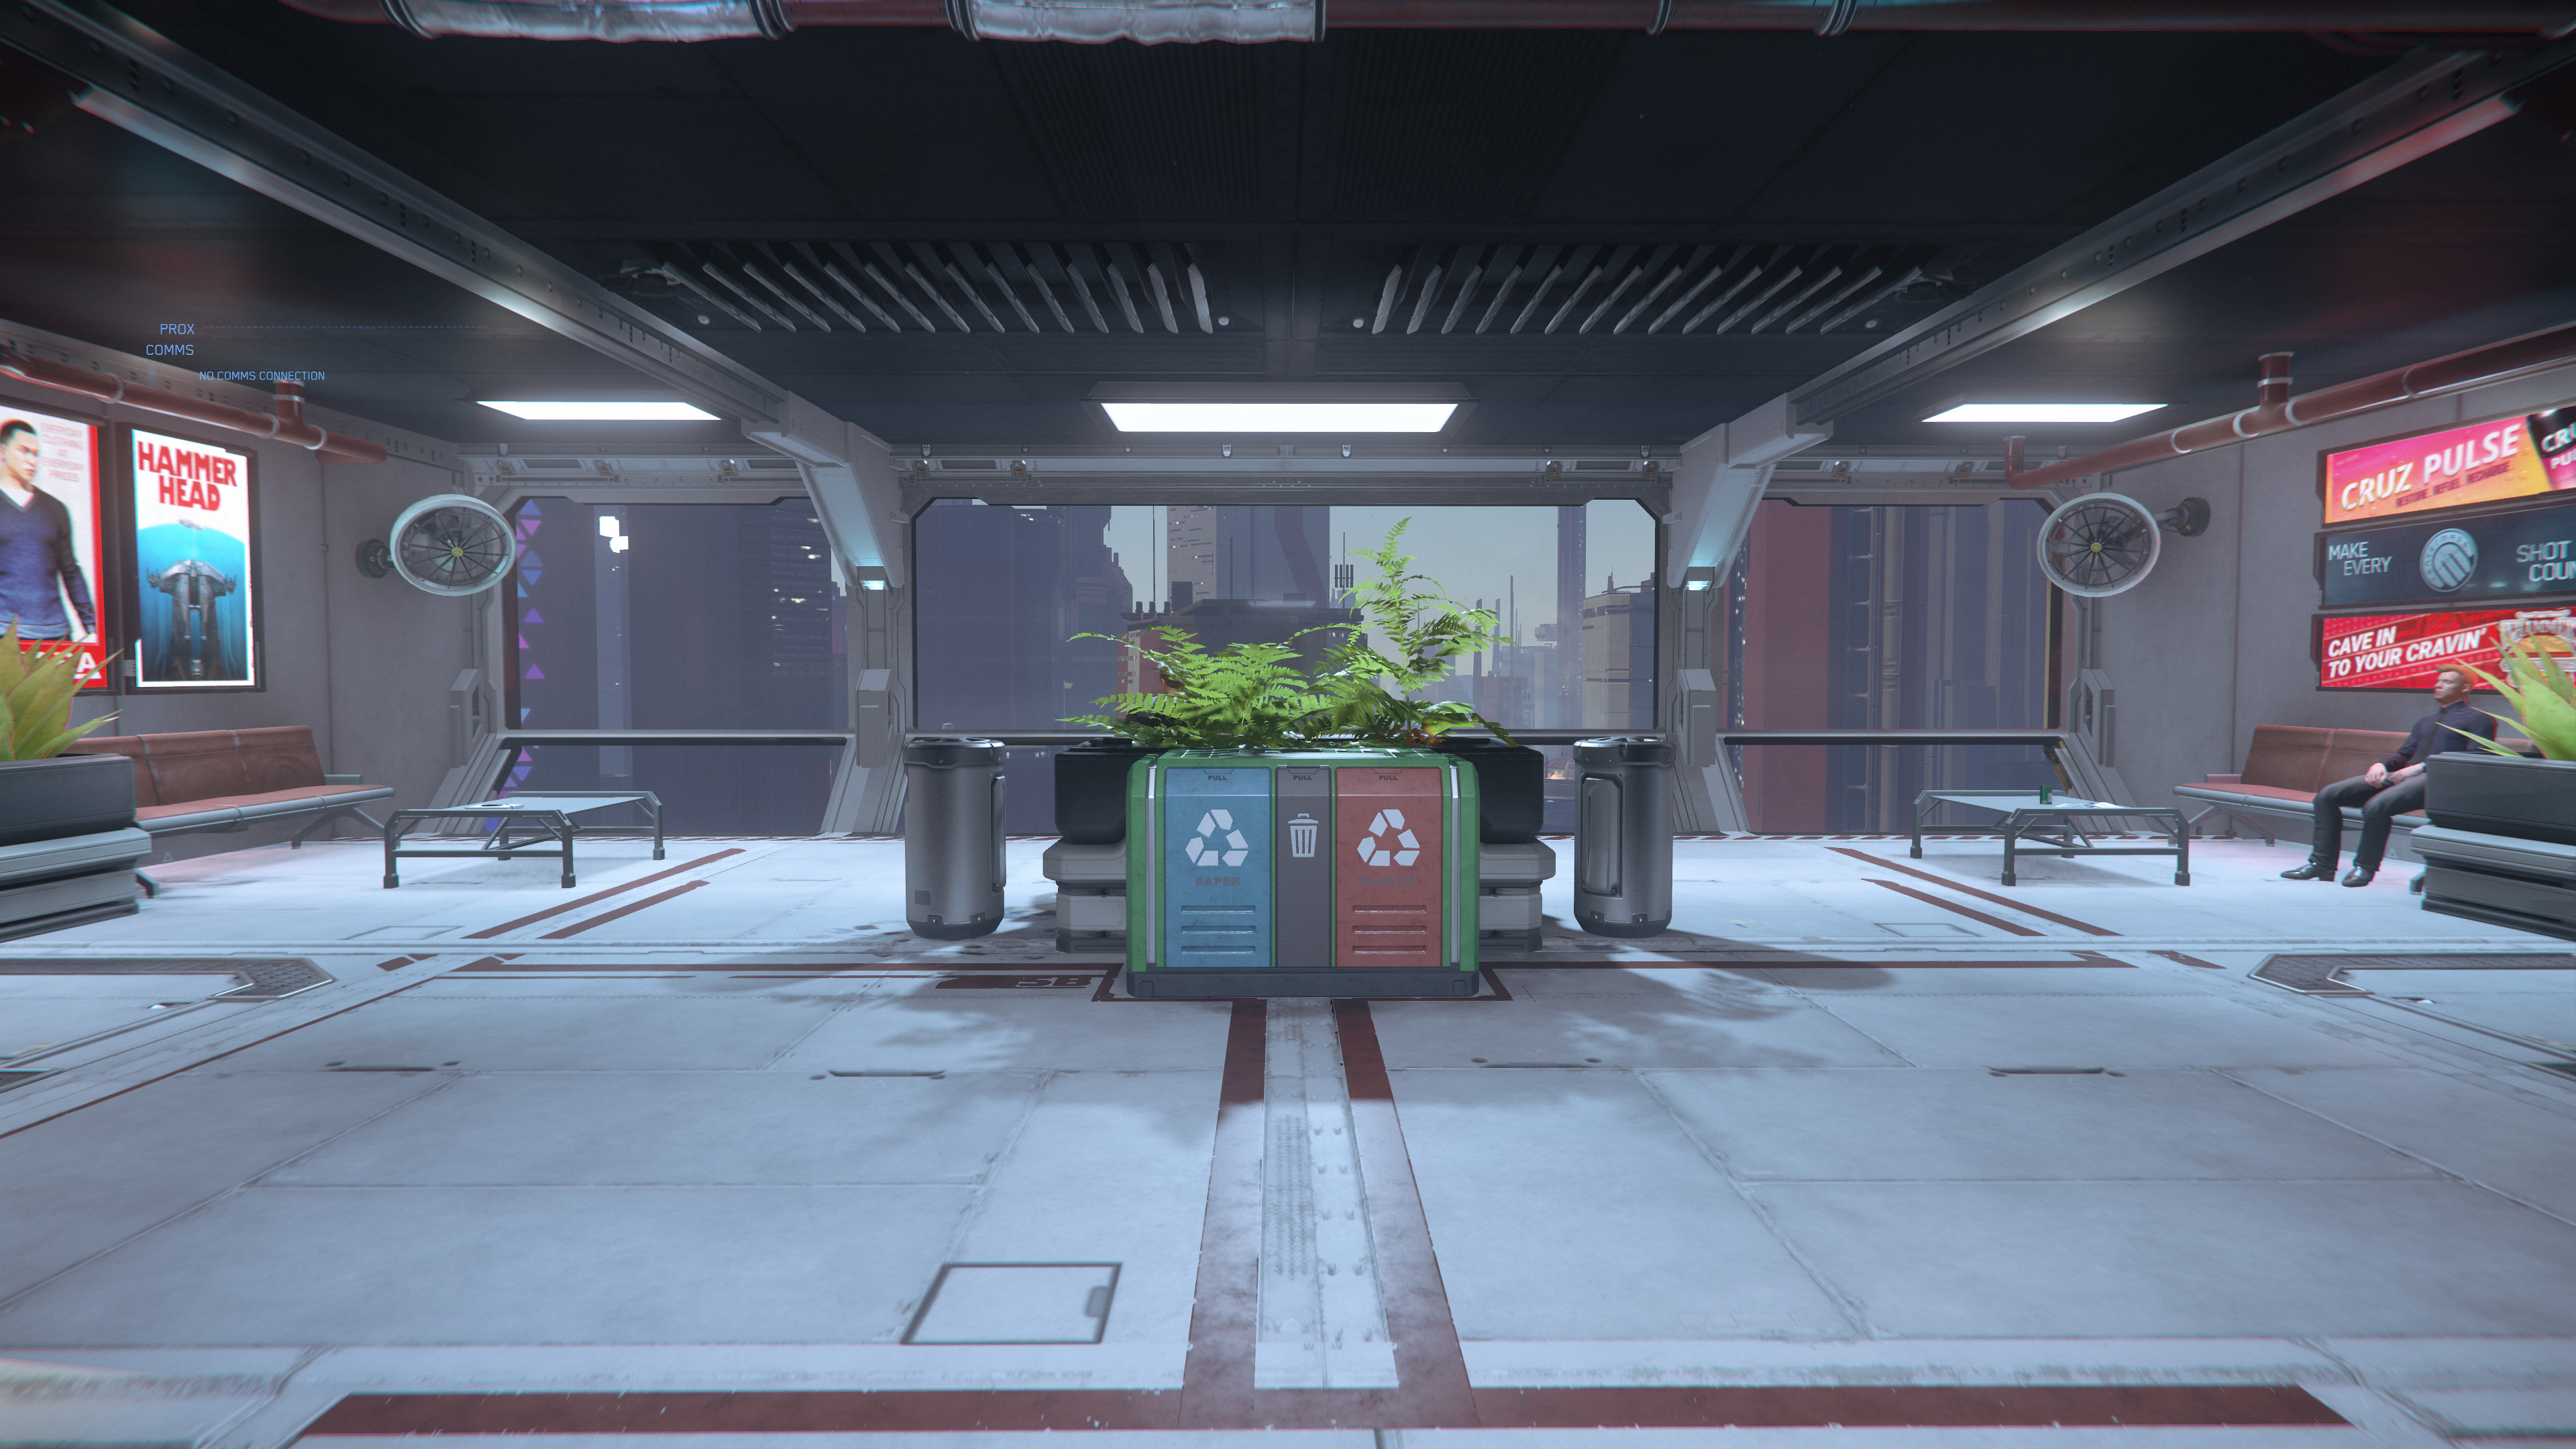
- Area 18 Zone 1 Adira Falls Wartebereich vor dem Aufzug.jpg 3.840 × 2.160; 1,41 MB
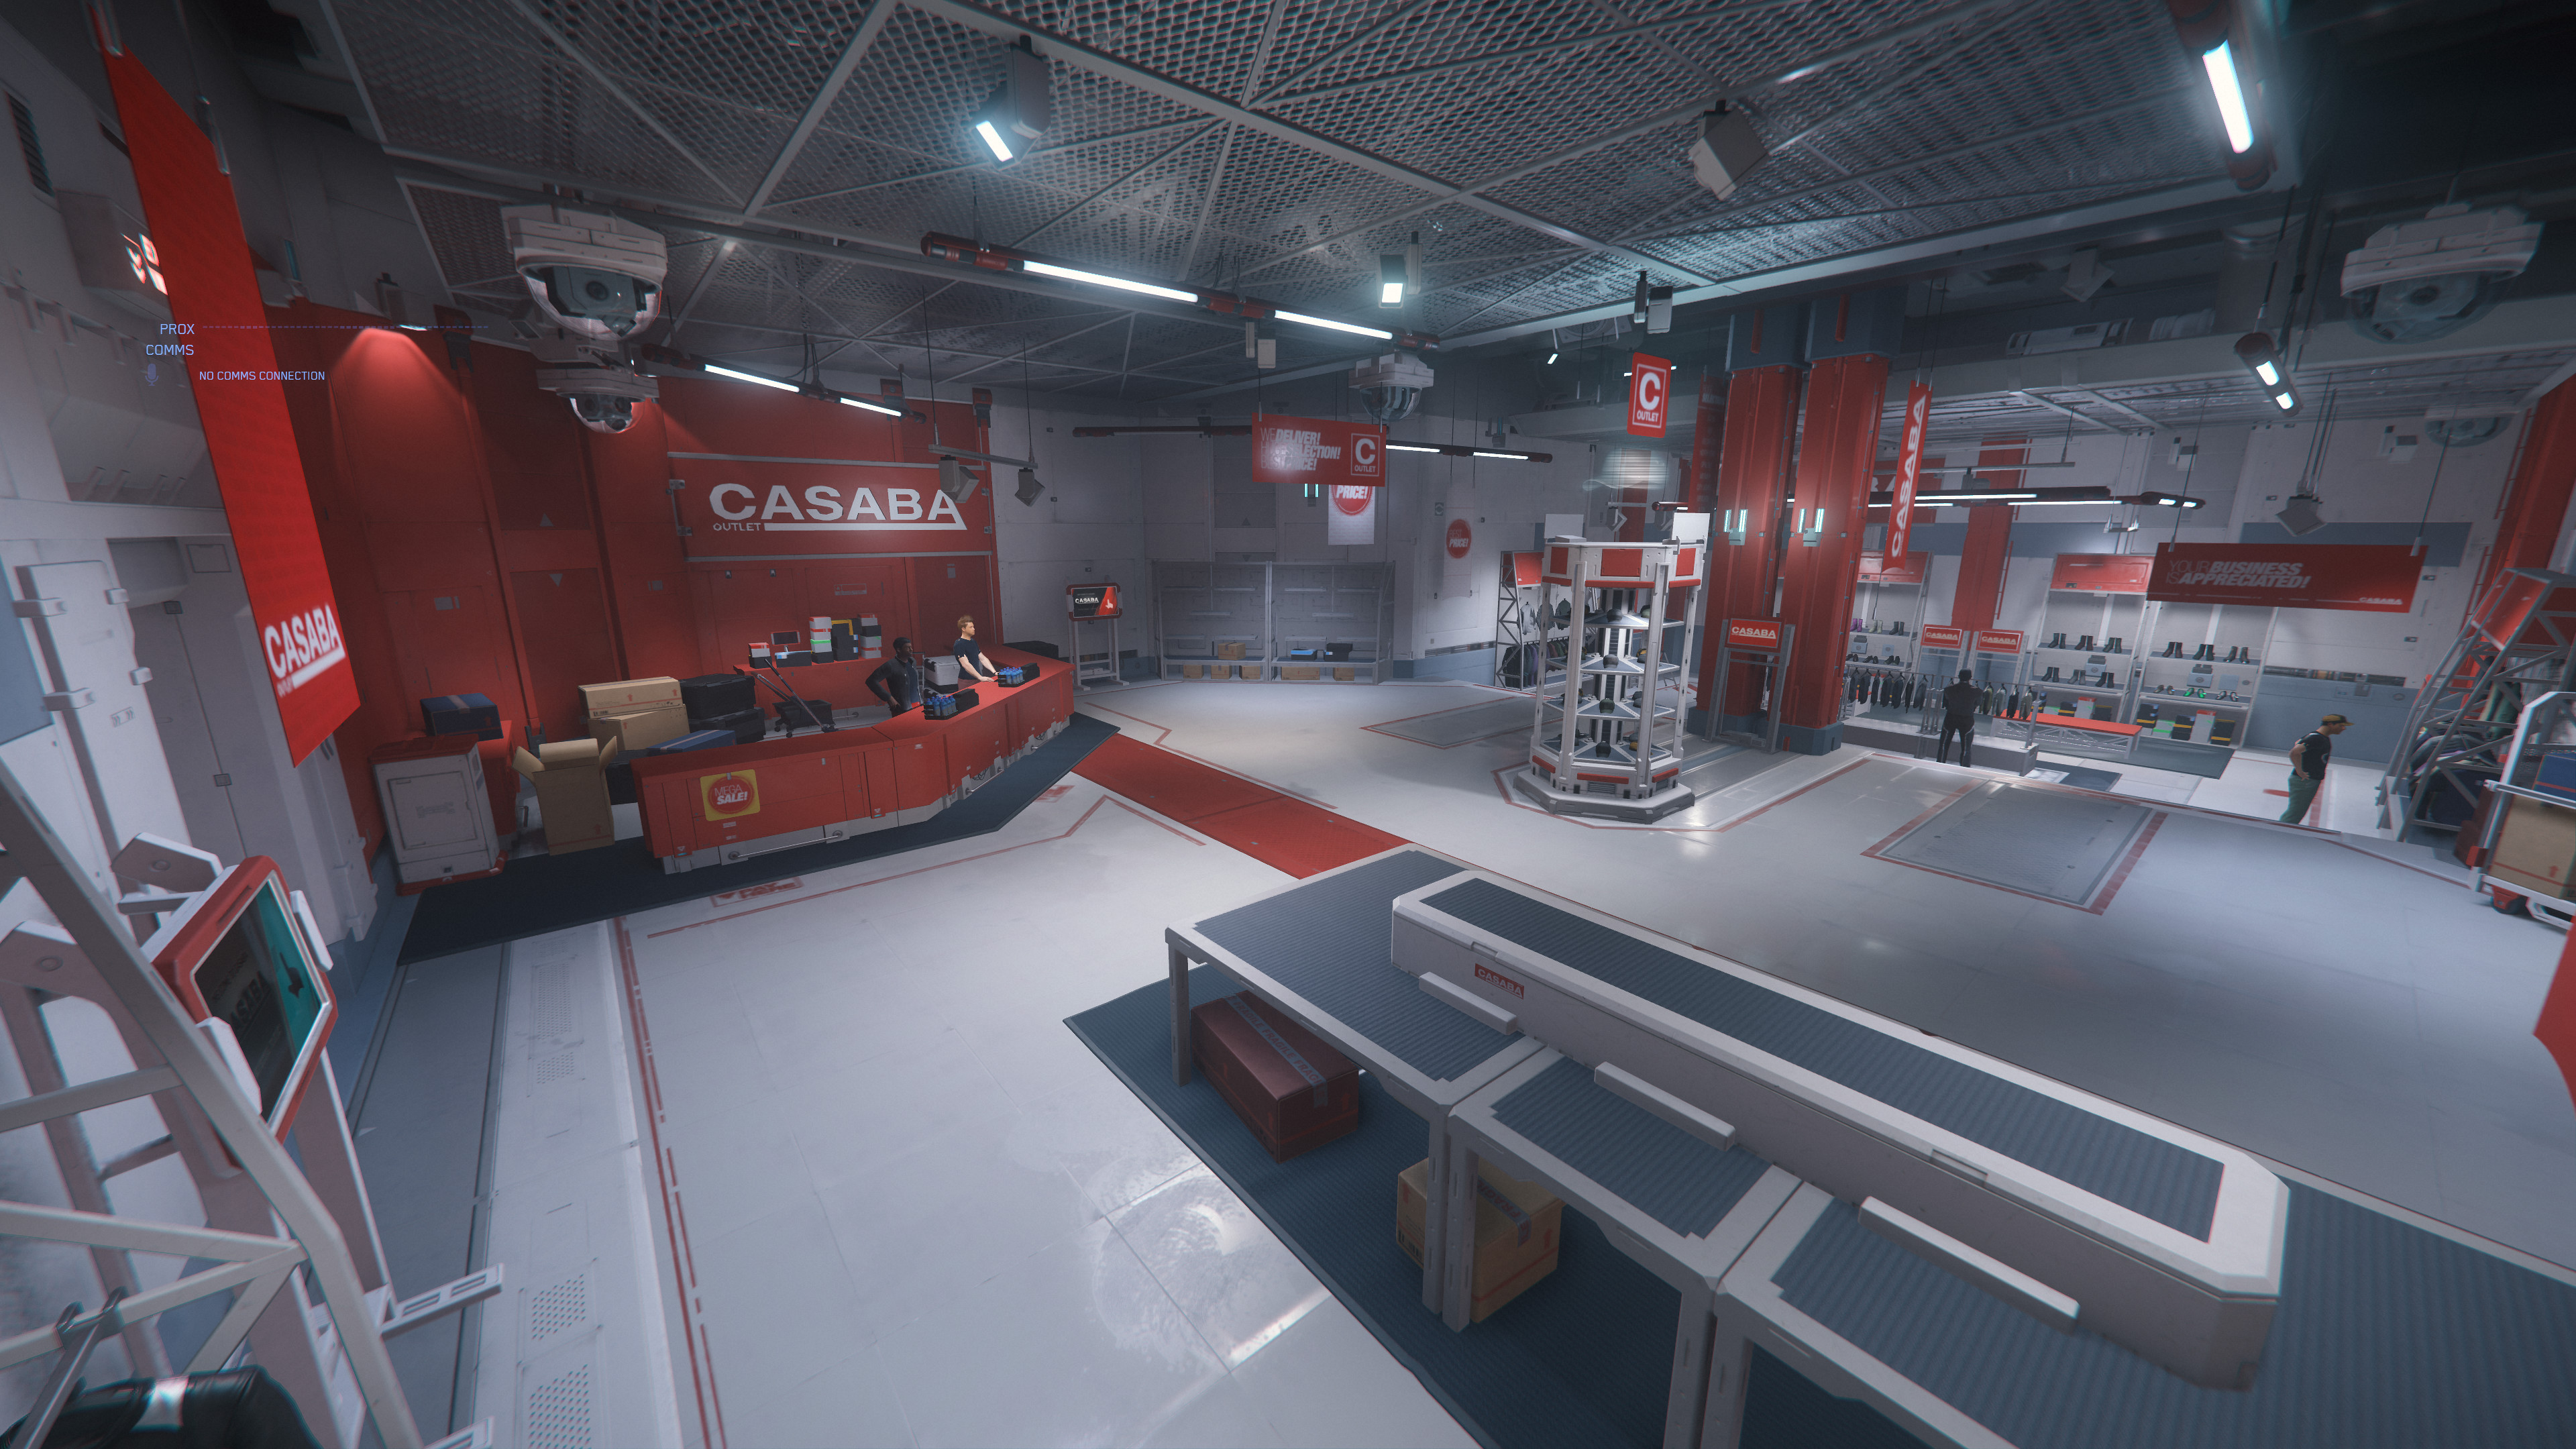
- Area 18 Zone 1 Casaba Outlet Innenraum.jpg 3.840 × 2.160; 1,64 MB
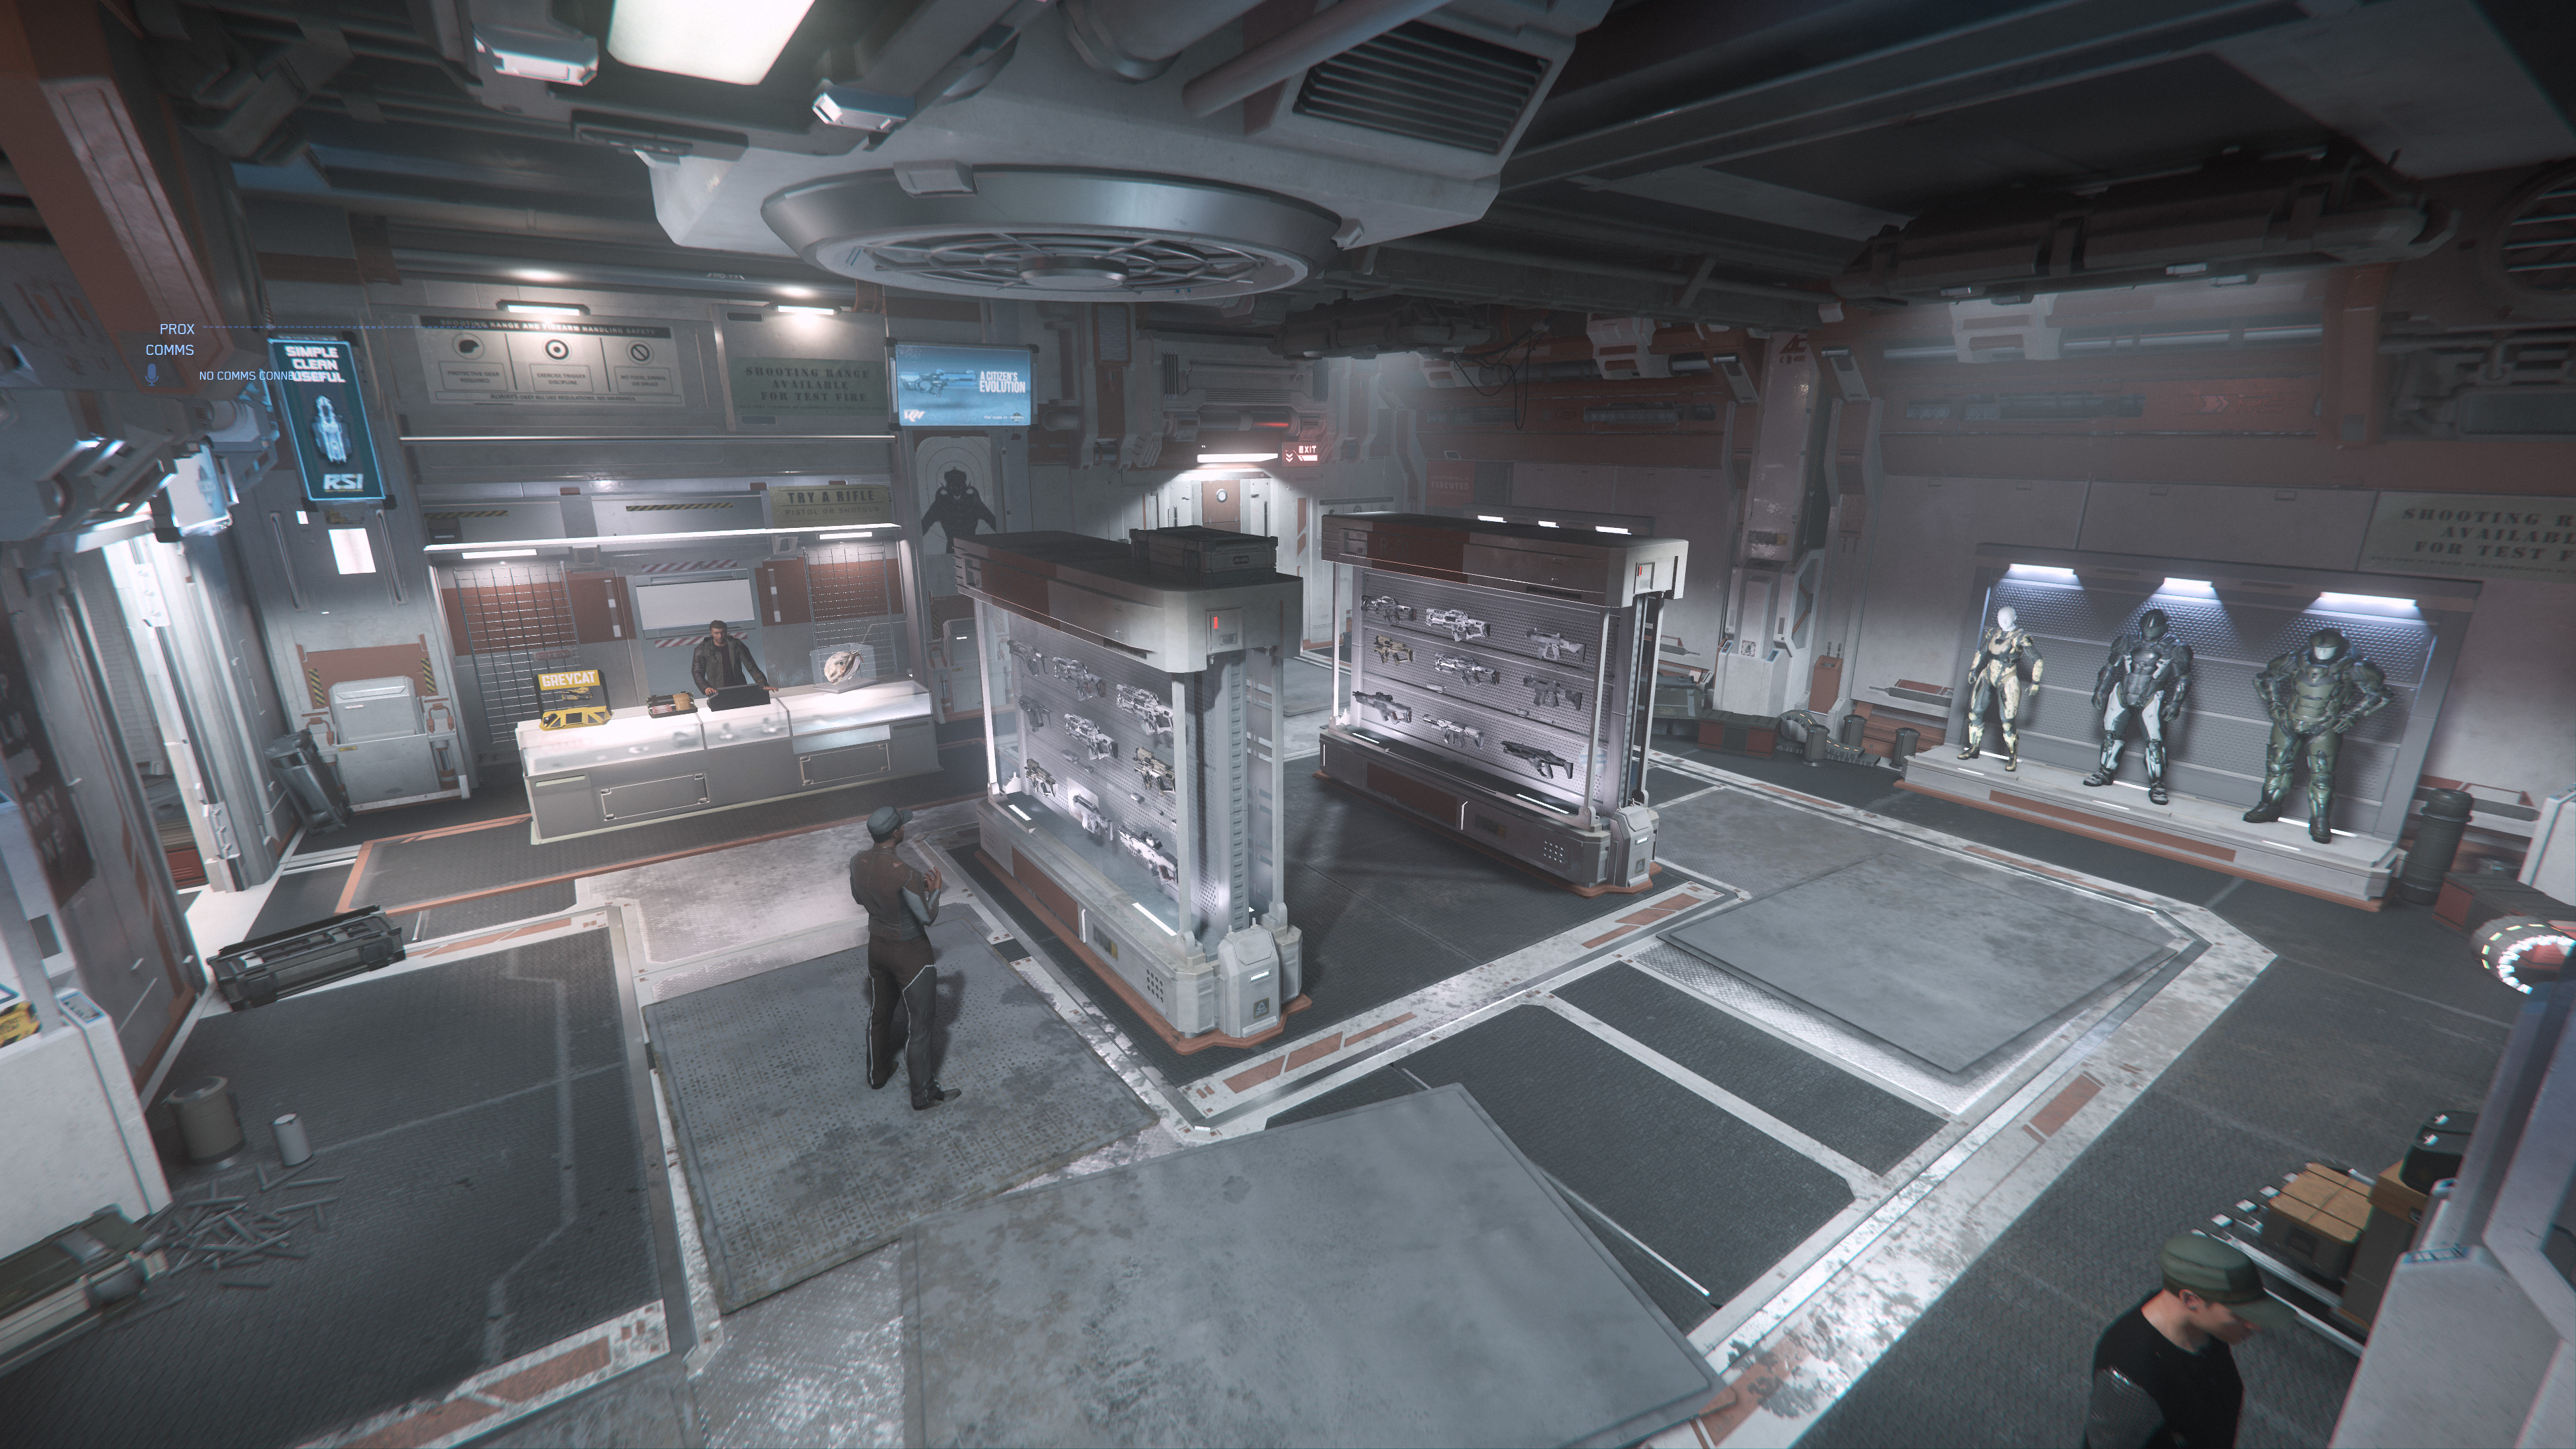
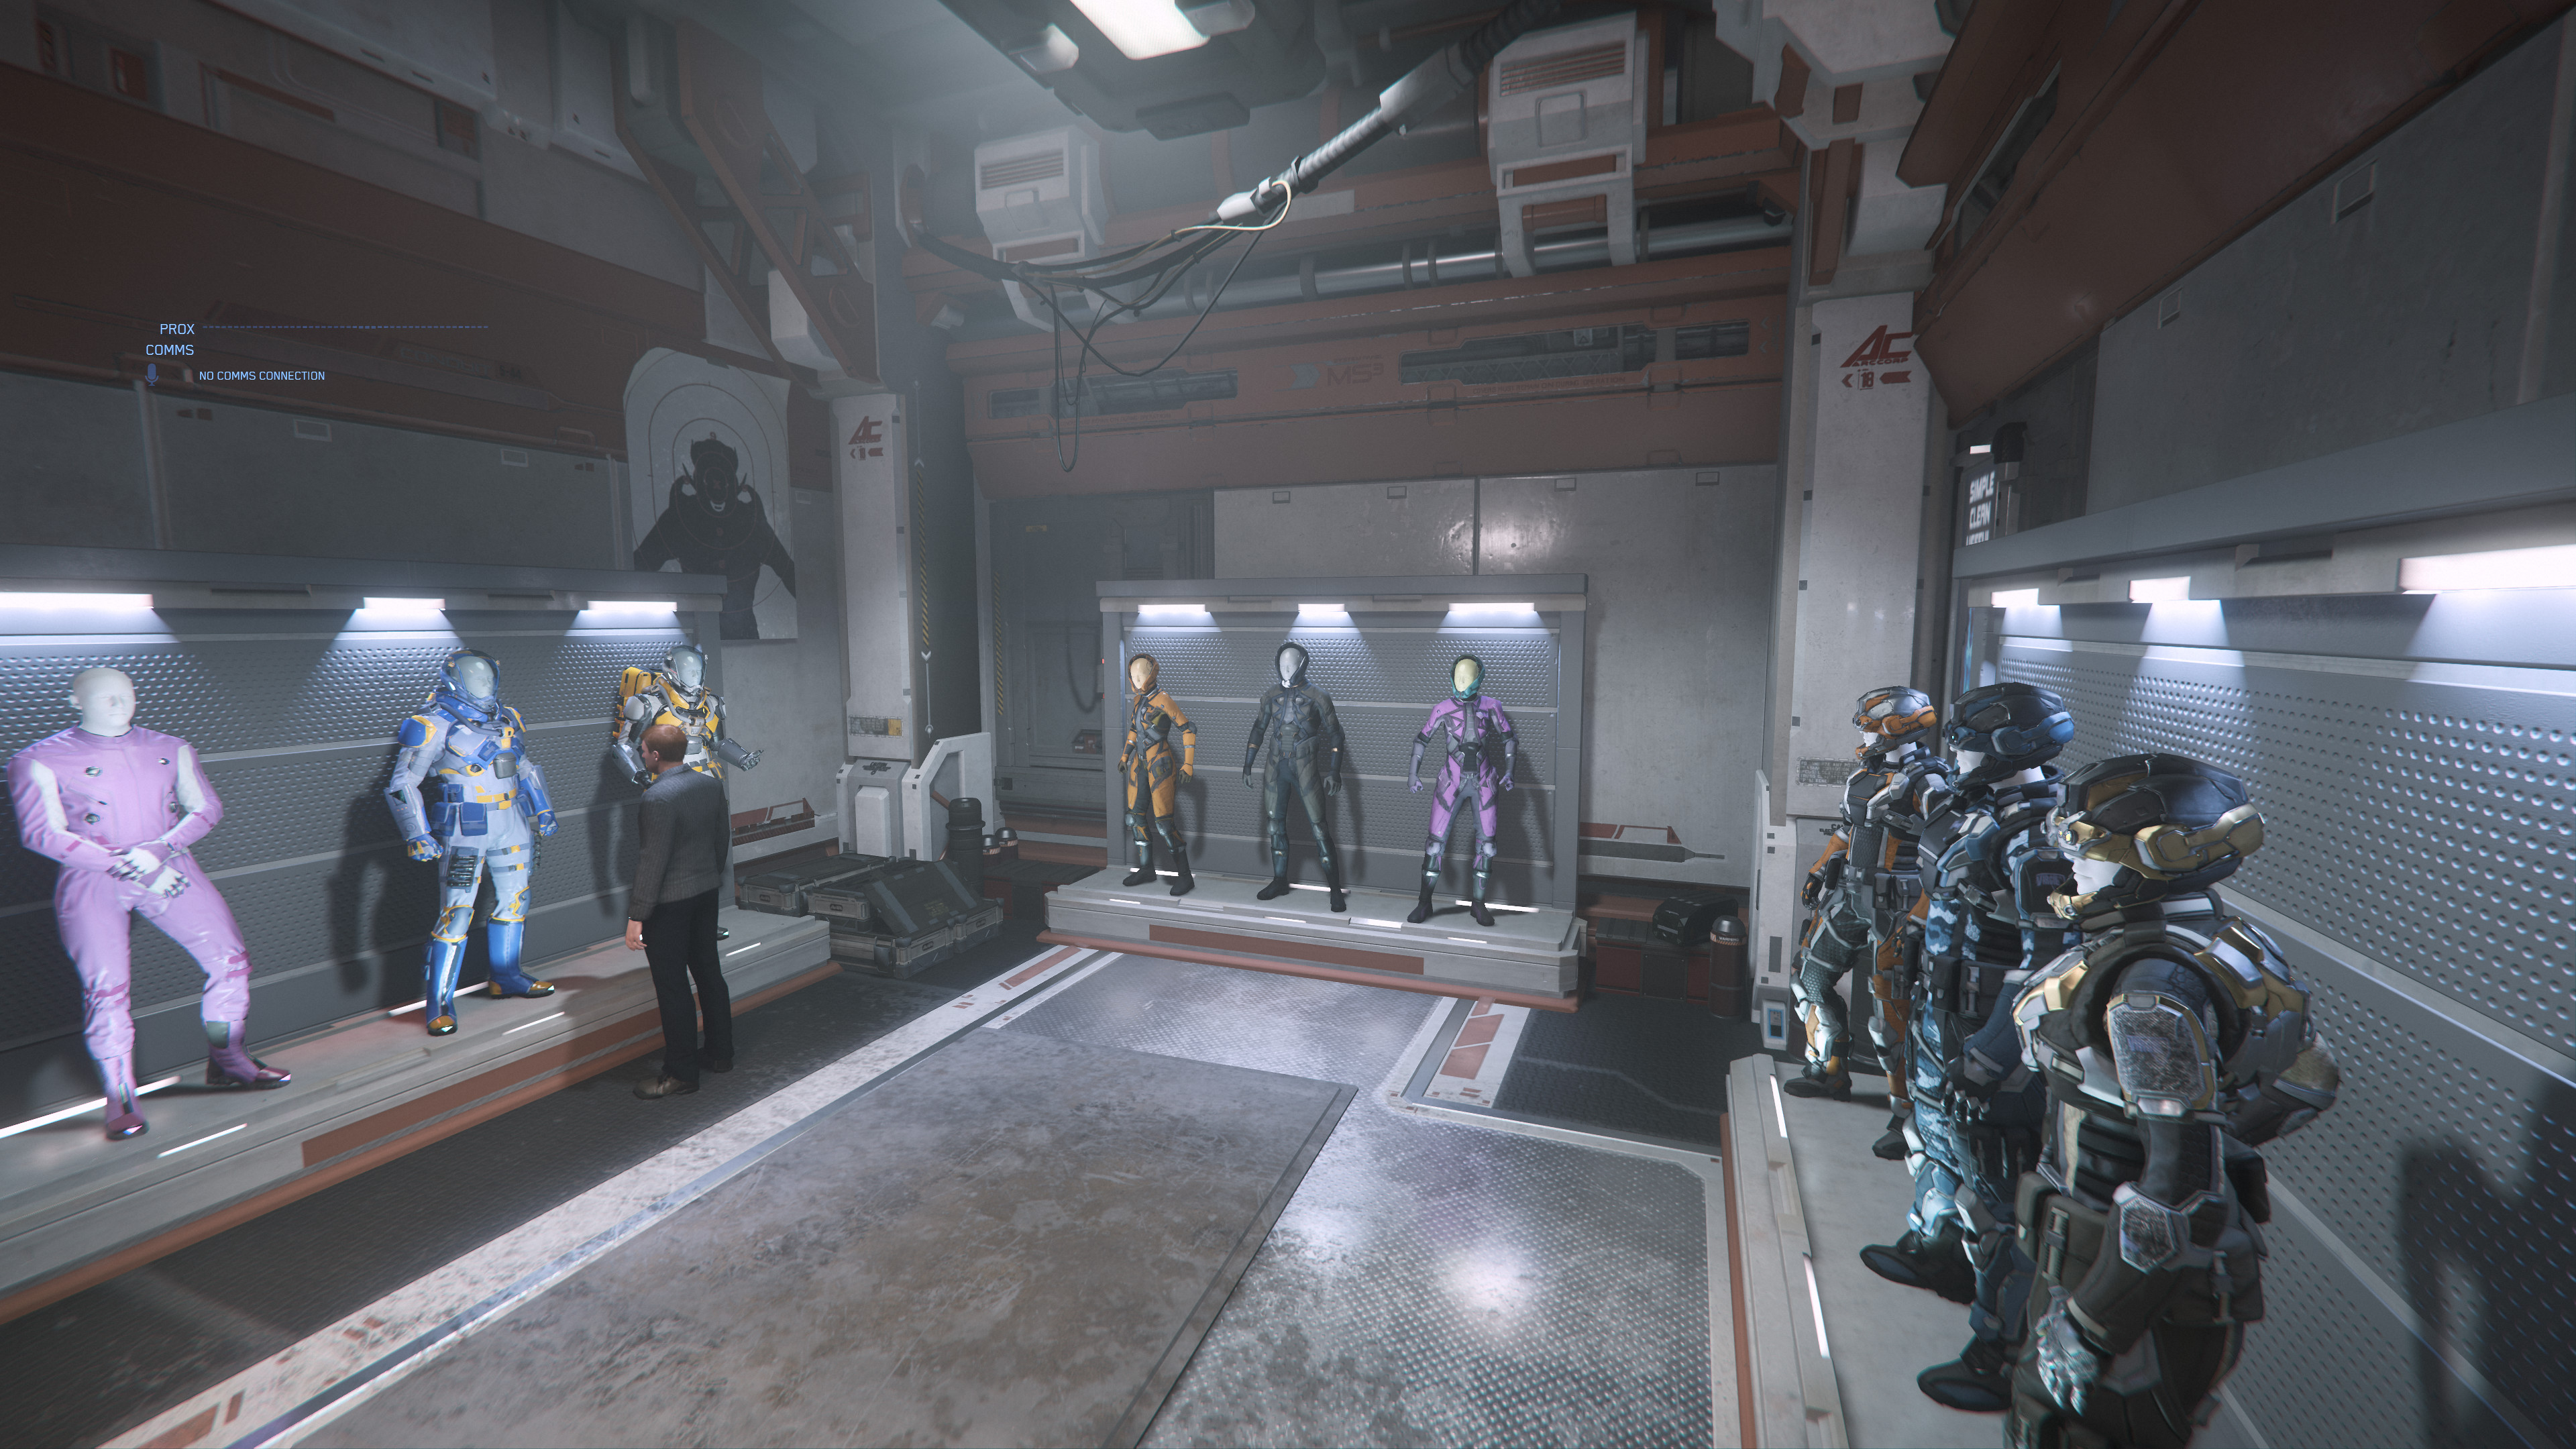
- Area 18 Zone 1 Cubby Blast Innenraum 1.jpg 3.840 × 2.160; 1,64 MB
- Area 18 Zone 1 Cubby Blast Innenraum 2.jpg 3.840 × 2.160; 1,63 MB
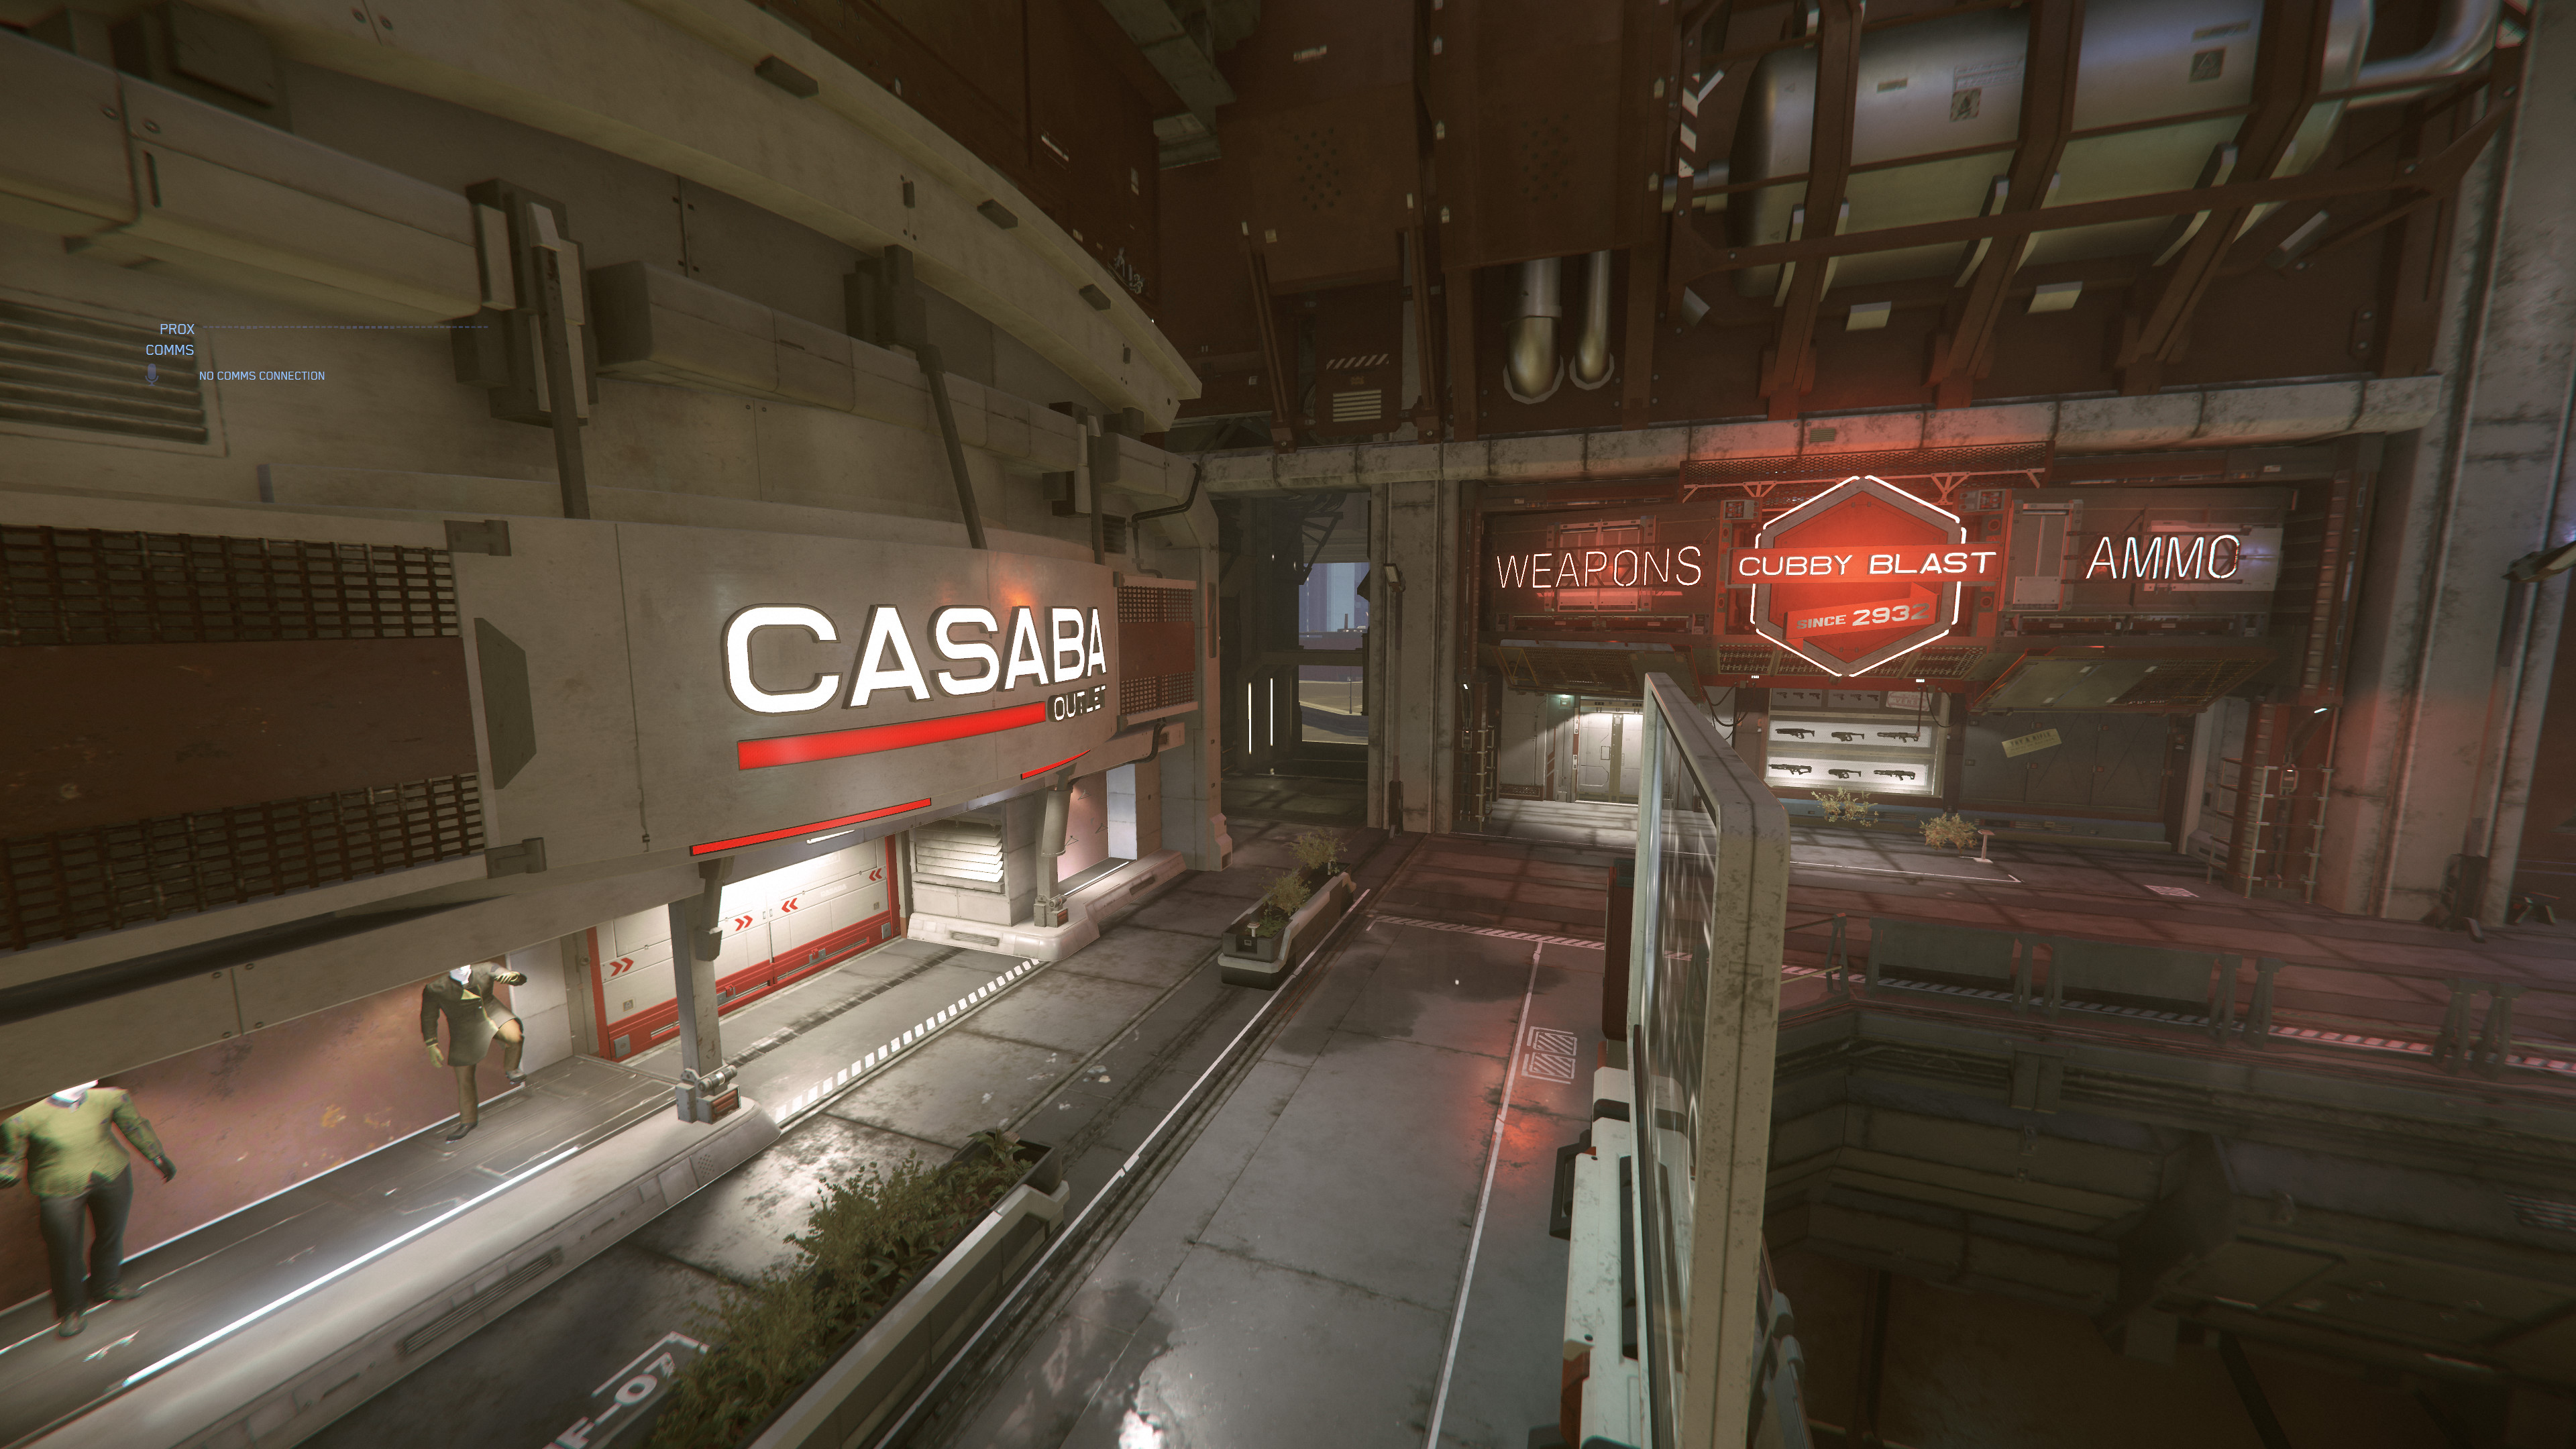
- Area 18 Zone 1 Cubby Blast und Casaba Outlet.jpg 3.840 × 2.160; 1,43 MB
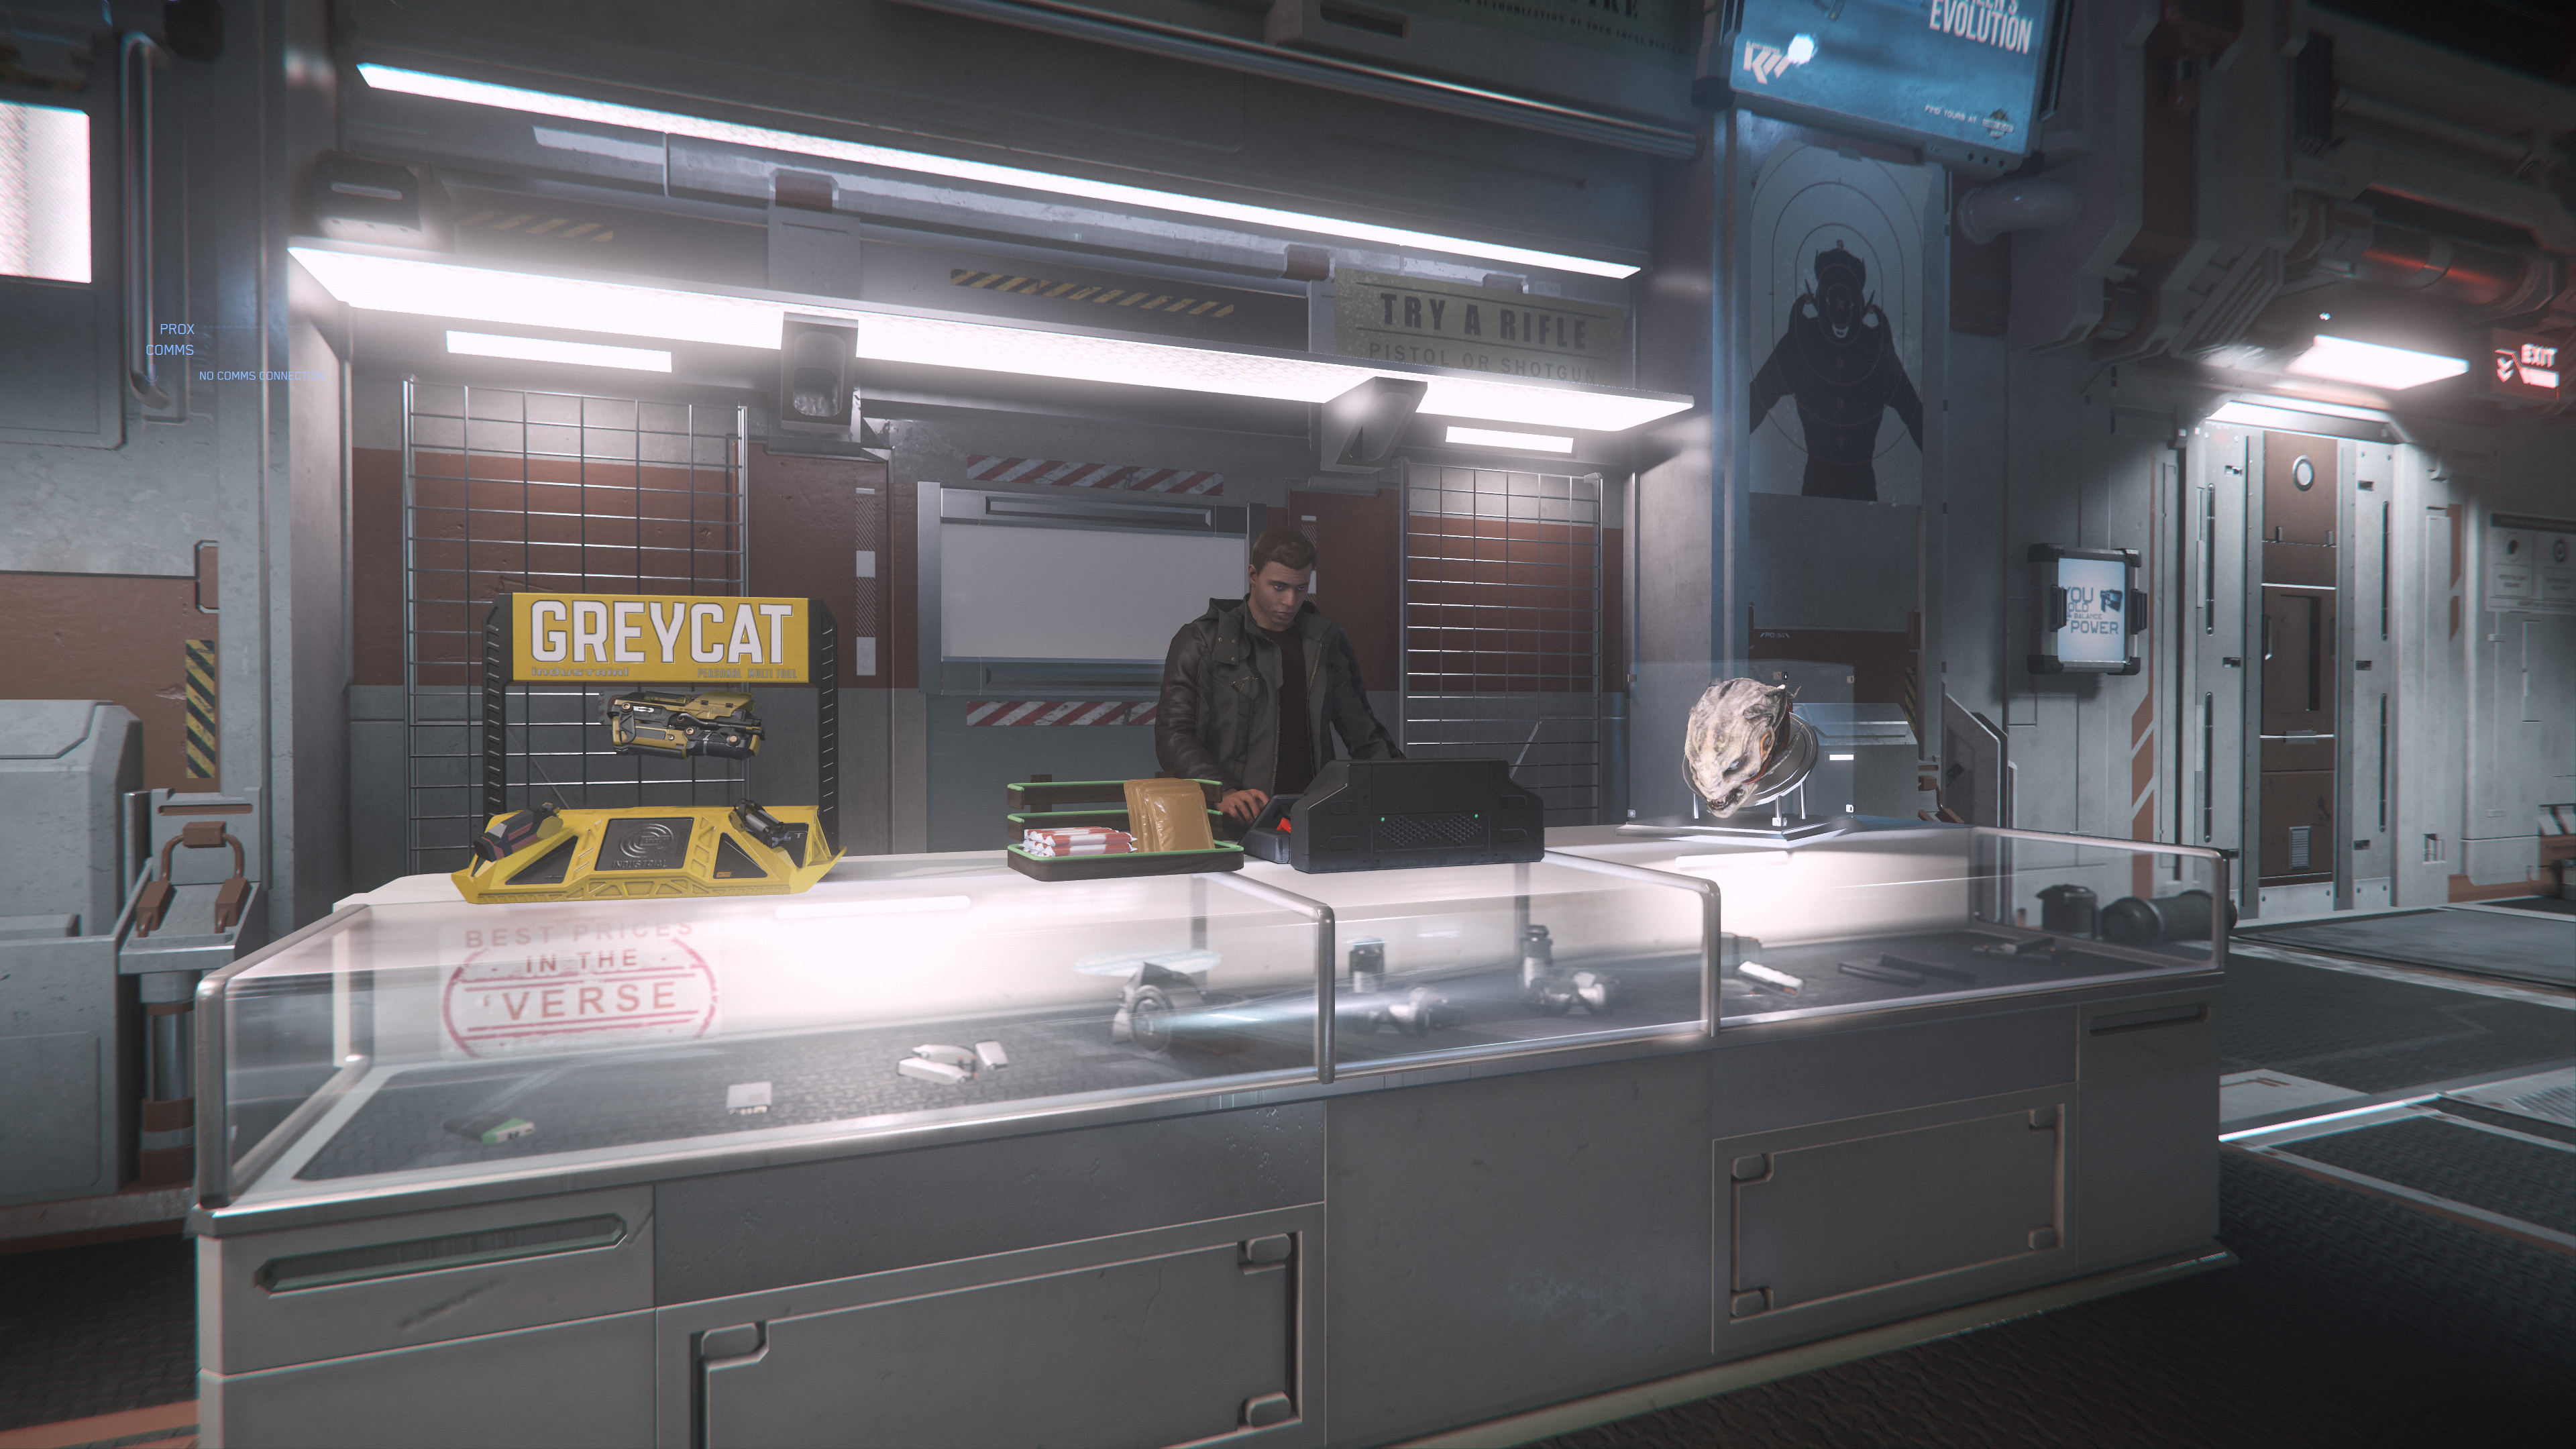
- Area 18 Zone 1 Cubby Blast Verkaufstresen.jpg 3.840 × 2.160; 1,33 MB
- Area 18 Zone 1 Gasse.jpg 3.840 × 2.160; 1,1 MB
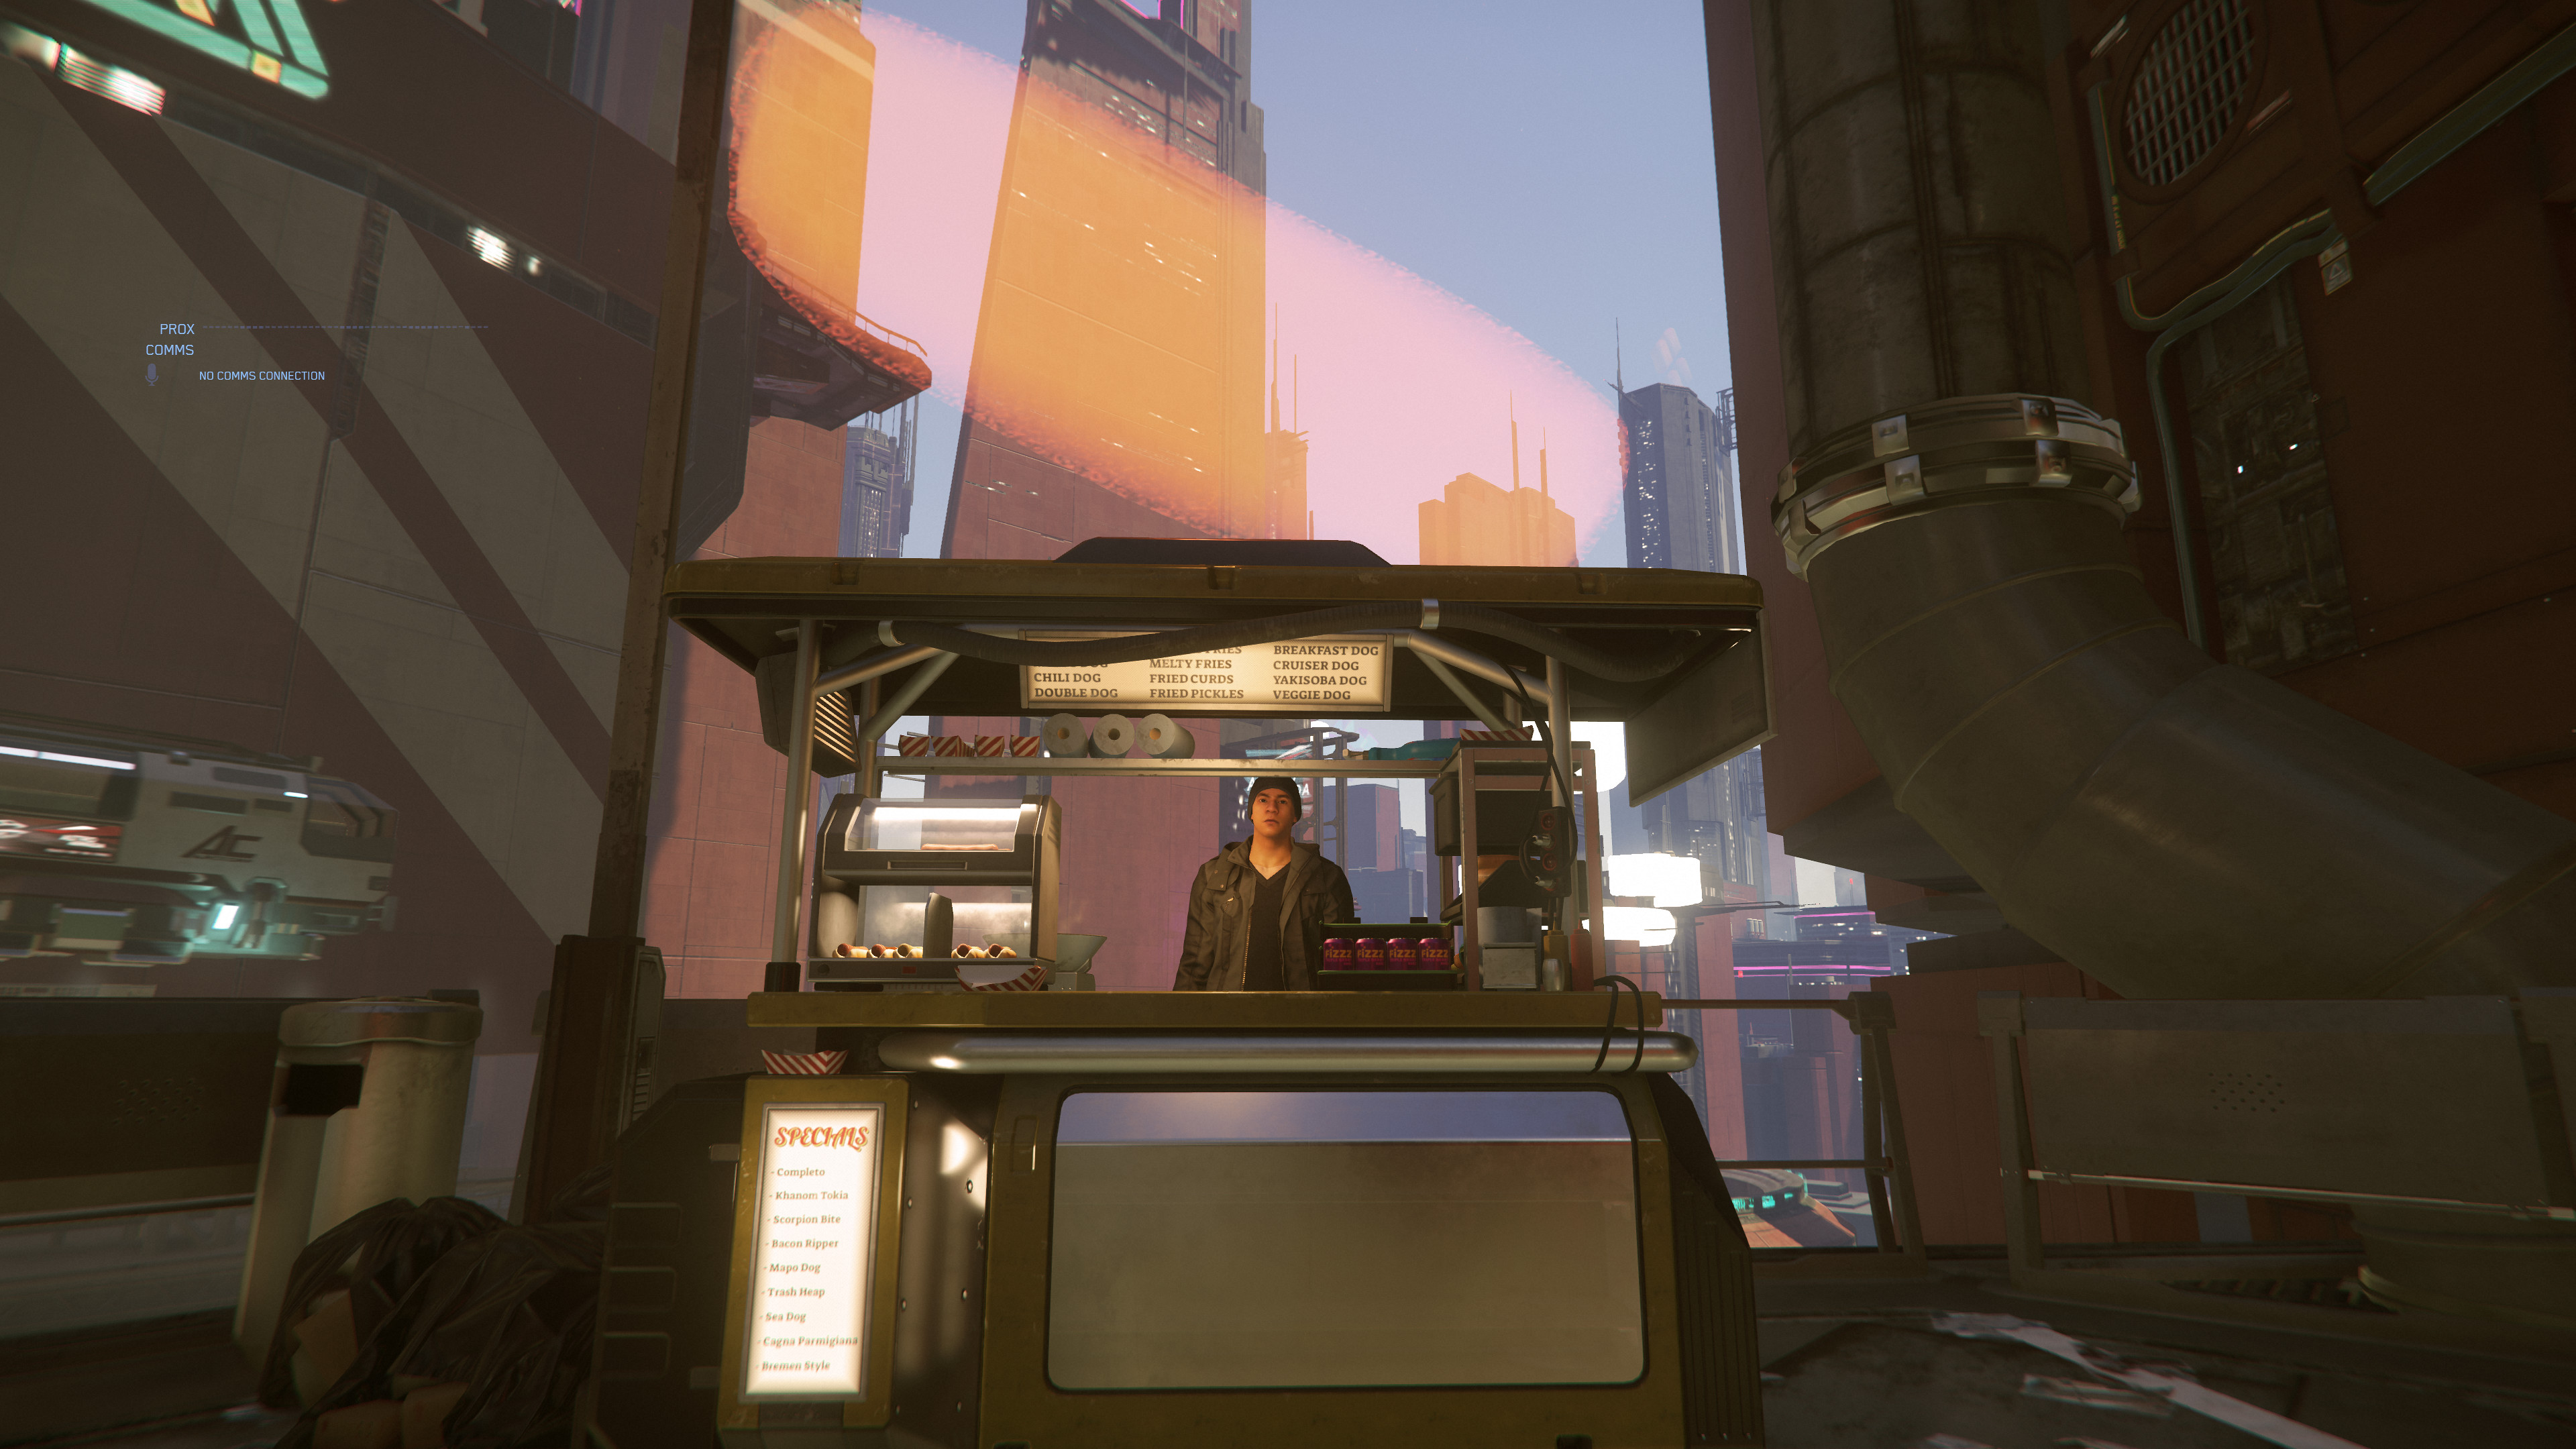
- Area 18 Zone 1 HotDog Stand.jpg 3.840 × 2.160; 1,19 MB
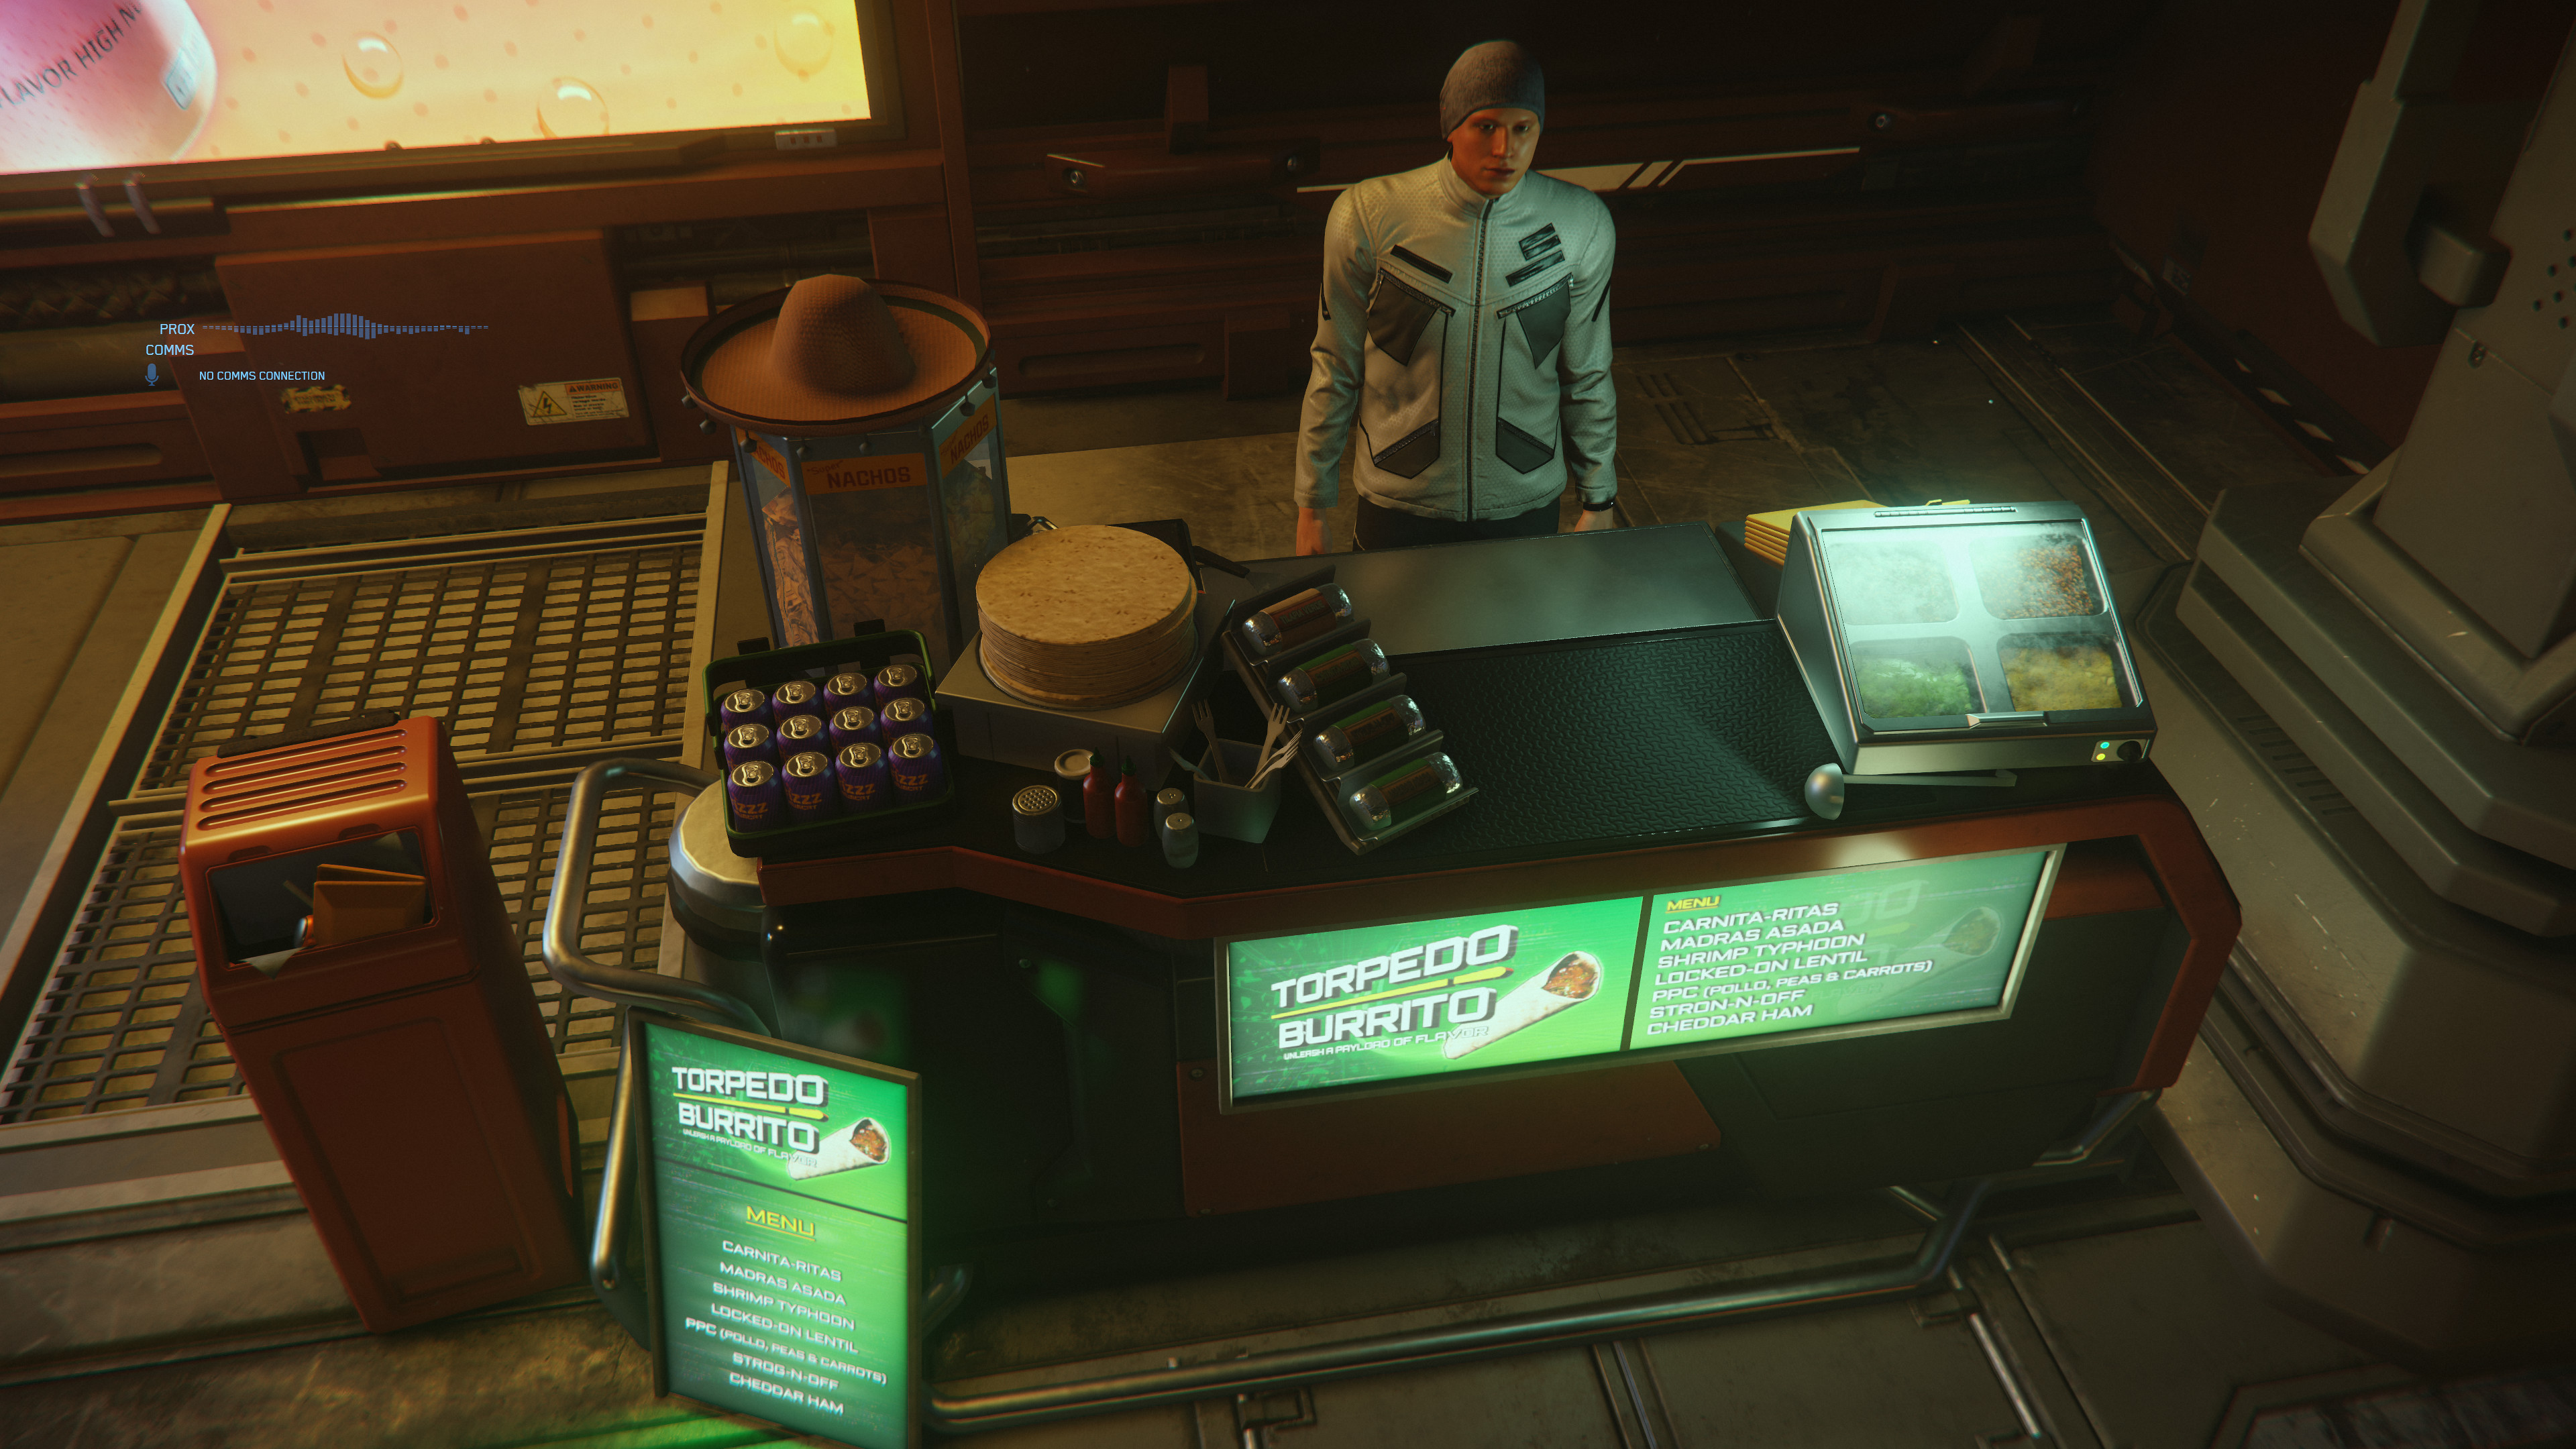
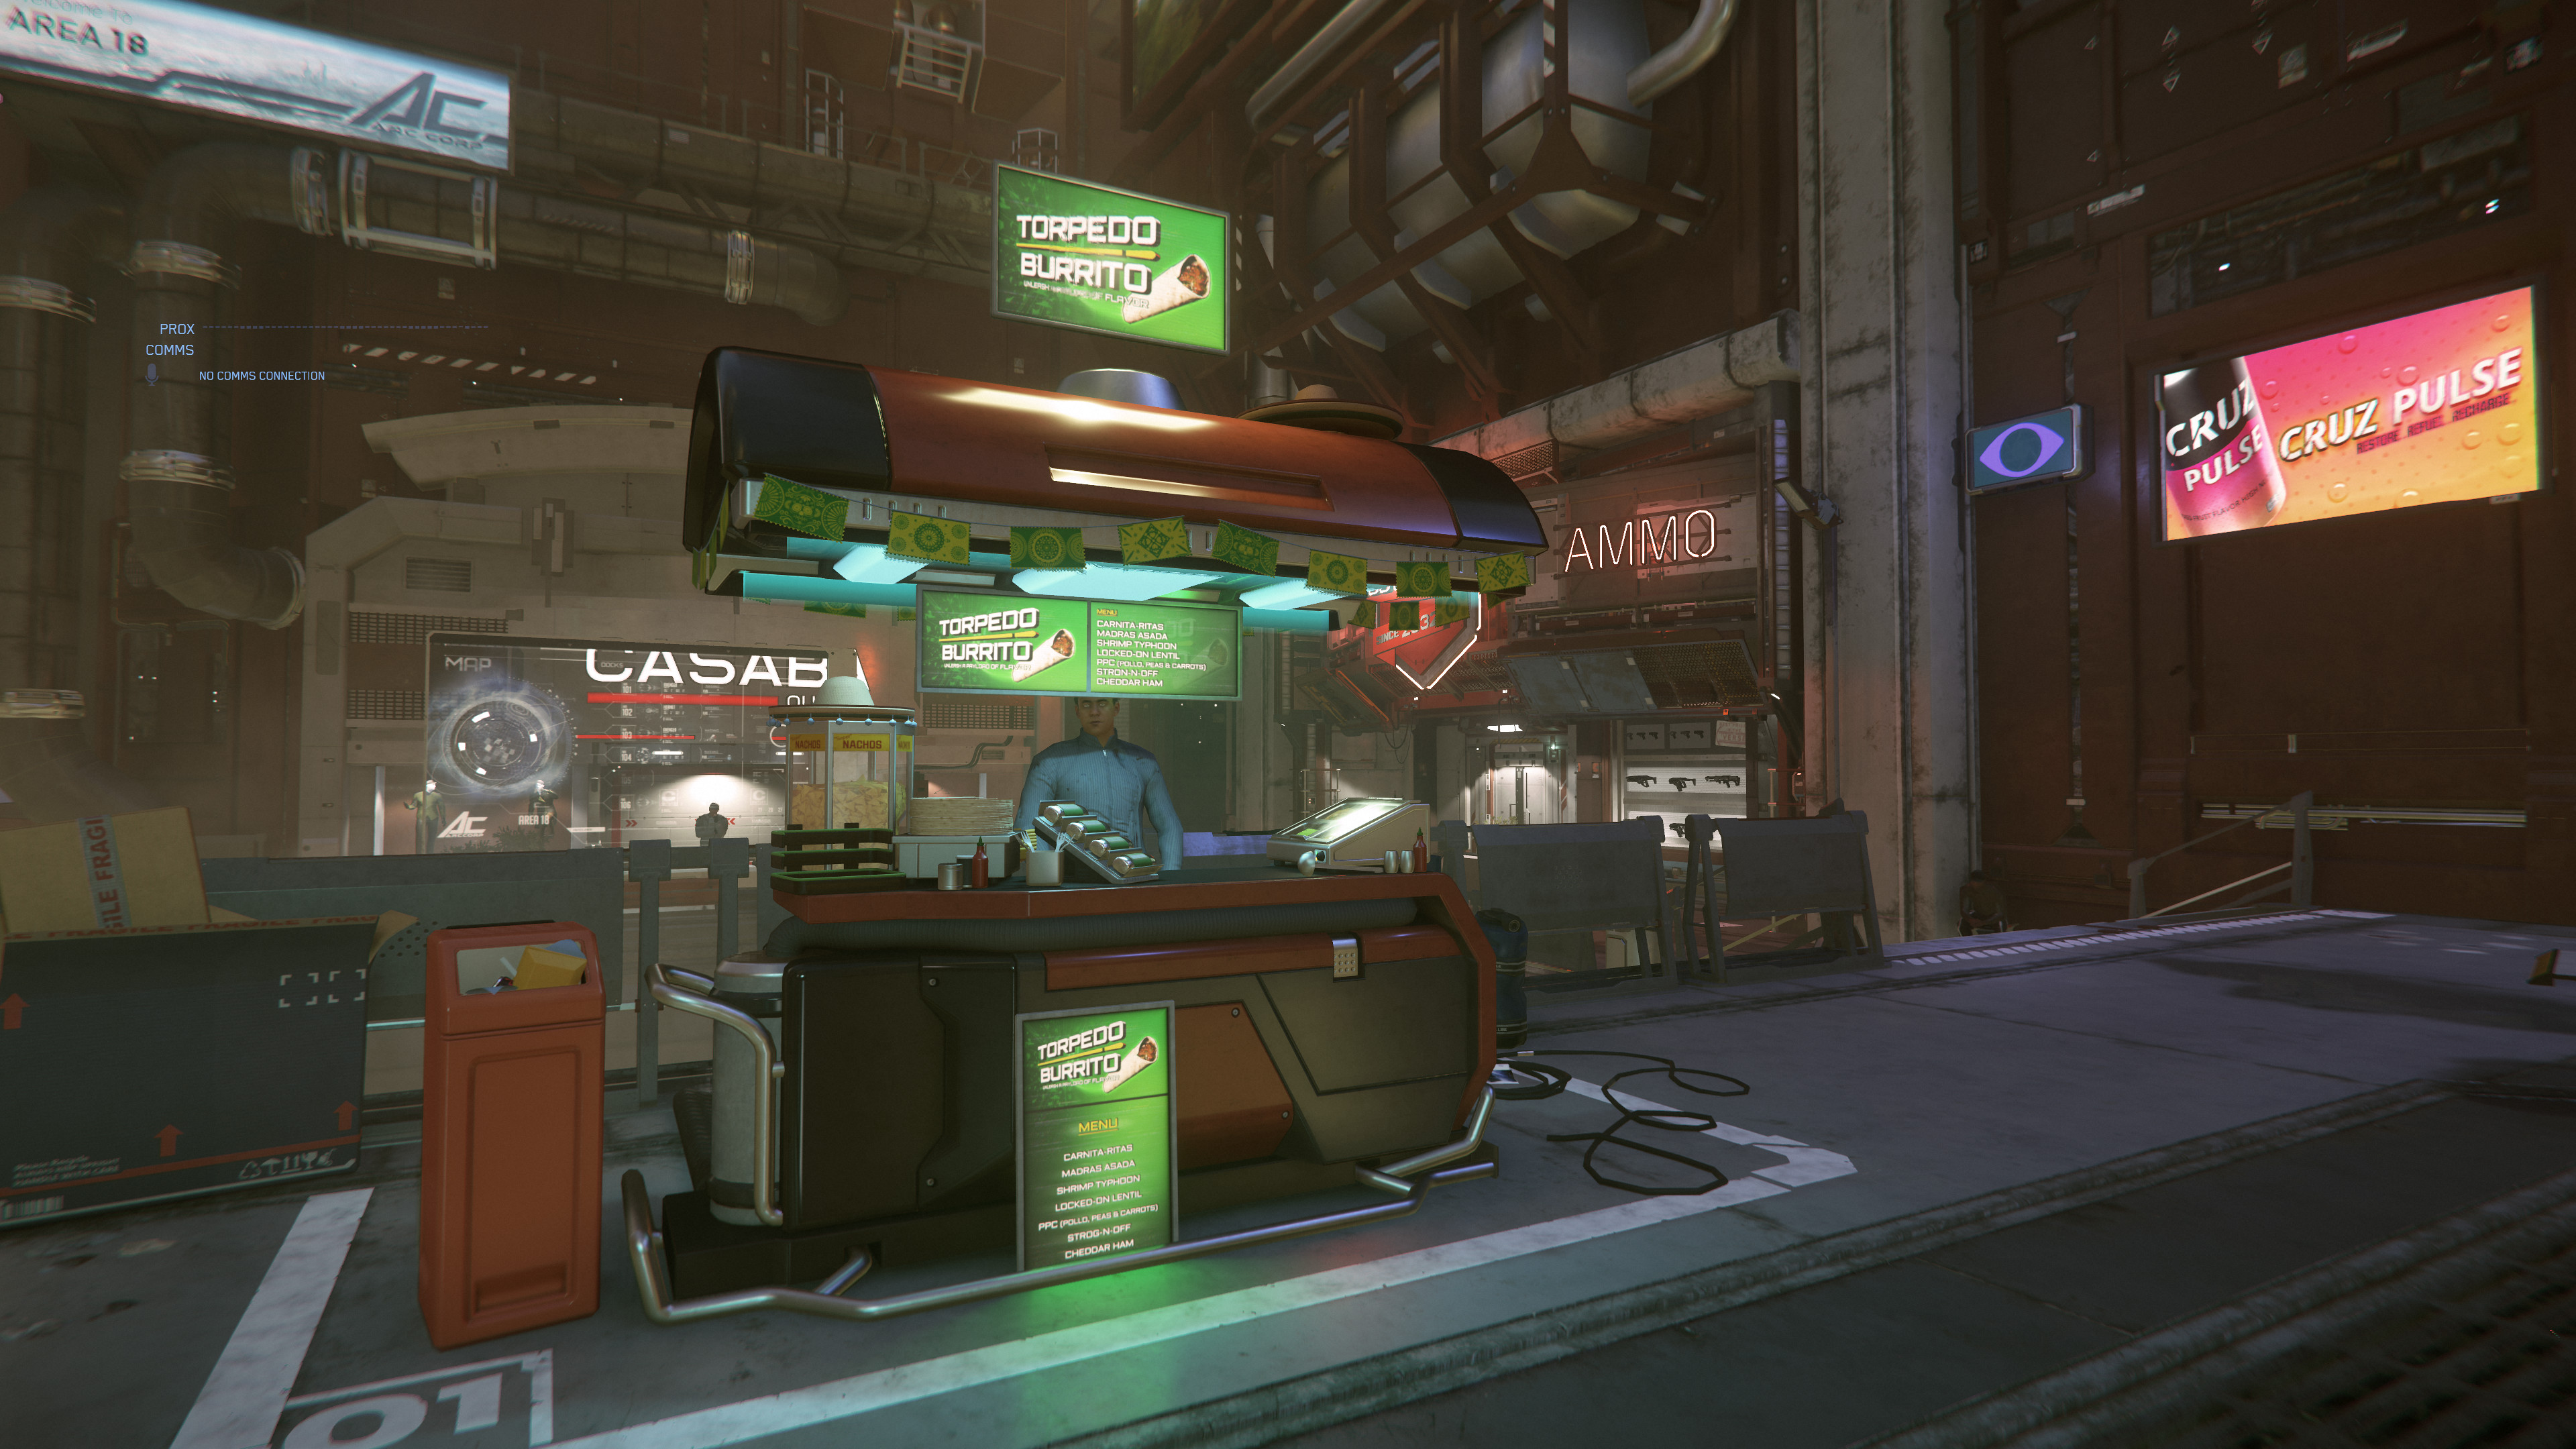
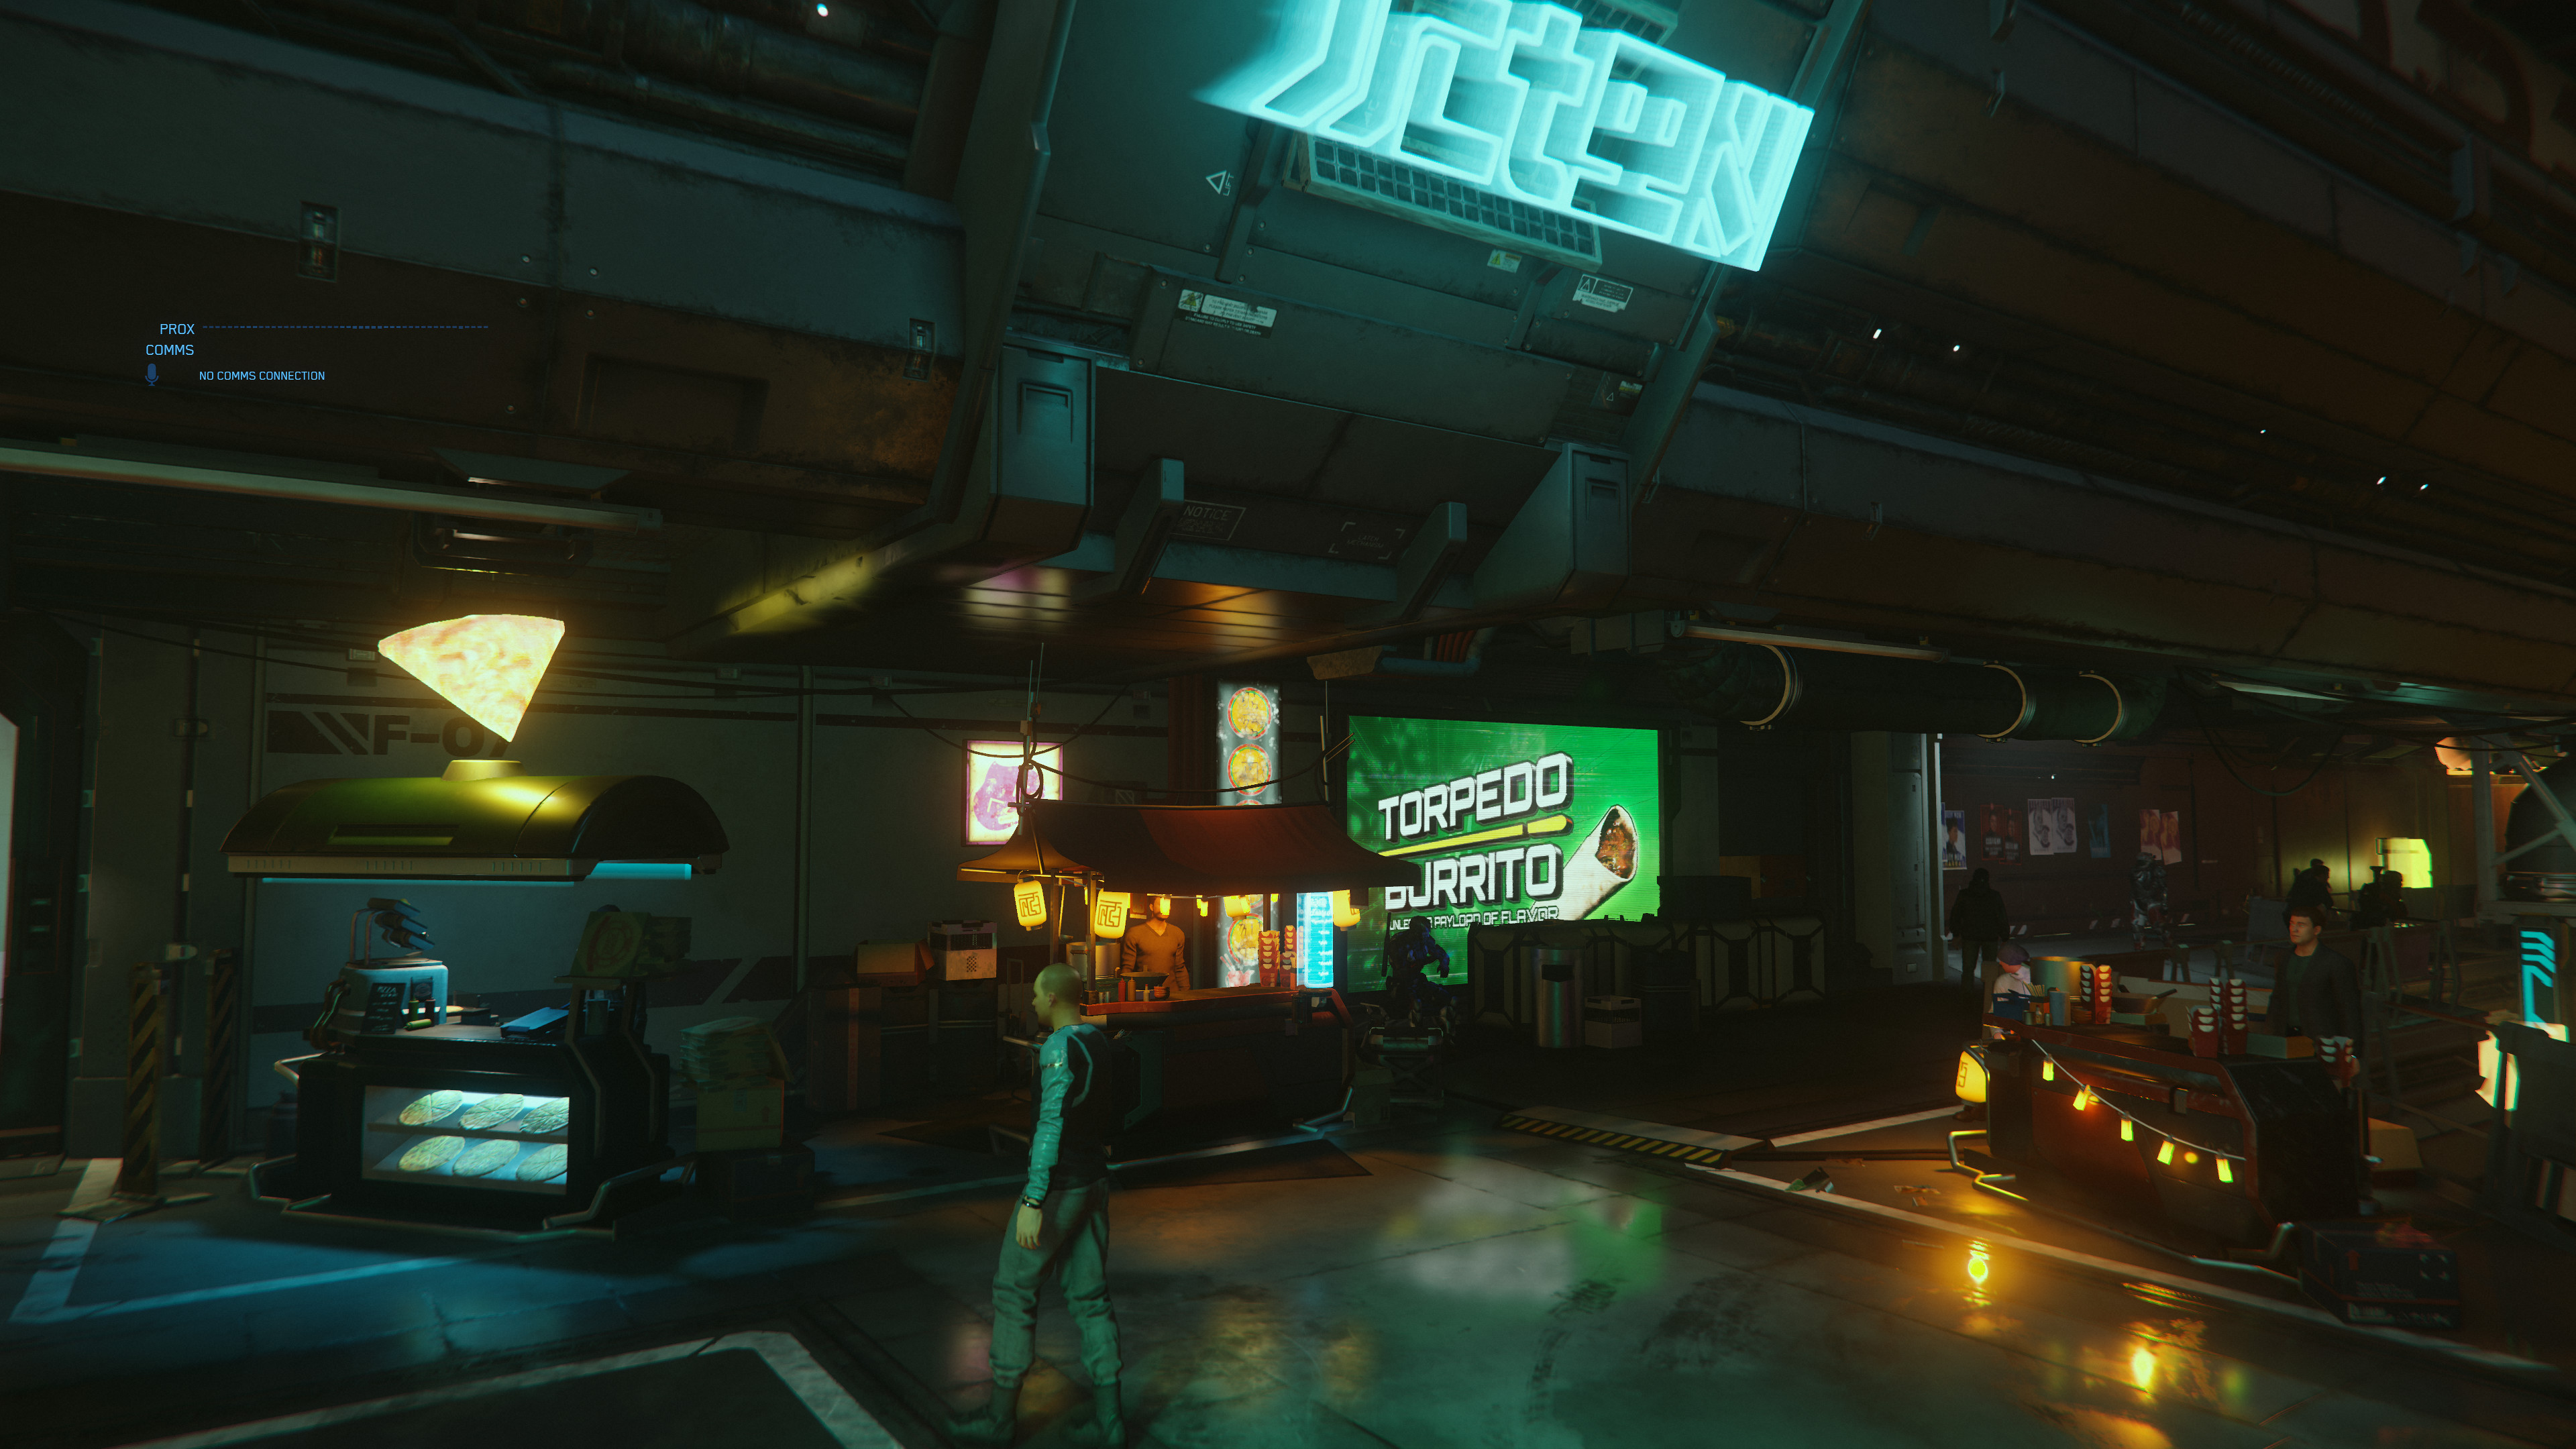
- Area 18 Zone 1 Torpedo Burrito.jpg 3.840 × 2.160; 1,41 MB
- Area 18 Zone 1 zu Zone 2 Passage.jpg 3.840 × 2.160; 1,35 MB
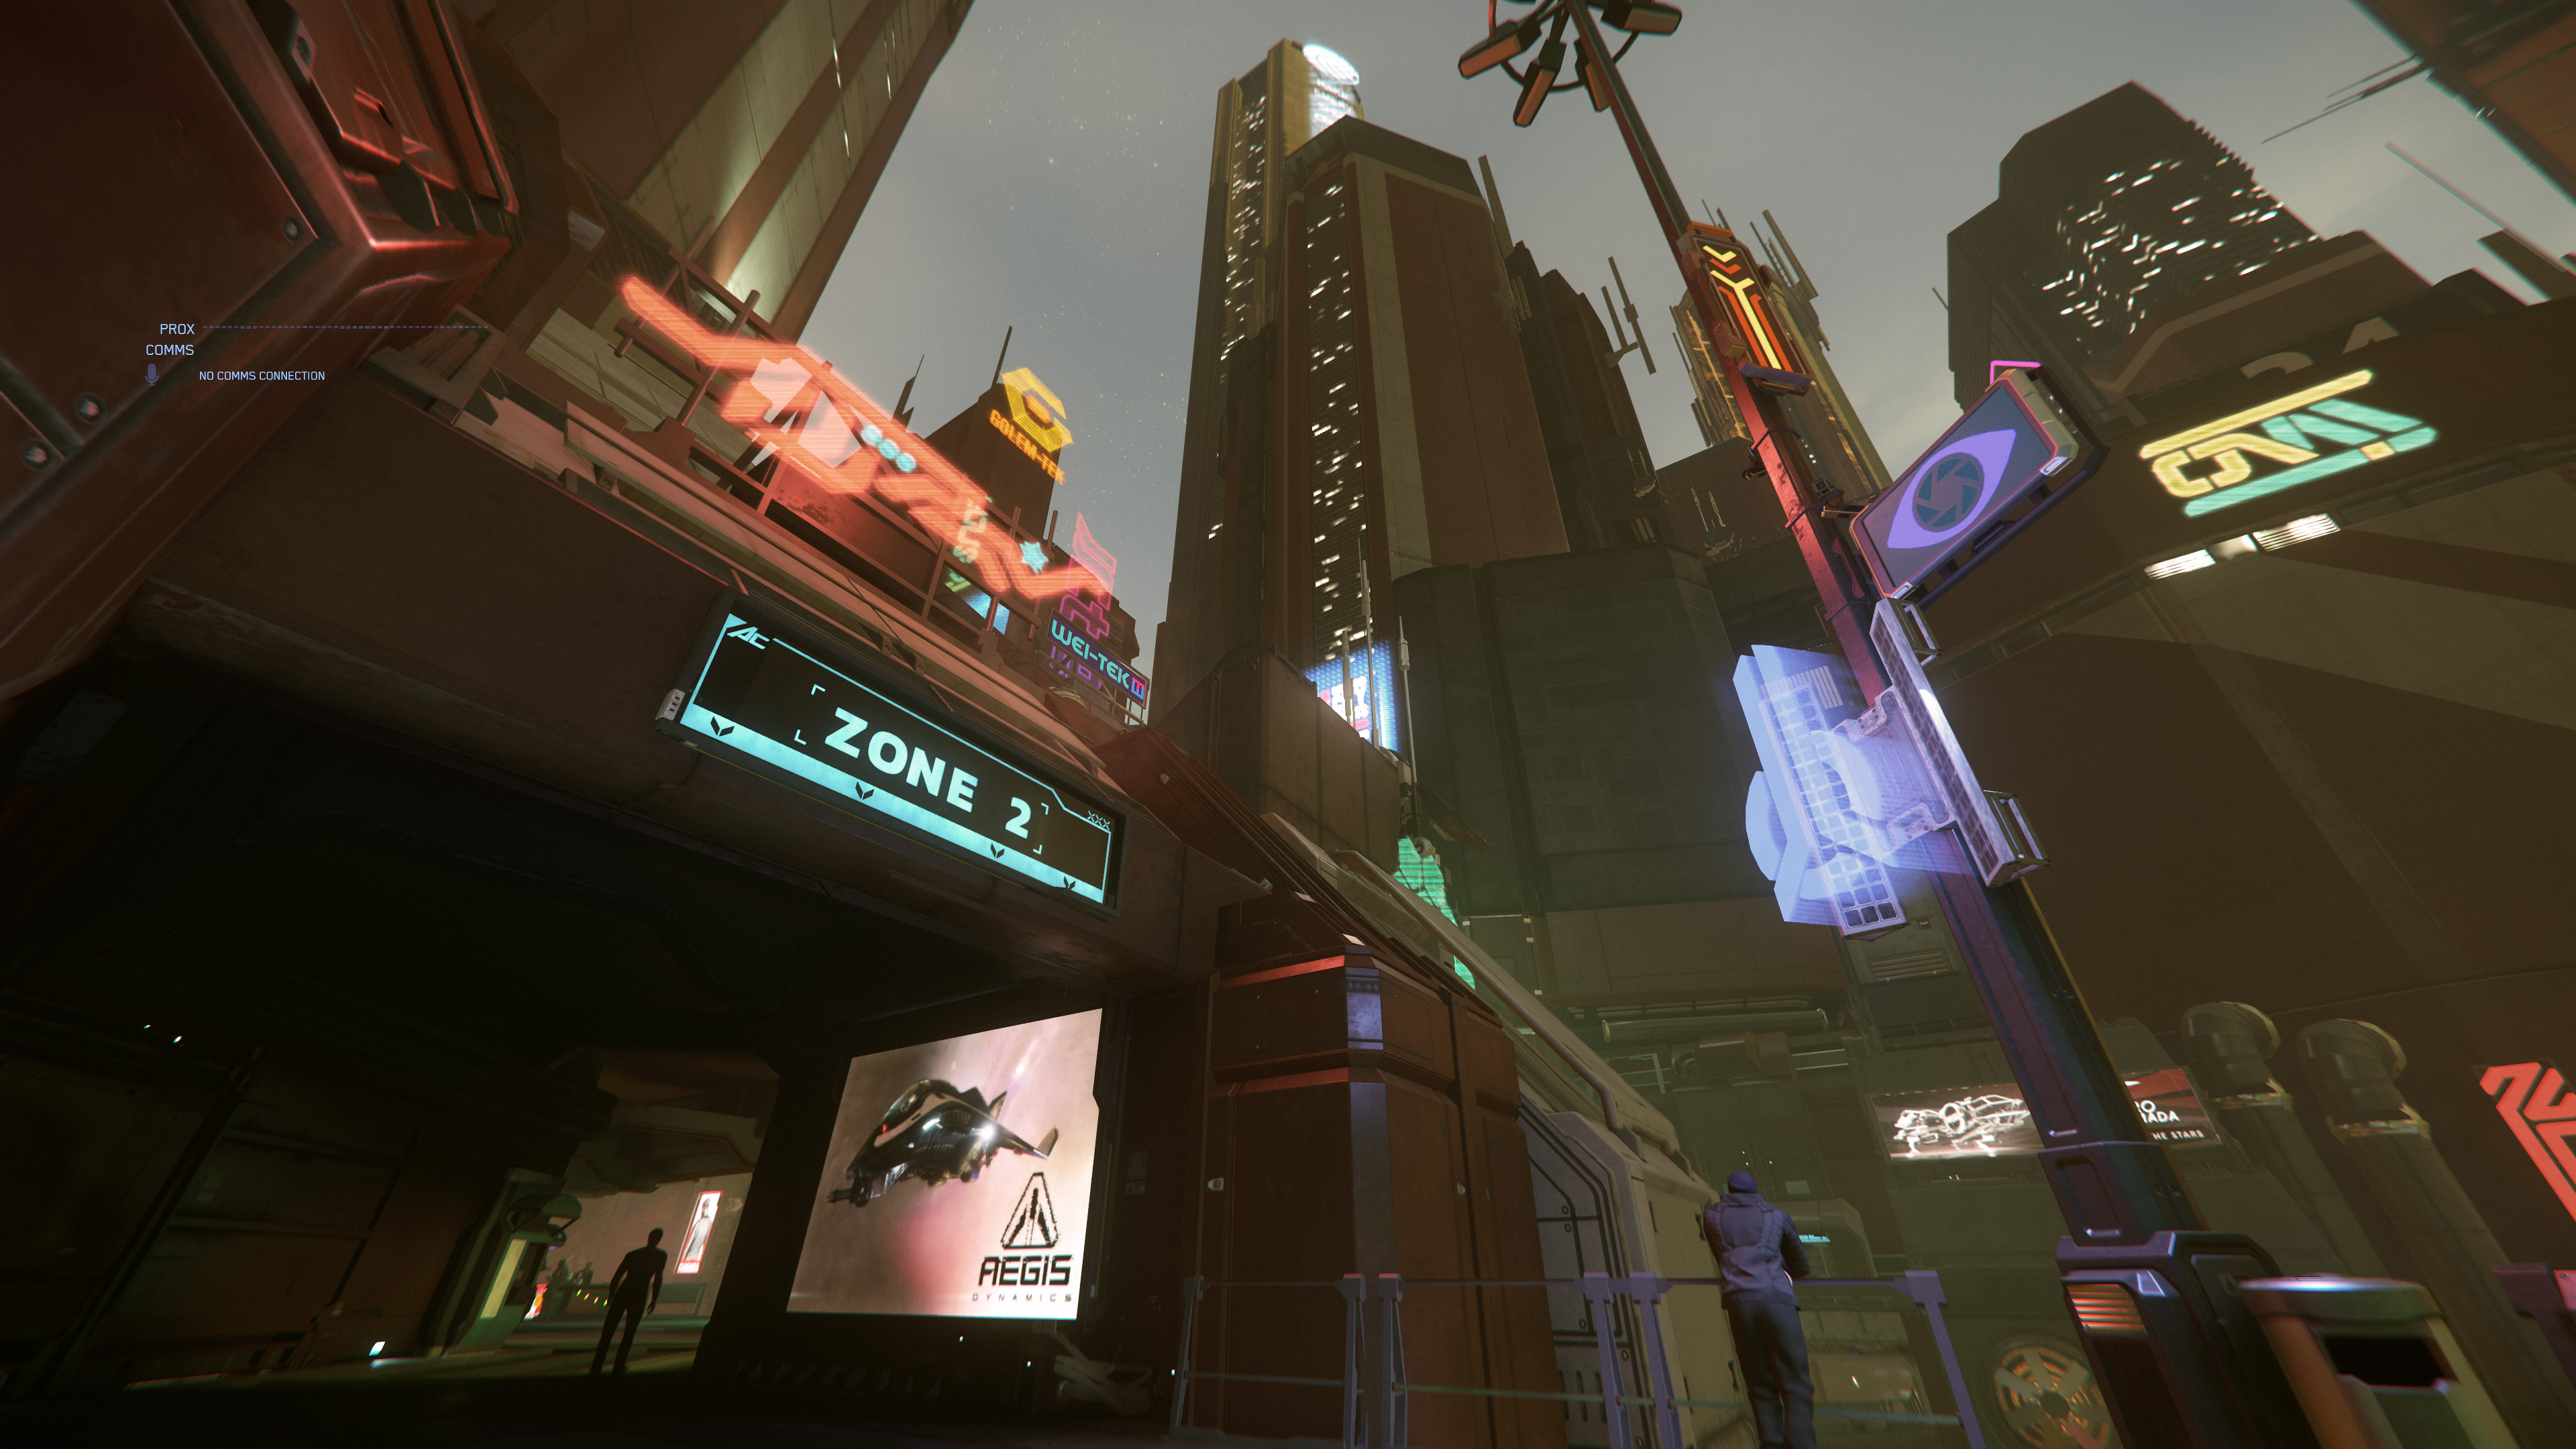
- Area 18 Zone 1.jpg 3.840 × 2.160; 1,58 MB
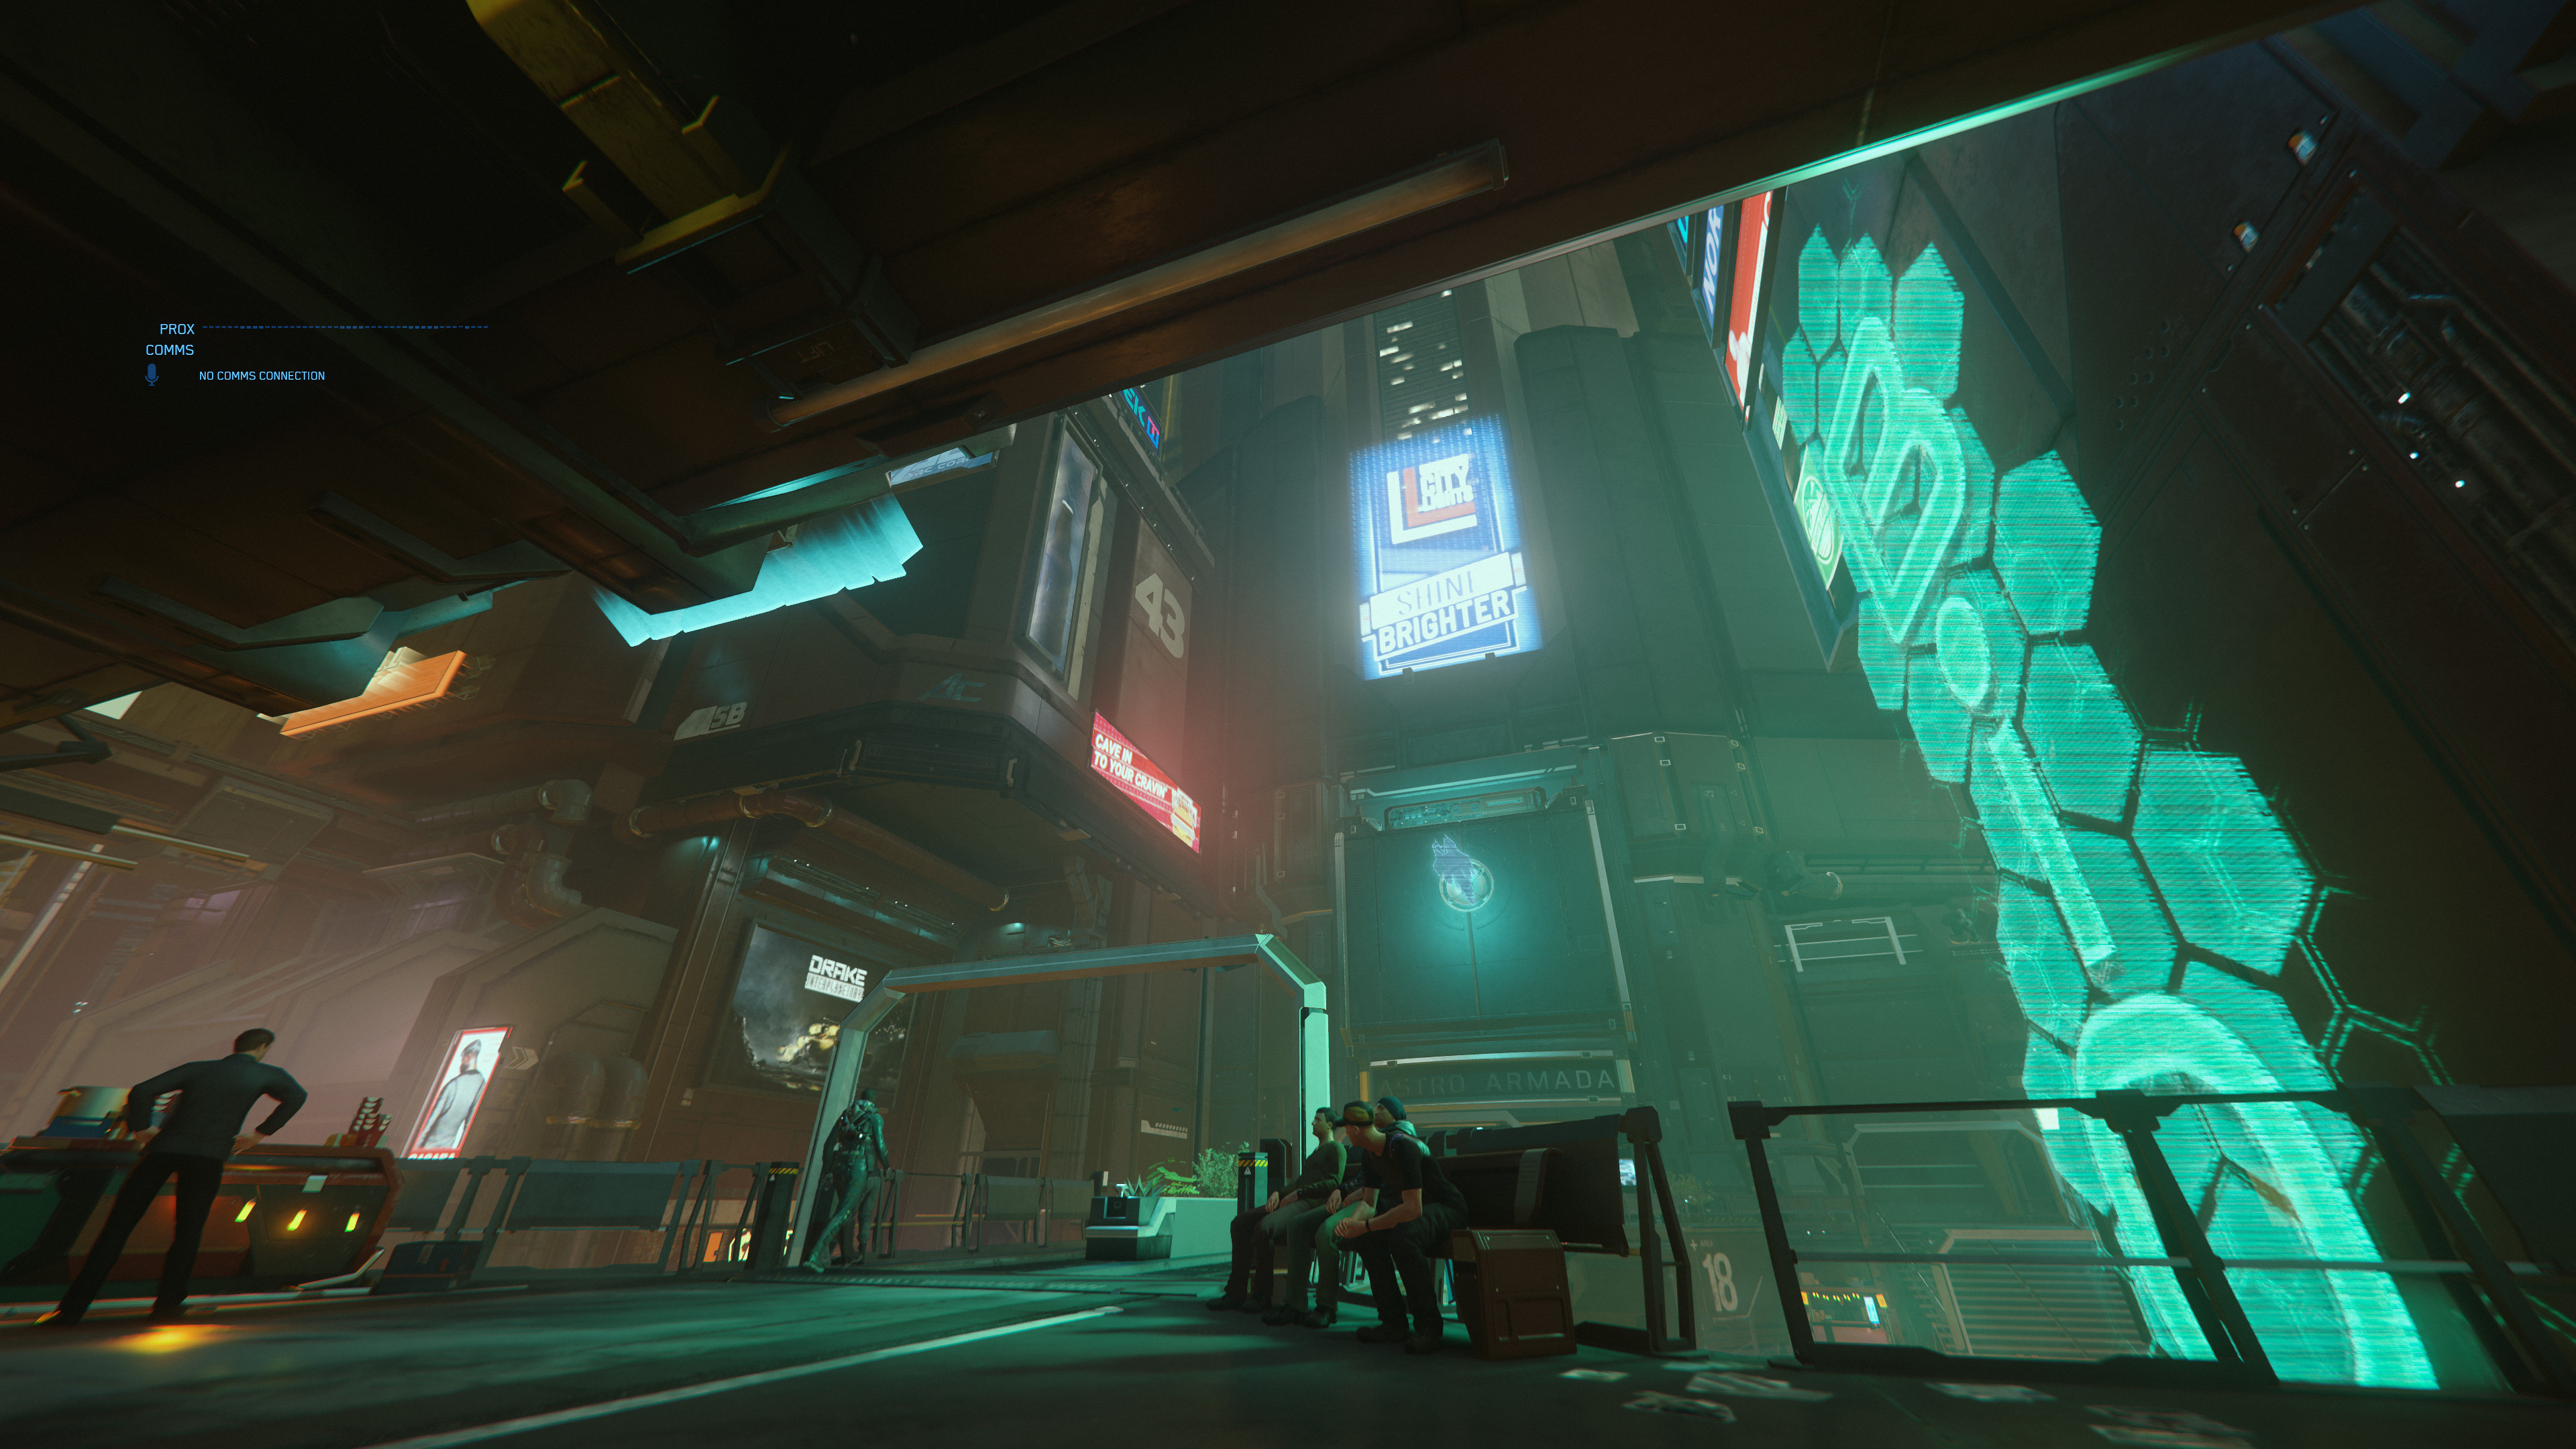
- Area 18 Zone 2 Astro Armada & Dumper's Depot.jpg 3.840 × 2.160; 1,4 MB
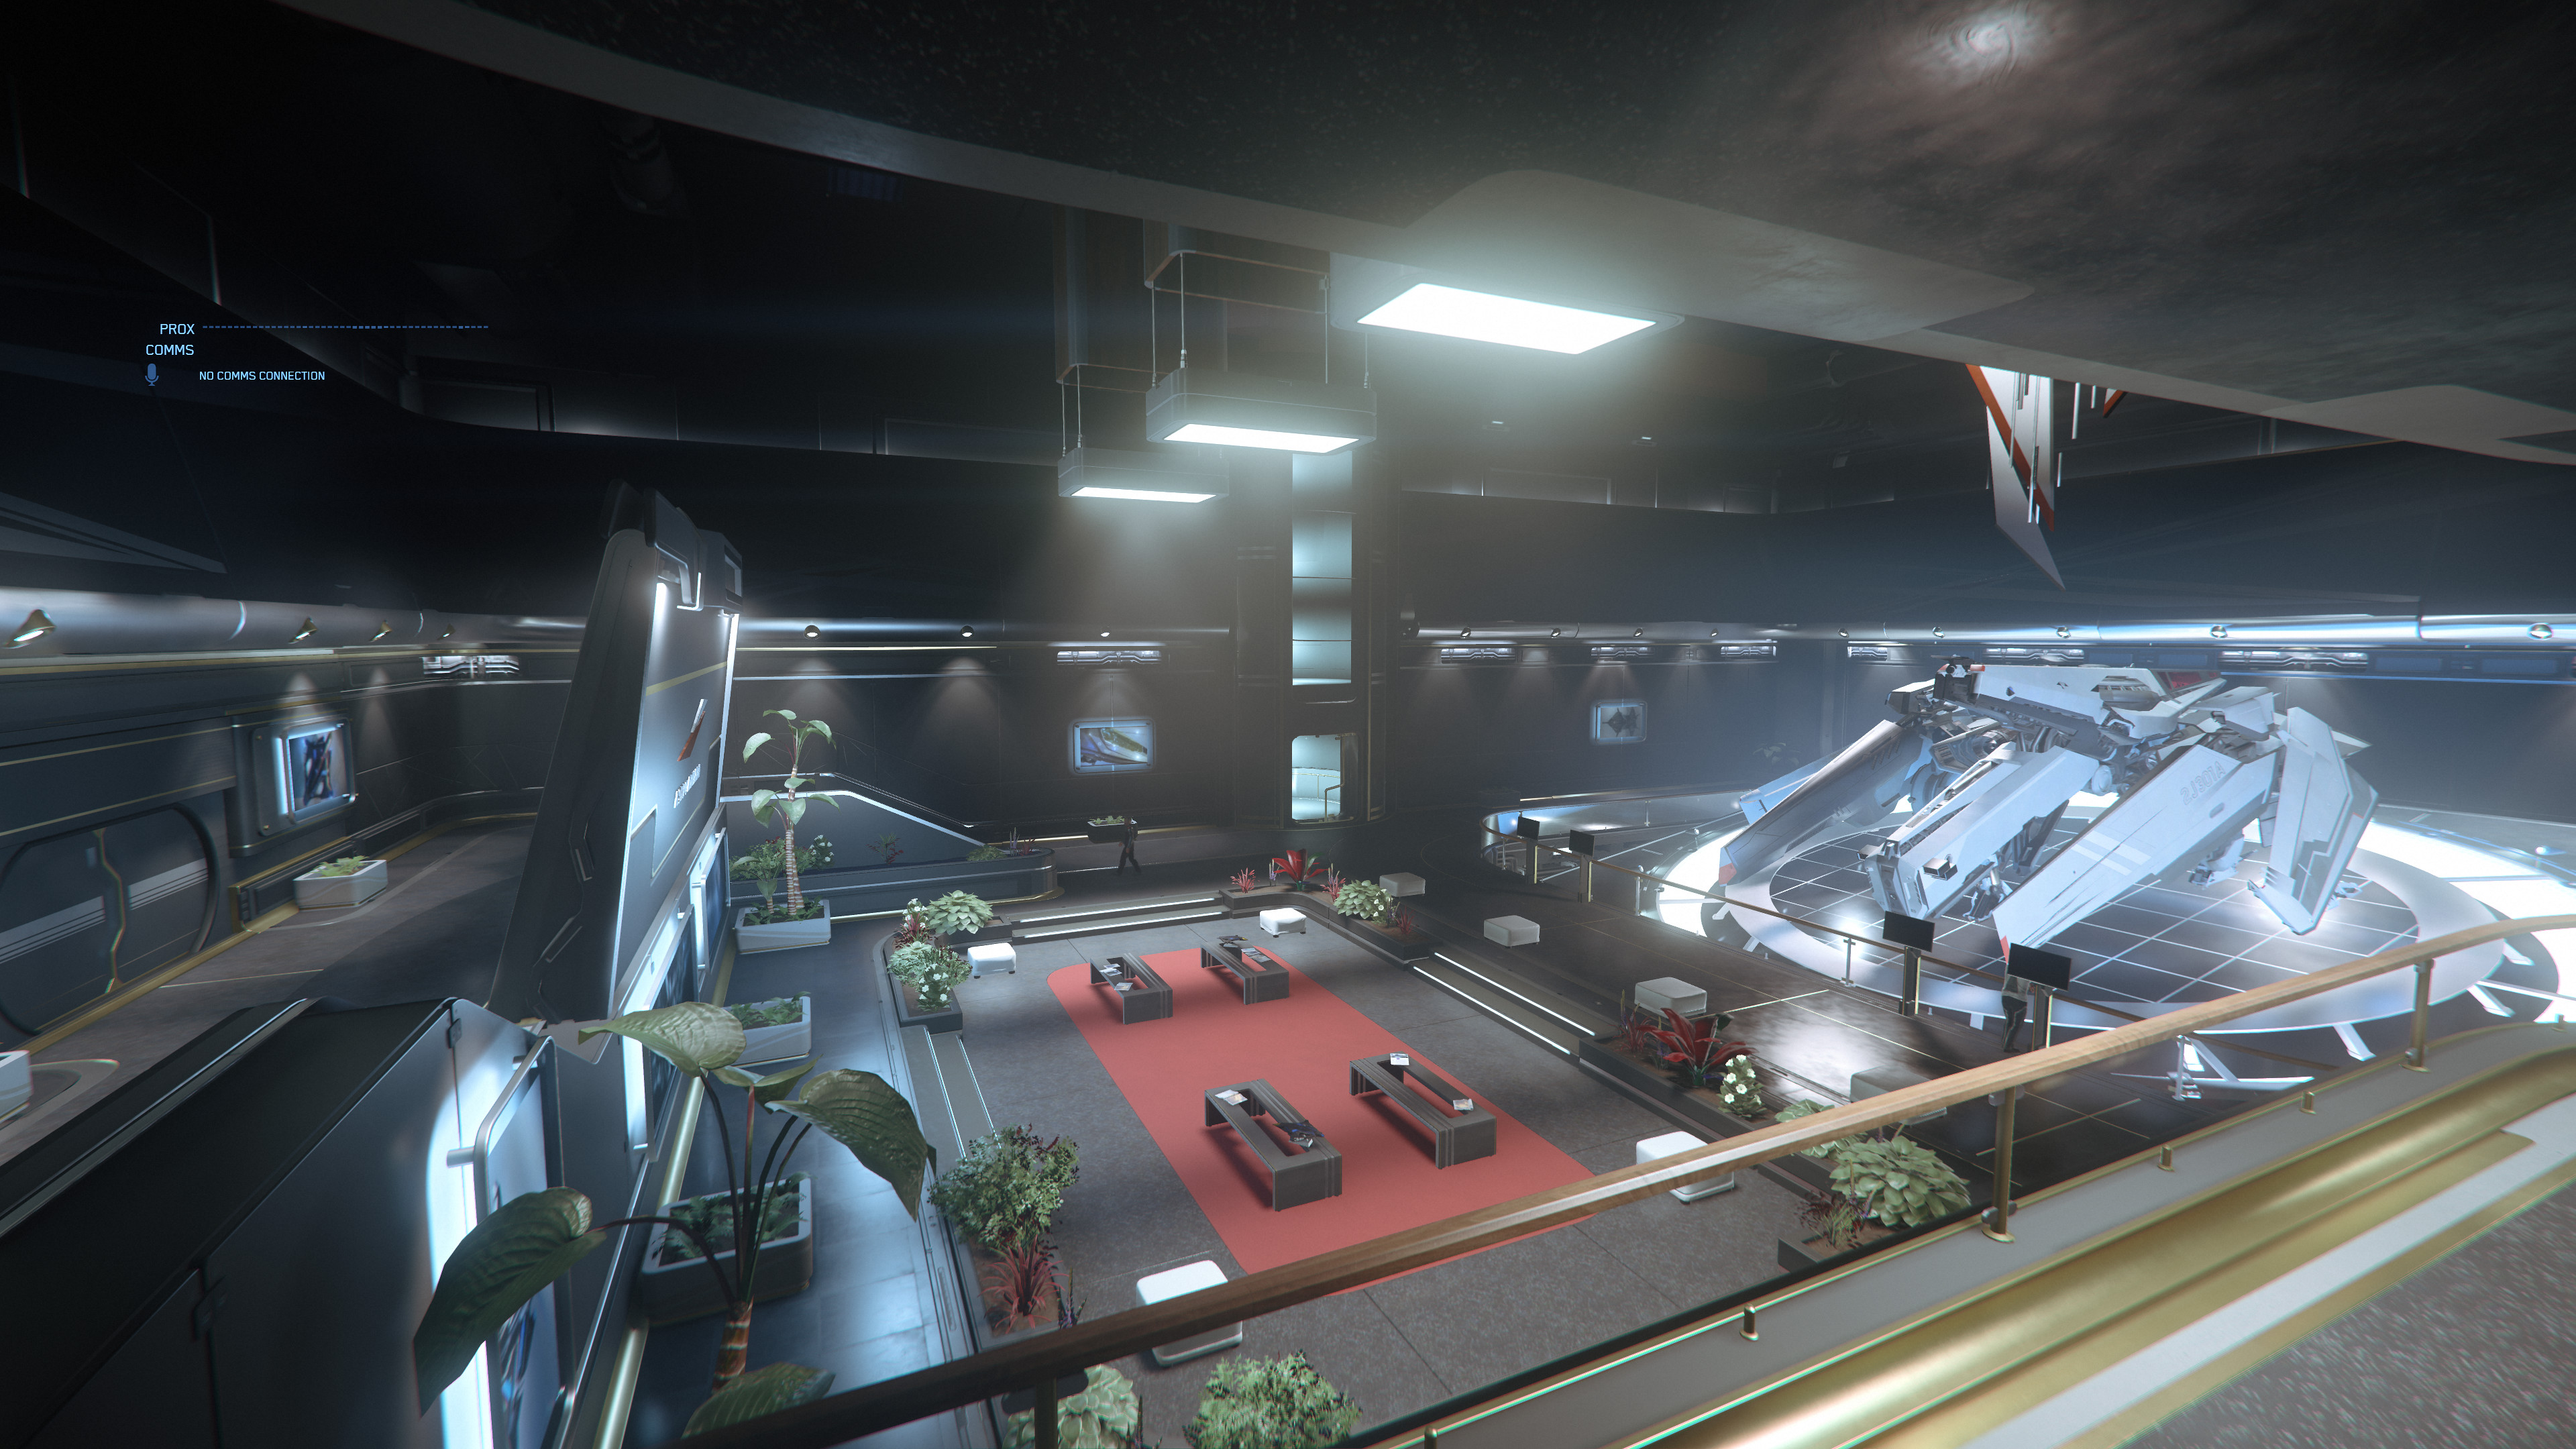
- Area 18 Zone 2 Astro Armada Showroom.jpg 3.840 × 2.160; 1,48 MB
- Area 18 Zone 2 Brücke Bild 1.jpg 3.840 × 2.160; 1,59 MB
- Area 18 Zone 2 Brücke Bild 2.jpg 3.840 × 2.160; 1,54 MB
- Area 18 Zone 2 Dumper's Depot Rückseite.jpg 3.840 × 2.160; 1,31 MB
- Area 18 Zone 2 Dumpers Depot Innenraum.jpg 3.840 × 2.160; 1,39 MB
- Area 18 Zone 2 Gasse.jpg 3.840 × 2.160; 1,18 MB
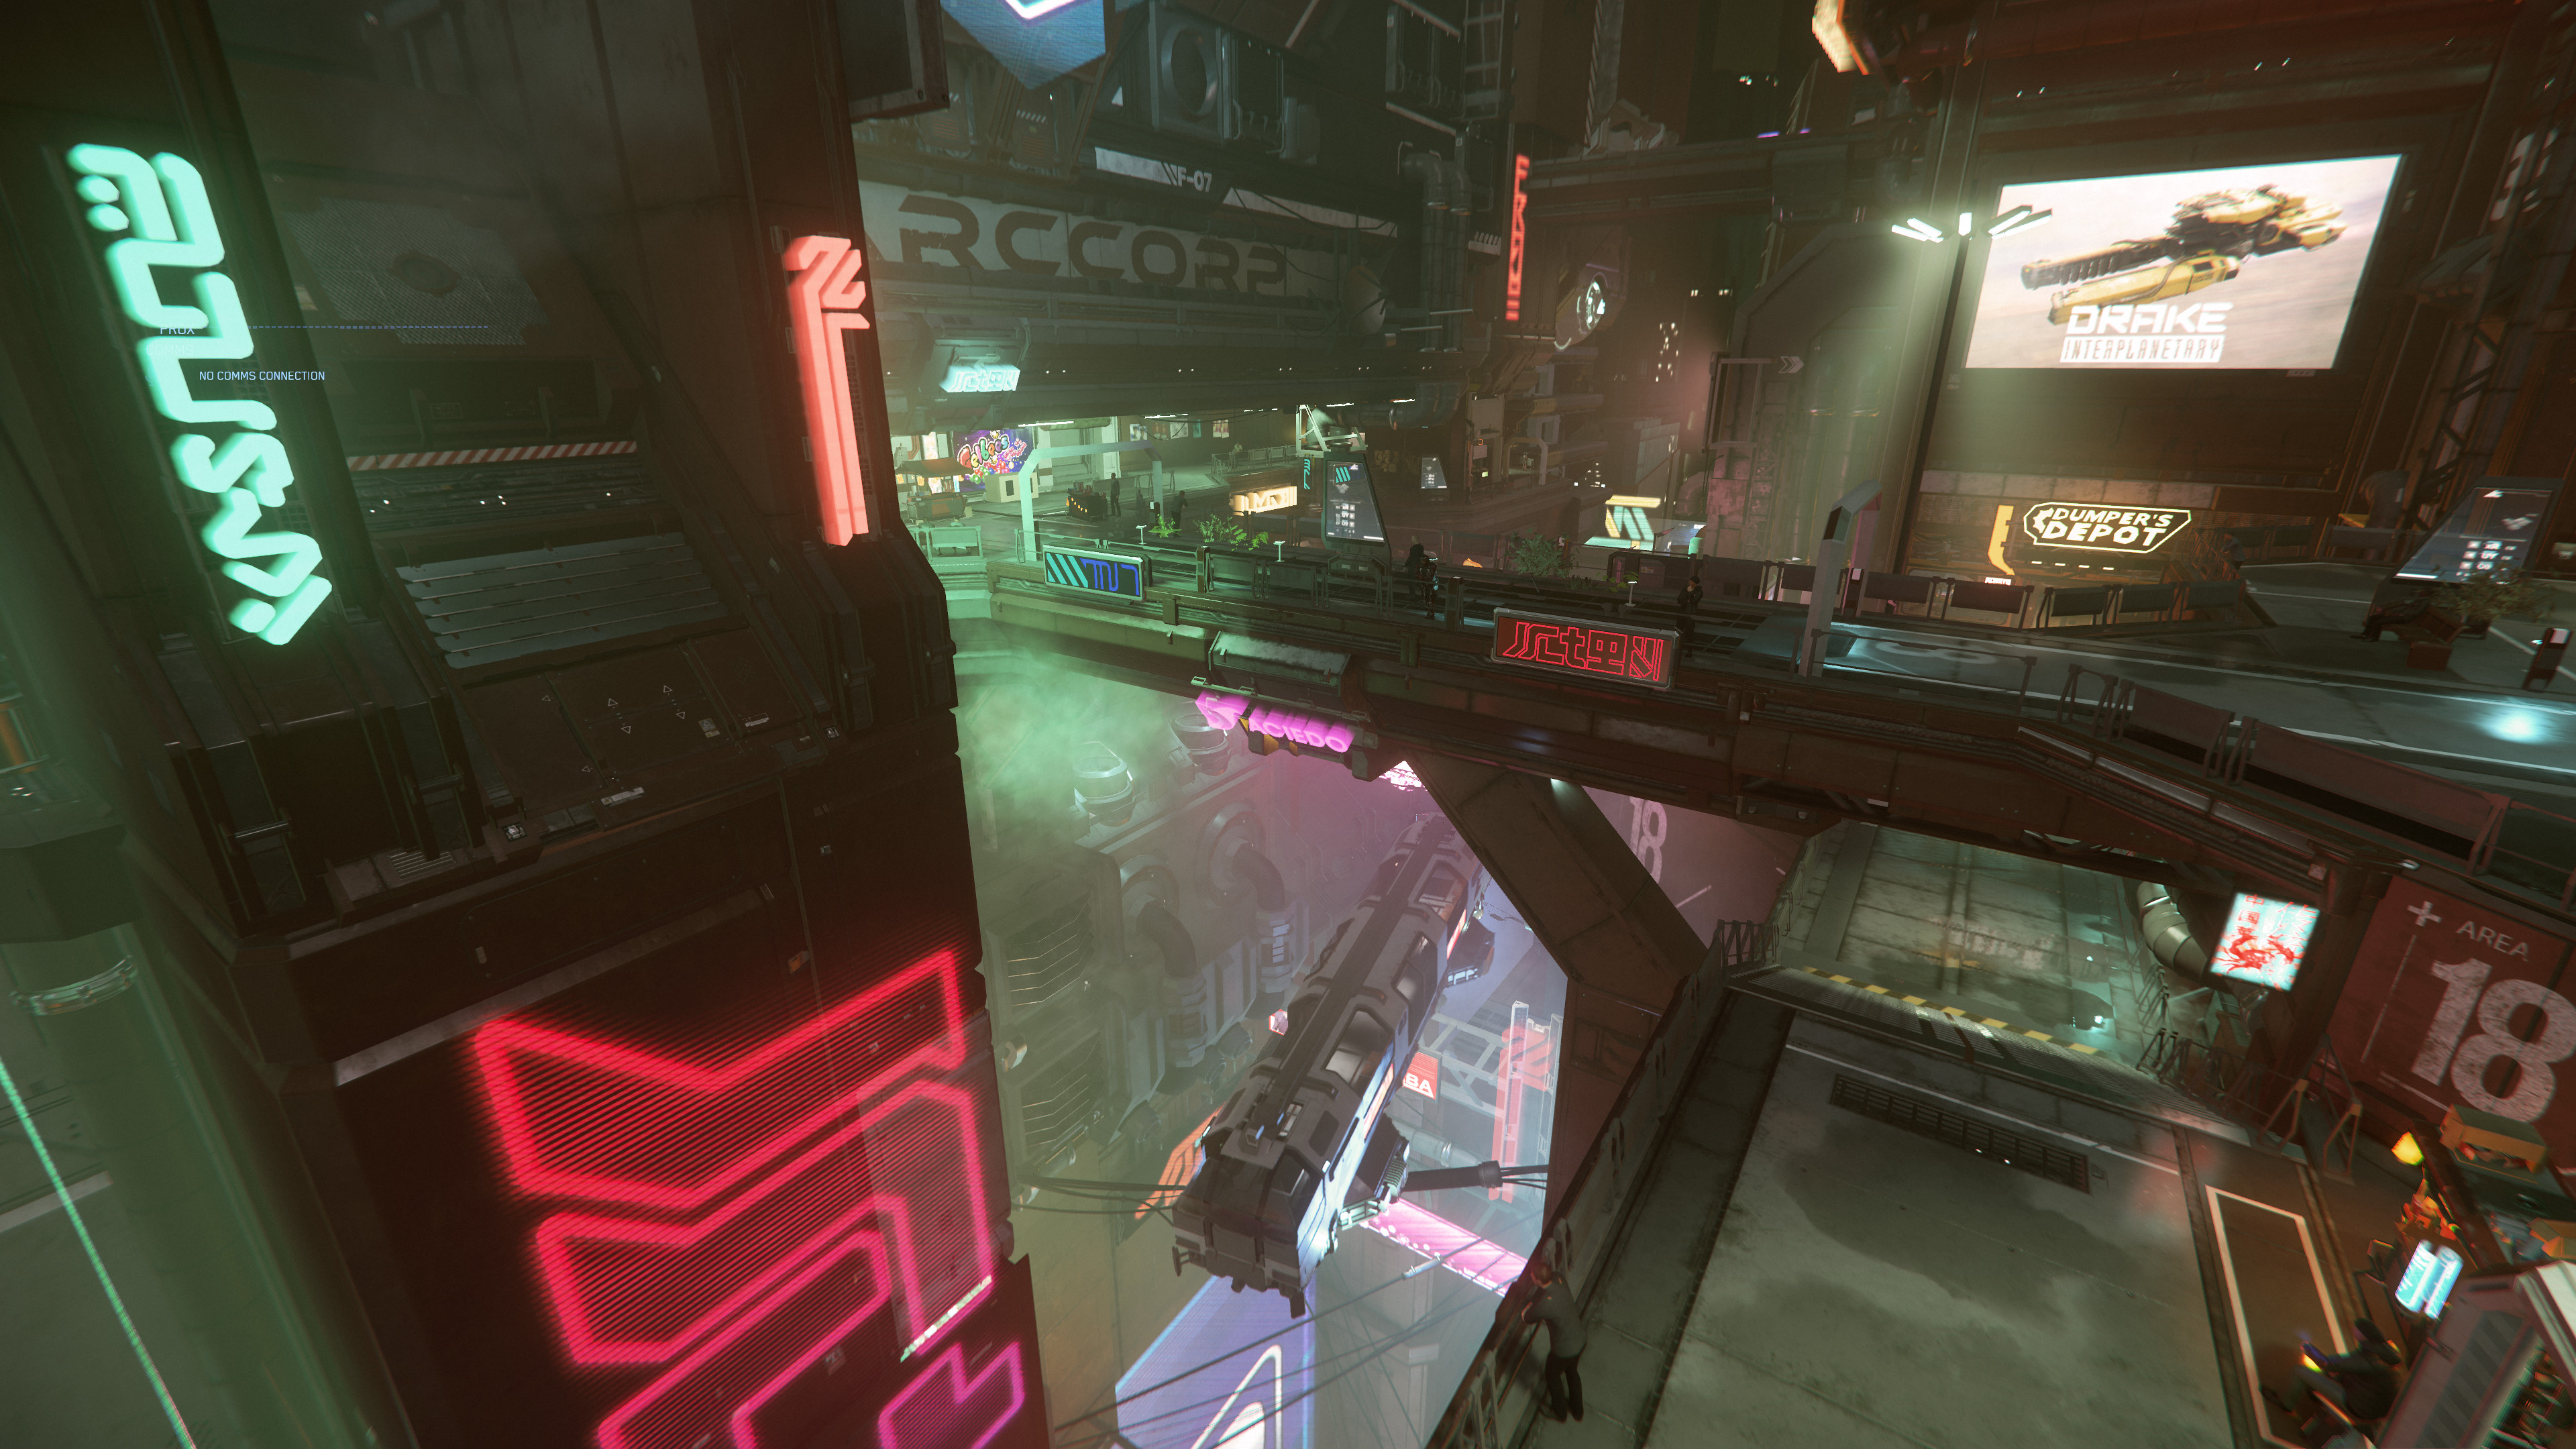
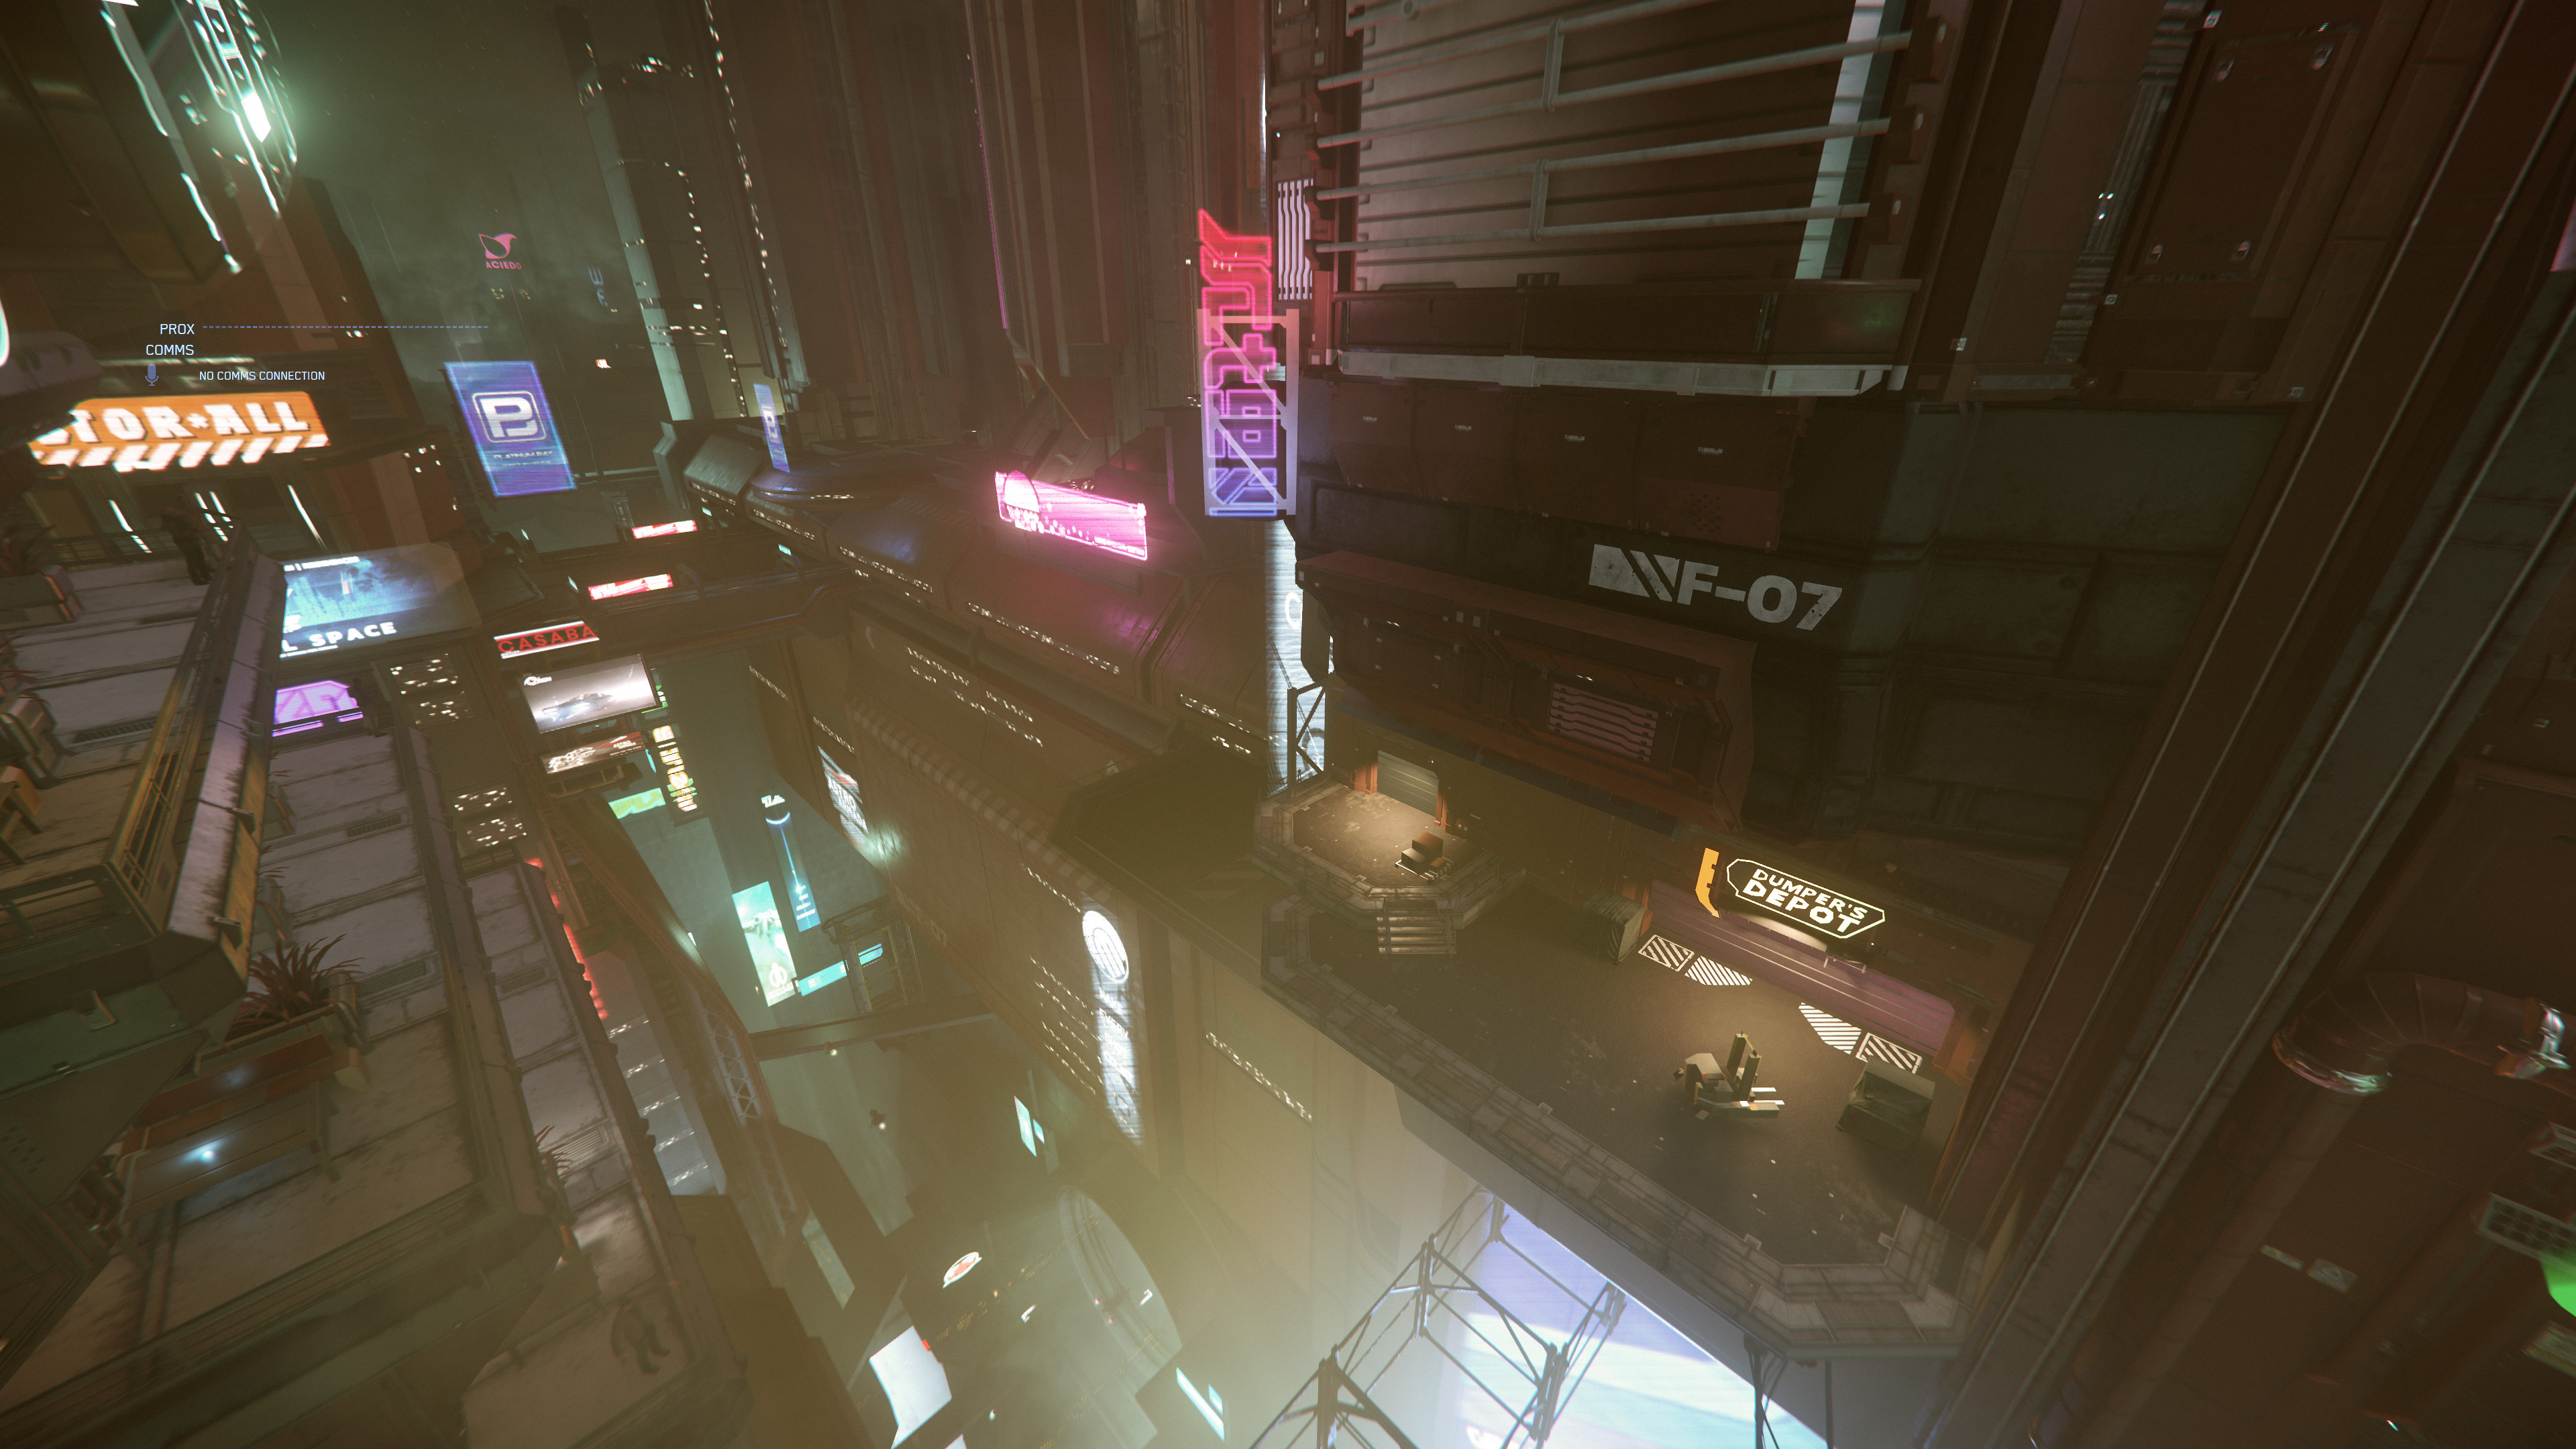
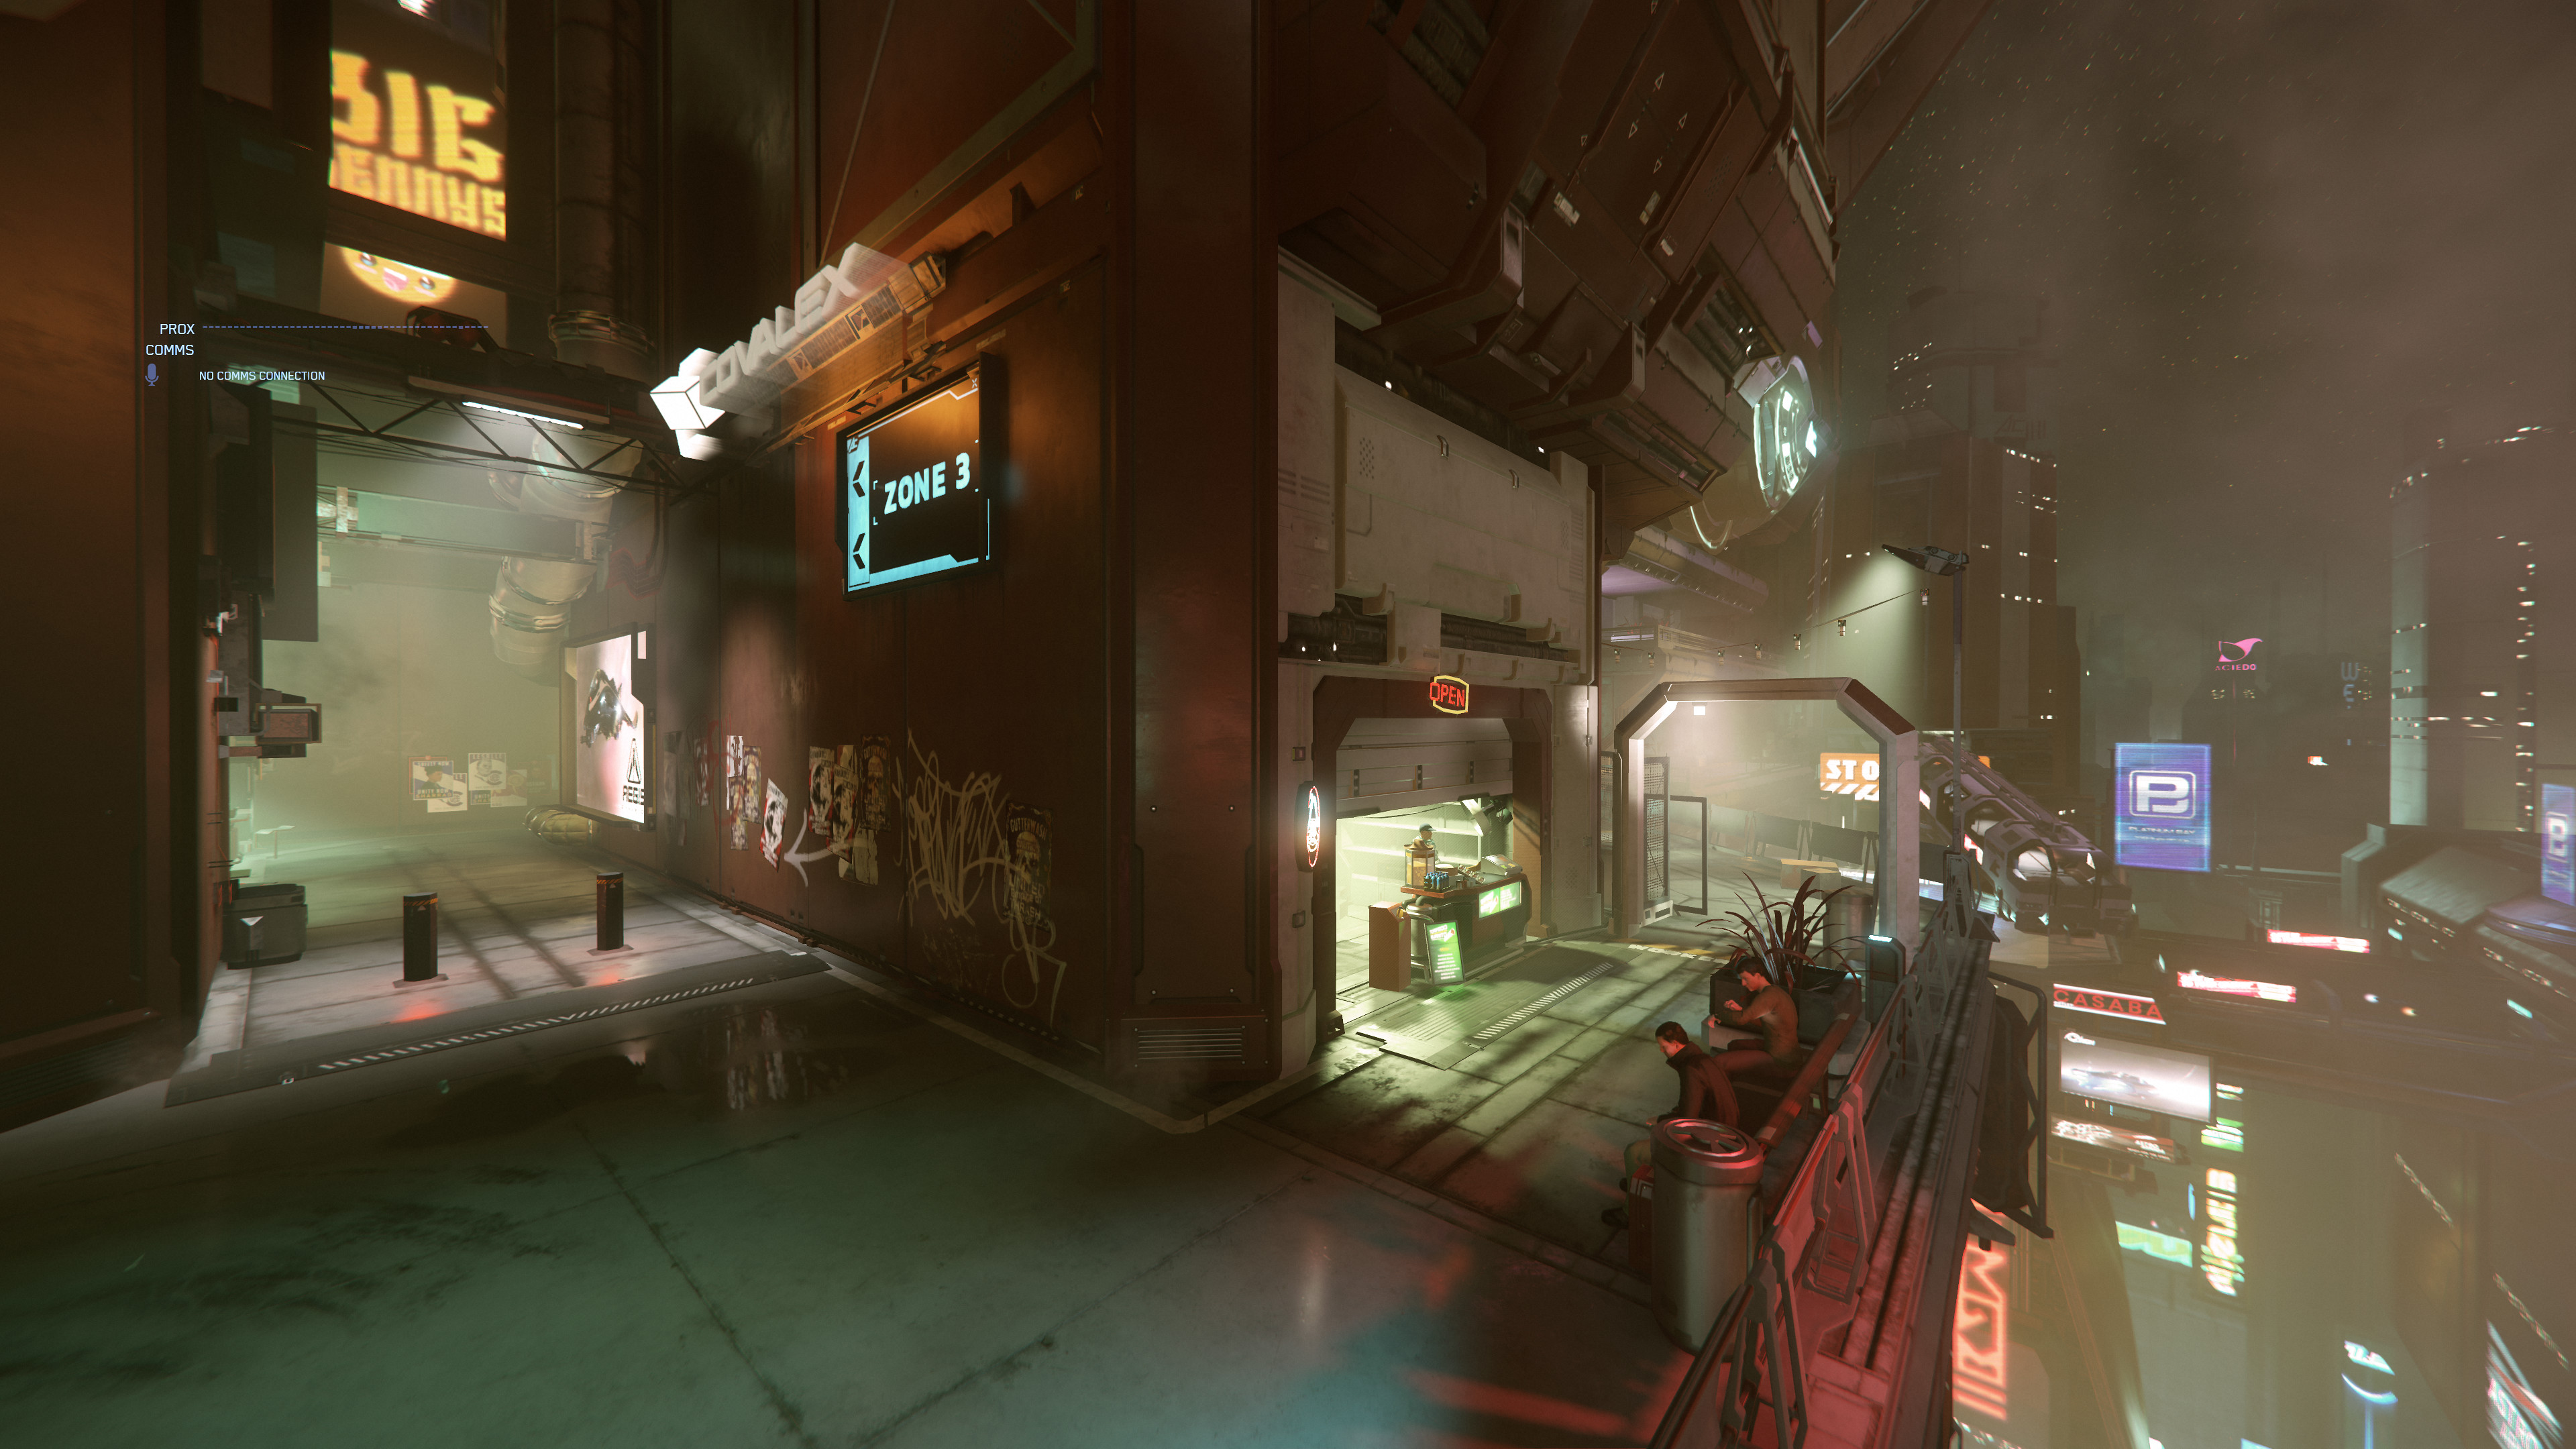
- Area 18 Zone 2 Passage zu Zone 3.jpg 3.840 × 2.160; 1,29 MB
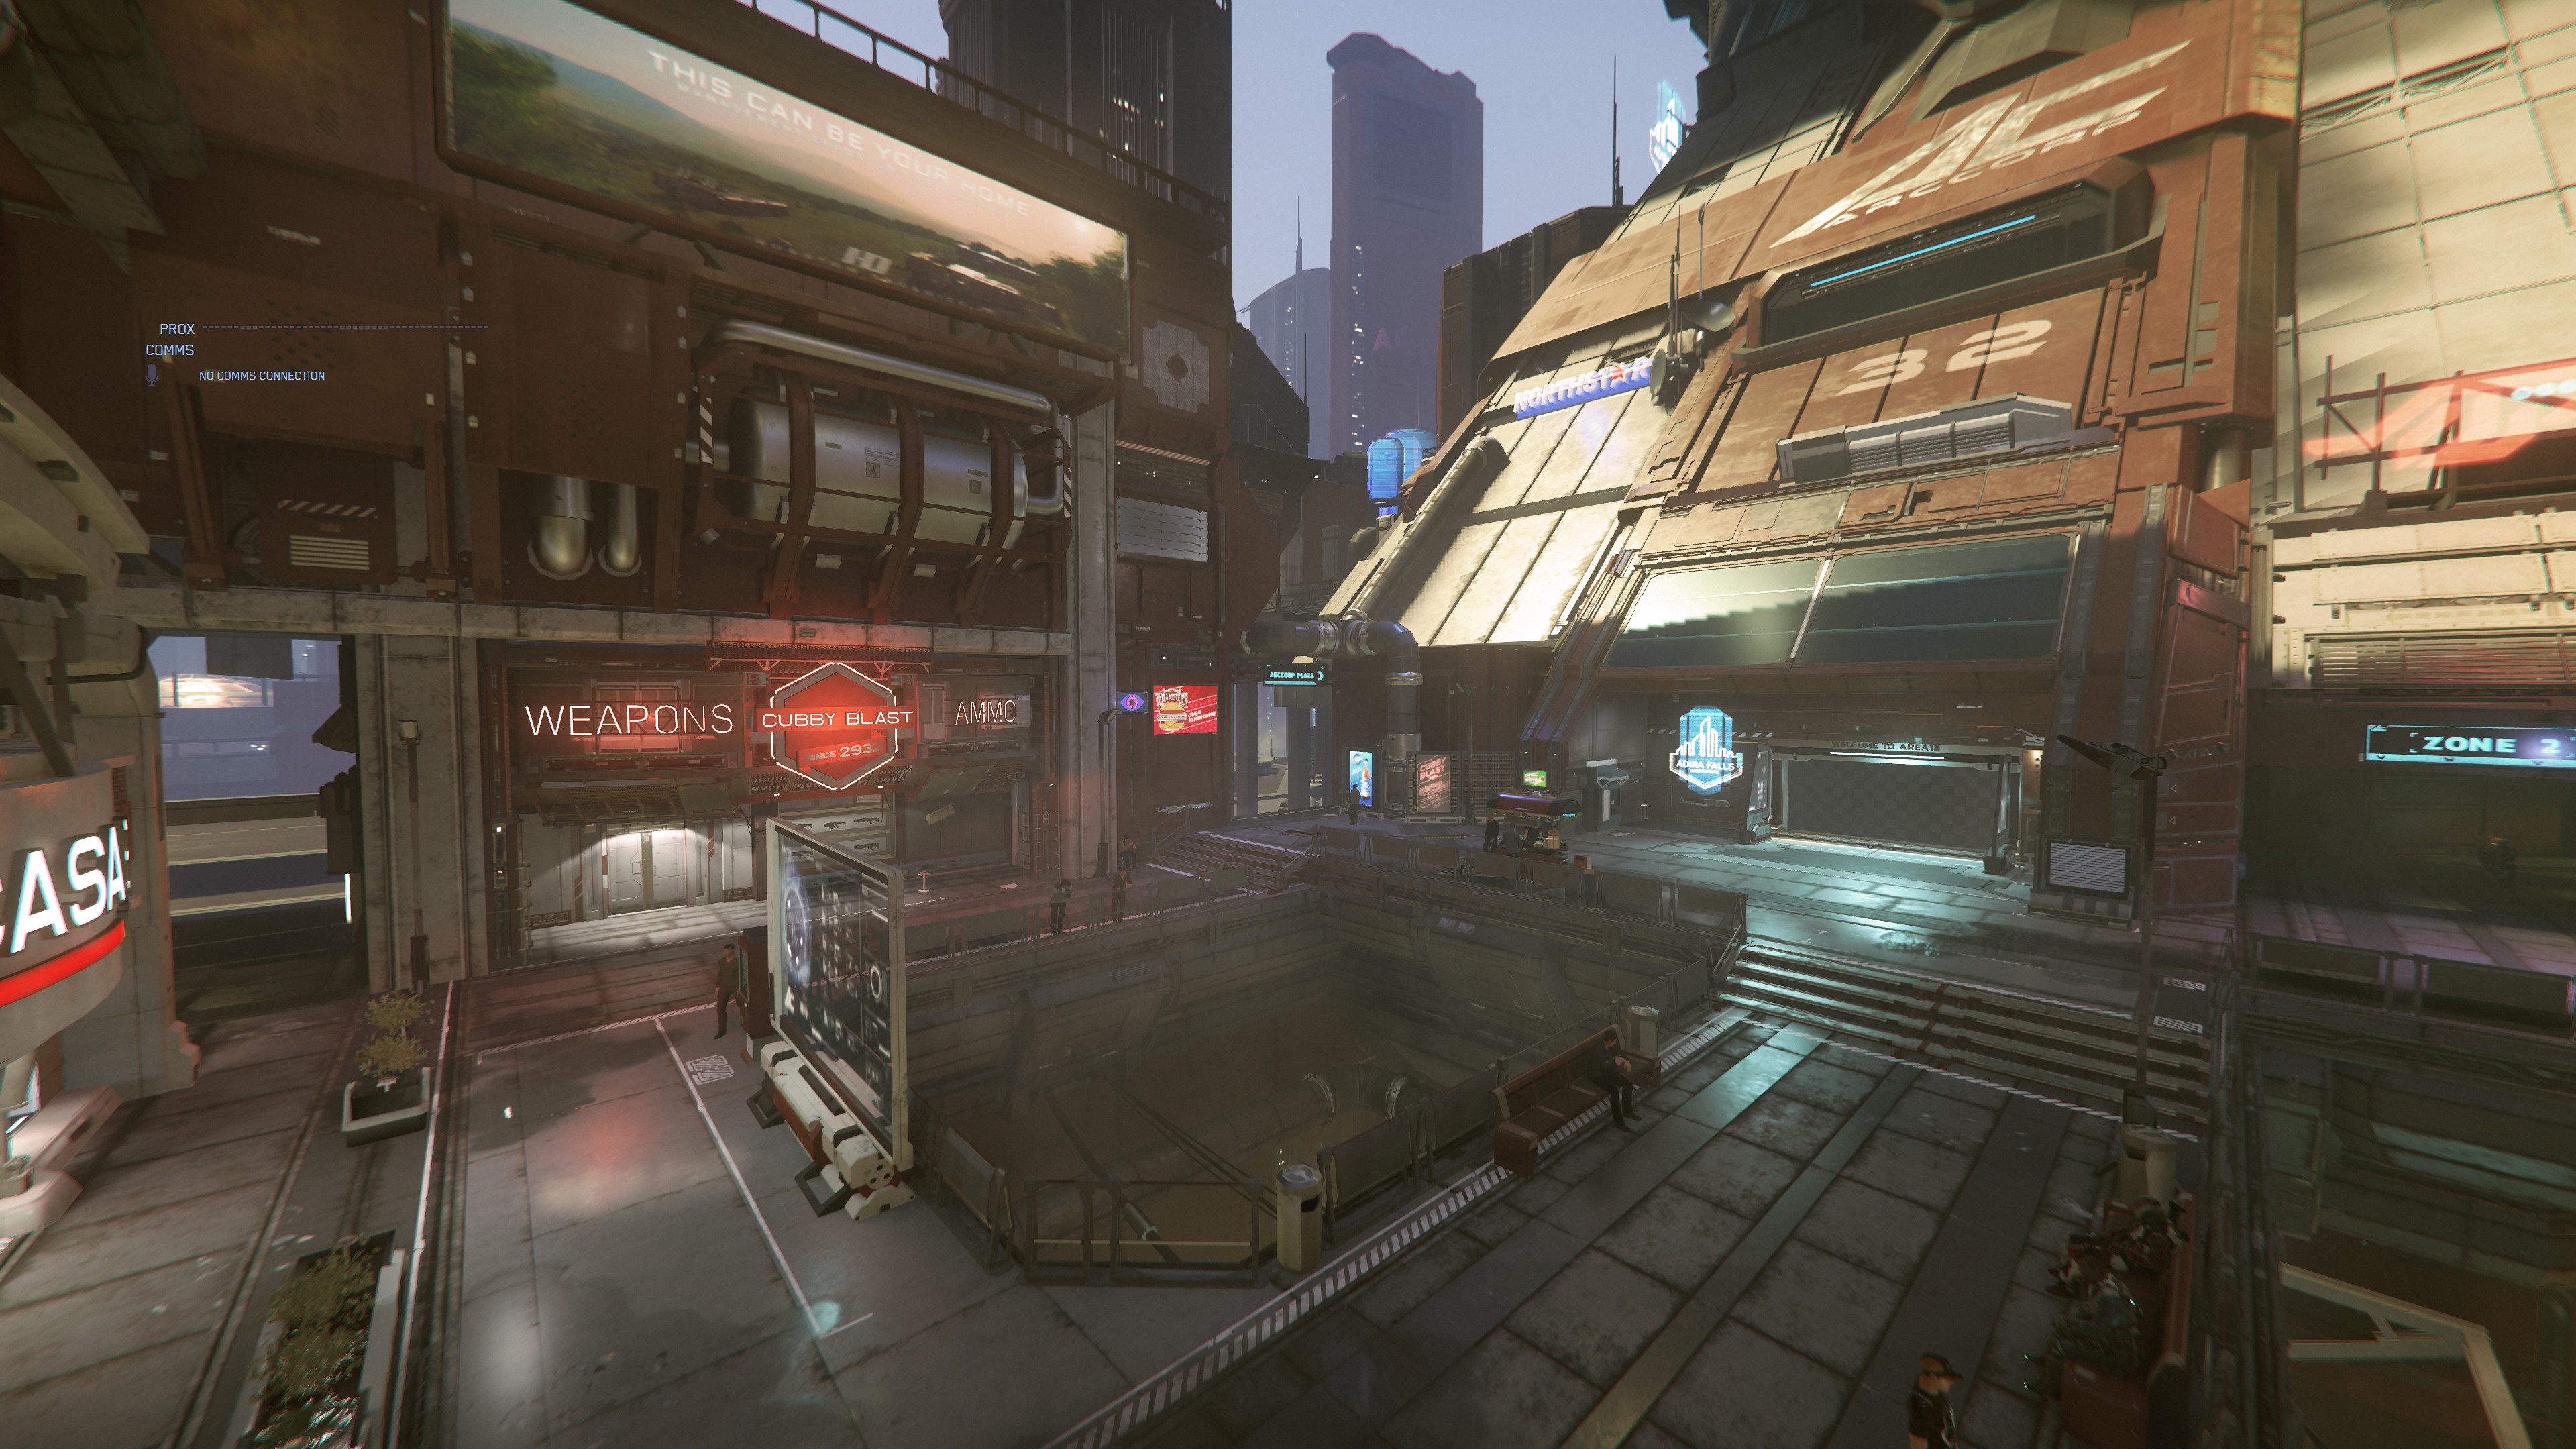
- Area 18 Zone 2.jpg 3.840 × 2.160; 1,3 MB
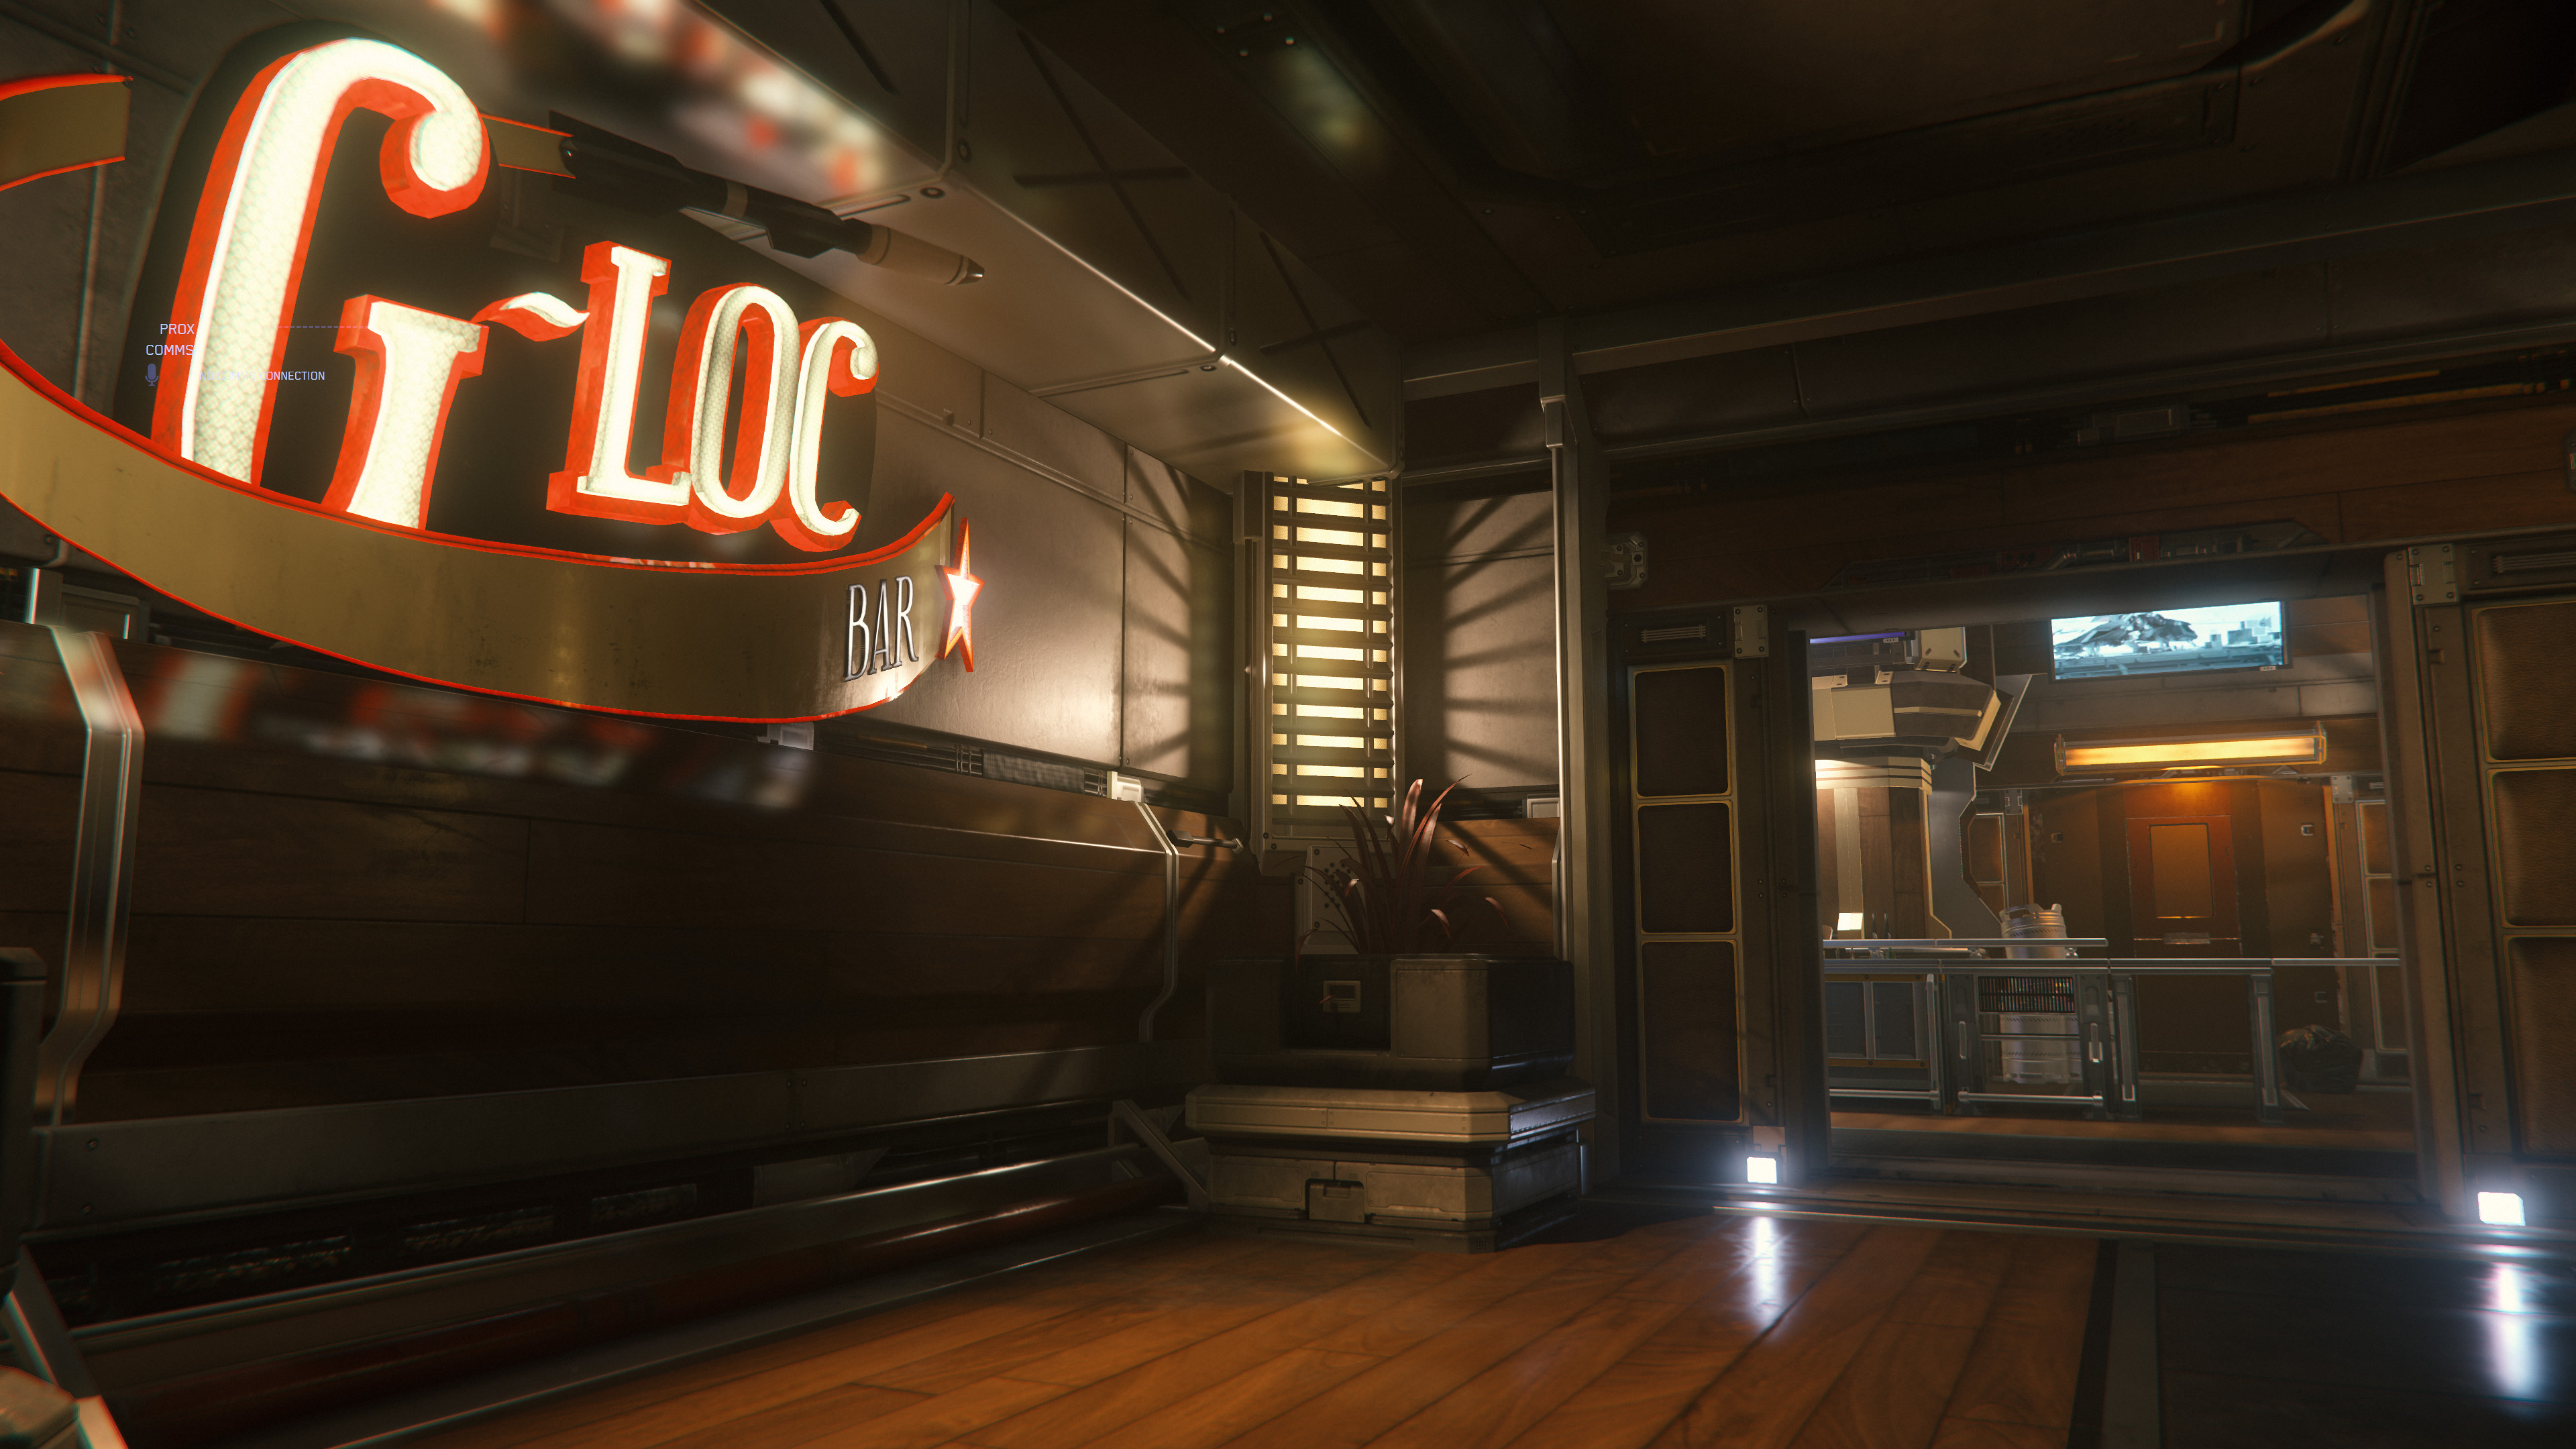
- Area 18 Zone 3 G-Loc Bar Bild 1.jpg 3.840 × 2.160; 1,64 MB
- Area 18 Zone 3 G-Loc Bar Bild 2.jpg 3.840 × 2.160; 1,6 MB
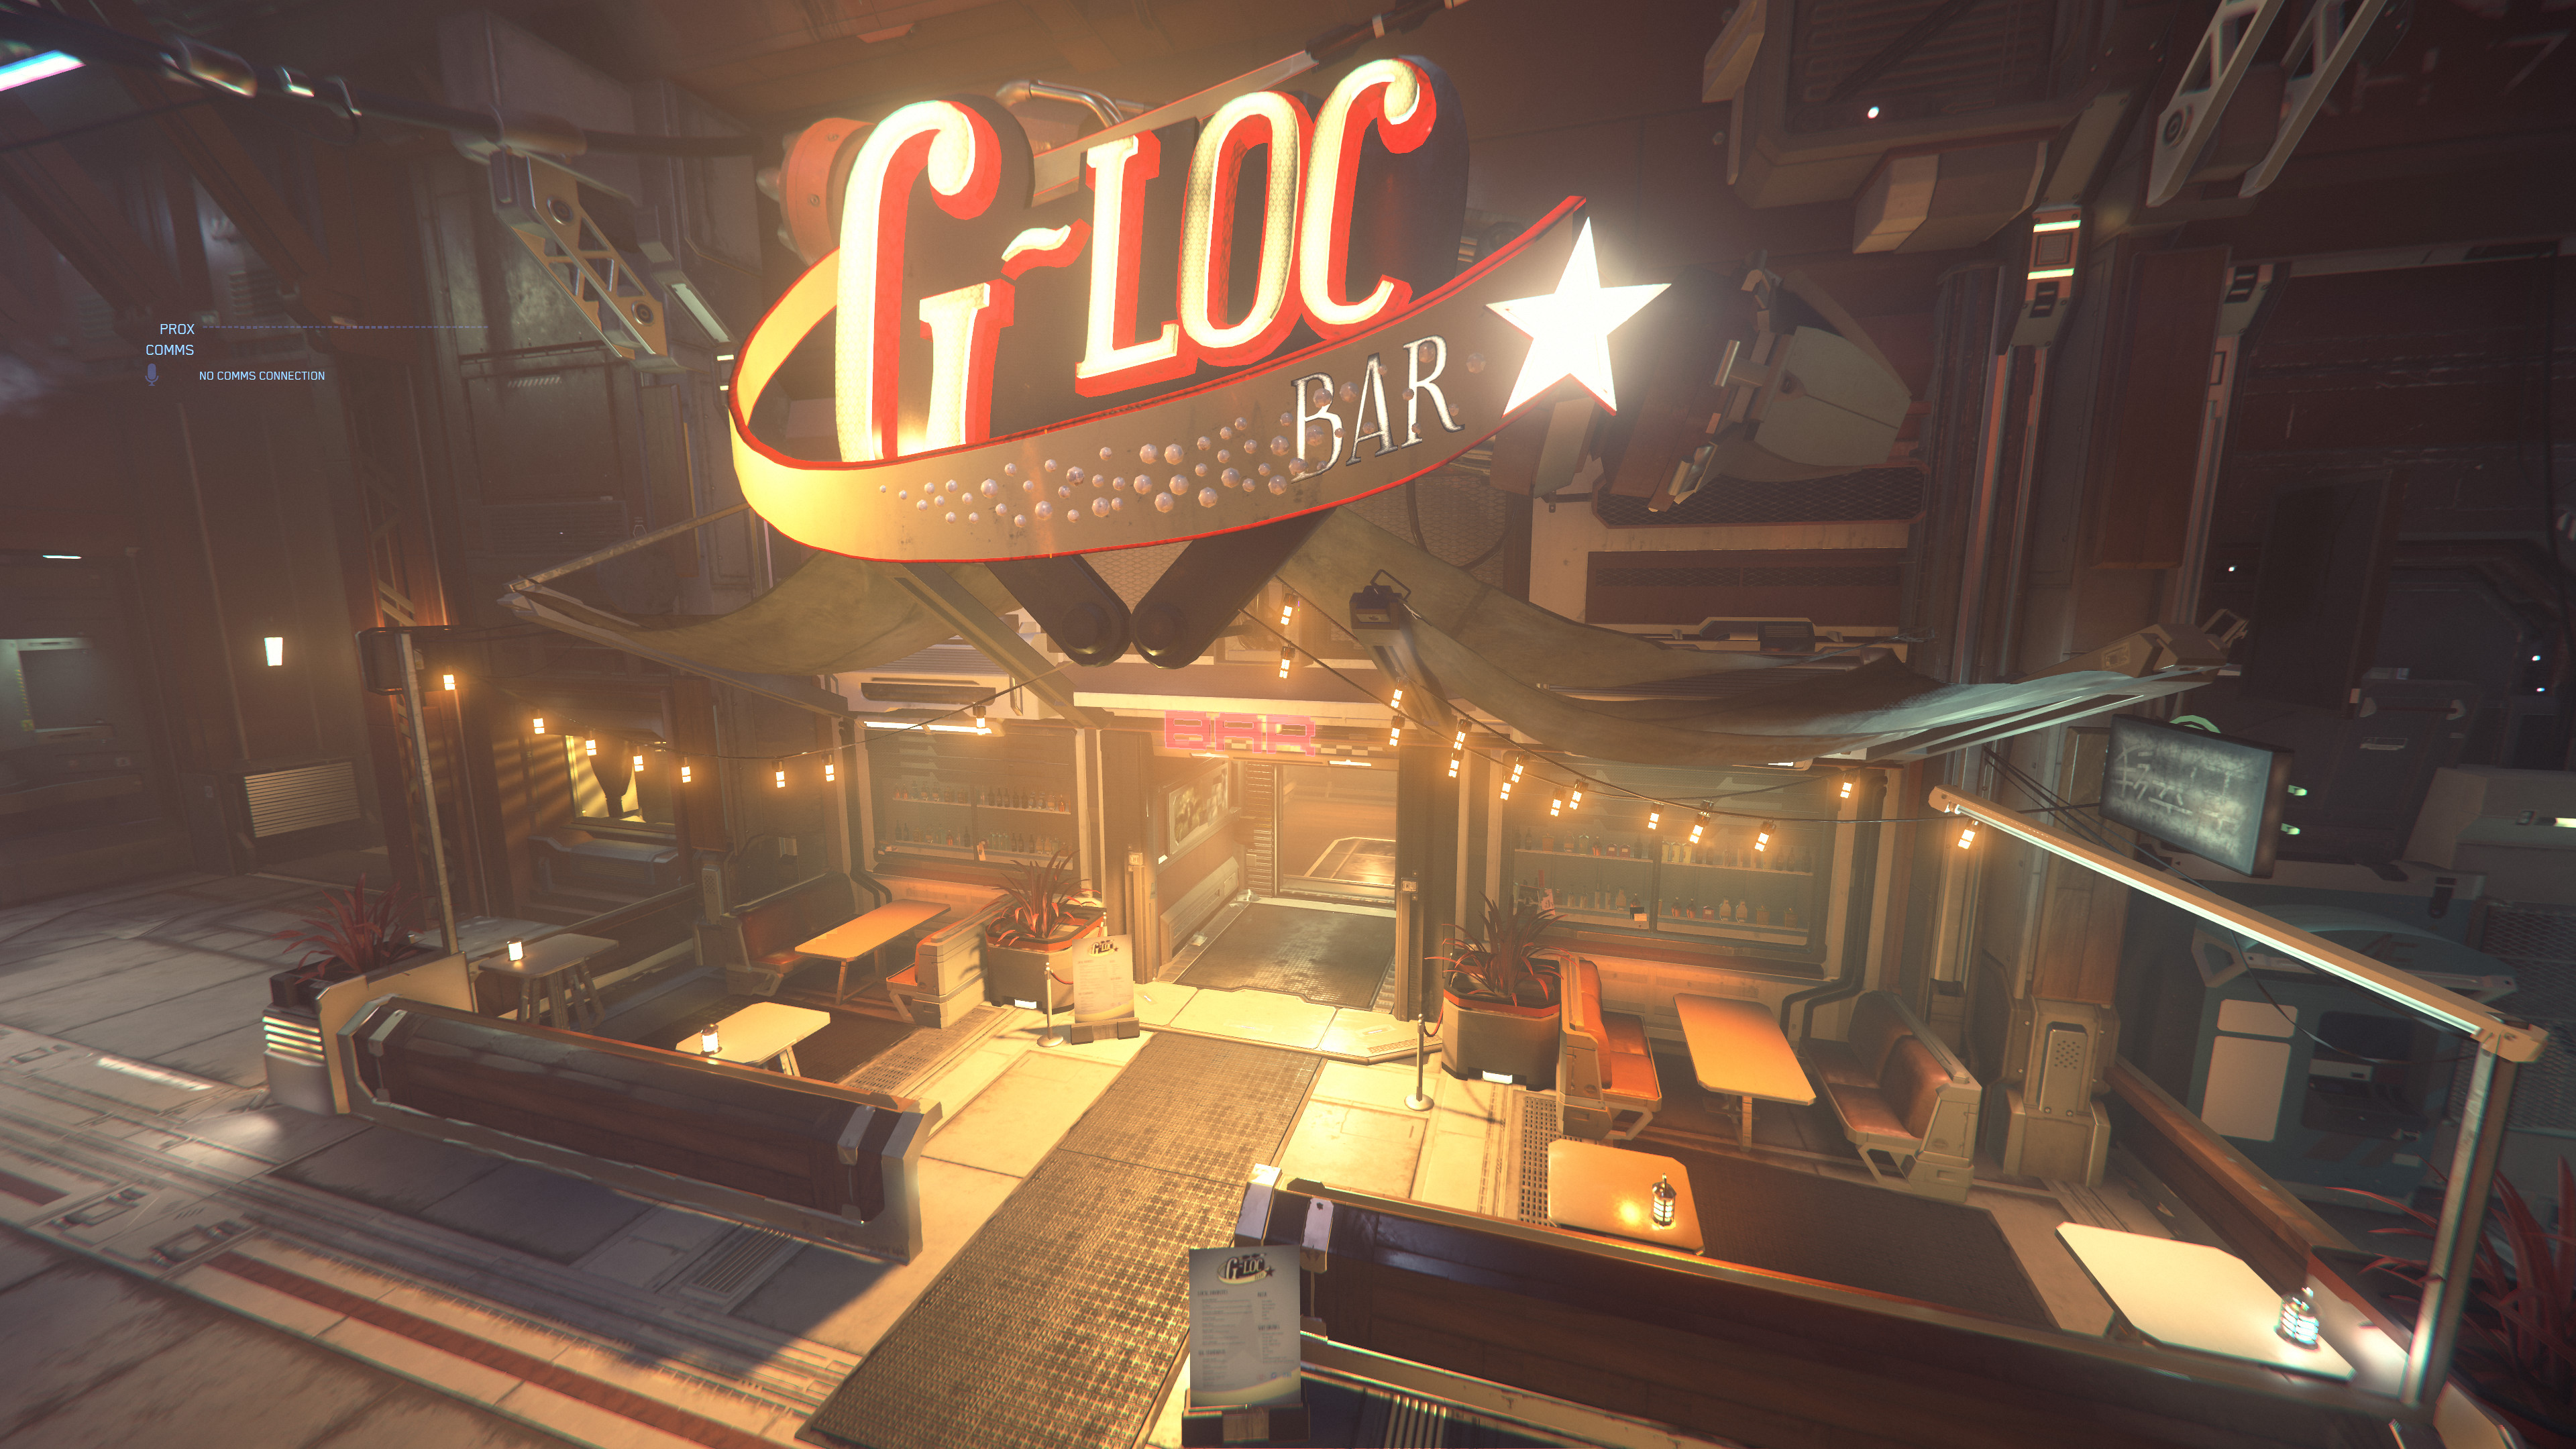
- Area 18 Zone 3 G-Loc Bar Eingang.jpg 3.840 × 2.160; 1,31 MB
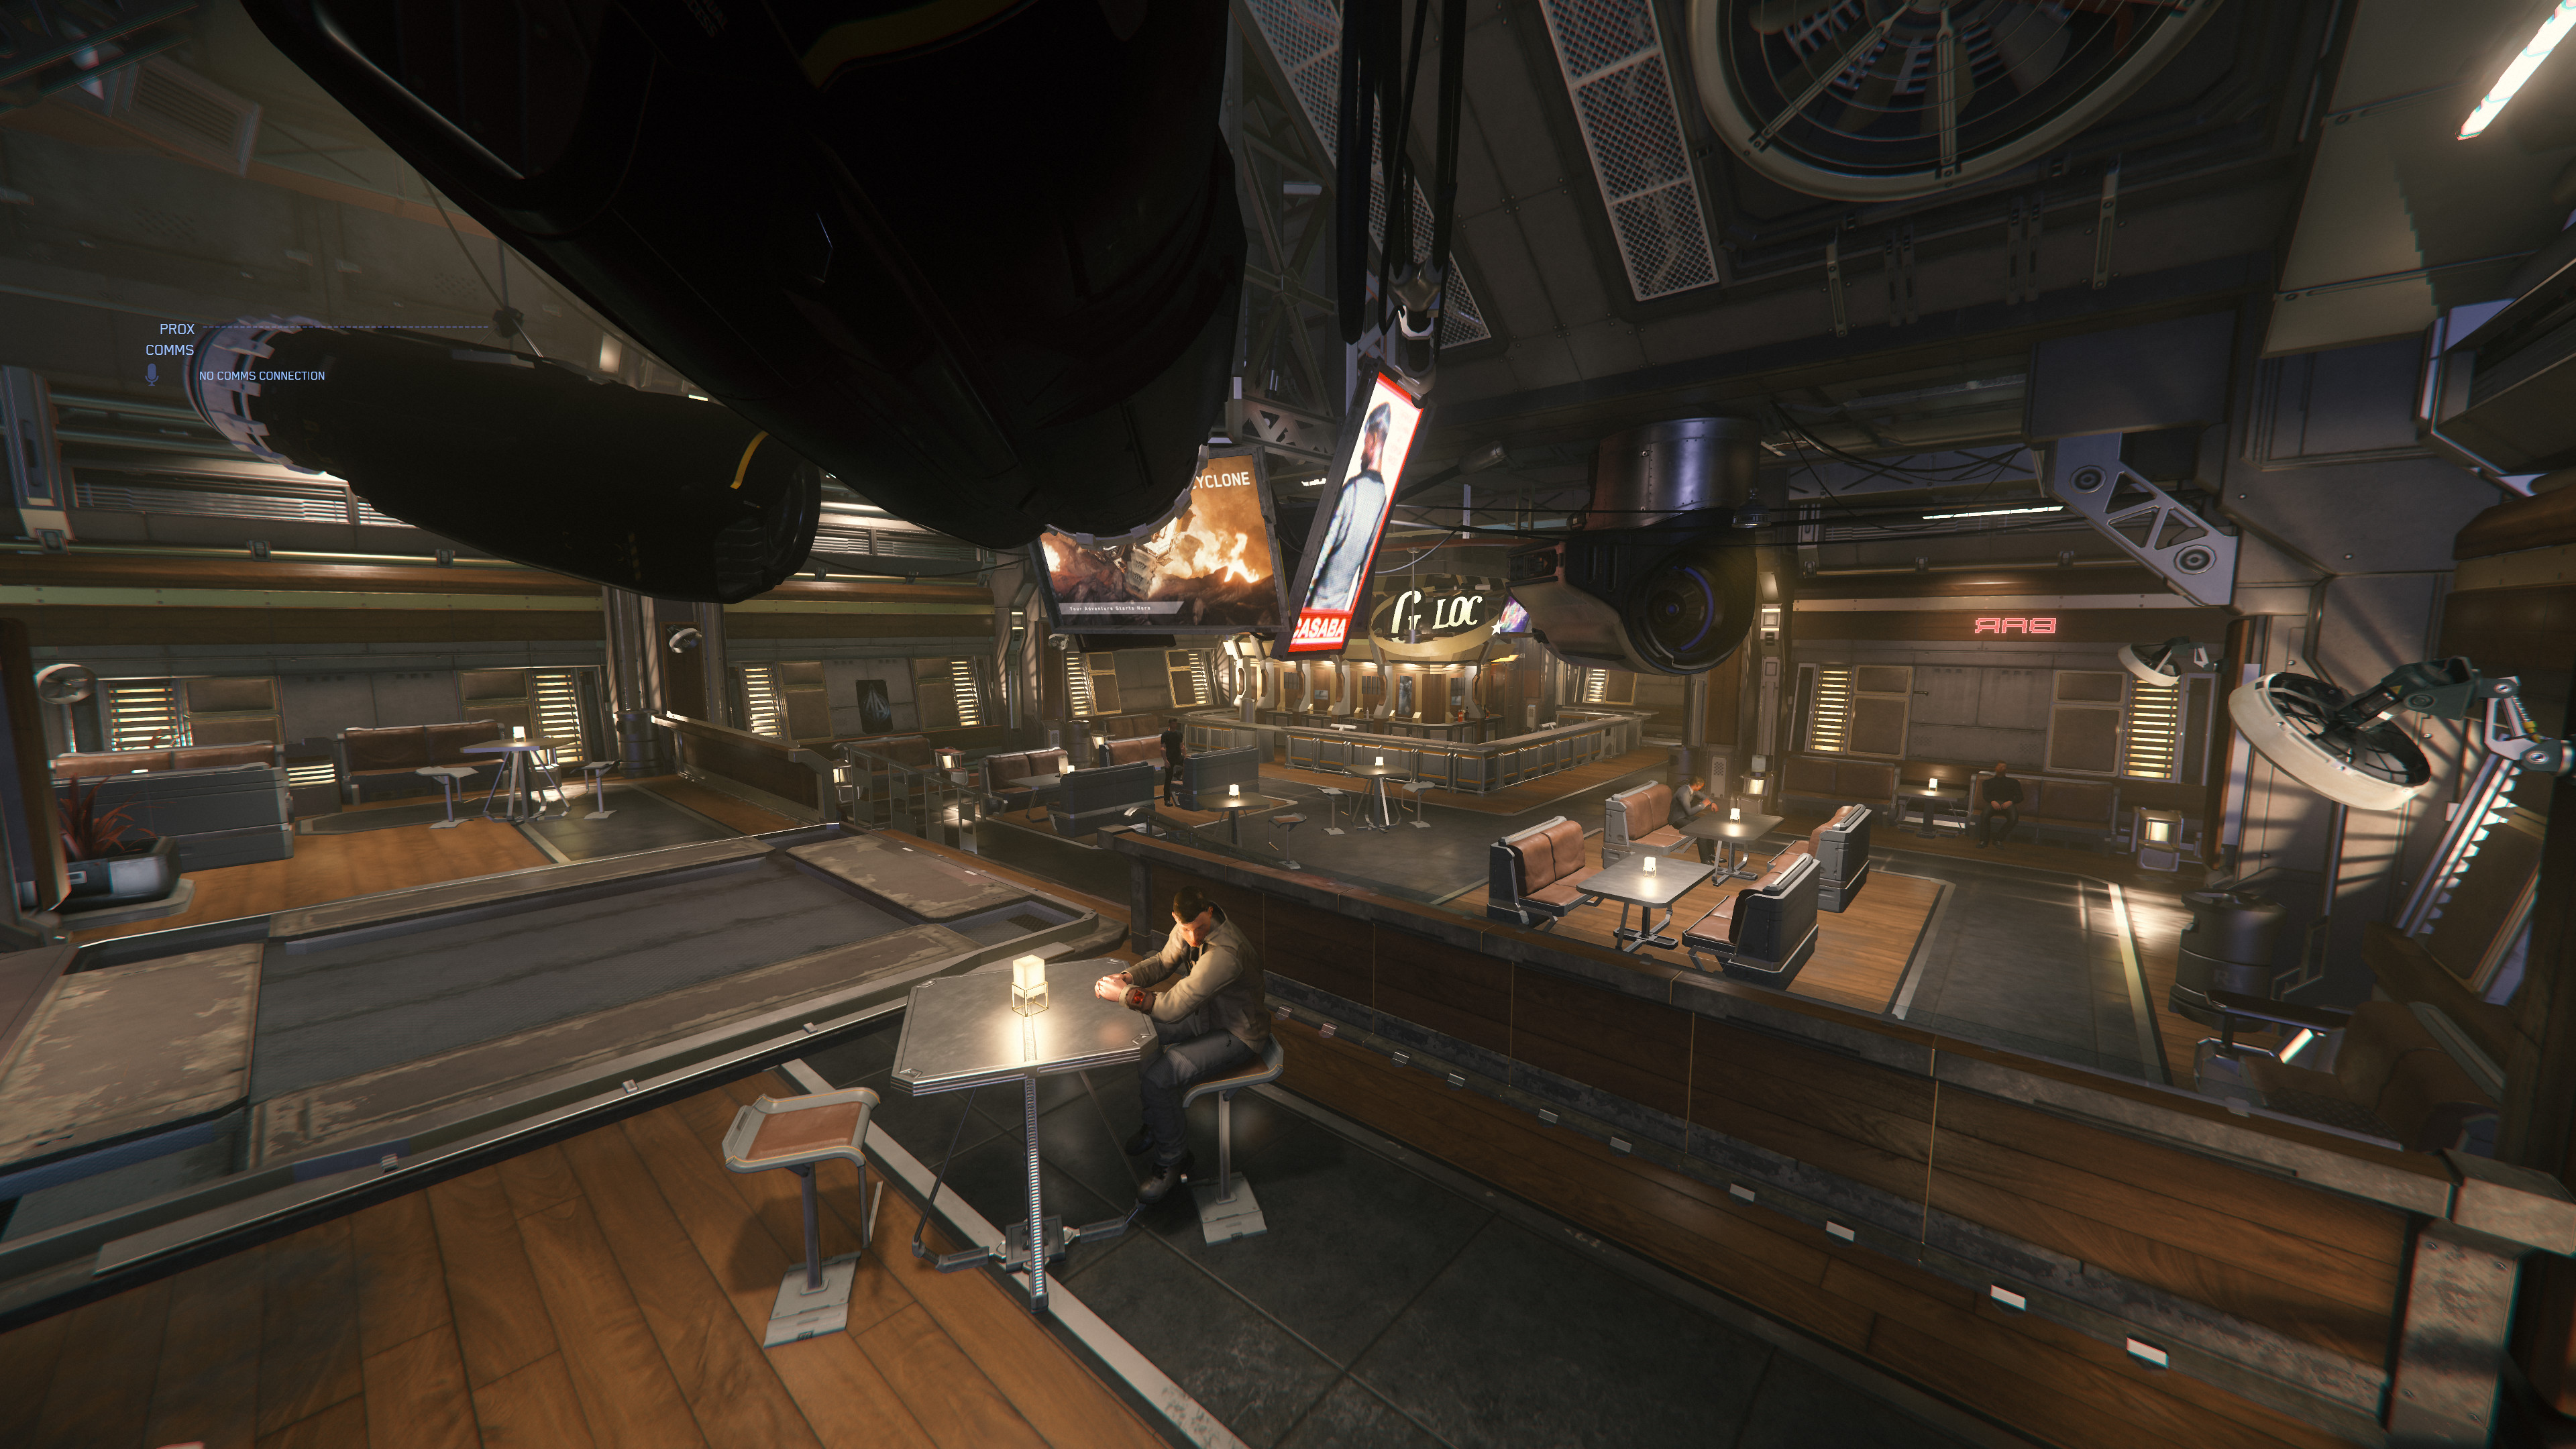
- Area 18 Zone 3 G-Loc Bar Innenraum.jpg 3.840 × 2.160; 1,6 MB
- Area18.jpg 3.840 × 2.160; 1,57 MB
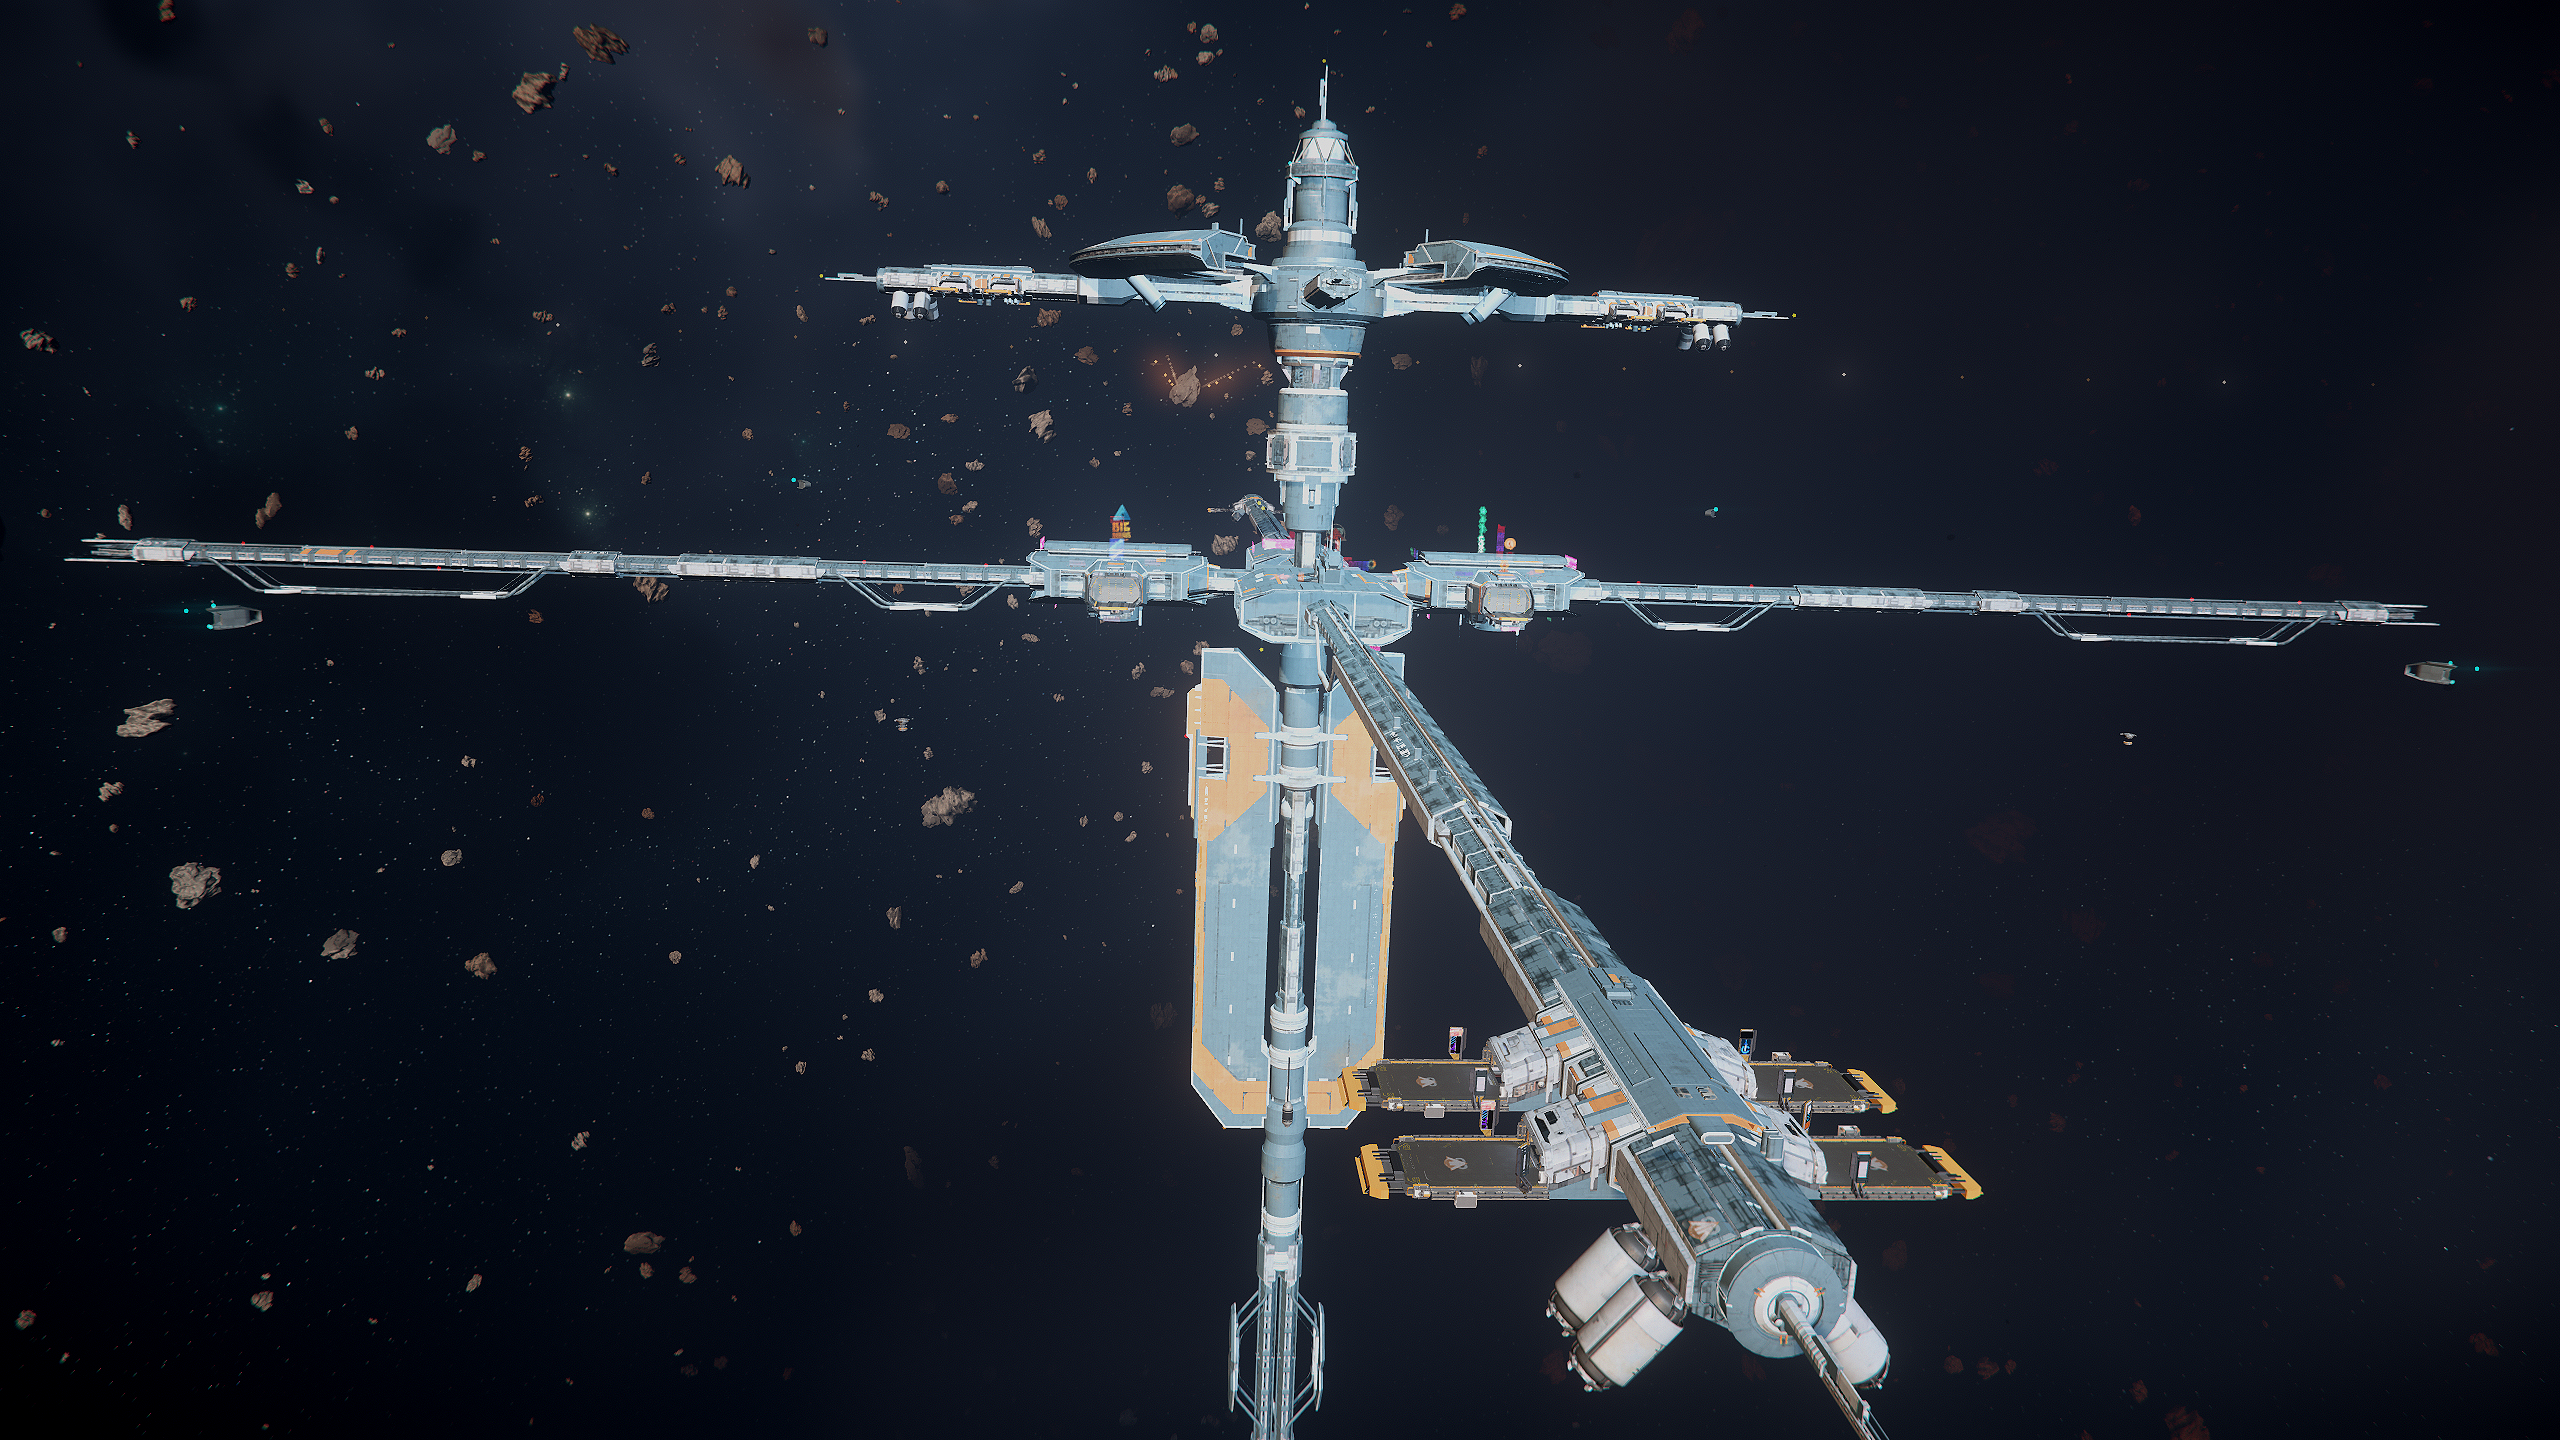
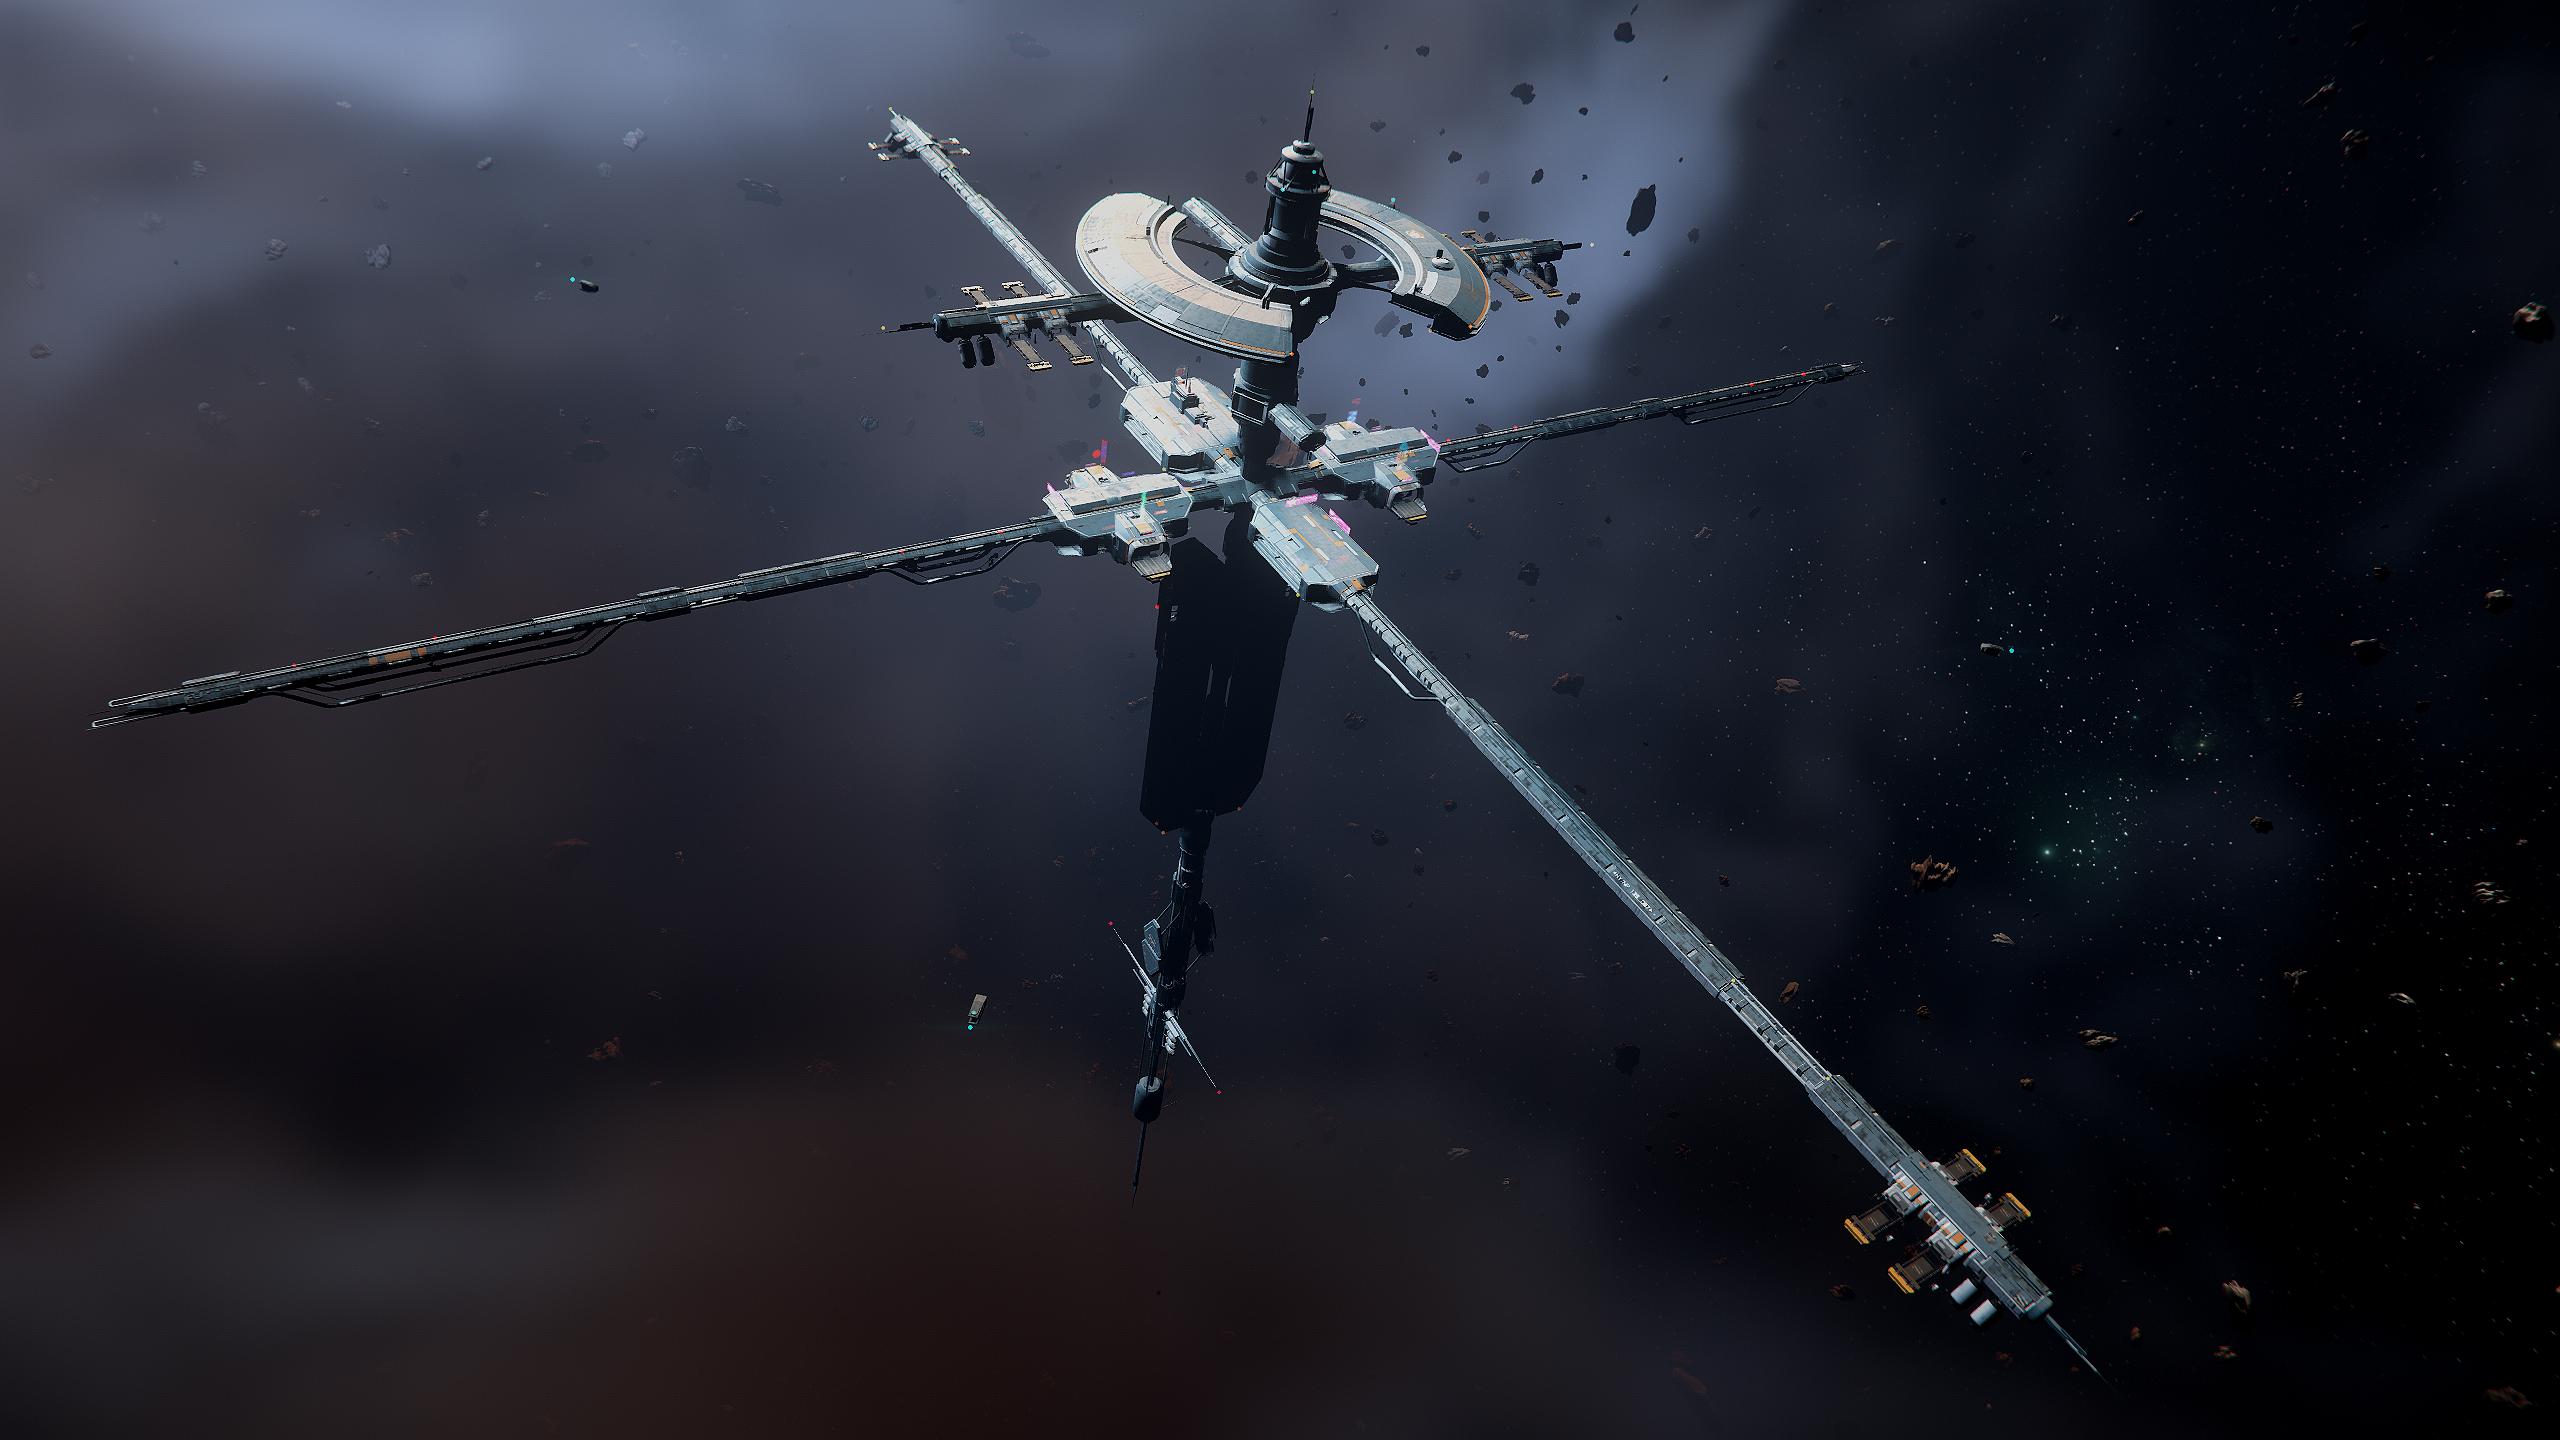
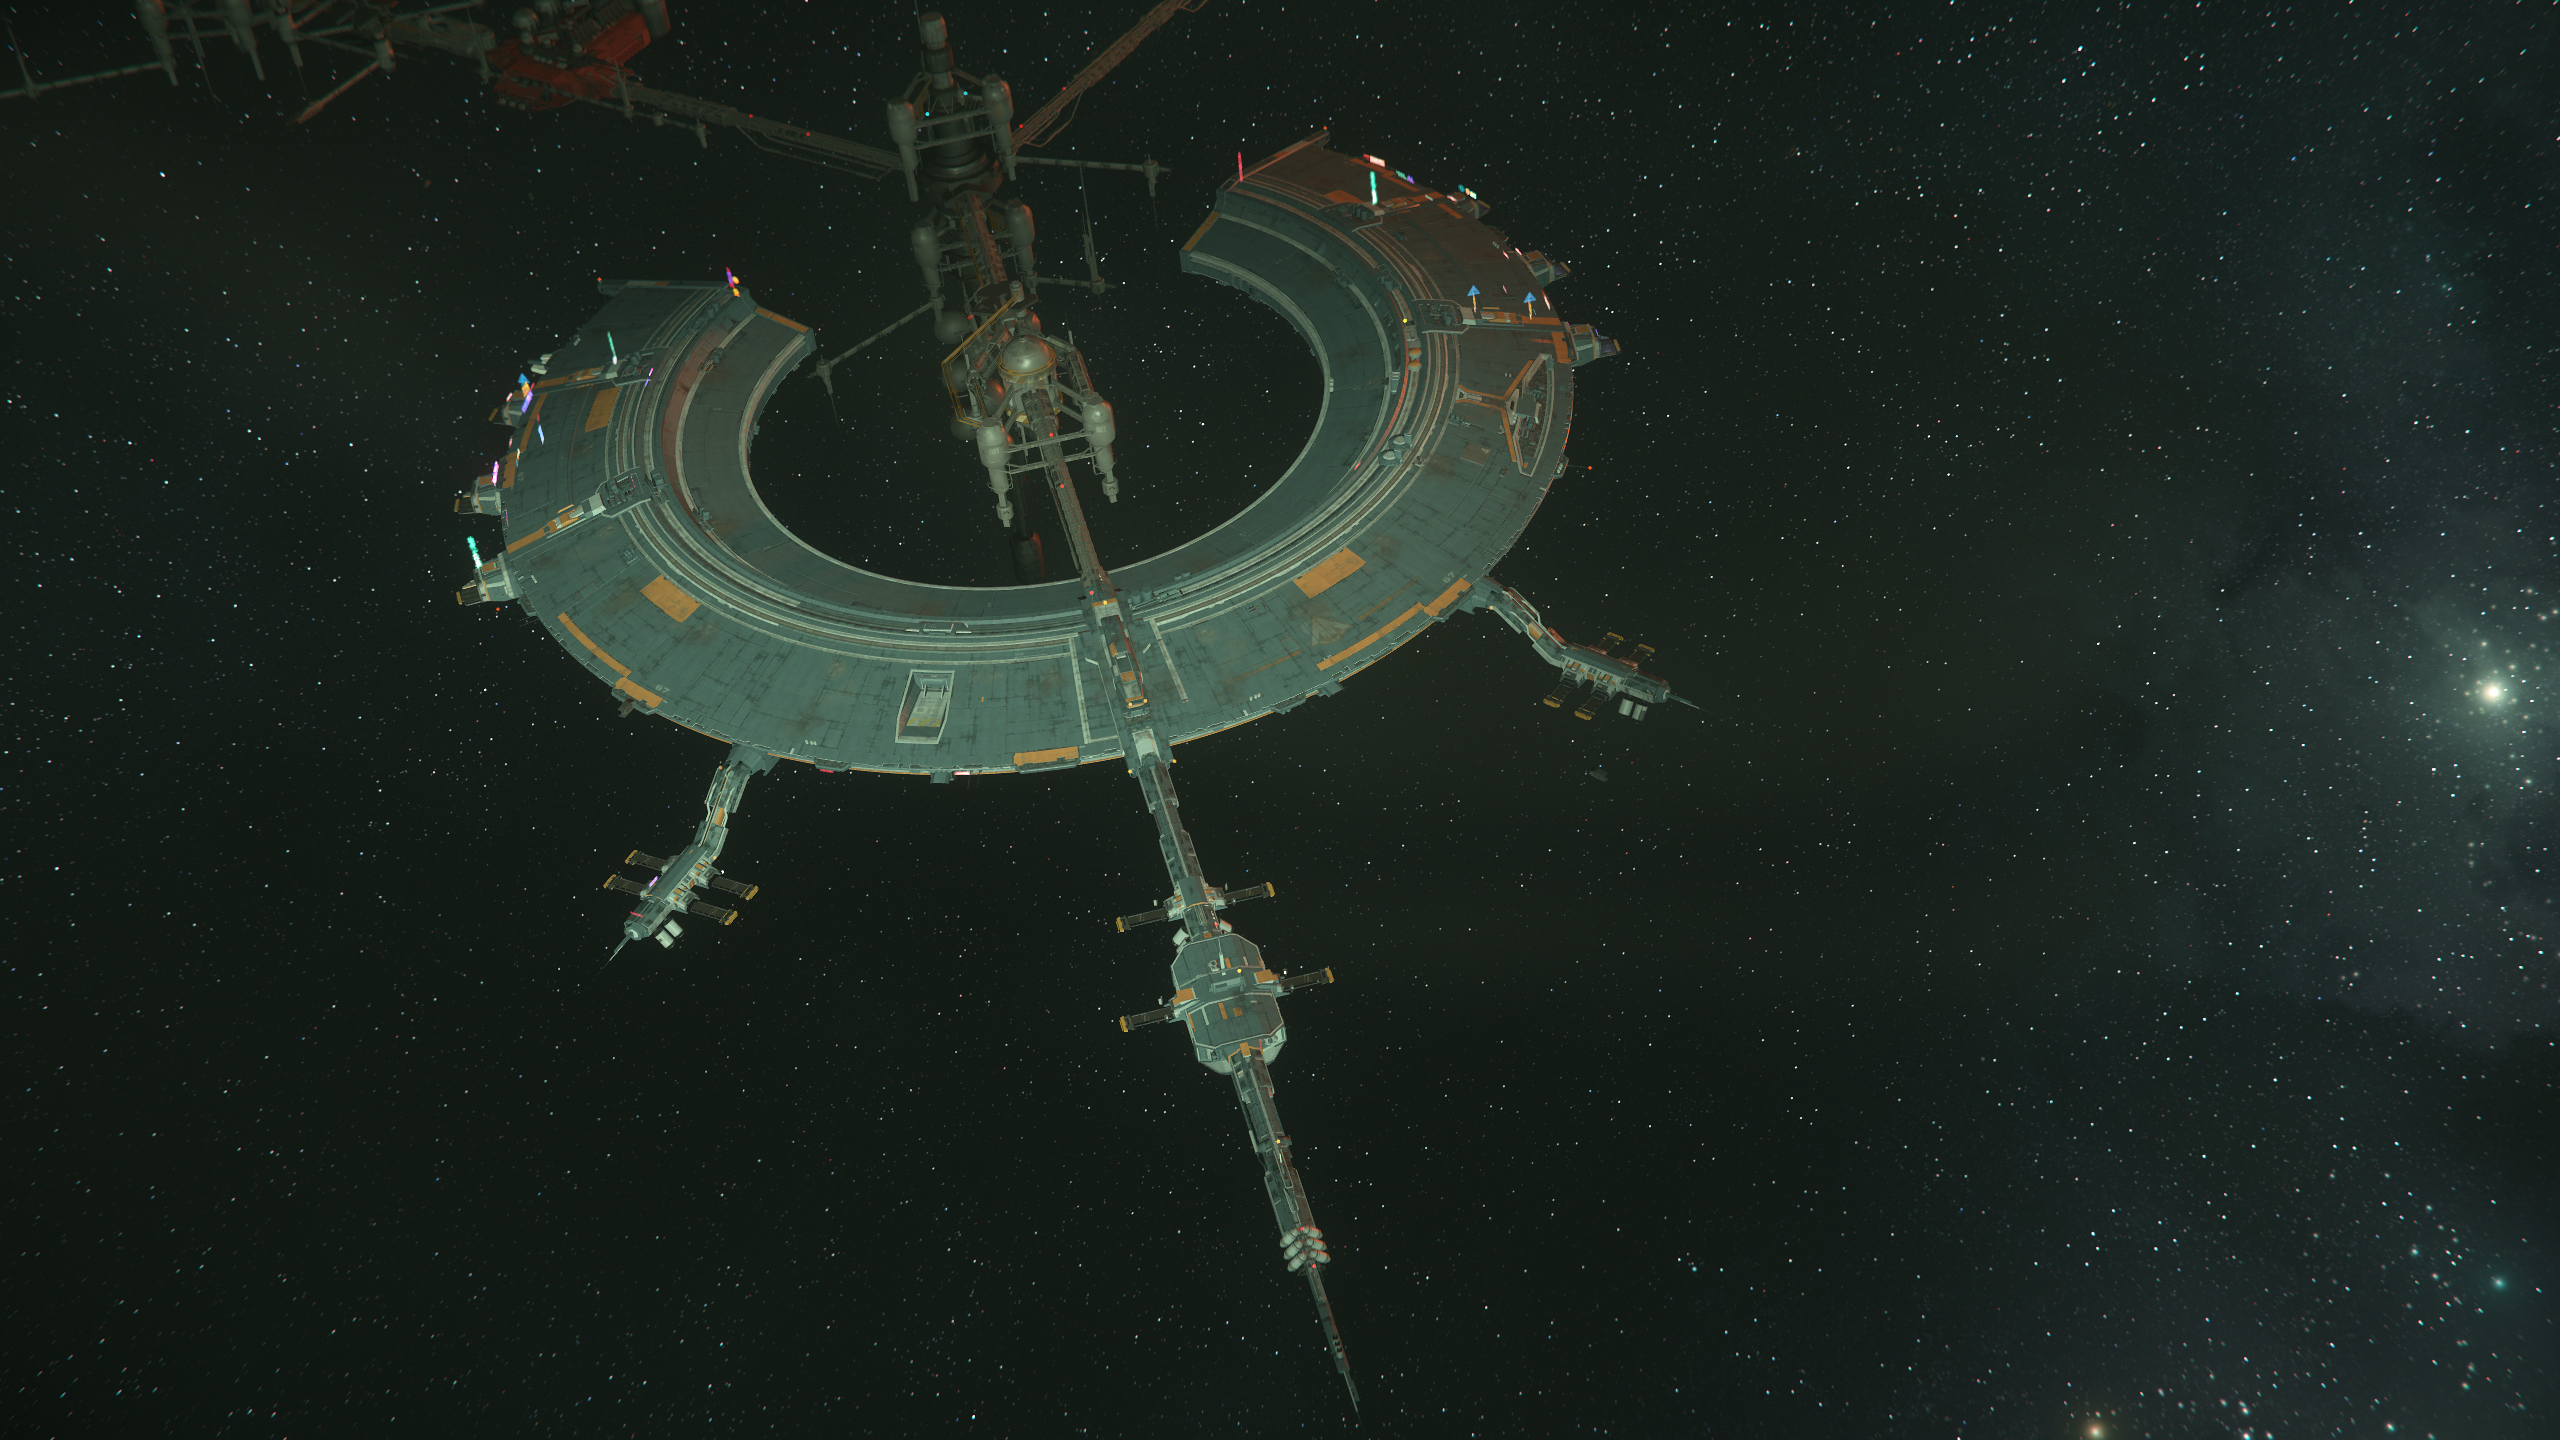
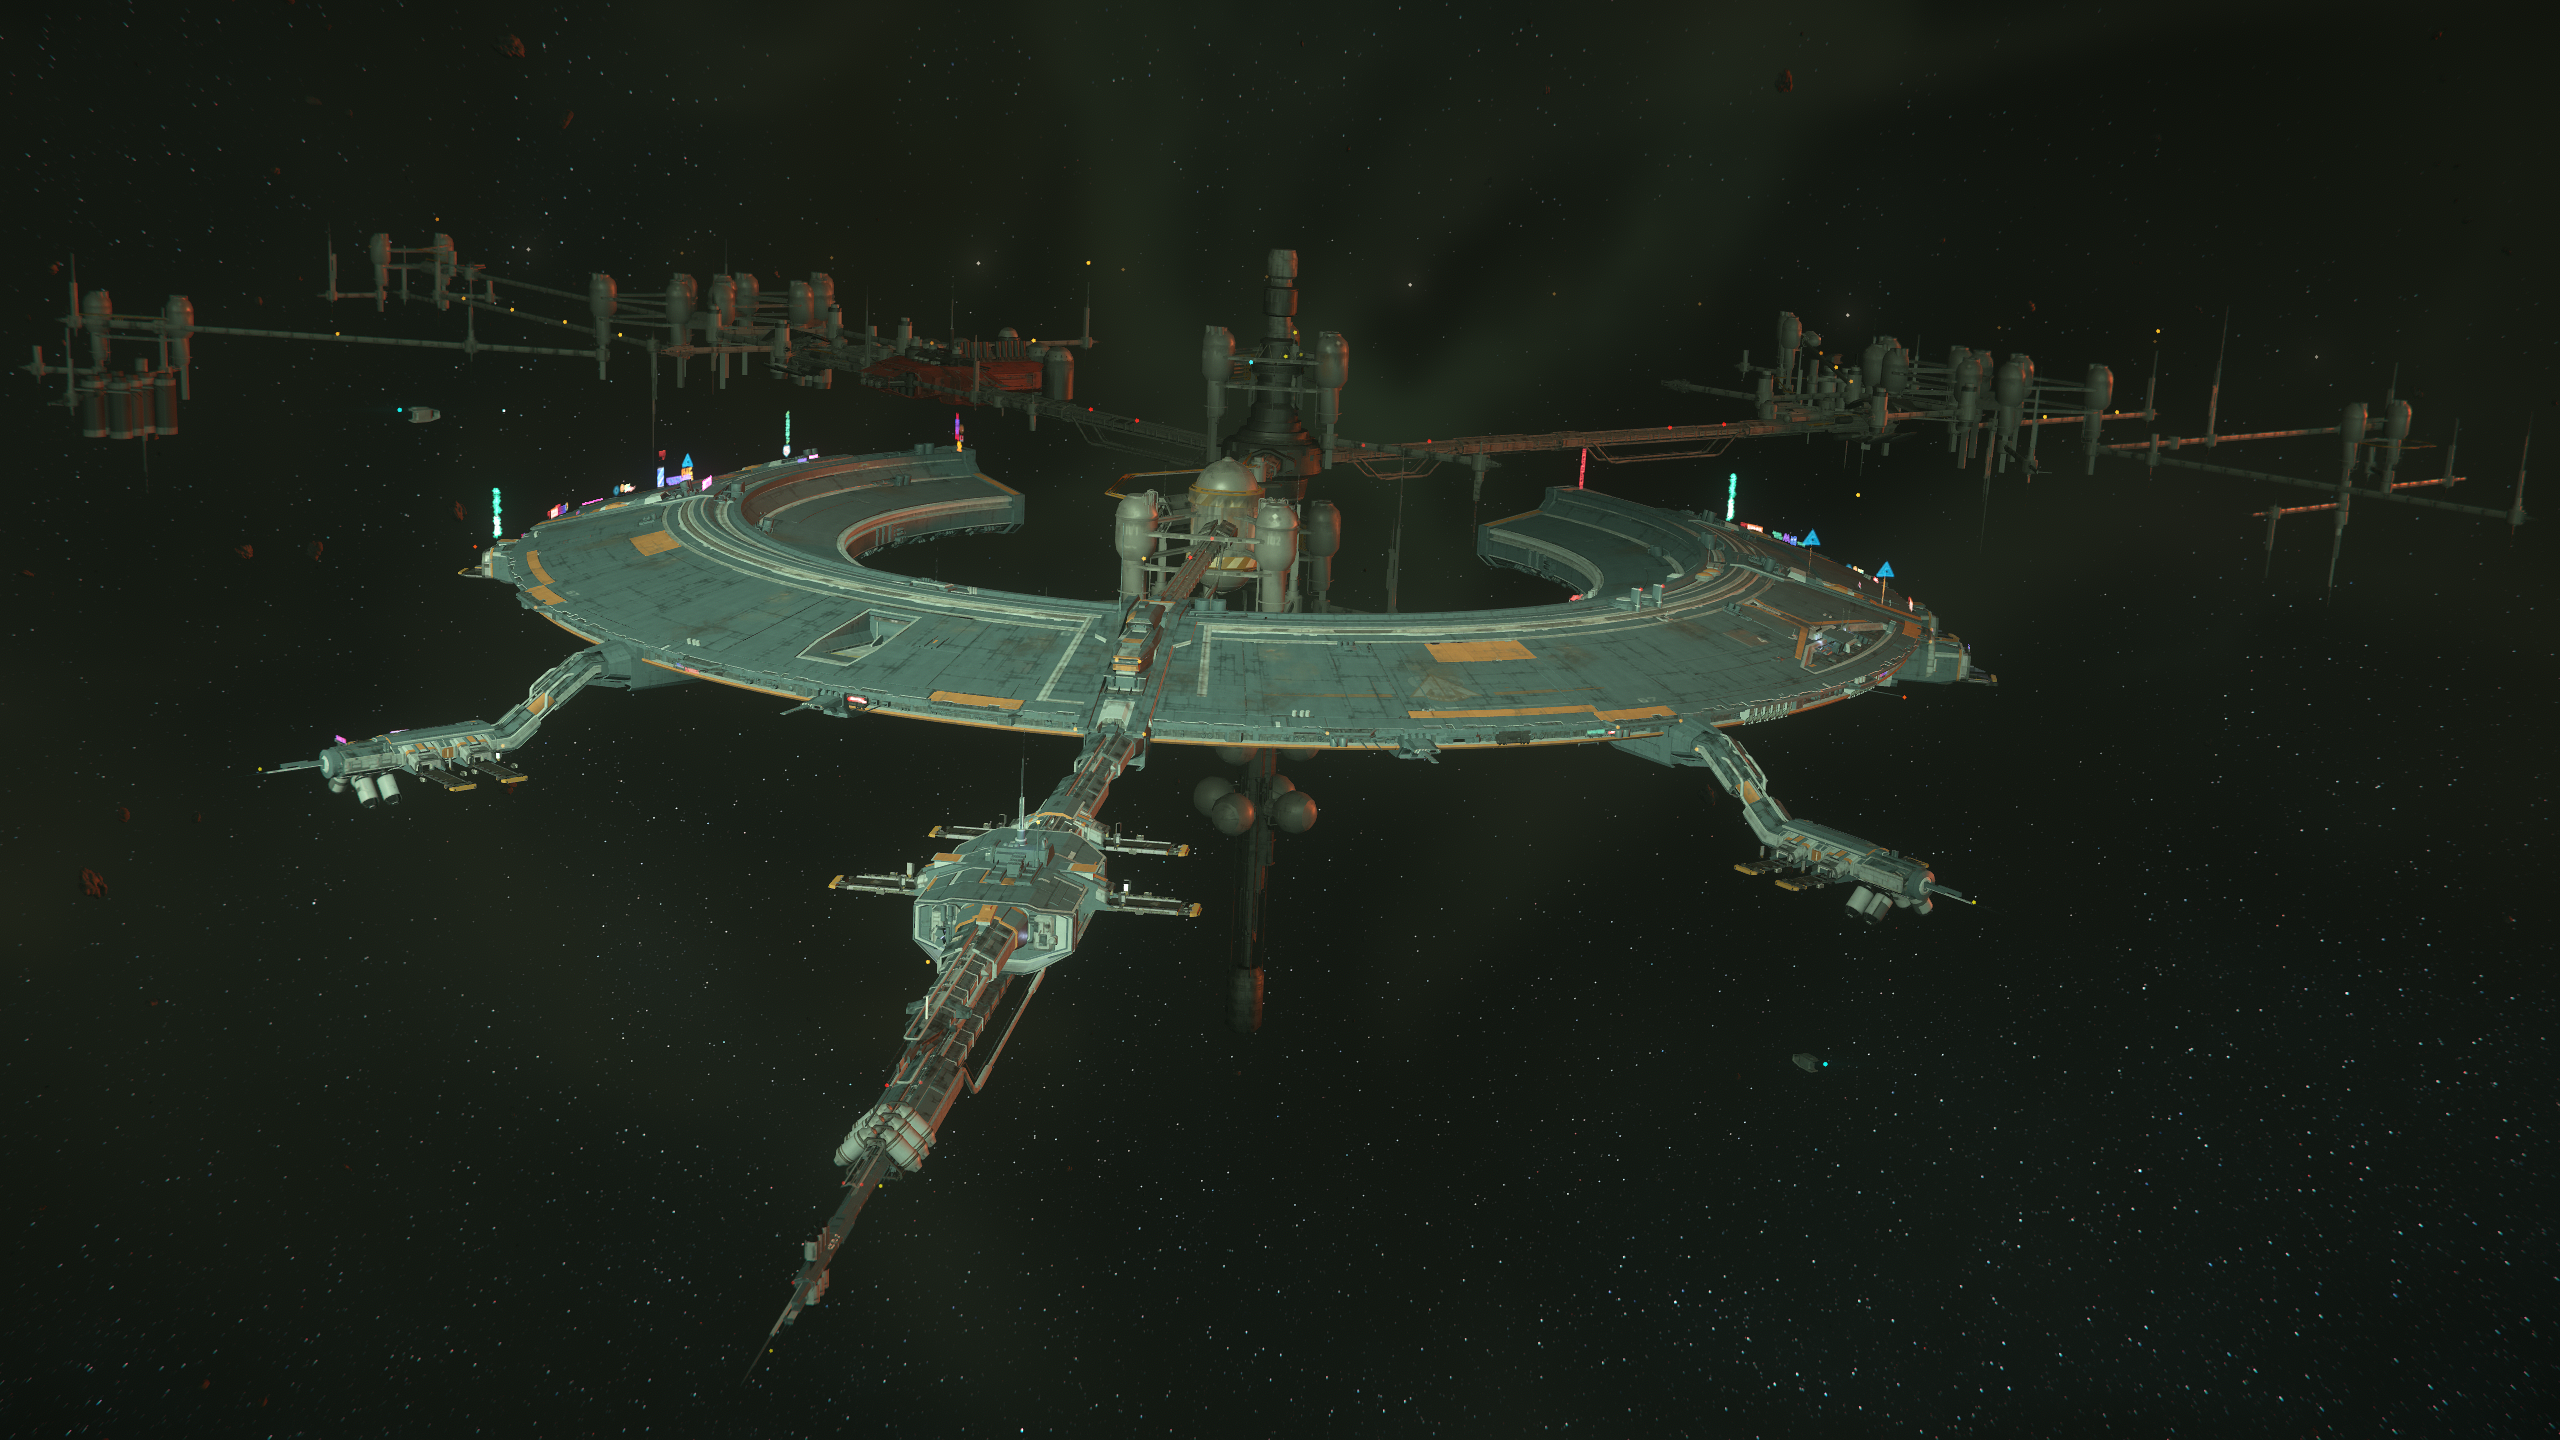
- Baijini Point 001.png 2.560 × 1.440; 5,85 MB
- Baijini Point 002.png 2.560 × 1.440; 6,07 MB
- Baijini Point 003.png 2.560 × 1.440; 4,13 MB
- Baijini Point.png 2.560 × 1.440; 4,12 MB
- Bengal 001.png 2.560 × 1.440; 6,18 MB
- Bengal 002.png 2.560 × 1.440; 4,79 MB
- Bengal 003.png 2.560 × 1.440; 7,38 MB
- Bengal 004.png 2.560 × 1.440; 5,62 MB
- Bengal 005.png 2.560 × 1.440; 6,3 MB
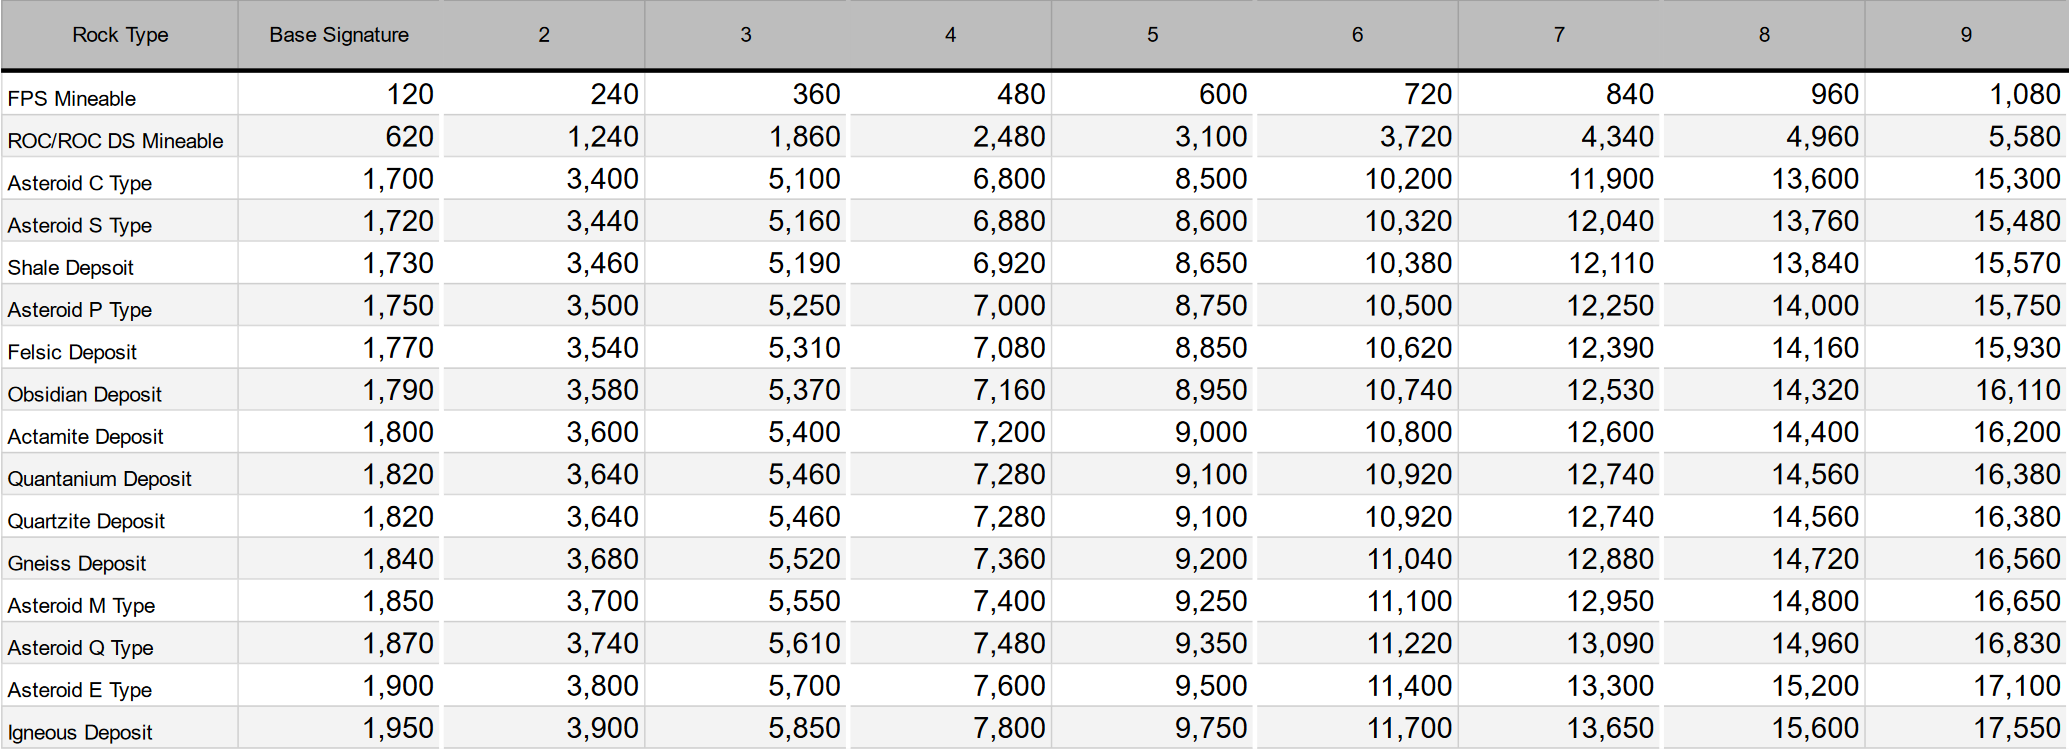
- Bergbau-Scan-Signaturen.png 2.069 × 750; 177 KB
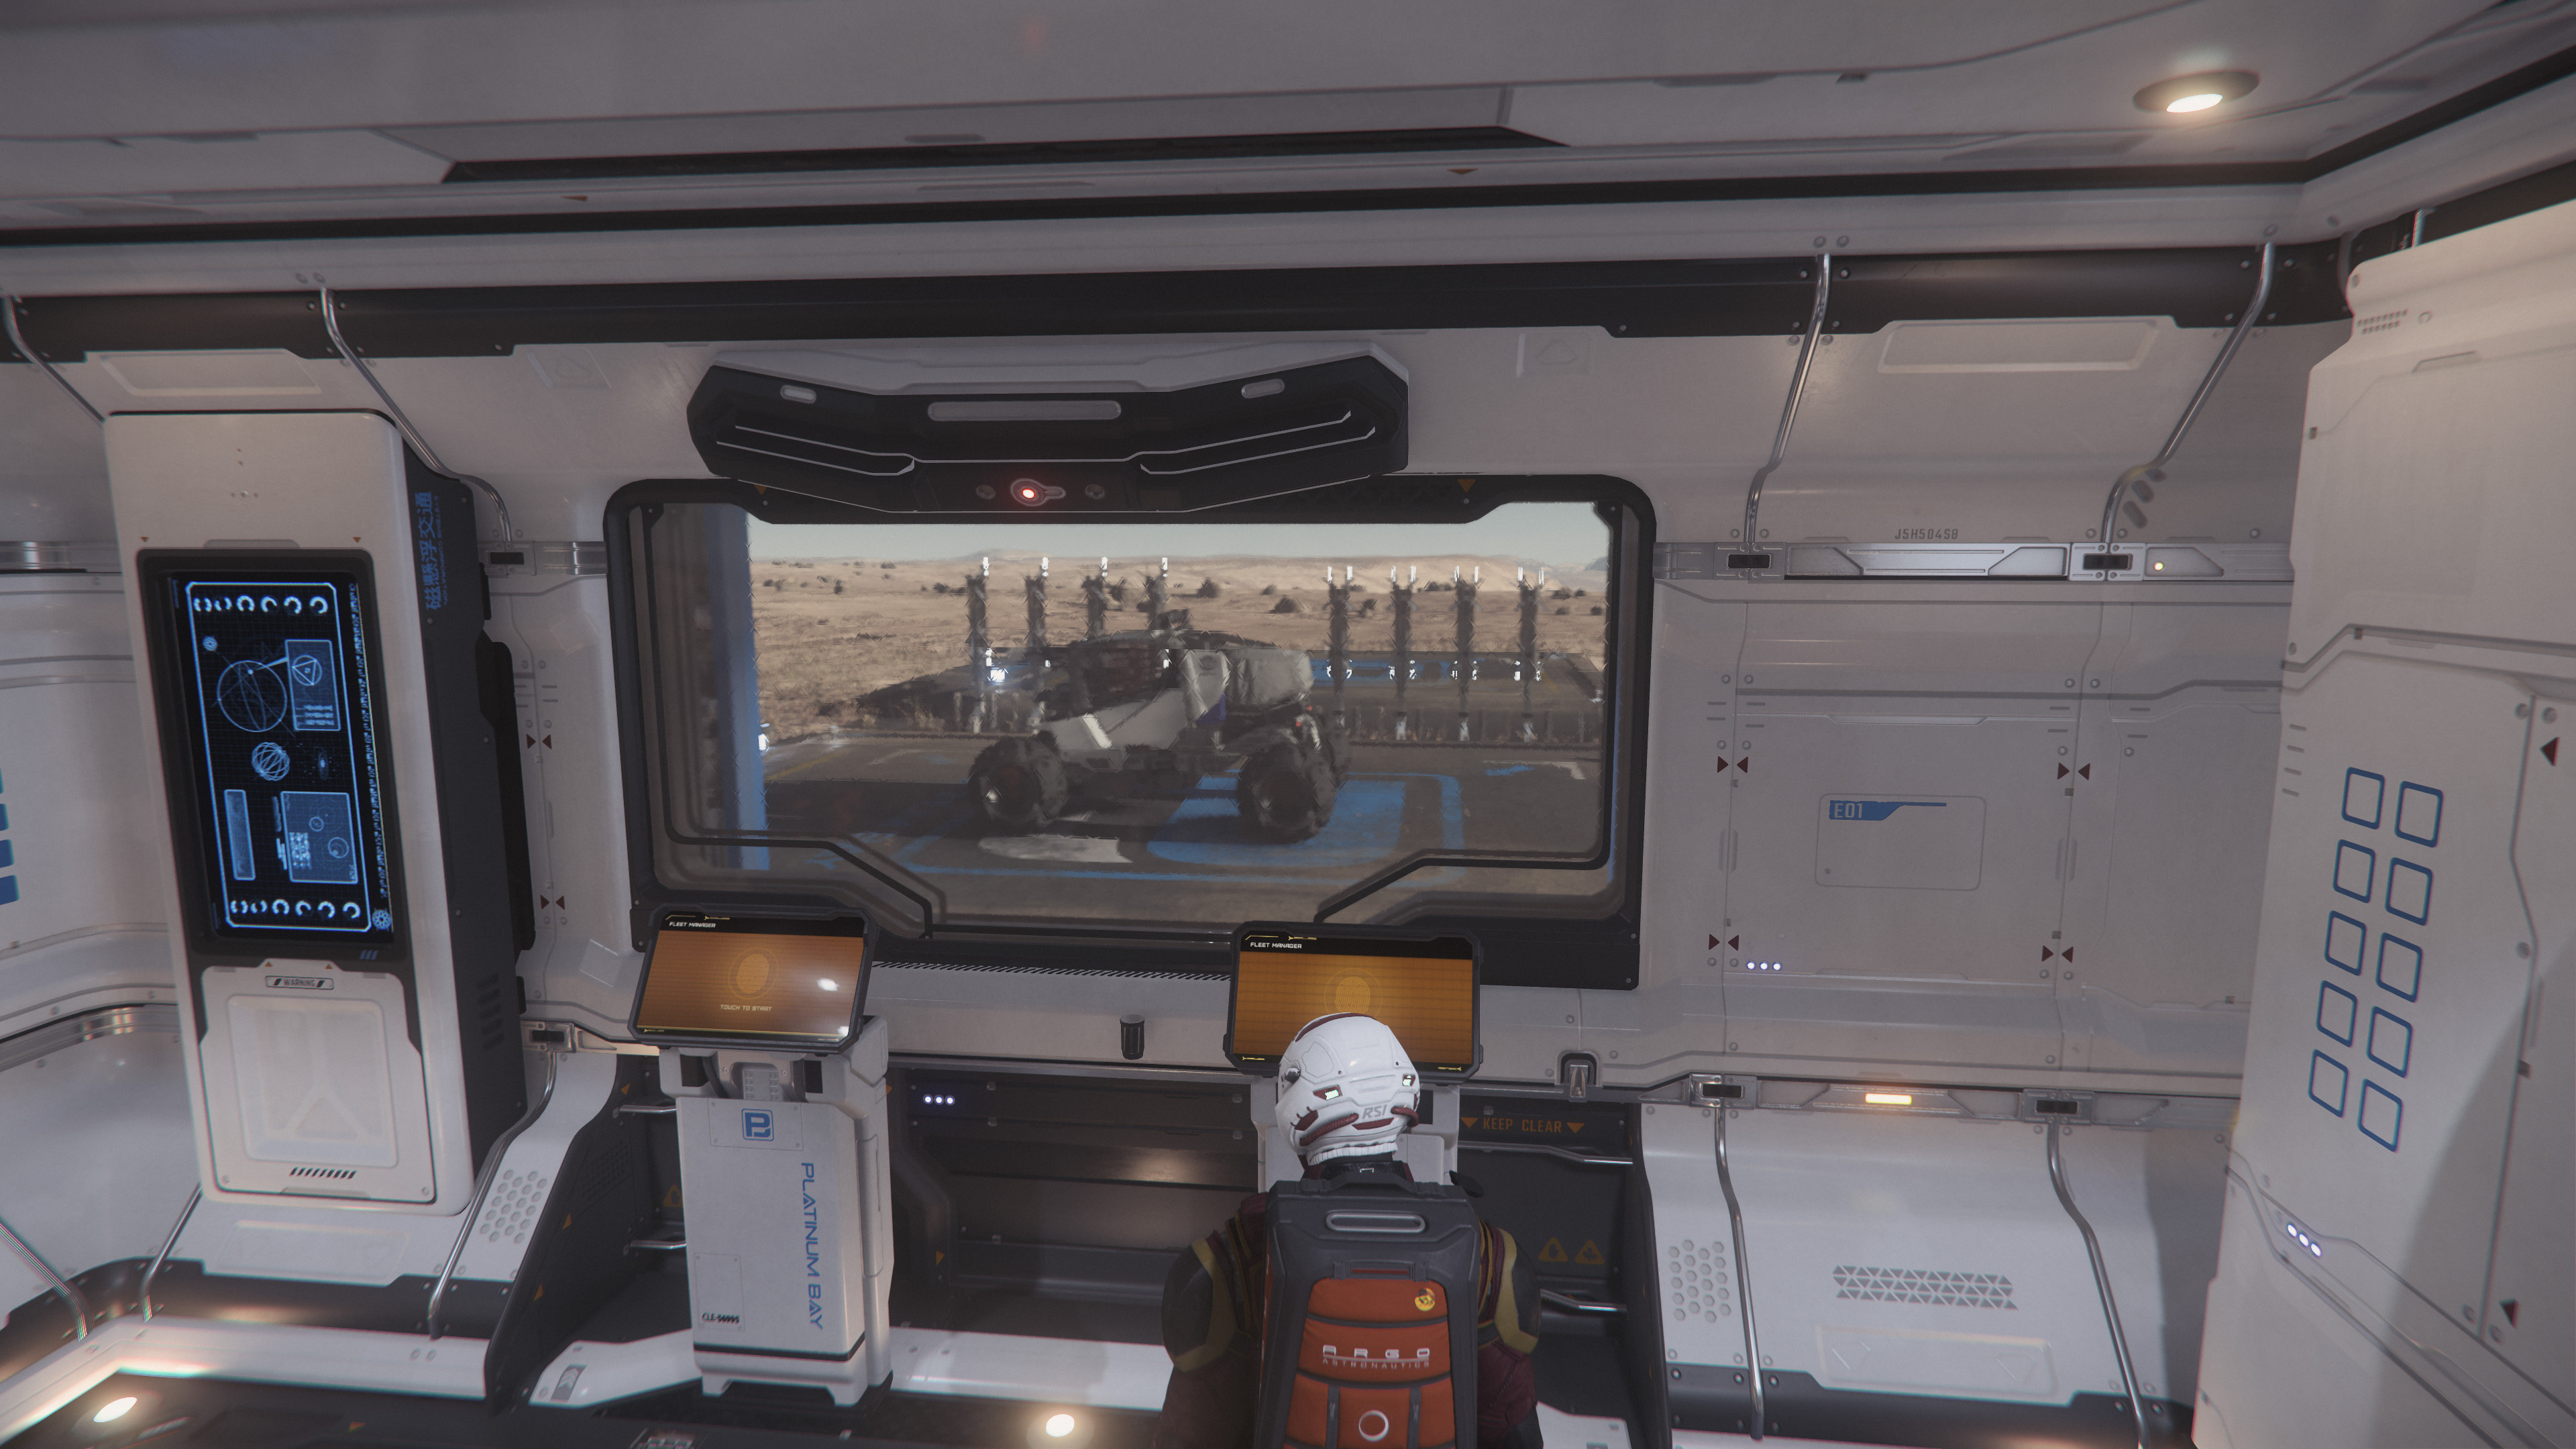
- Bodenfahrzeuge anfordern auf Außenposten.jpg 3.840 × 2.160; 1,23 MB
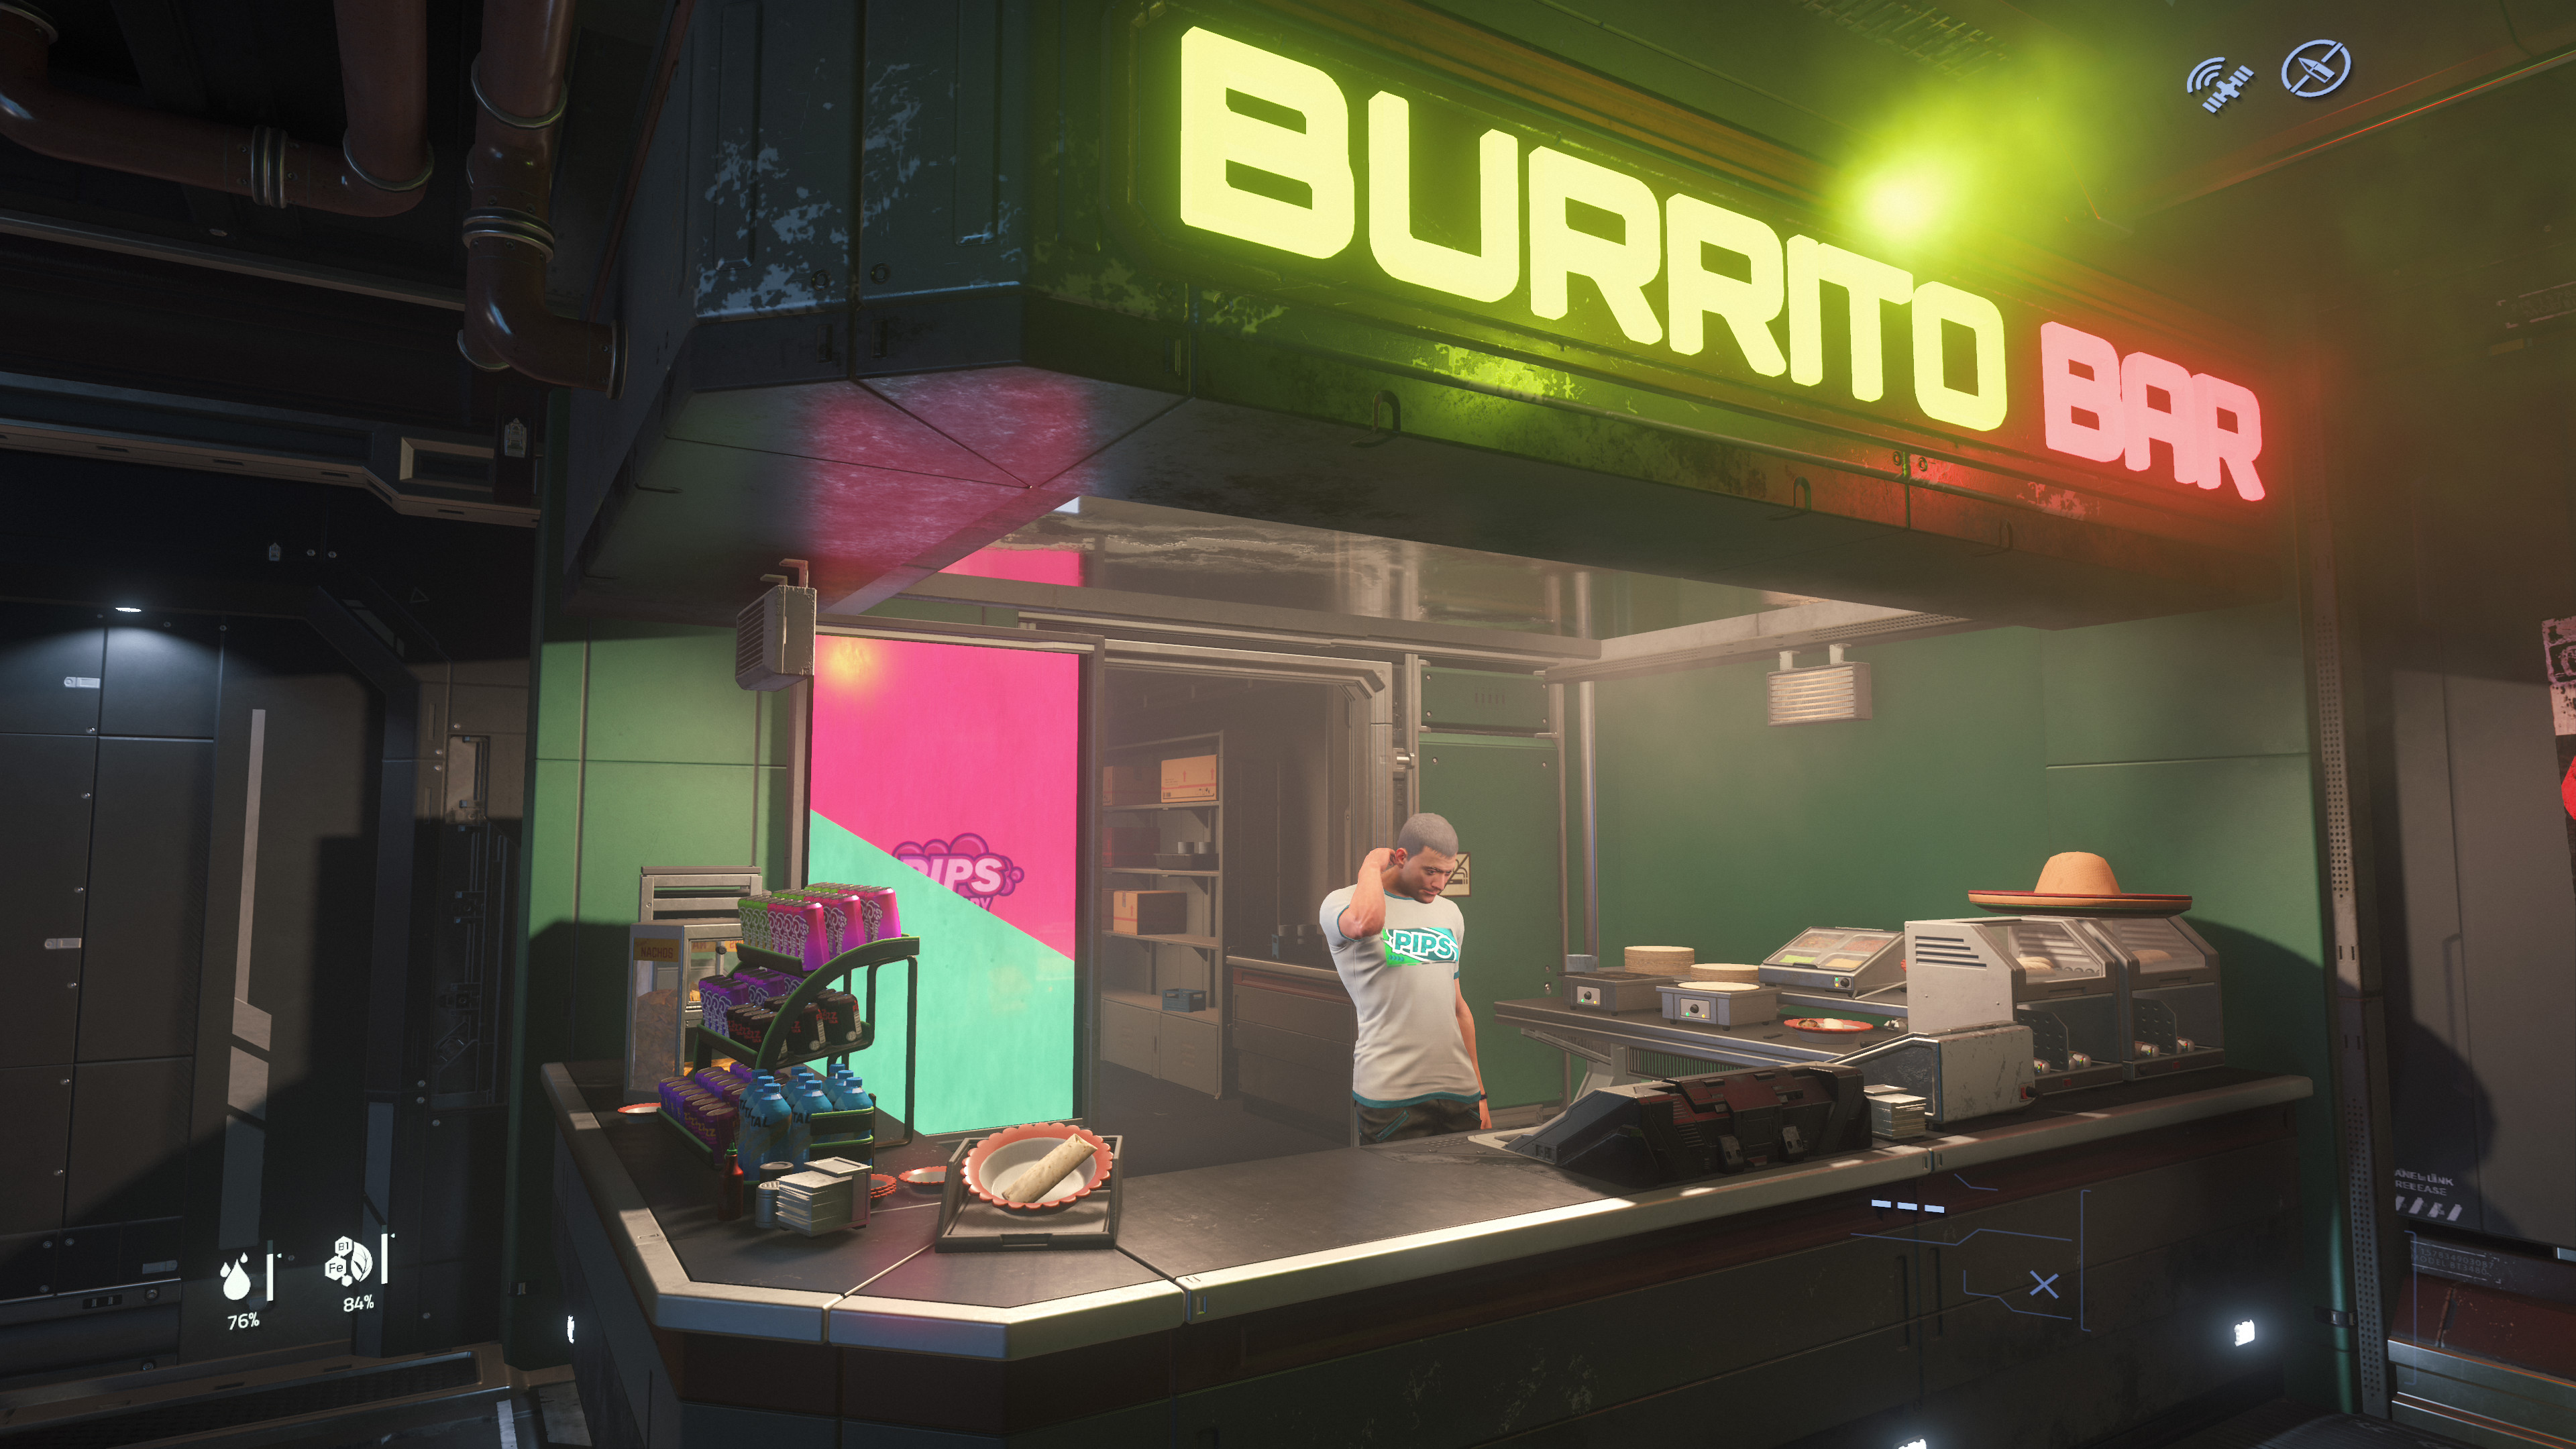
- Burrito Bar (2).jpg 3.840 × 2.160; 1,3 MB
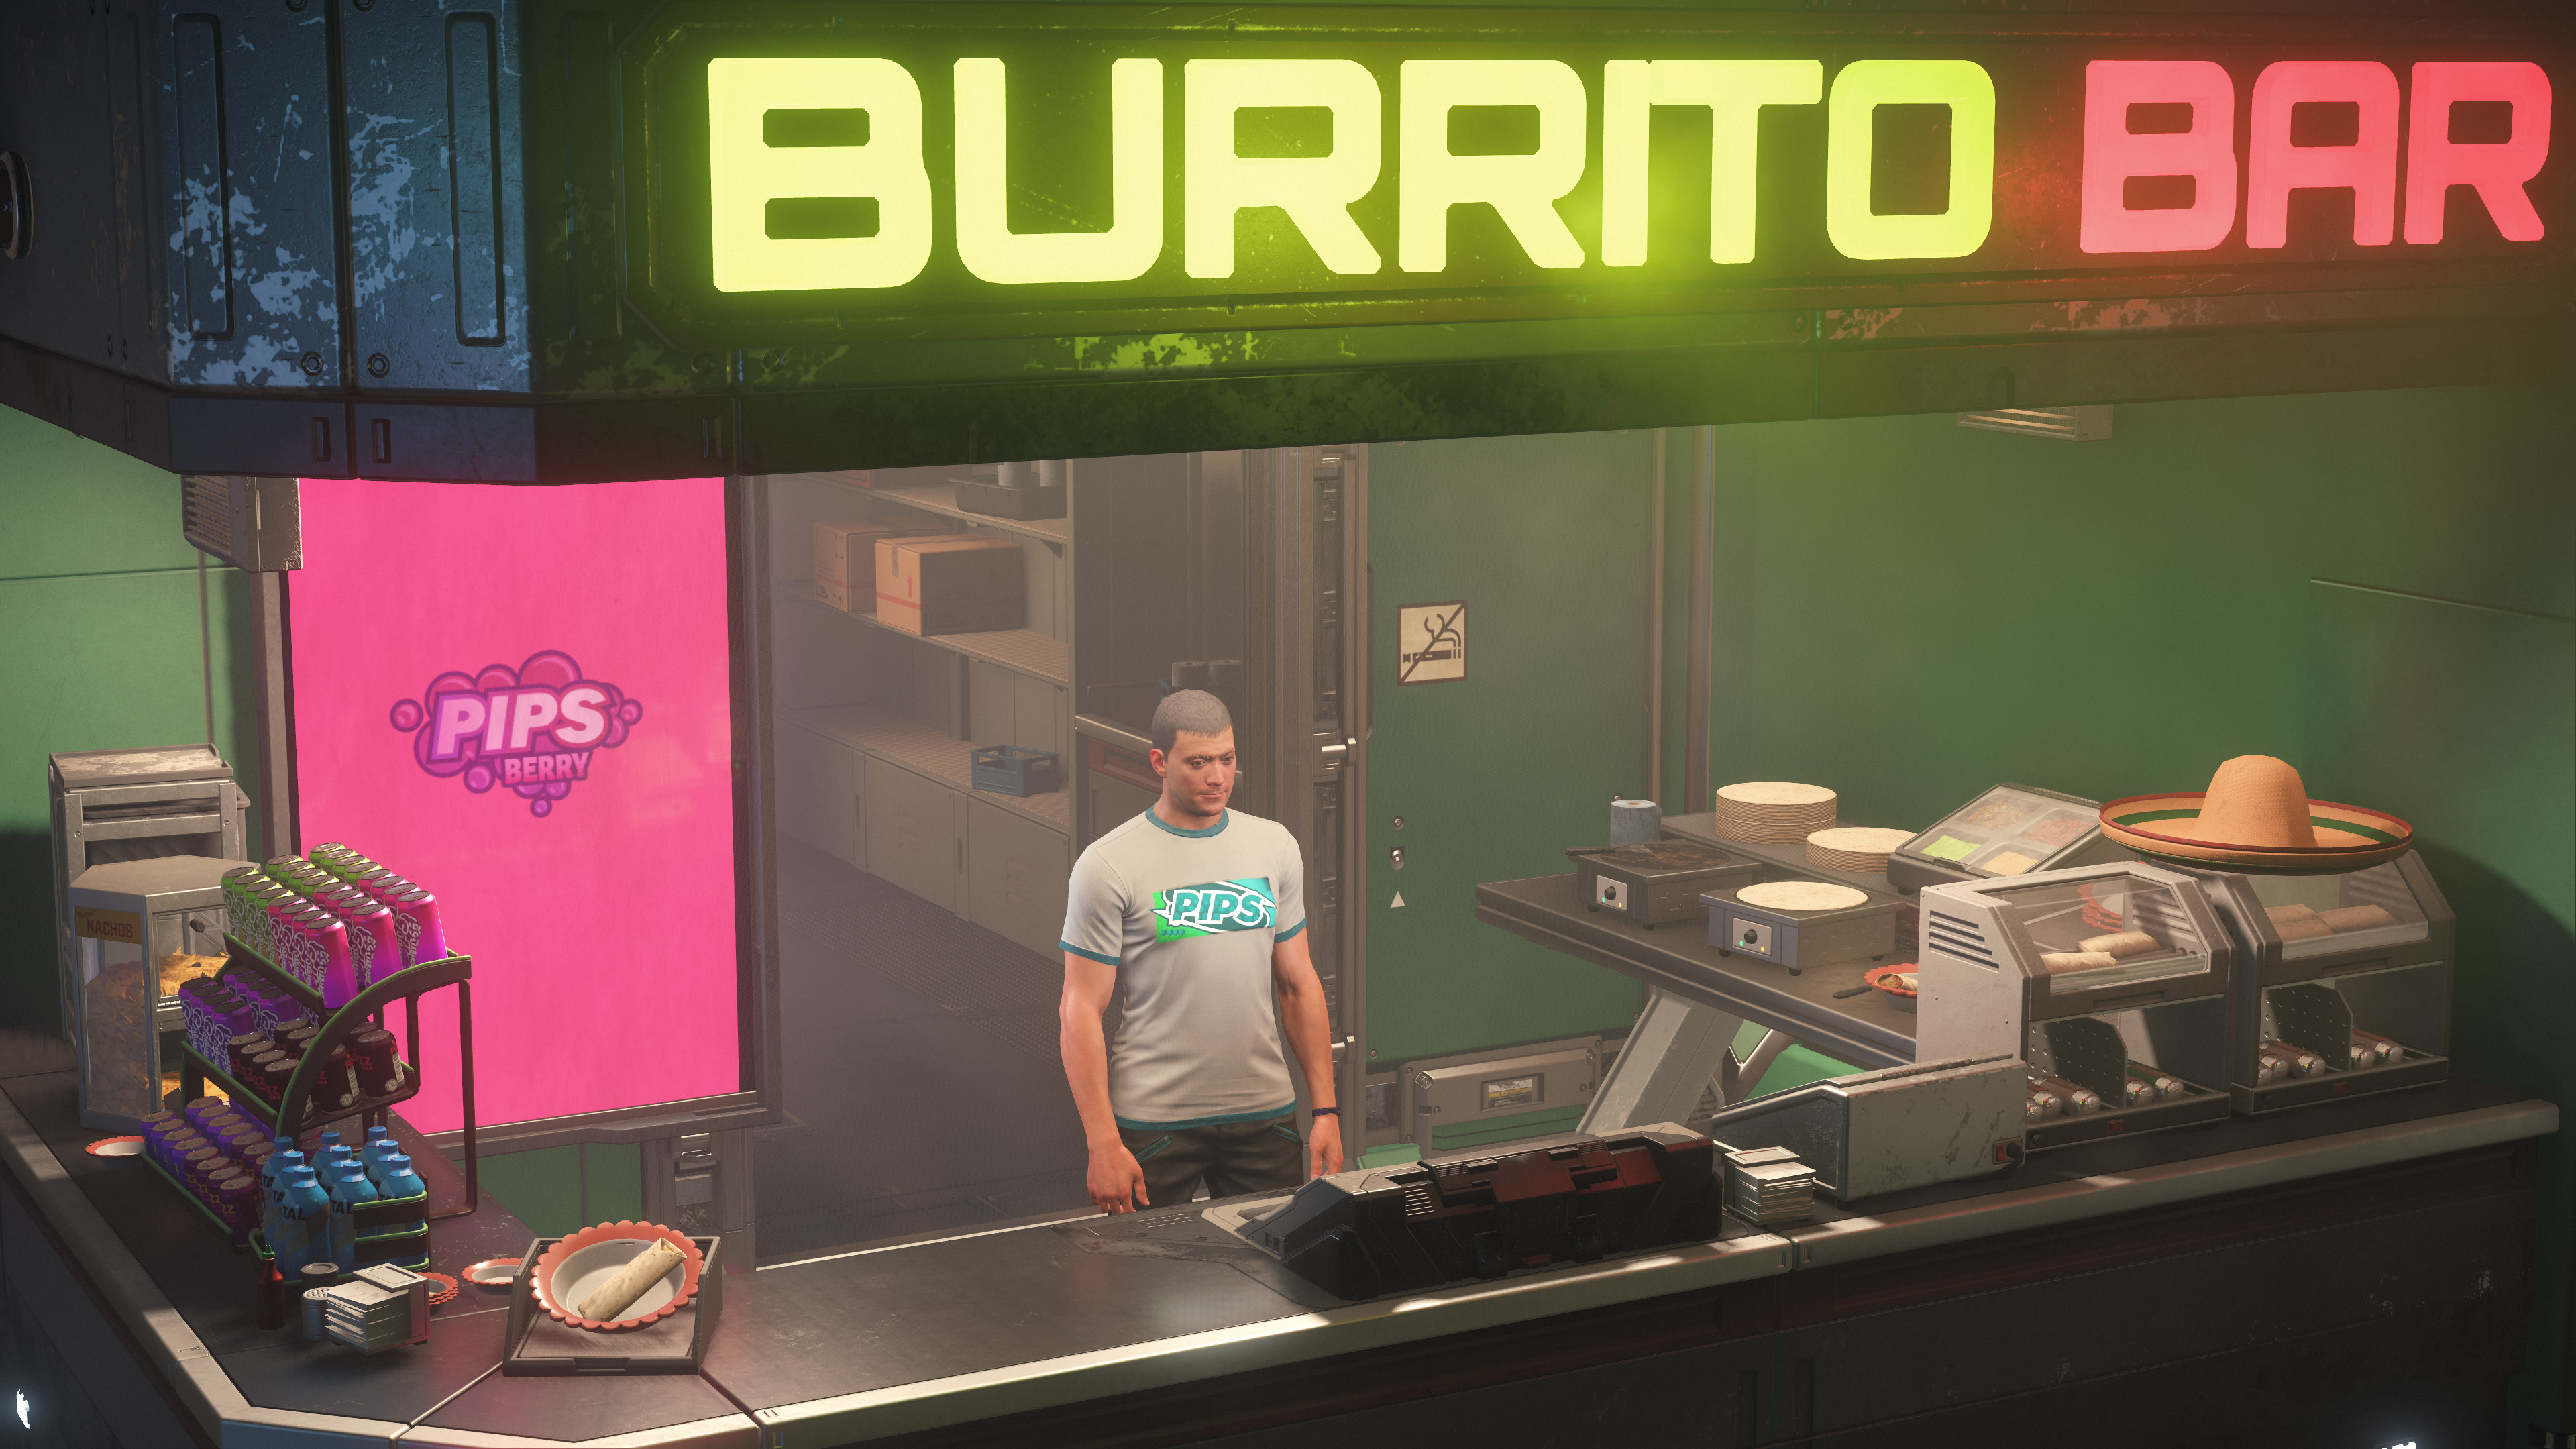
- Burrito Bar.jpg 3.840 × 2.160; 1,46 MB
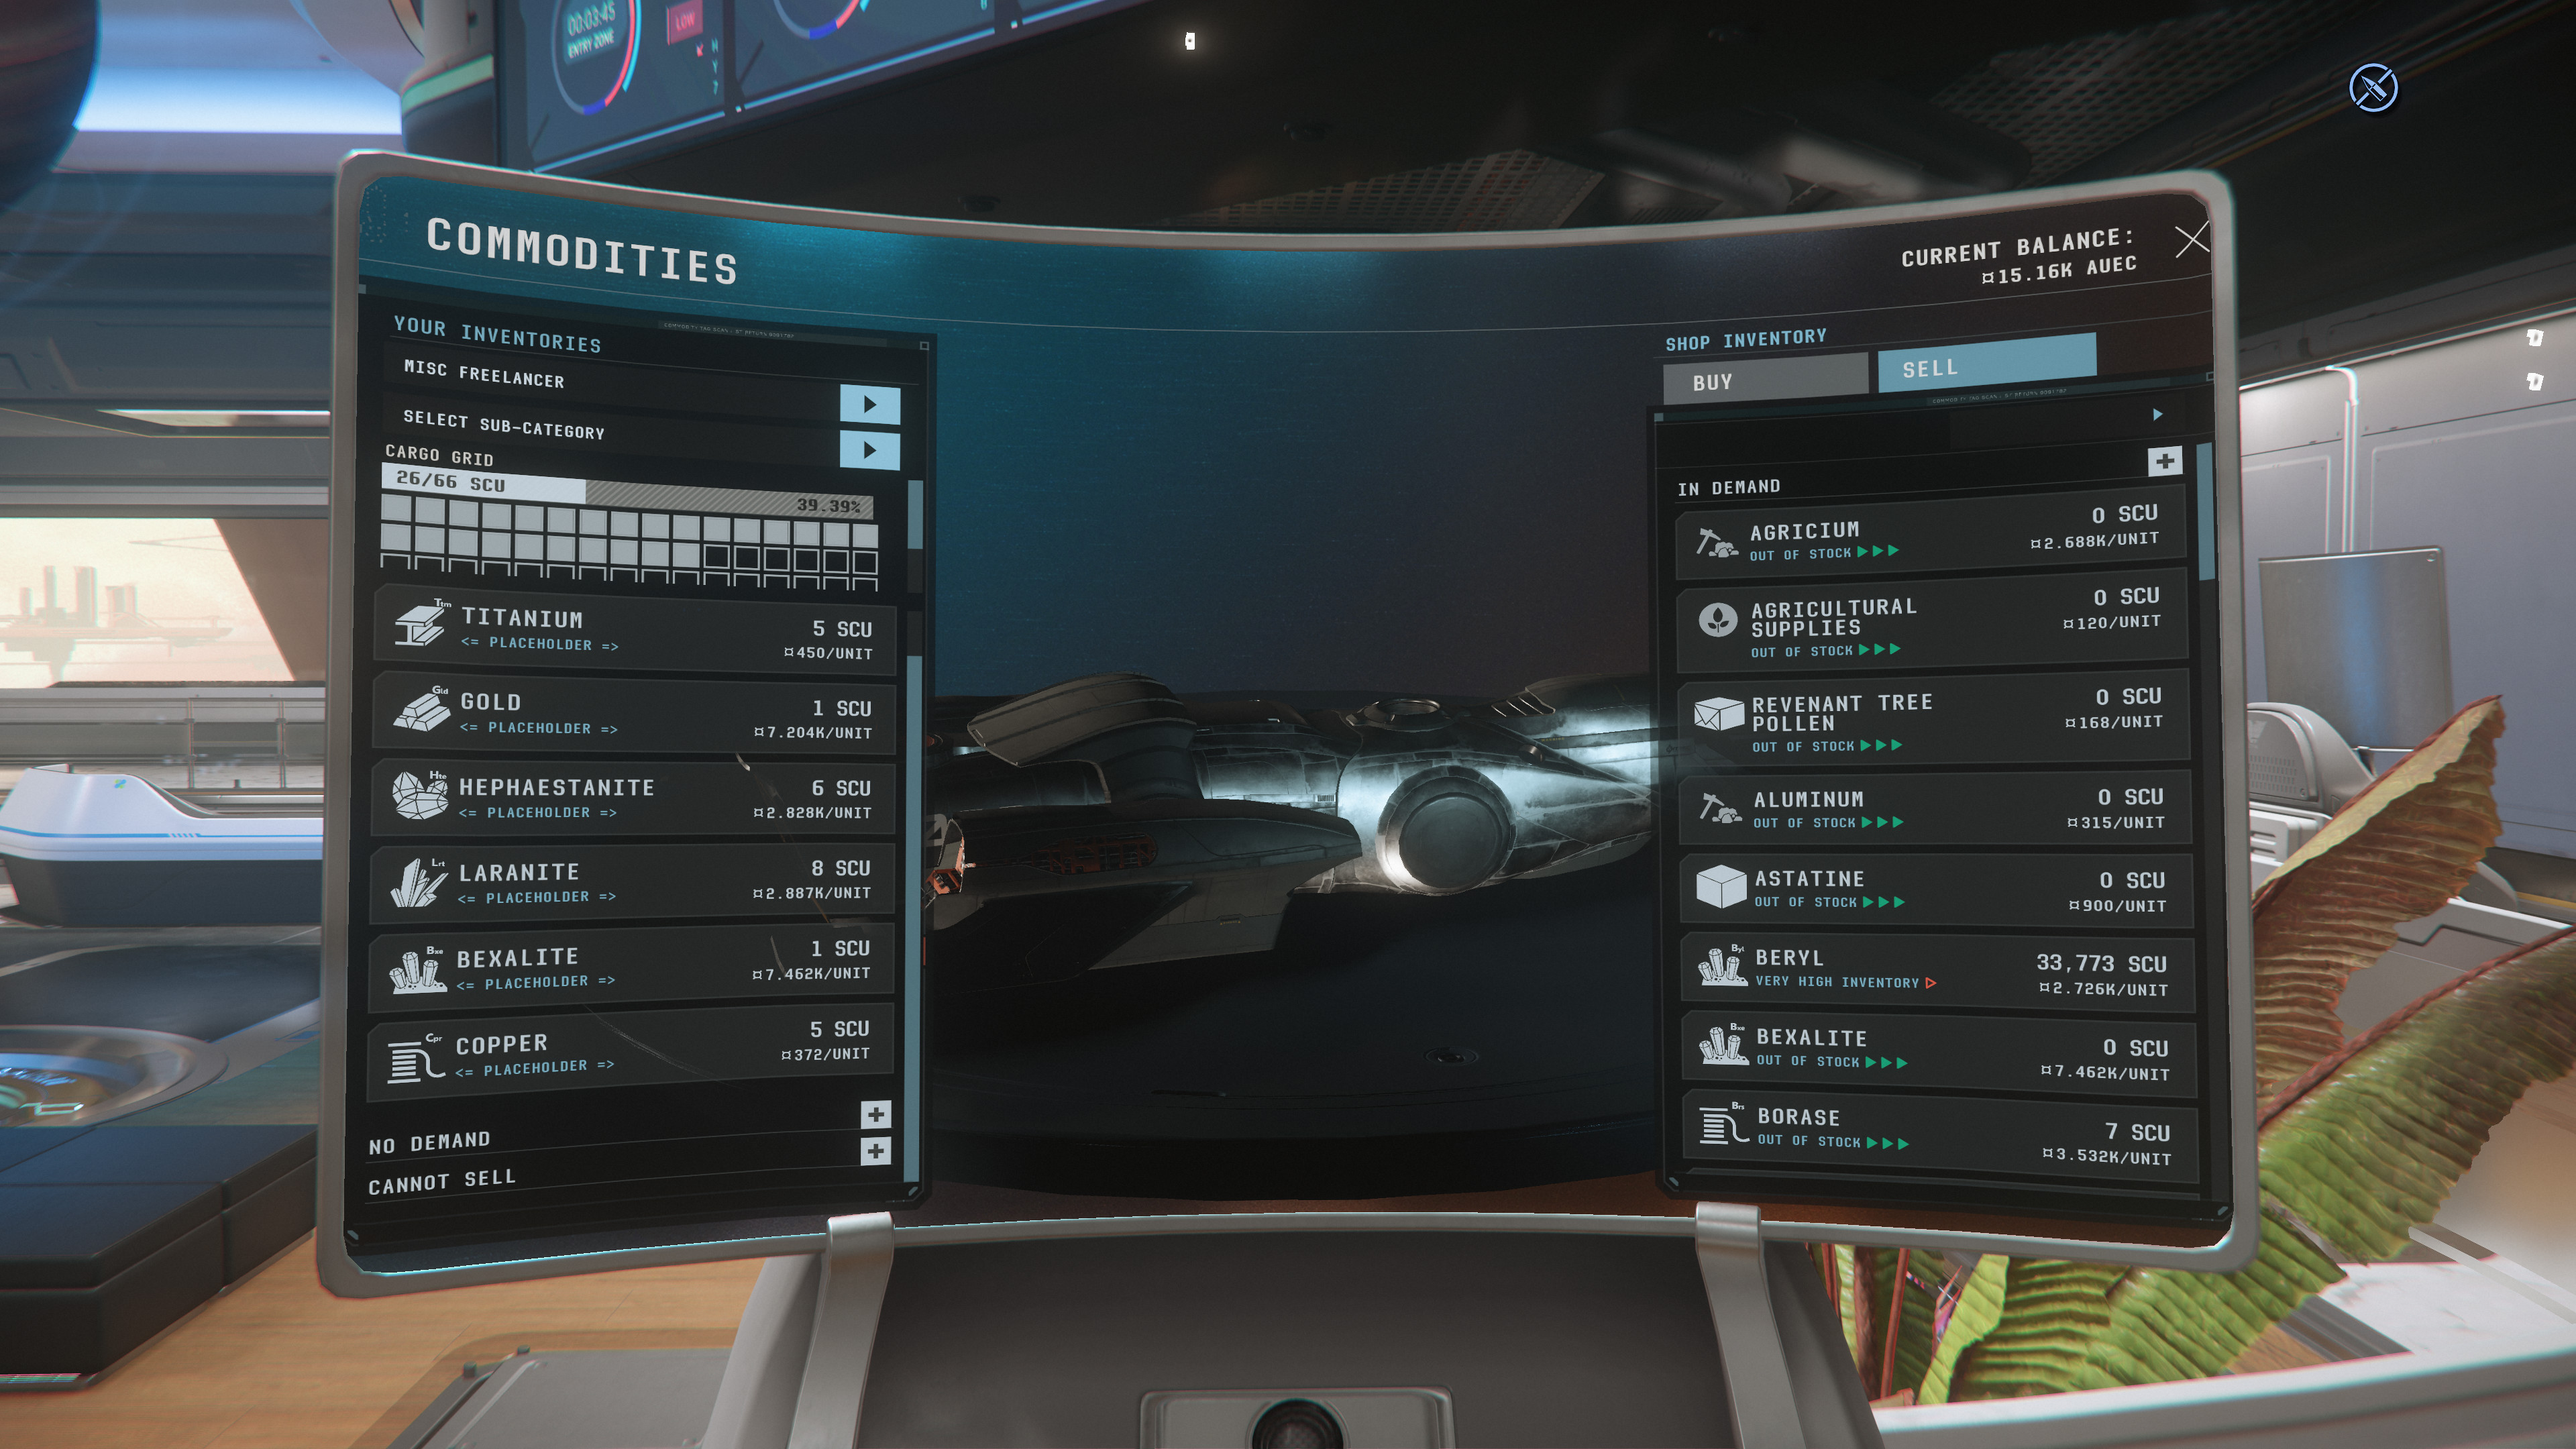
- Commodities - Handelsterminal.jpg 3.840 × 2.160; 1,37 MB
- Covalex Hub Gundo 001.png 2.560 × 1.440; 5,52 MB
- Covalex Hub Gundo 002.png 2.560 × 1.440; 5,8 MB
- Covalex Hub Gundo 003.png 2.560 × 1.440; 5,2 MB
- Covalex Hub Gundo.png 2.560 × 1.440; 6,29 MB
- CRU-L1 Ambitious Dream Station 2.jpg 2.560 × 1.440; 502 KB
- CRU-L1 Ambitious Dream Station 3.jpg 2.560 × 1.440; 524 KB
- CRU-L1 Ambitious Dream Station.jpg 2.560 × 1.440; 455 KB
- CRU-L4 Shallow Fields Station 01.png 2.560 × 1.440; 5,47 MB
- CRU-L4 Shallow Fields Station 02.png 2.560 × 1.440; 2,93 MB
- CRU-L4 Shallow Fields Station 03.png 2.560 × 1.440; 4,93 MB
- CRU-L4 Shallow Fields Station.png 2.560 × 1.440; 5,52 MB
- CRU-L5 Beautiful Glen Station 01.png 2.560 × 1.440; 5,84 MB
- CRU-L5 Beautiful Glen Station 02.png 2.560 × 1.440; 5,85 MB
- CRU-L5 Beautiful Glen Station.png 2.560 × 1.440; 5,45 MB
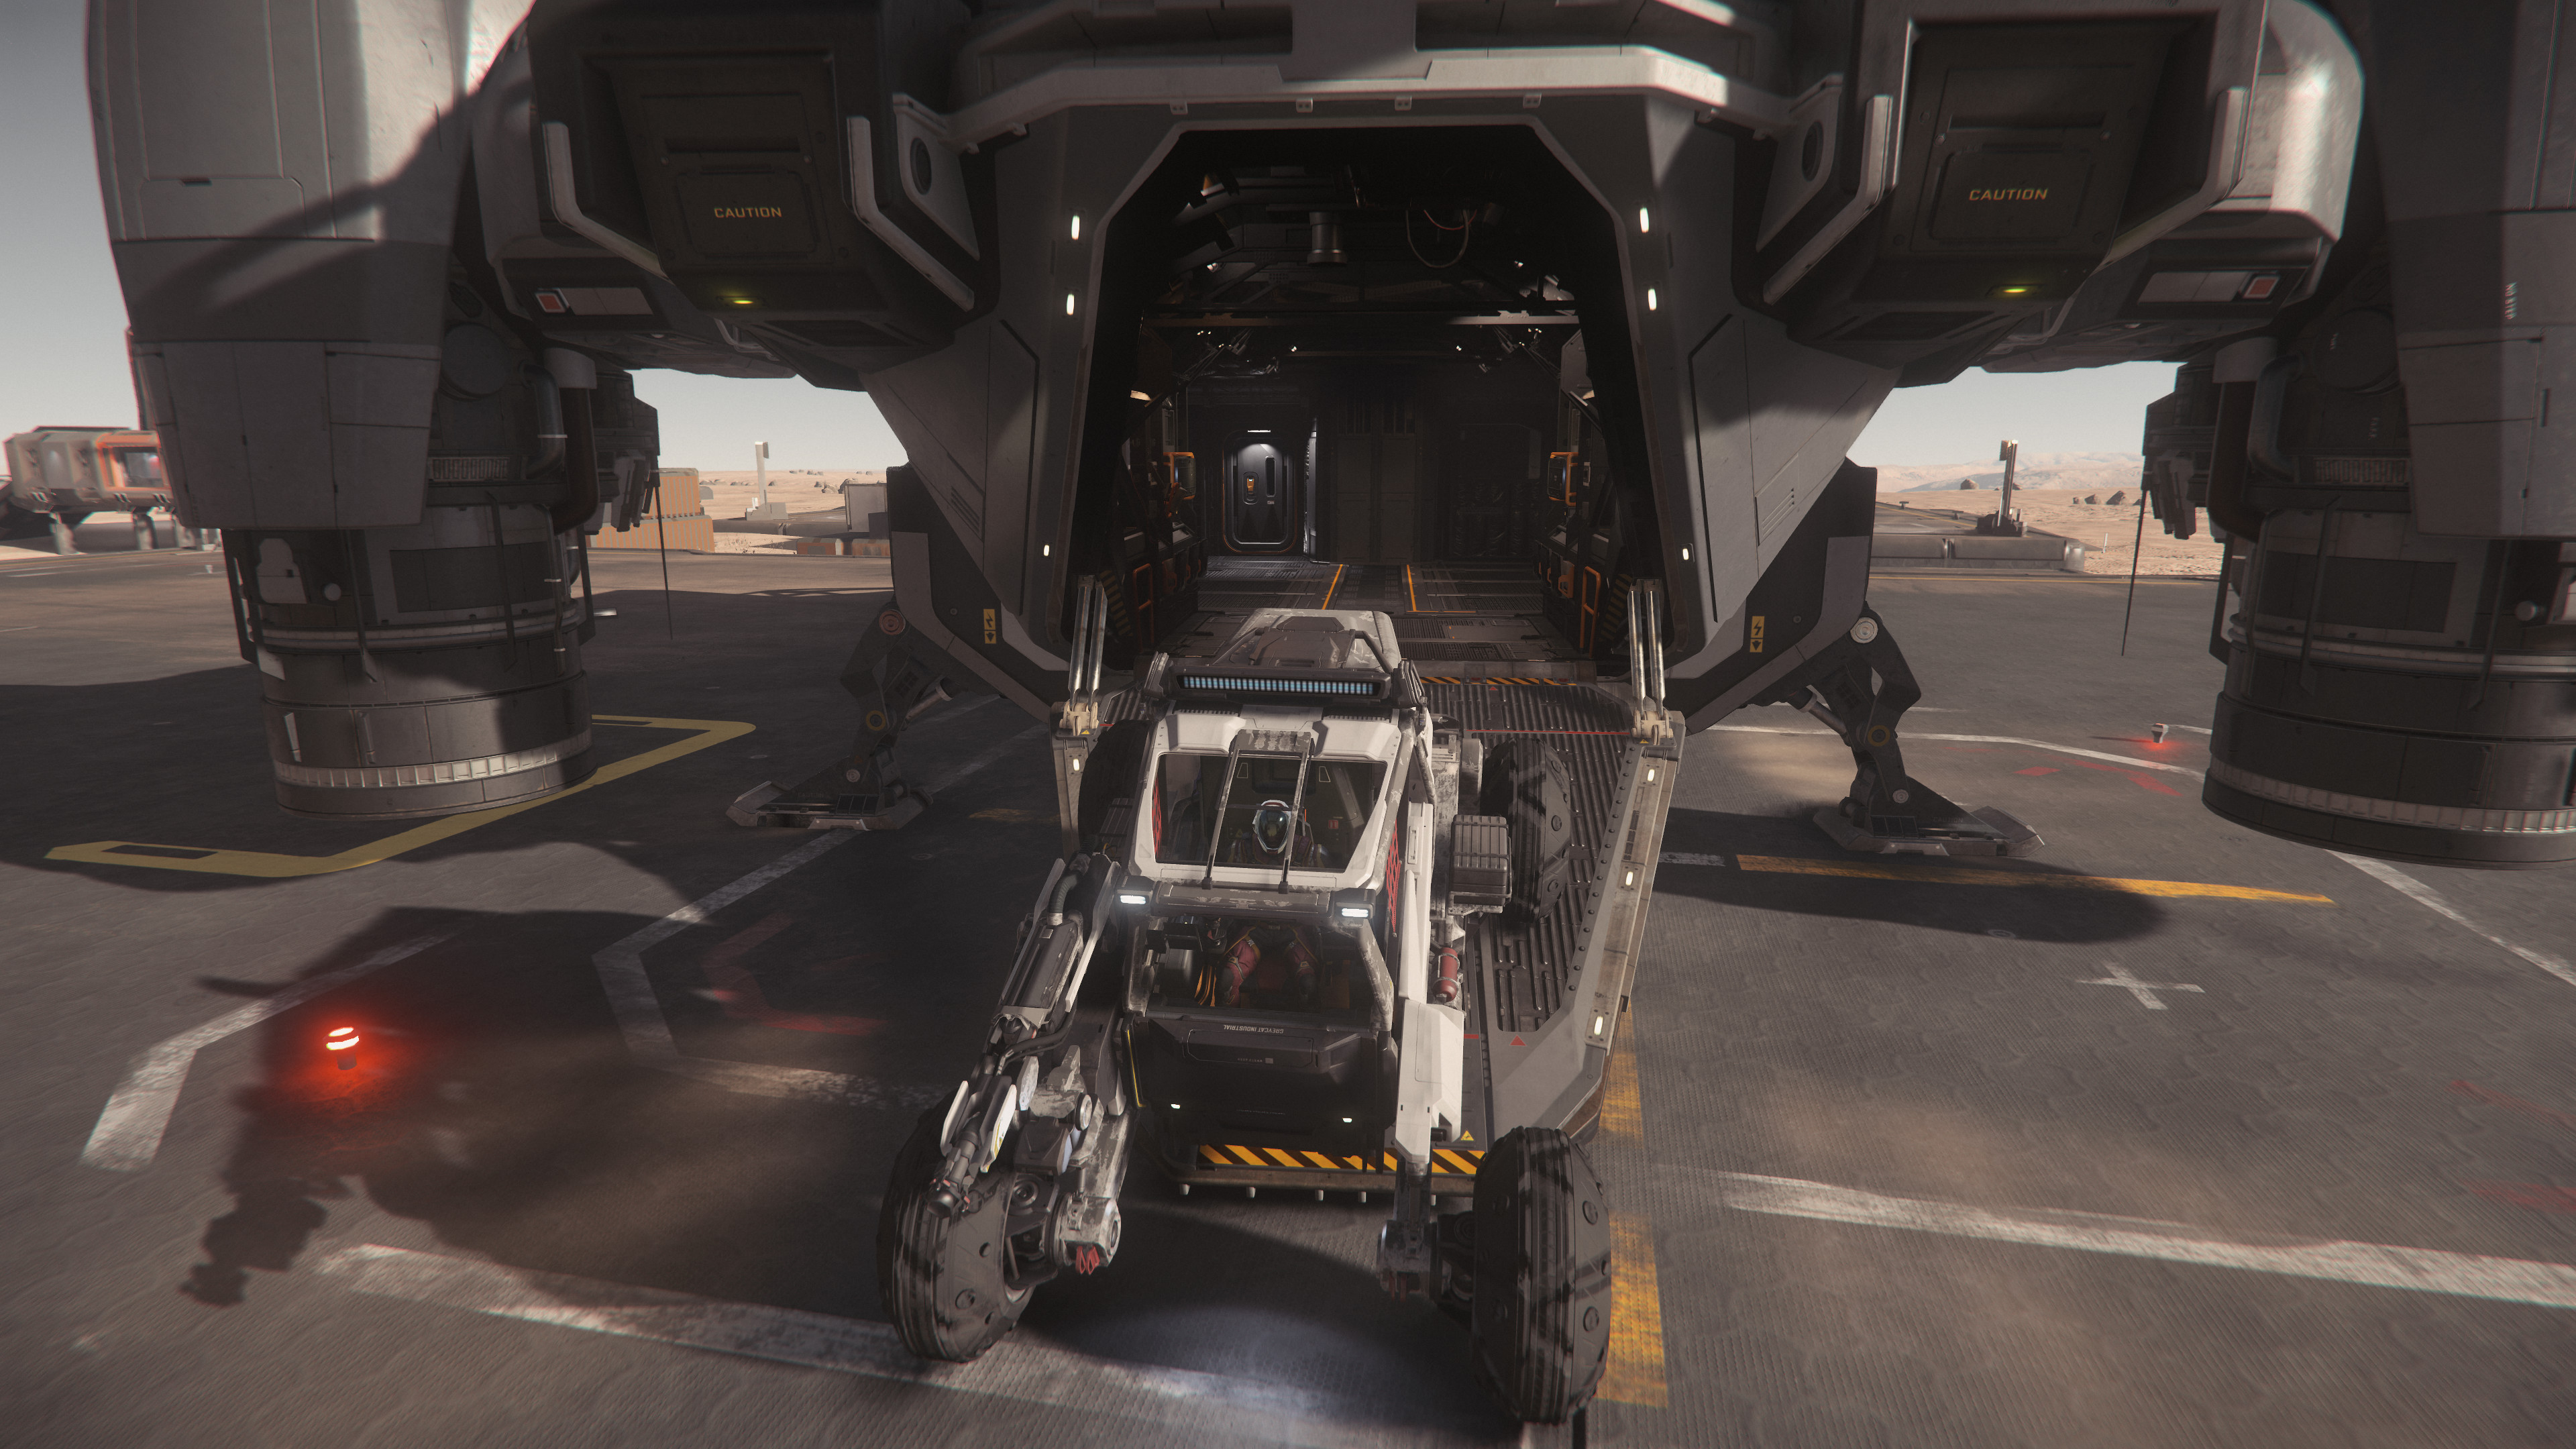
- Der Greycat ROC (Remote Ore Collector) - Fahrzeug für leichten Bergbau zu Boden.jpg 3.840 × 2.160; 2,74 MB
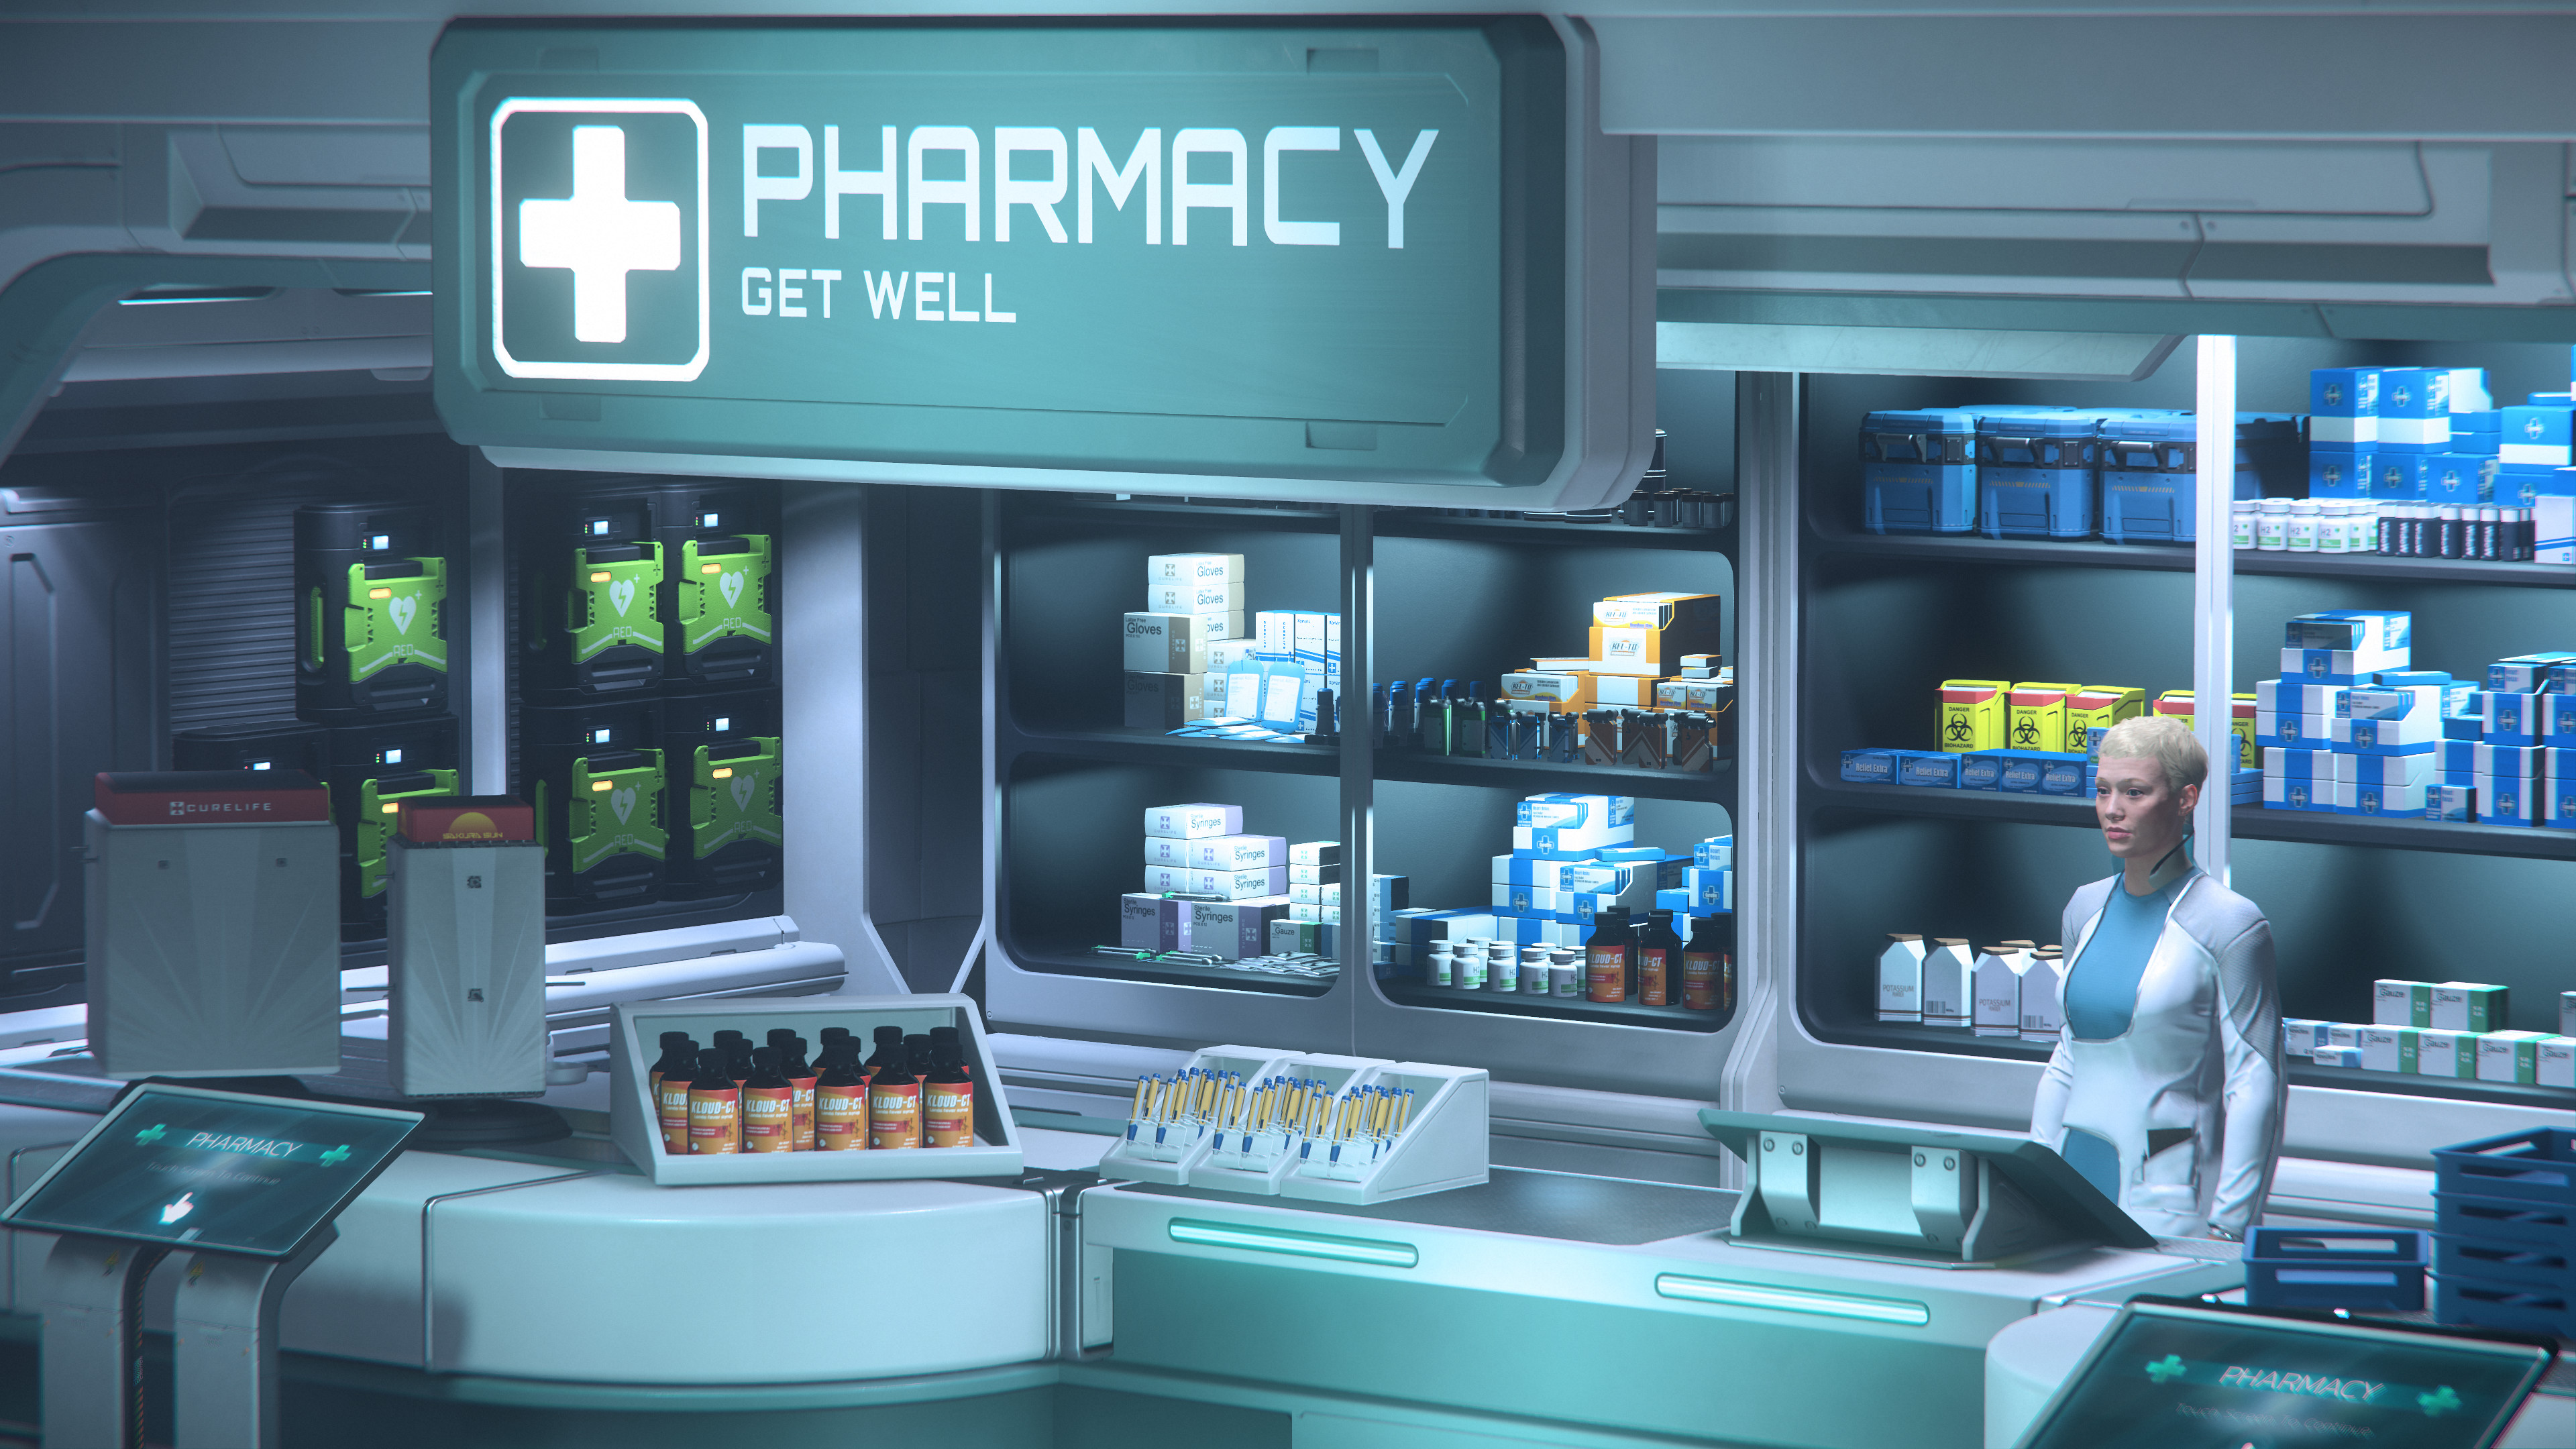
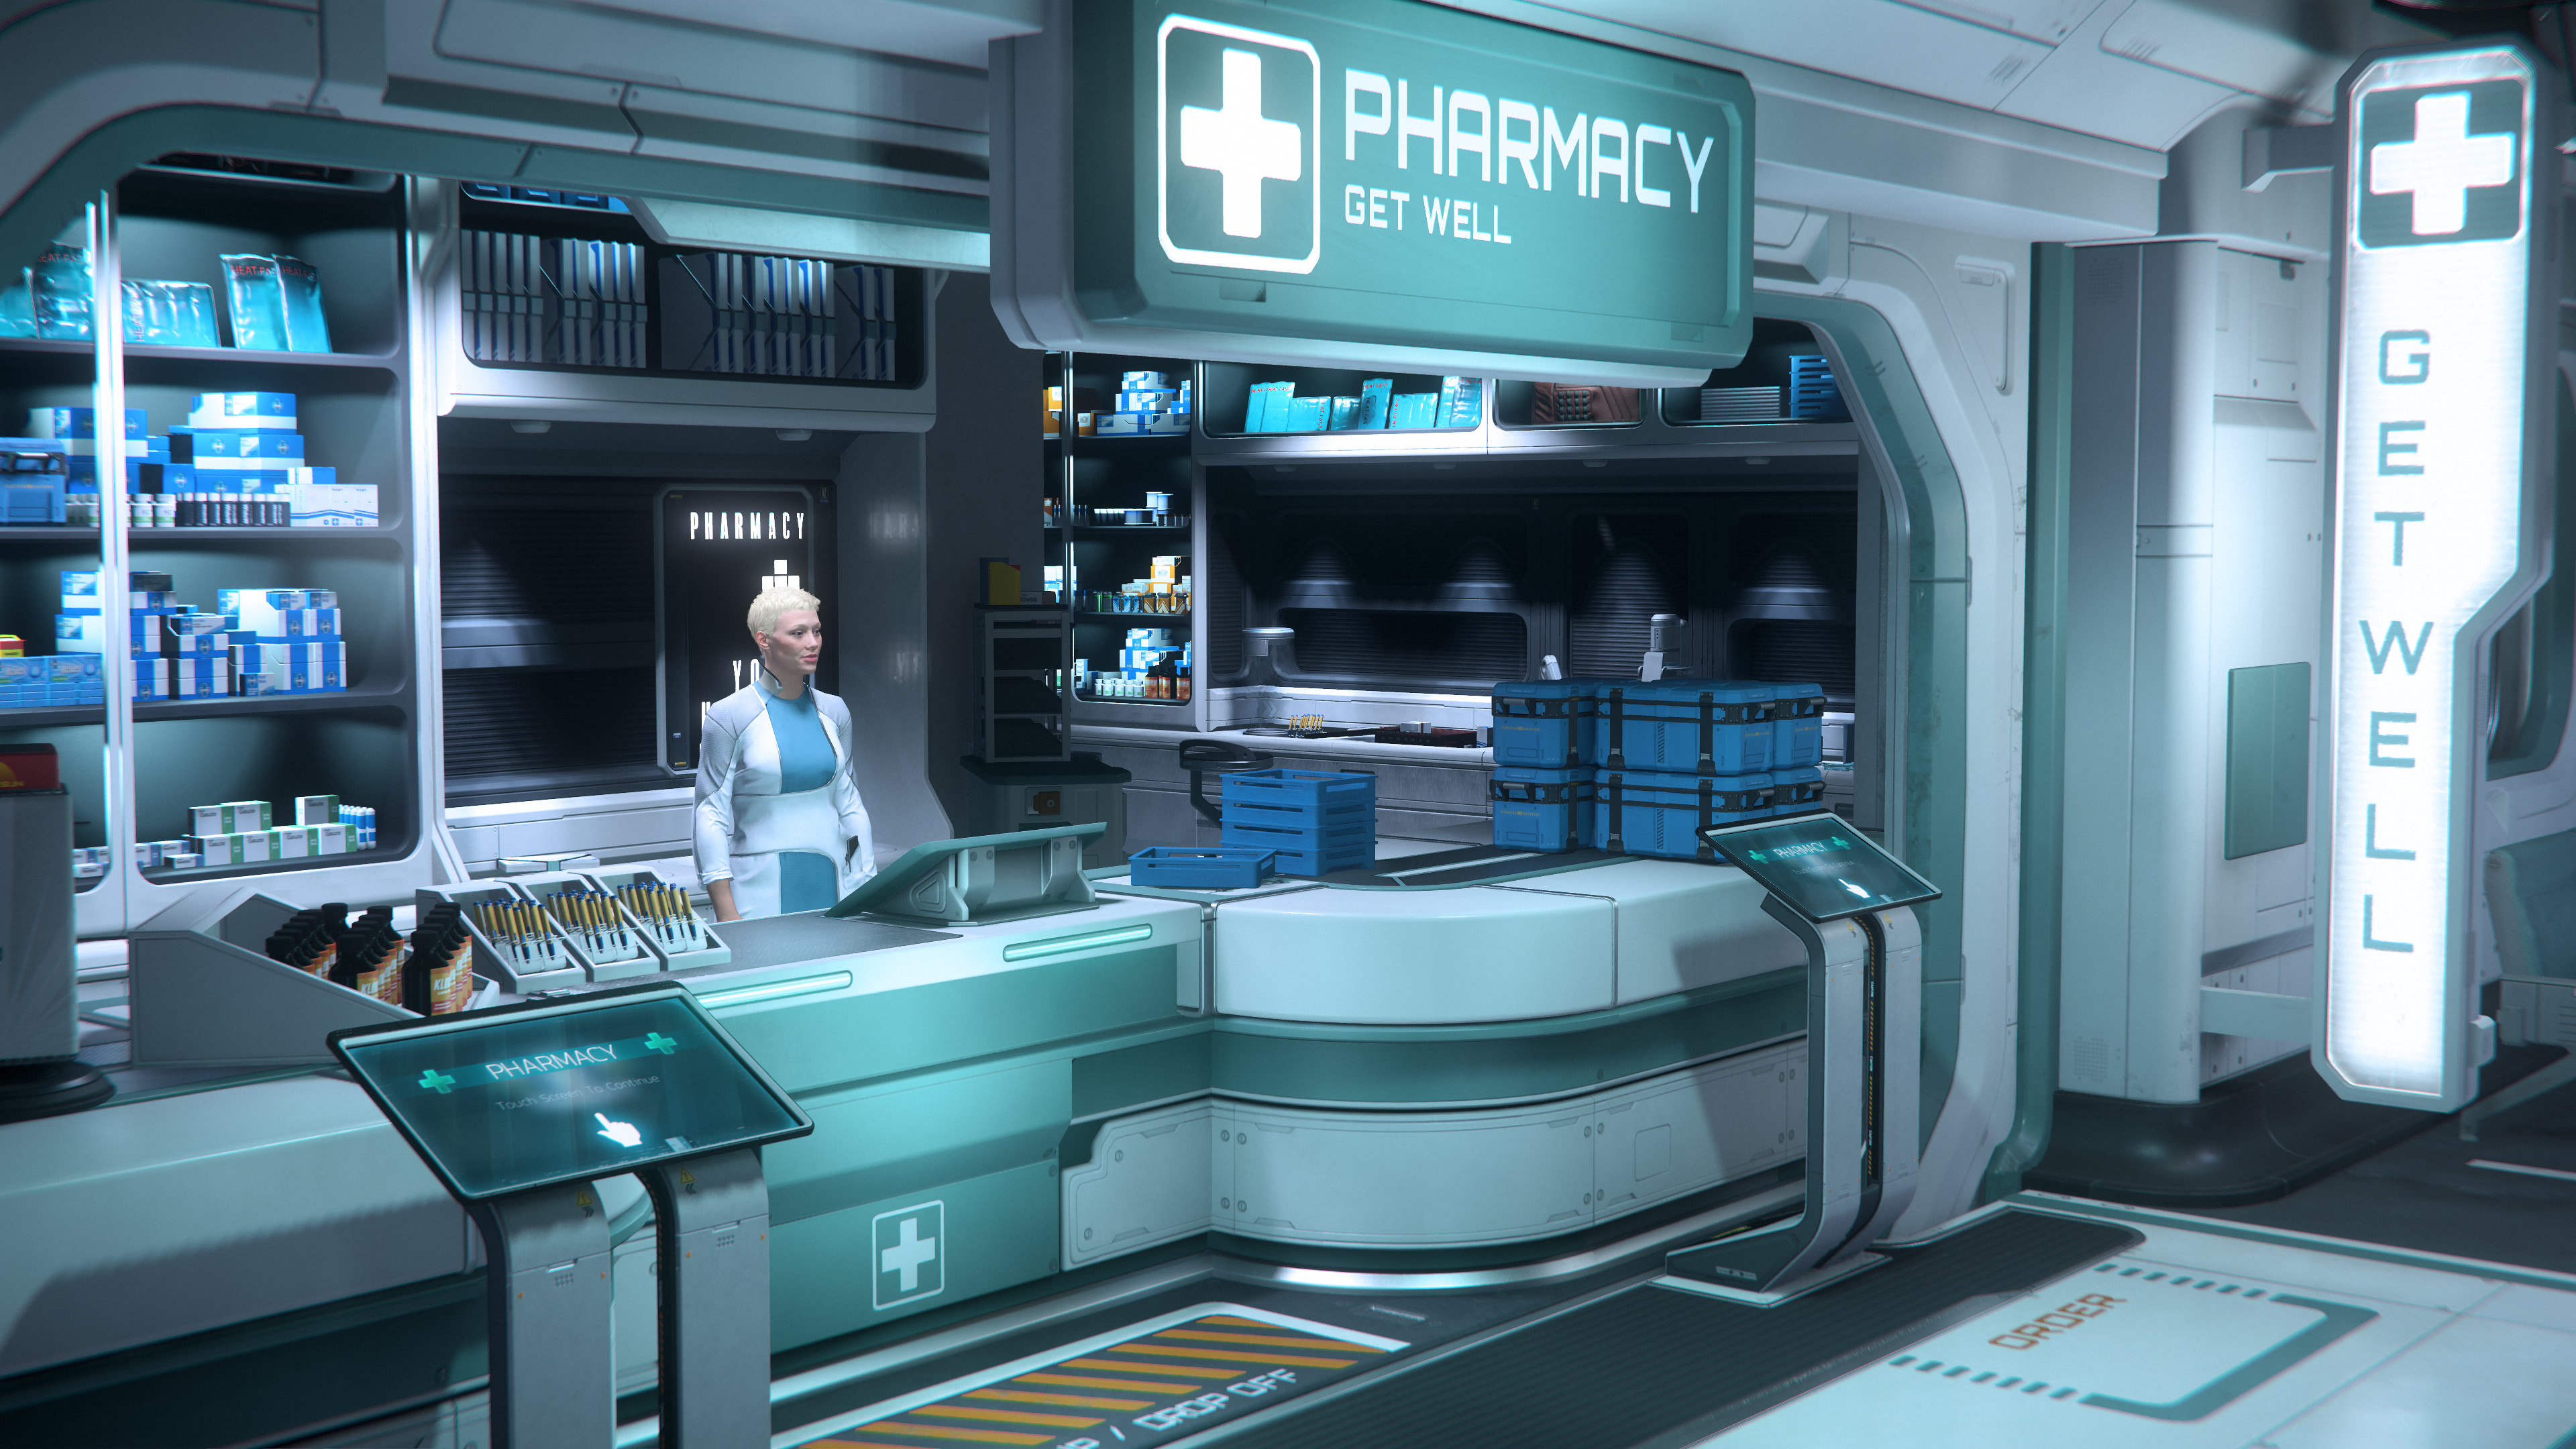
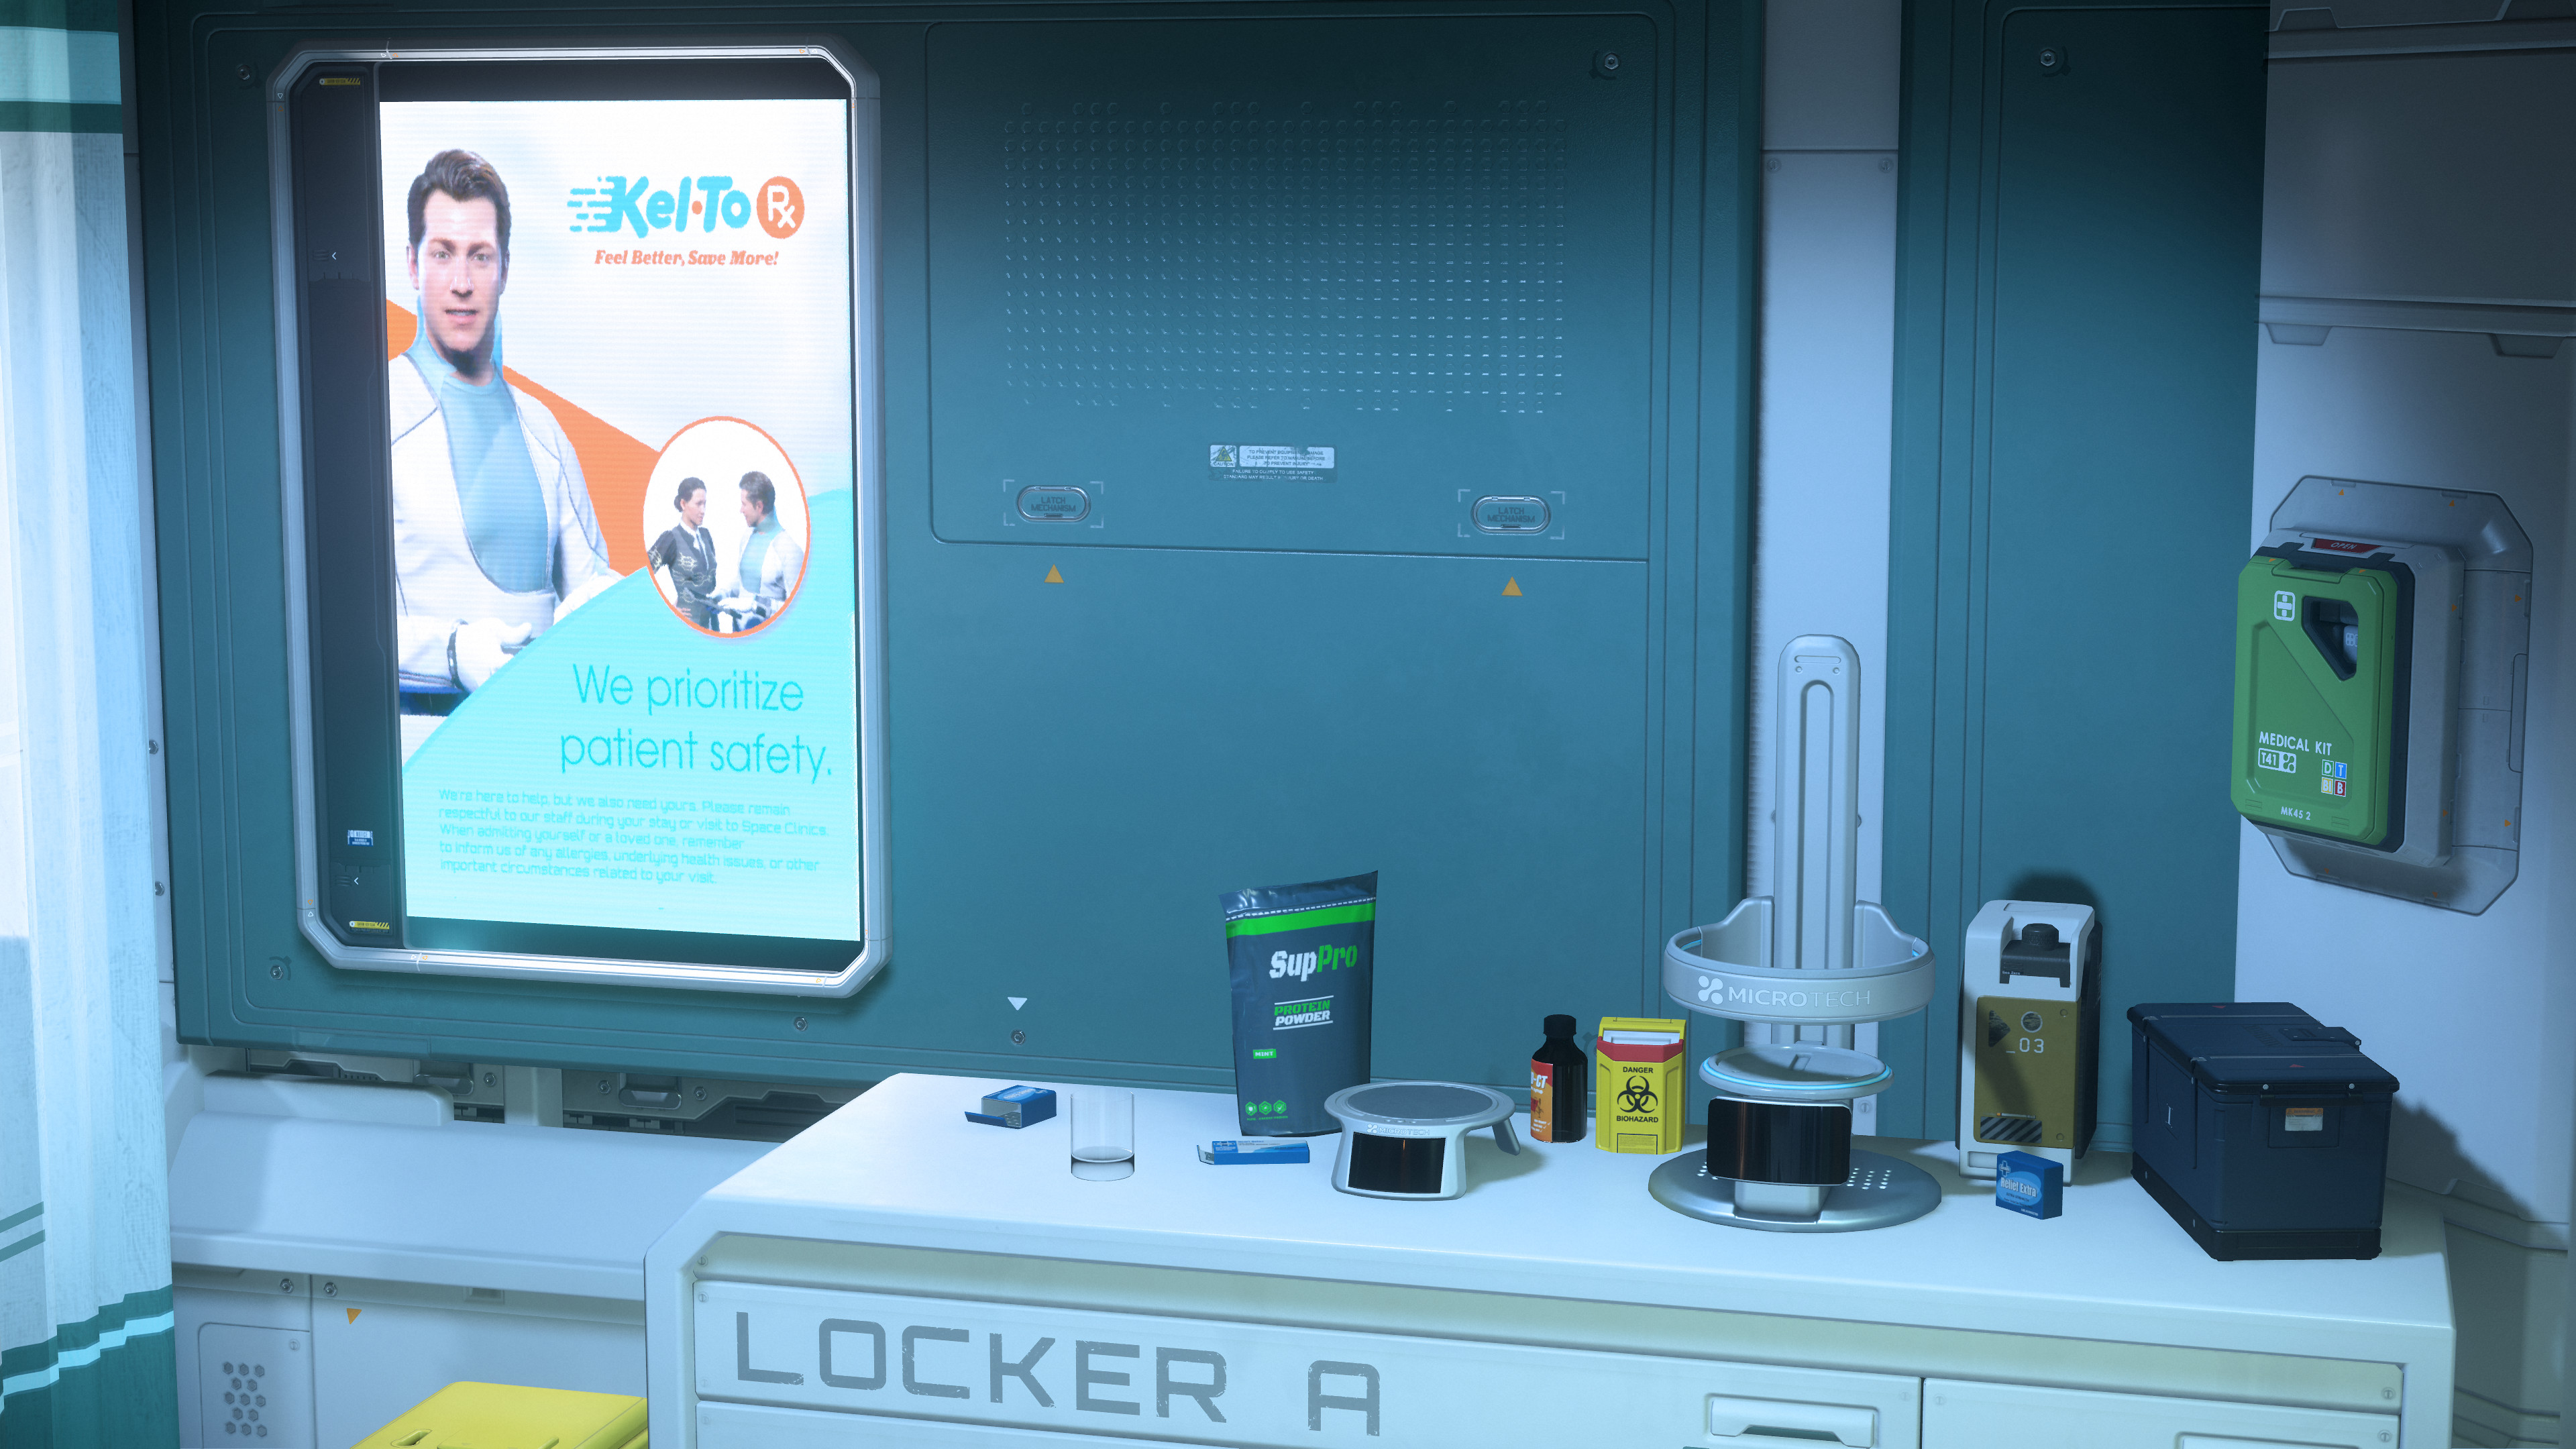
- Die Apotheke in einer Klinik auf einer Raumstation (1).jpg 3.840 × 2.160; 1,55 MB
- Die Apotheke in einer Klinik auf einer Raumstation (2).jpg 3.840 × 2.160; 1,59 MB
- Die Apotheke in einer Klinik auf einer Raumstation (3).jpg 3.840 × 2.160; 1,54 MB
- Die Cutlass Black hat ausreichend Platz für einen Greycat ROC.jpg 3.840 × 2.160; 1,44 MB
- Dienstleister auf Everus Harbor.png 2.000 × 2.000; 4,88 MB
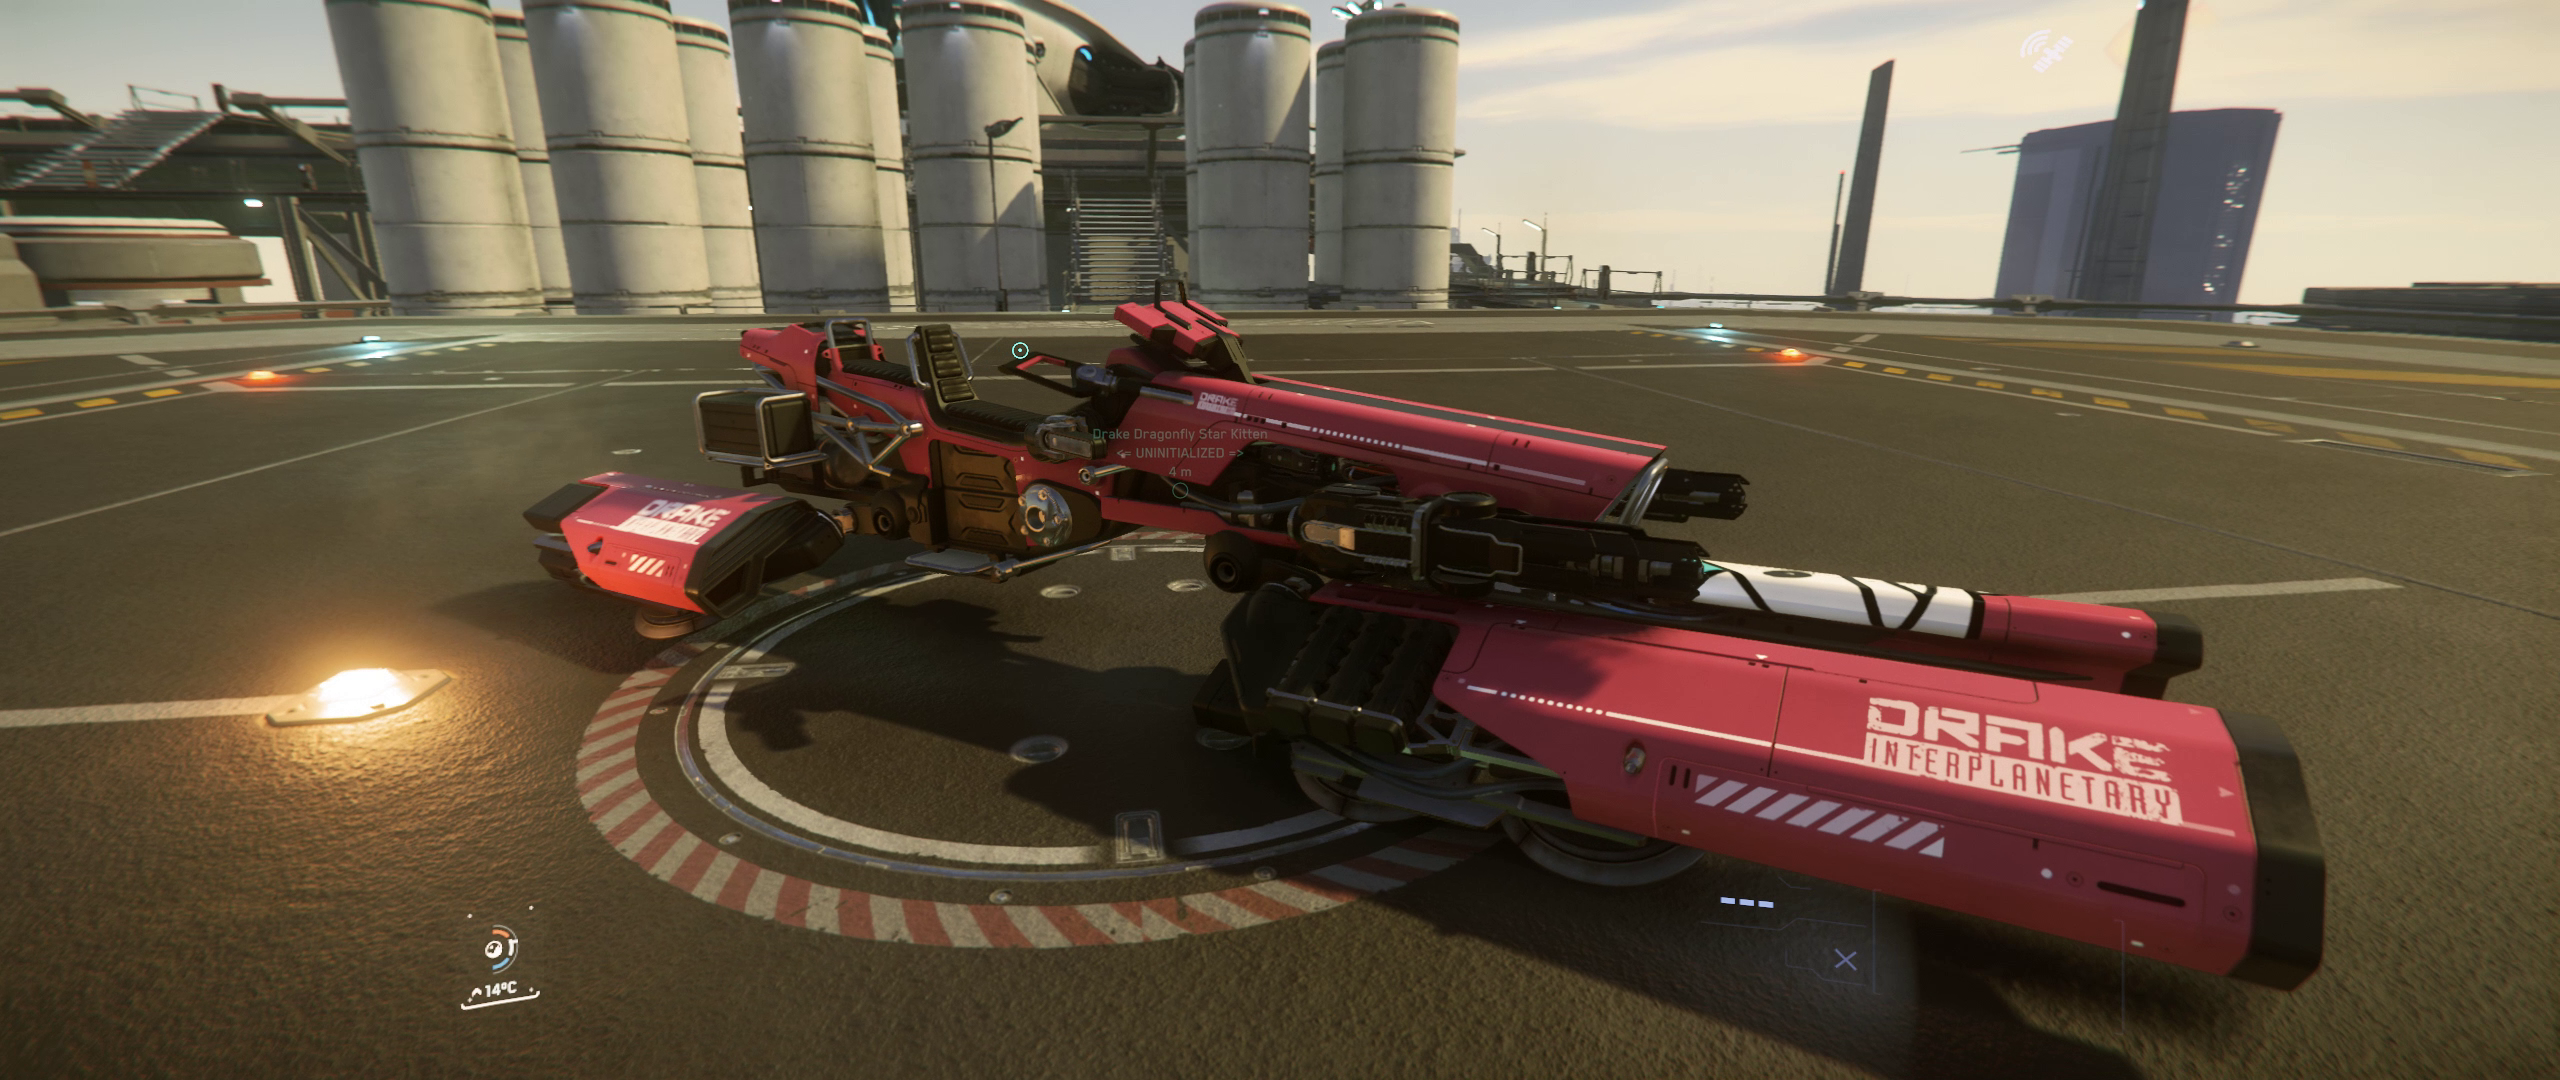
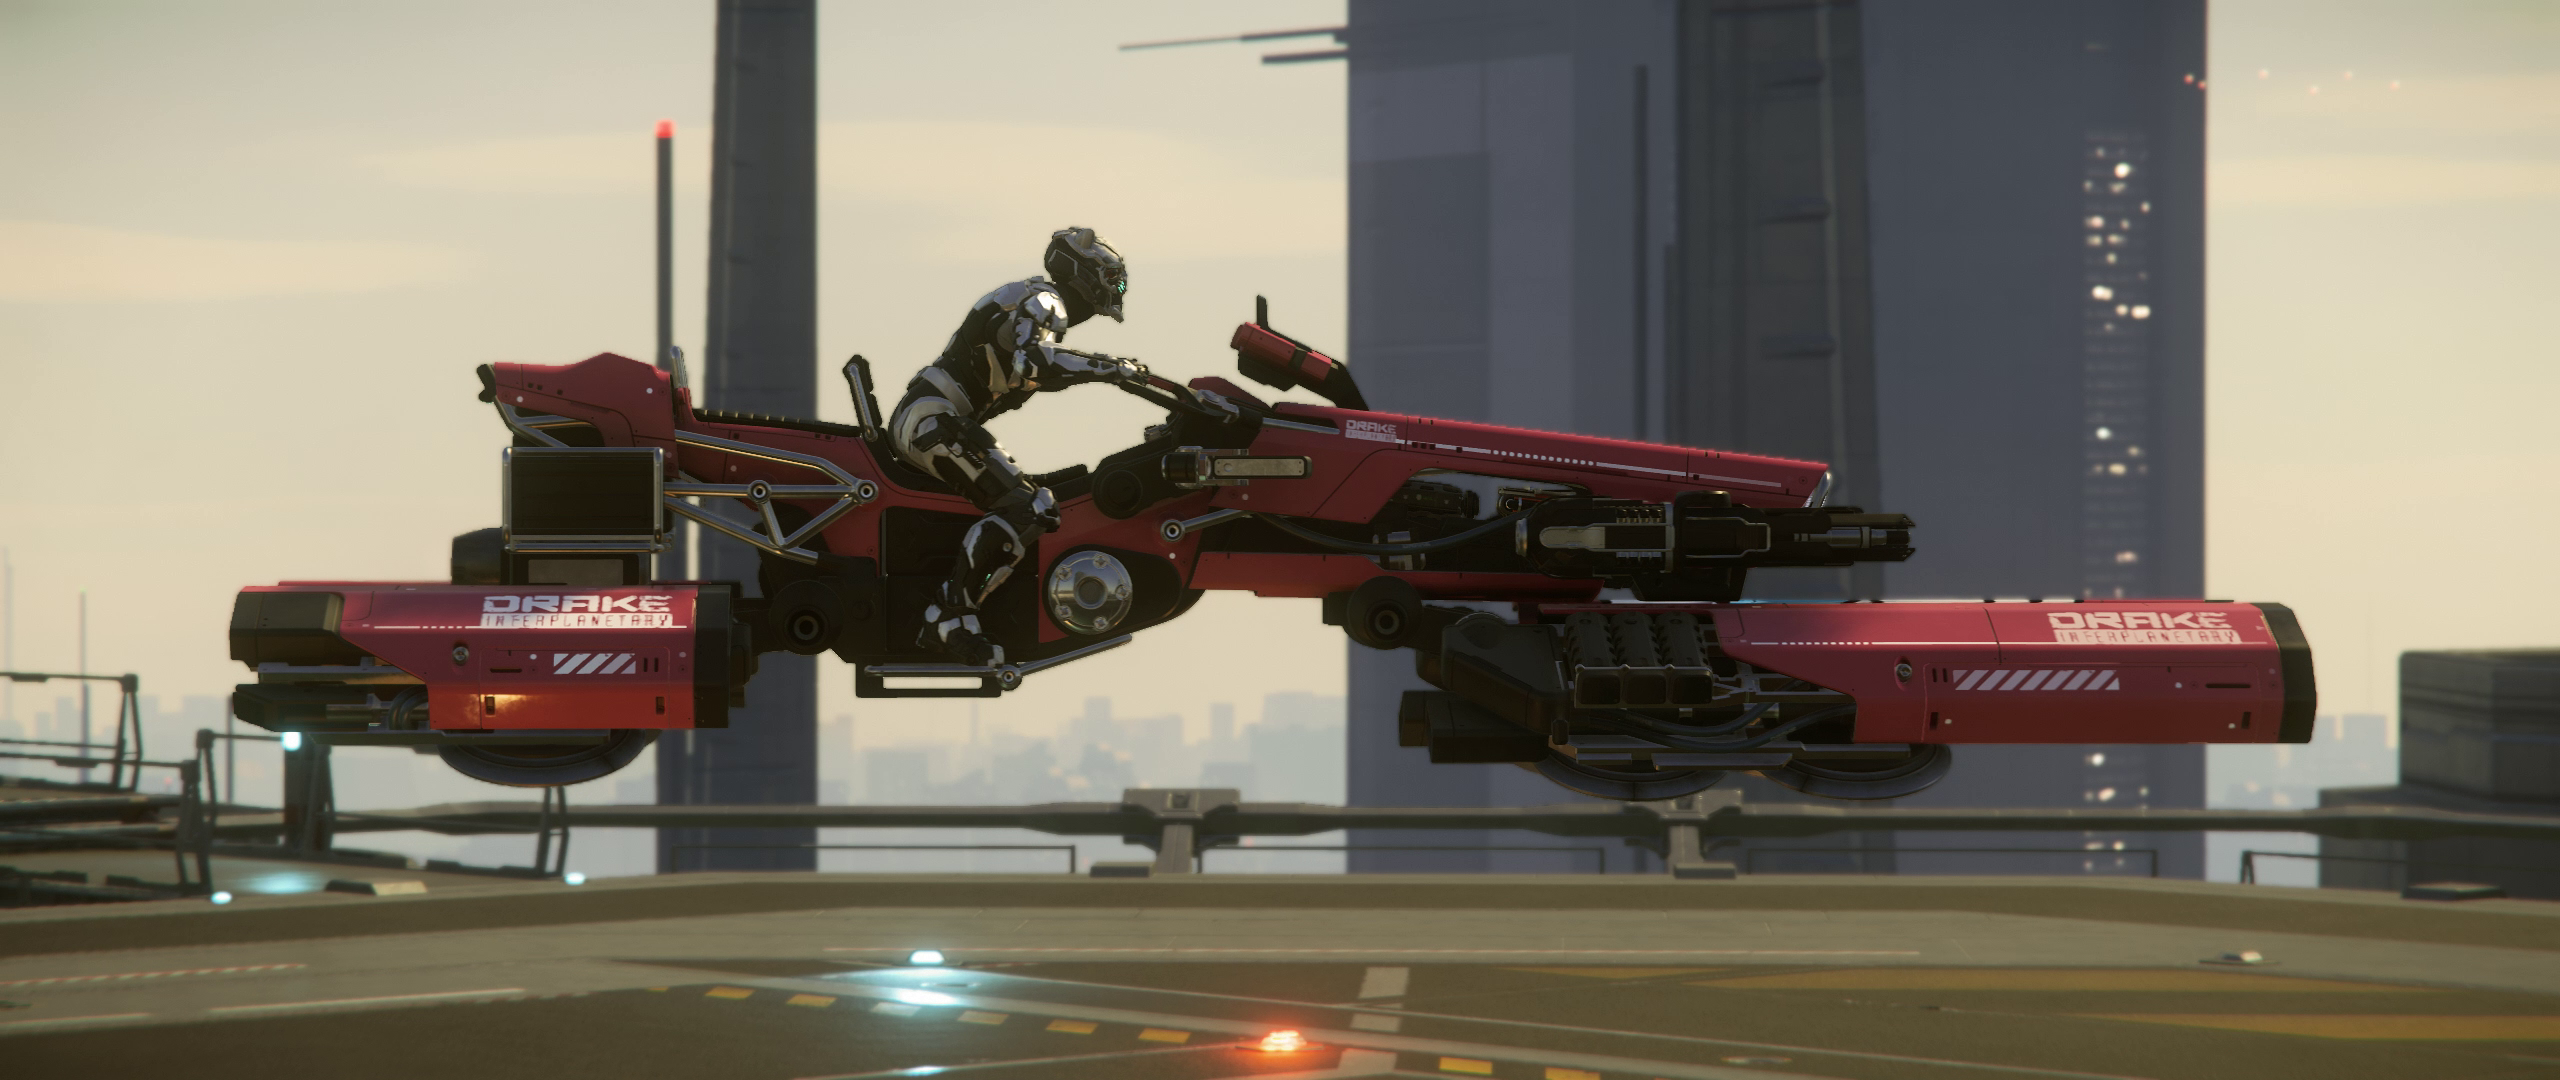
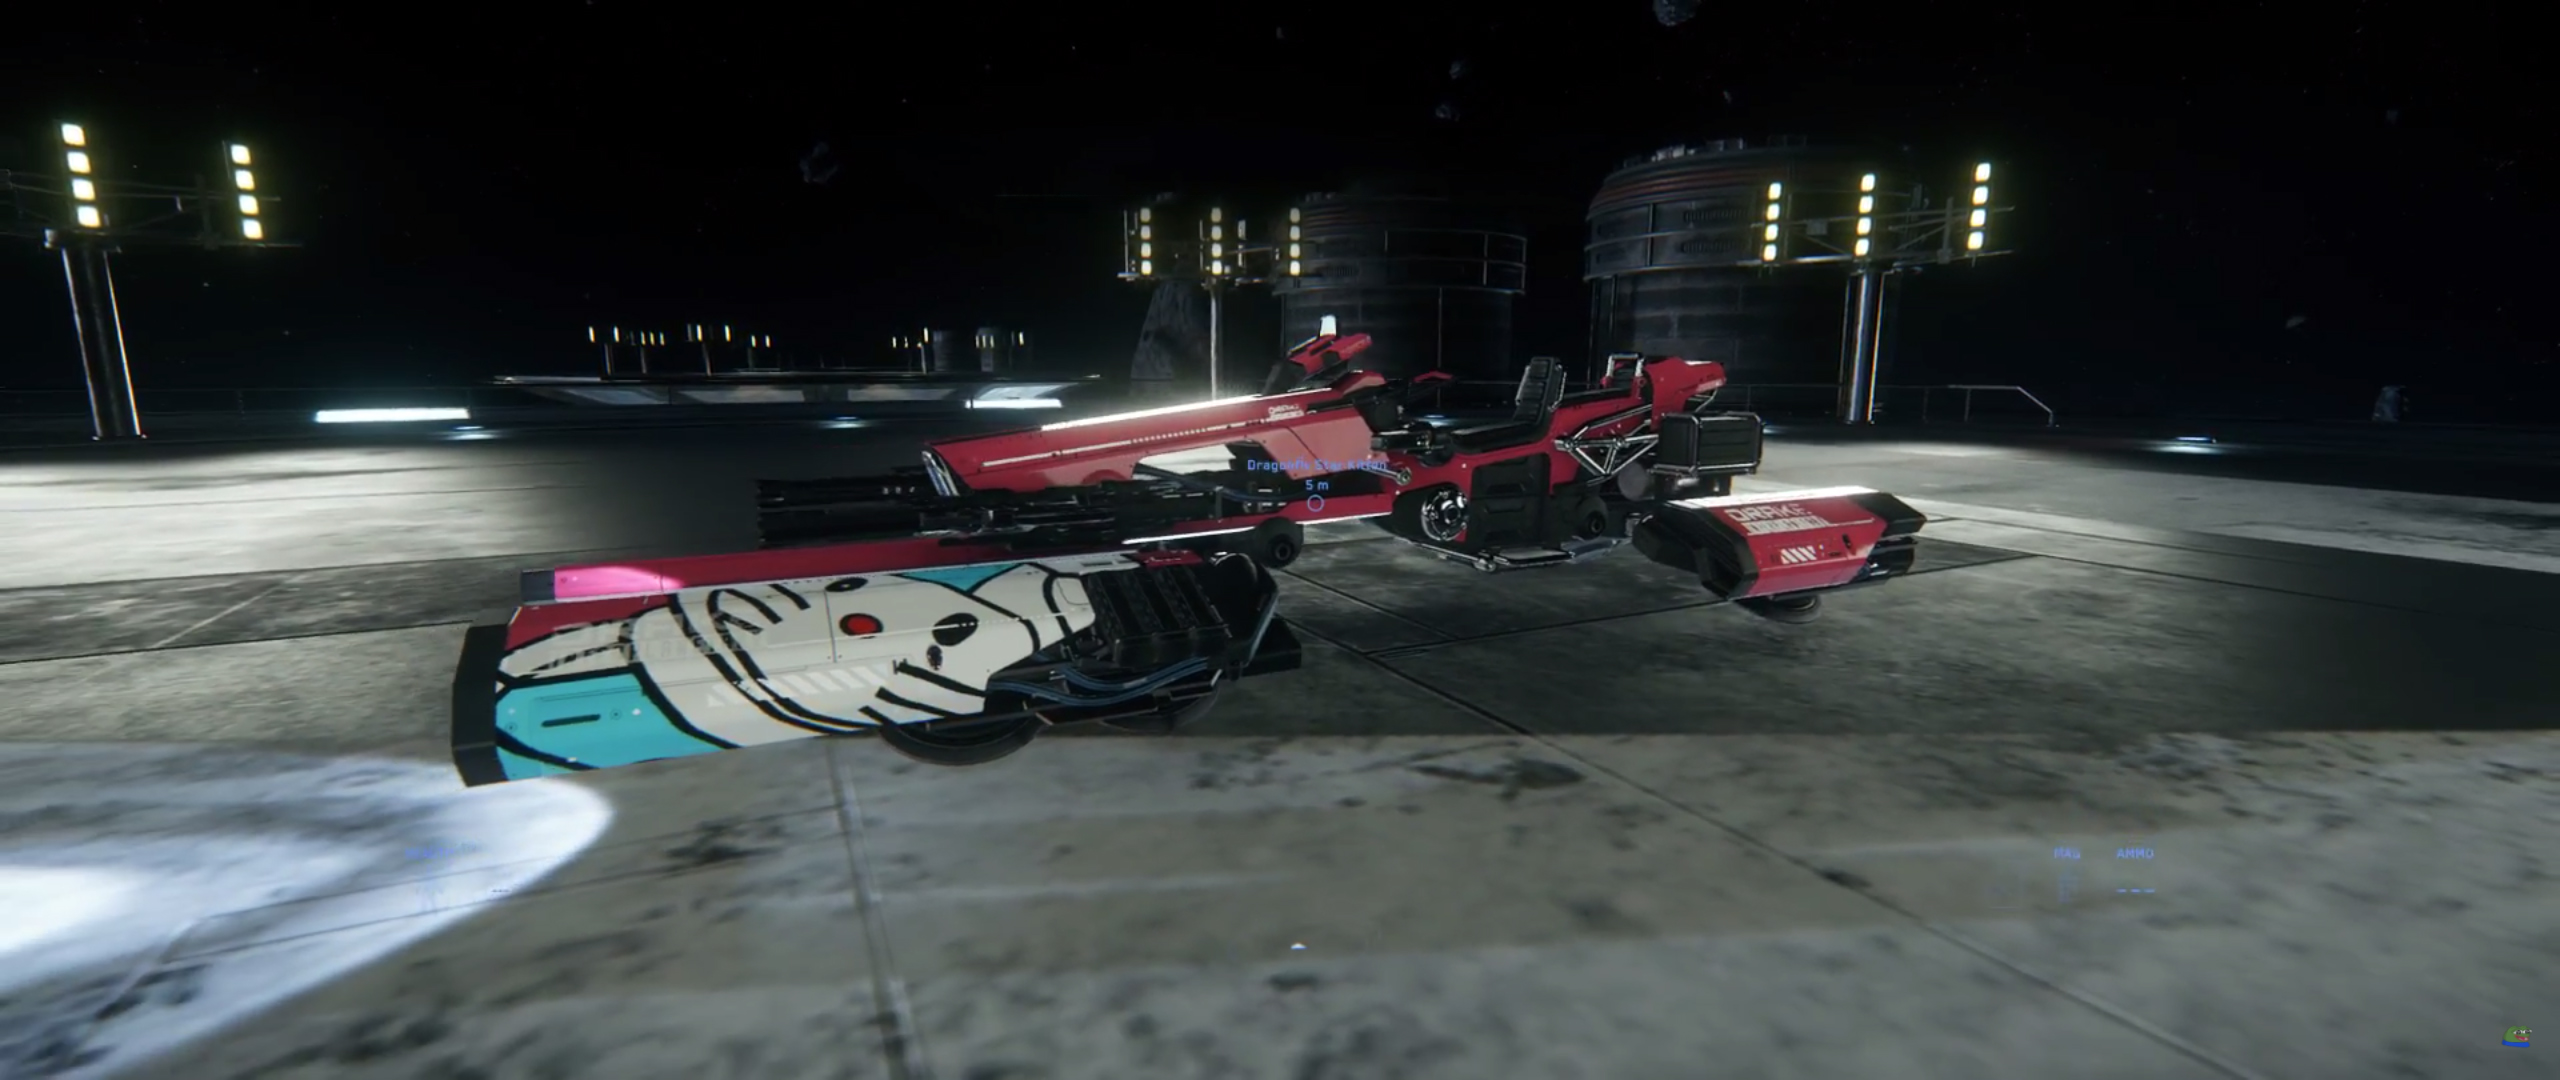
- DRAK Dragonfly Star Kitten 01.png 2.560 × 1.080; 2,37 MB
- DRAK Dragonfly Star Kitten 02.png 2.560 × 1.080; 2,51 MB
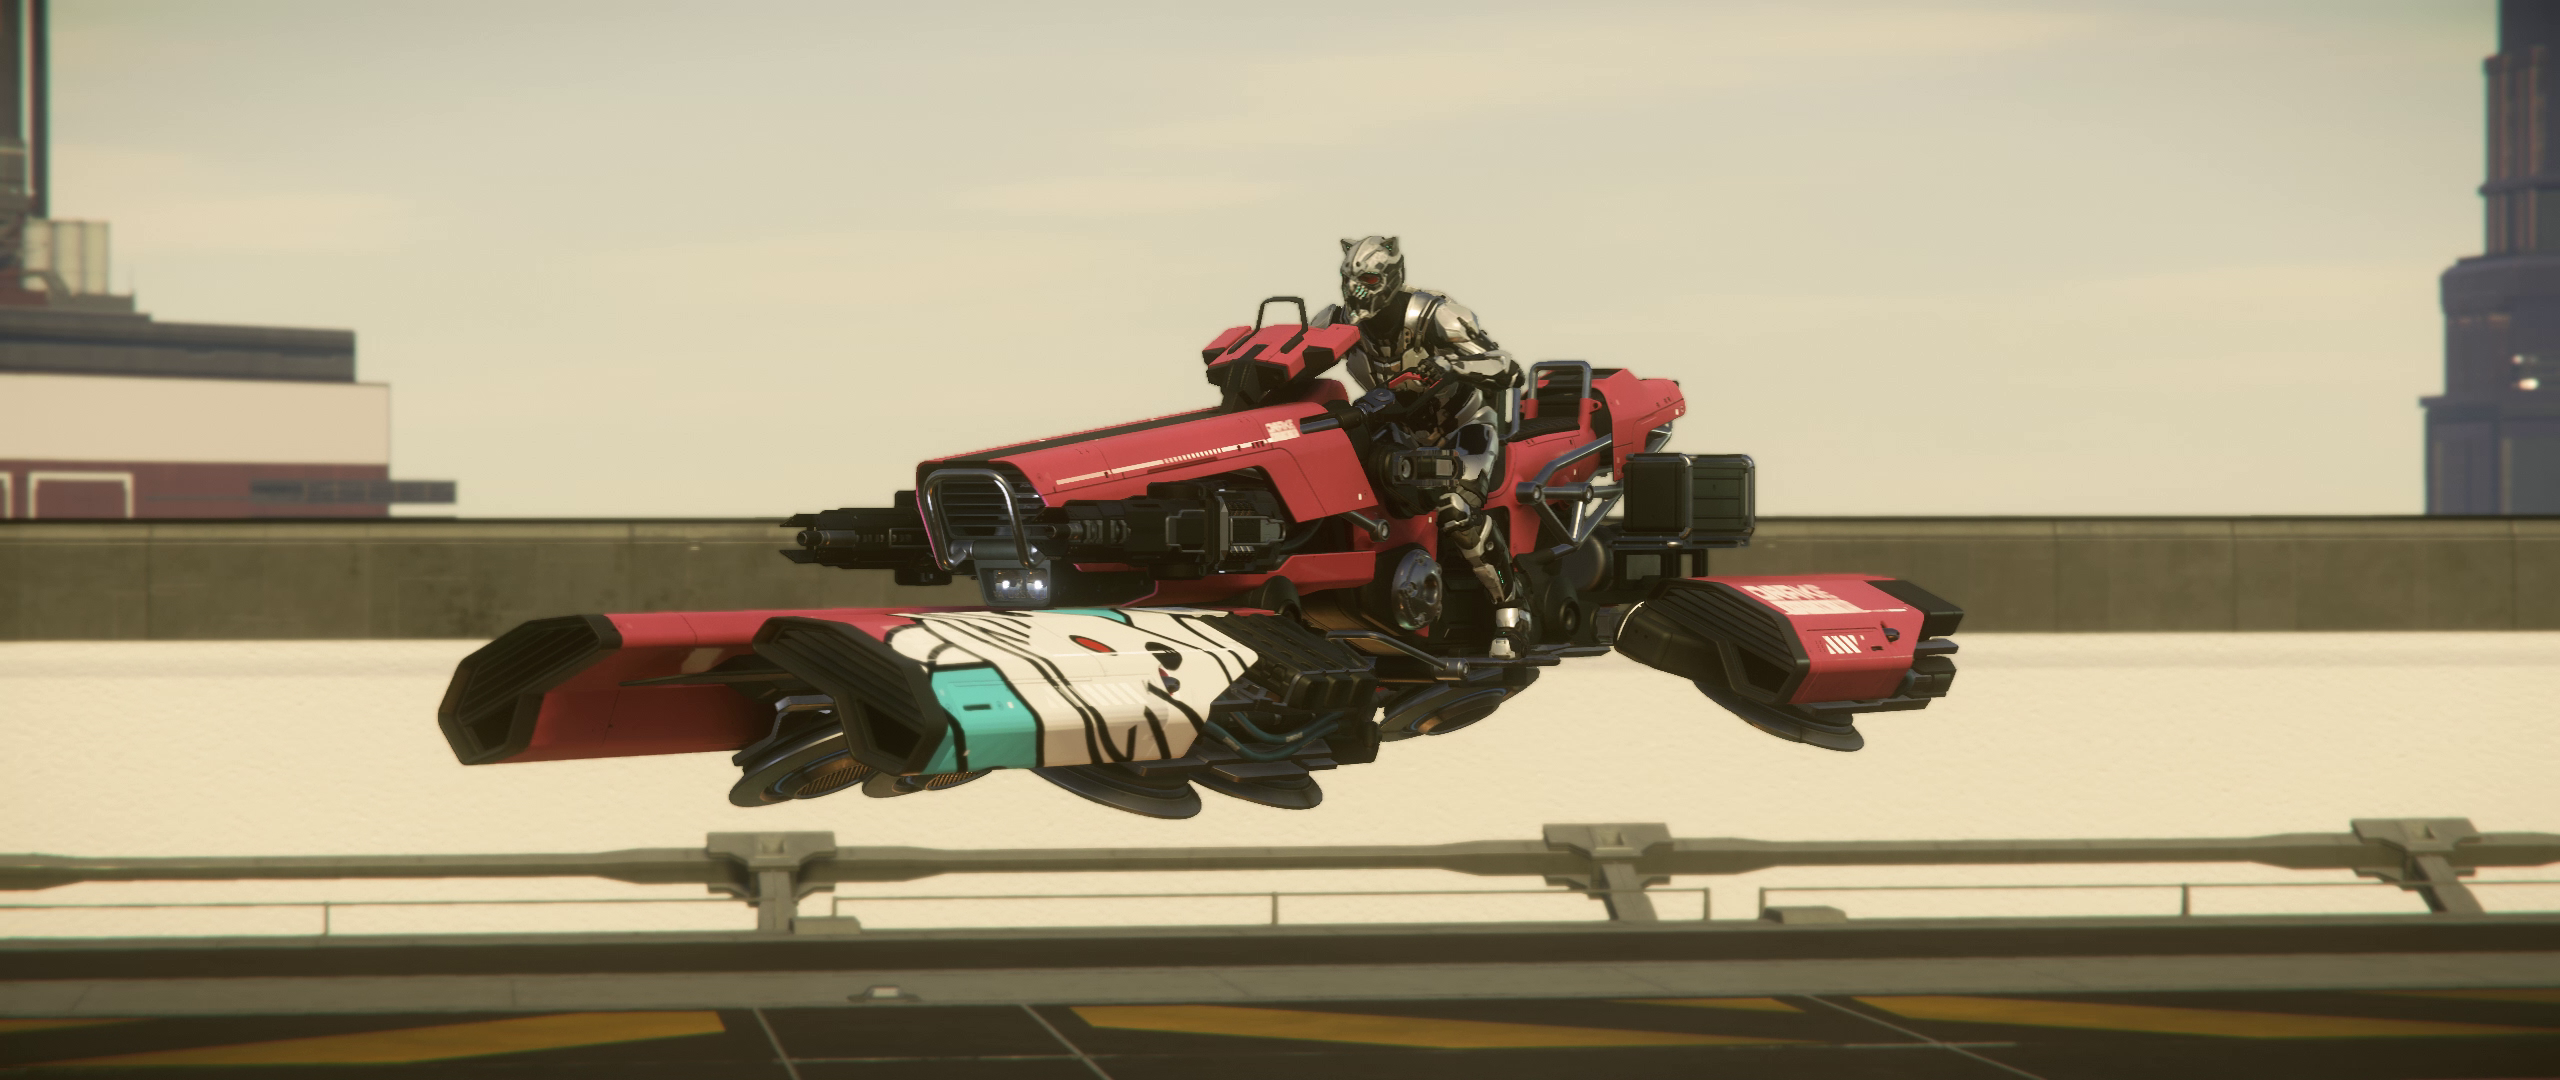
- DRAK Dragonfly Star Kitten Fahrer.png 2.560 × 1.080; 2,53 MB
- DRAK Dragonfly Star Kitten First Person.png 2.560 × 1.080; 3 MB
- DRAK Dragonfly Star Kitten Front Links.png 2.560 × 1.080; 2,02 MB
- DRAK Dragonfly Star Kitten Front Rechts.png 2.560 × 1.080; 2,33 MB
- DRAK Dragonfly Star Kitten Front.png 2.560 × 1.080; 2,45 MB
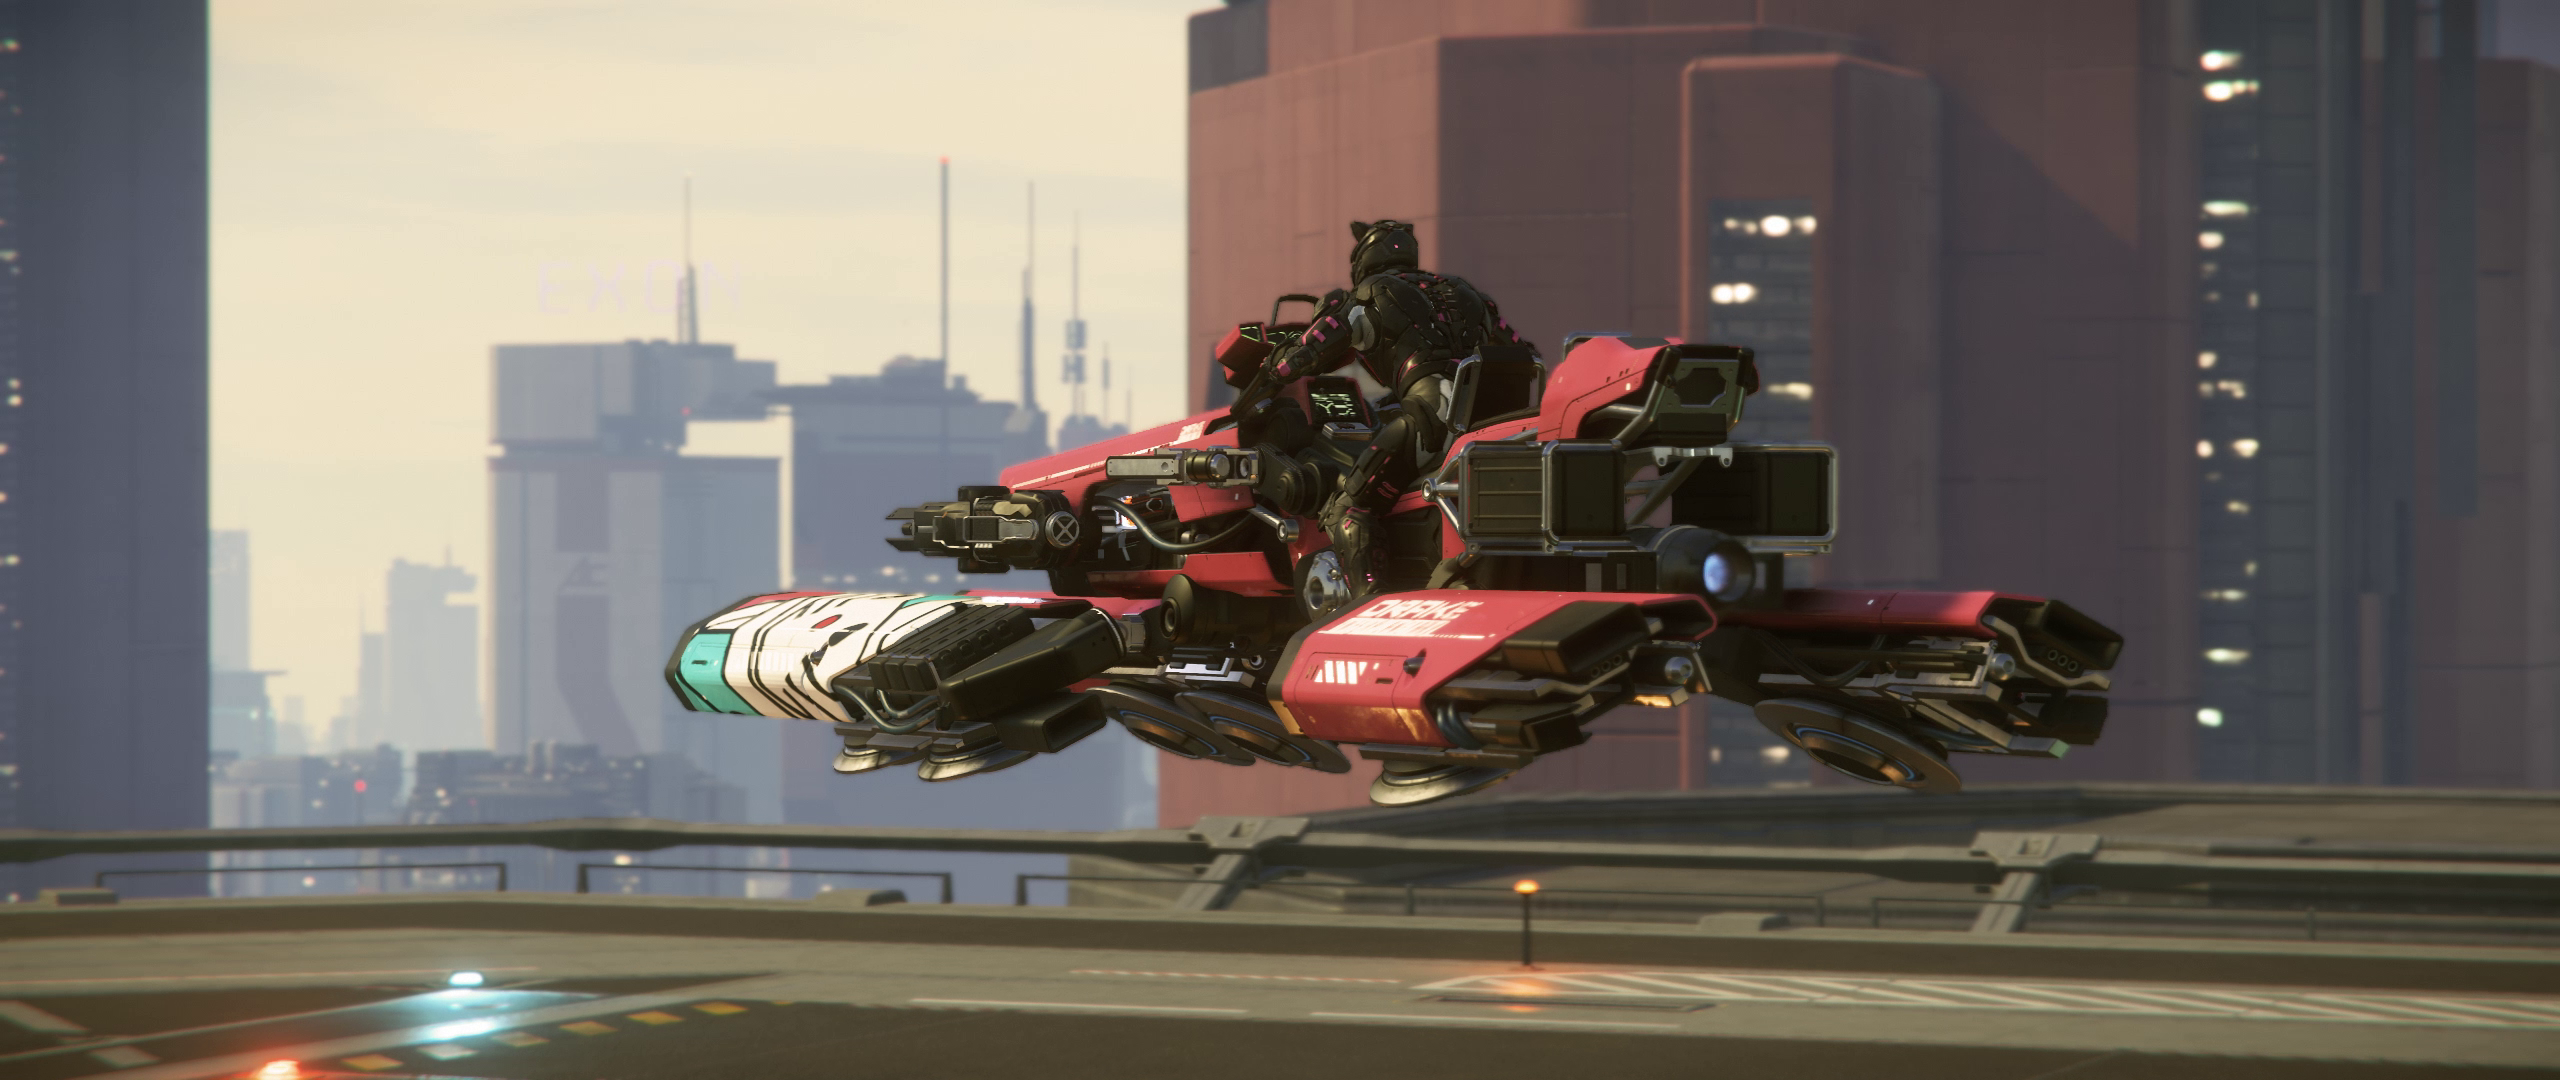
- DRAK Dragonfly Star Kitten Heck.png 2.560 × 1.080; 2,33 MB
- DRAK Dragonfly Star Kitten Hinten Links.png 2.560 × 1.080; 2,21 MB
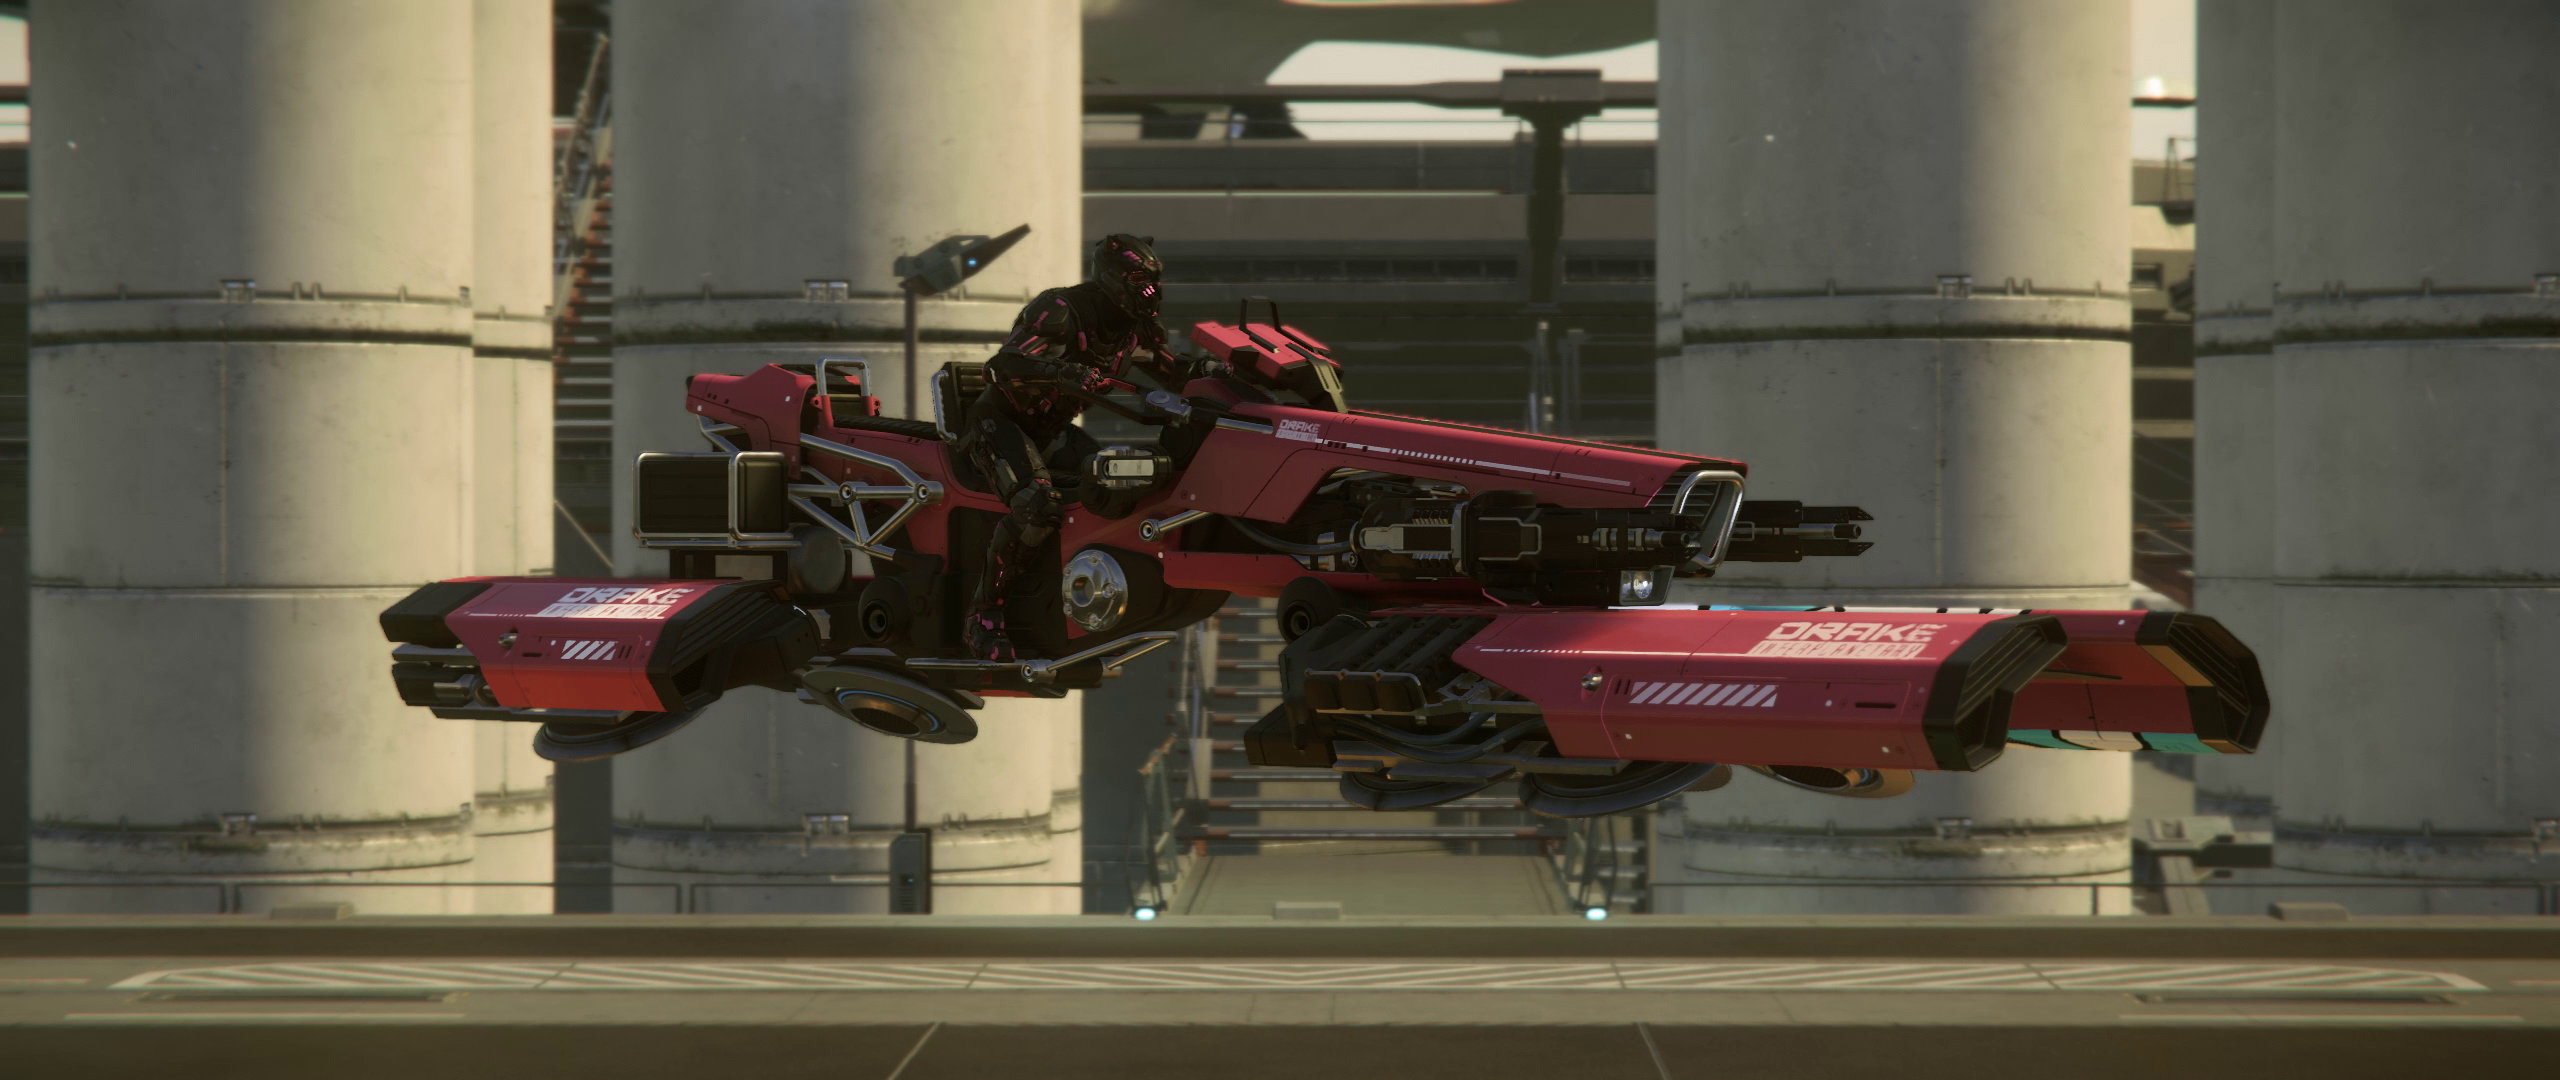
- DRAK Dragonfly Star Kitten Seitenansicht Rechts.png 2.560 × 1.080; 2,28 MB
- DRAK Dragonfly Star Kitten Seitenansicht.jpg 2.560 × 1.080; 764 KB
- Drake Vulture - Orison.png 3.440 × 1.440; 7,12 MB
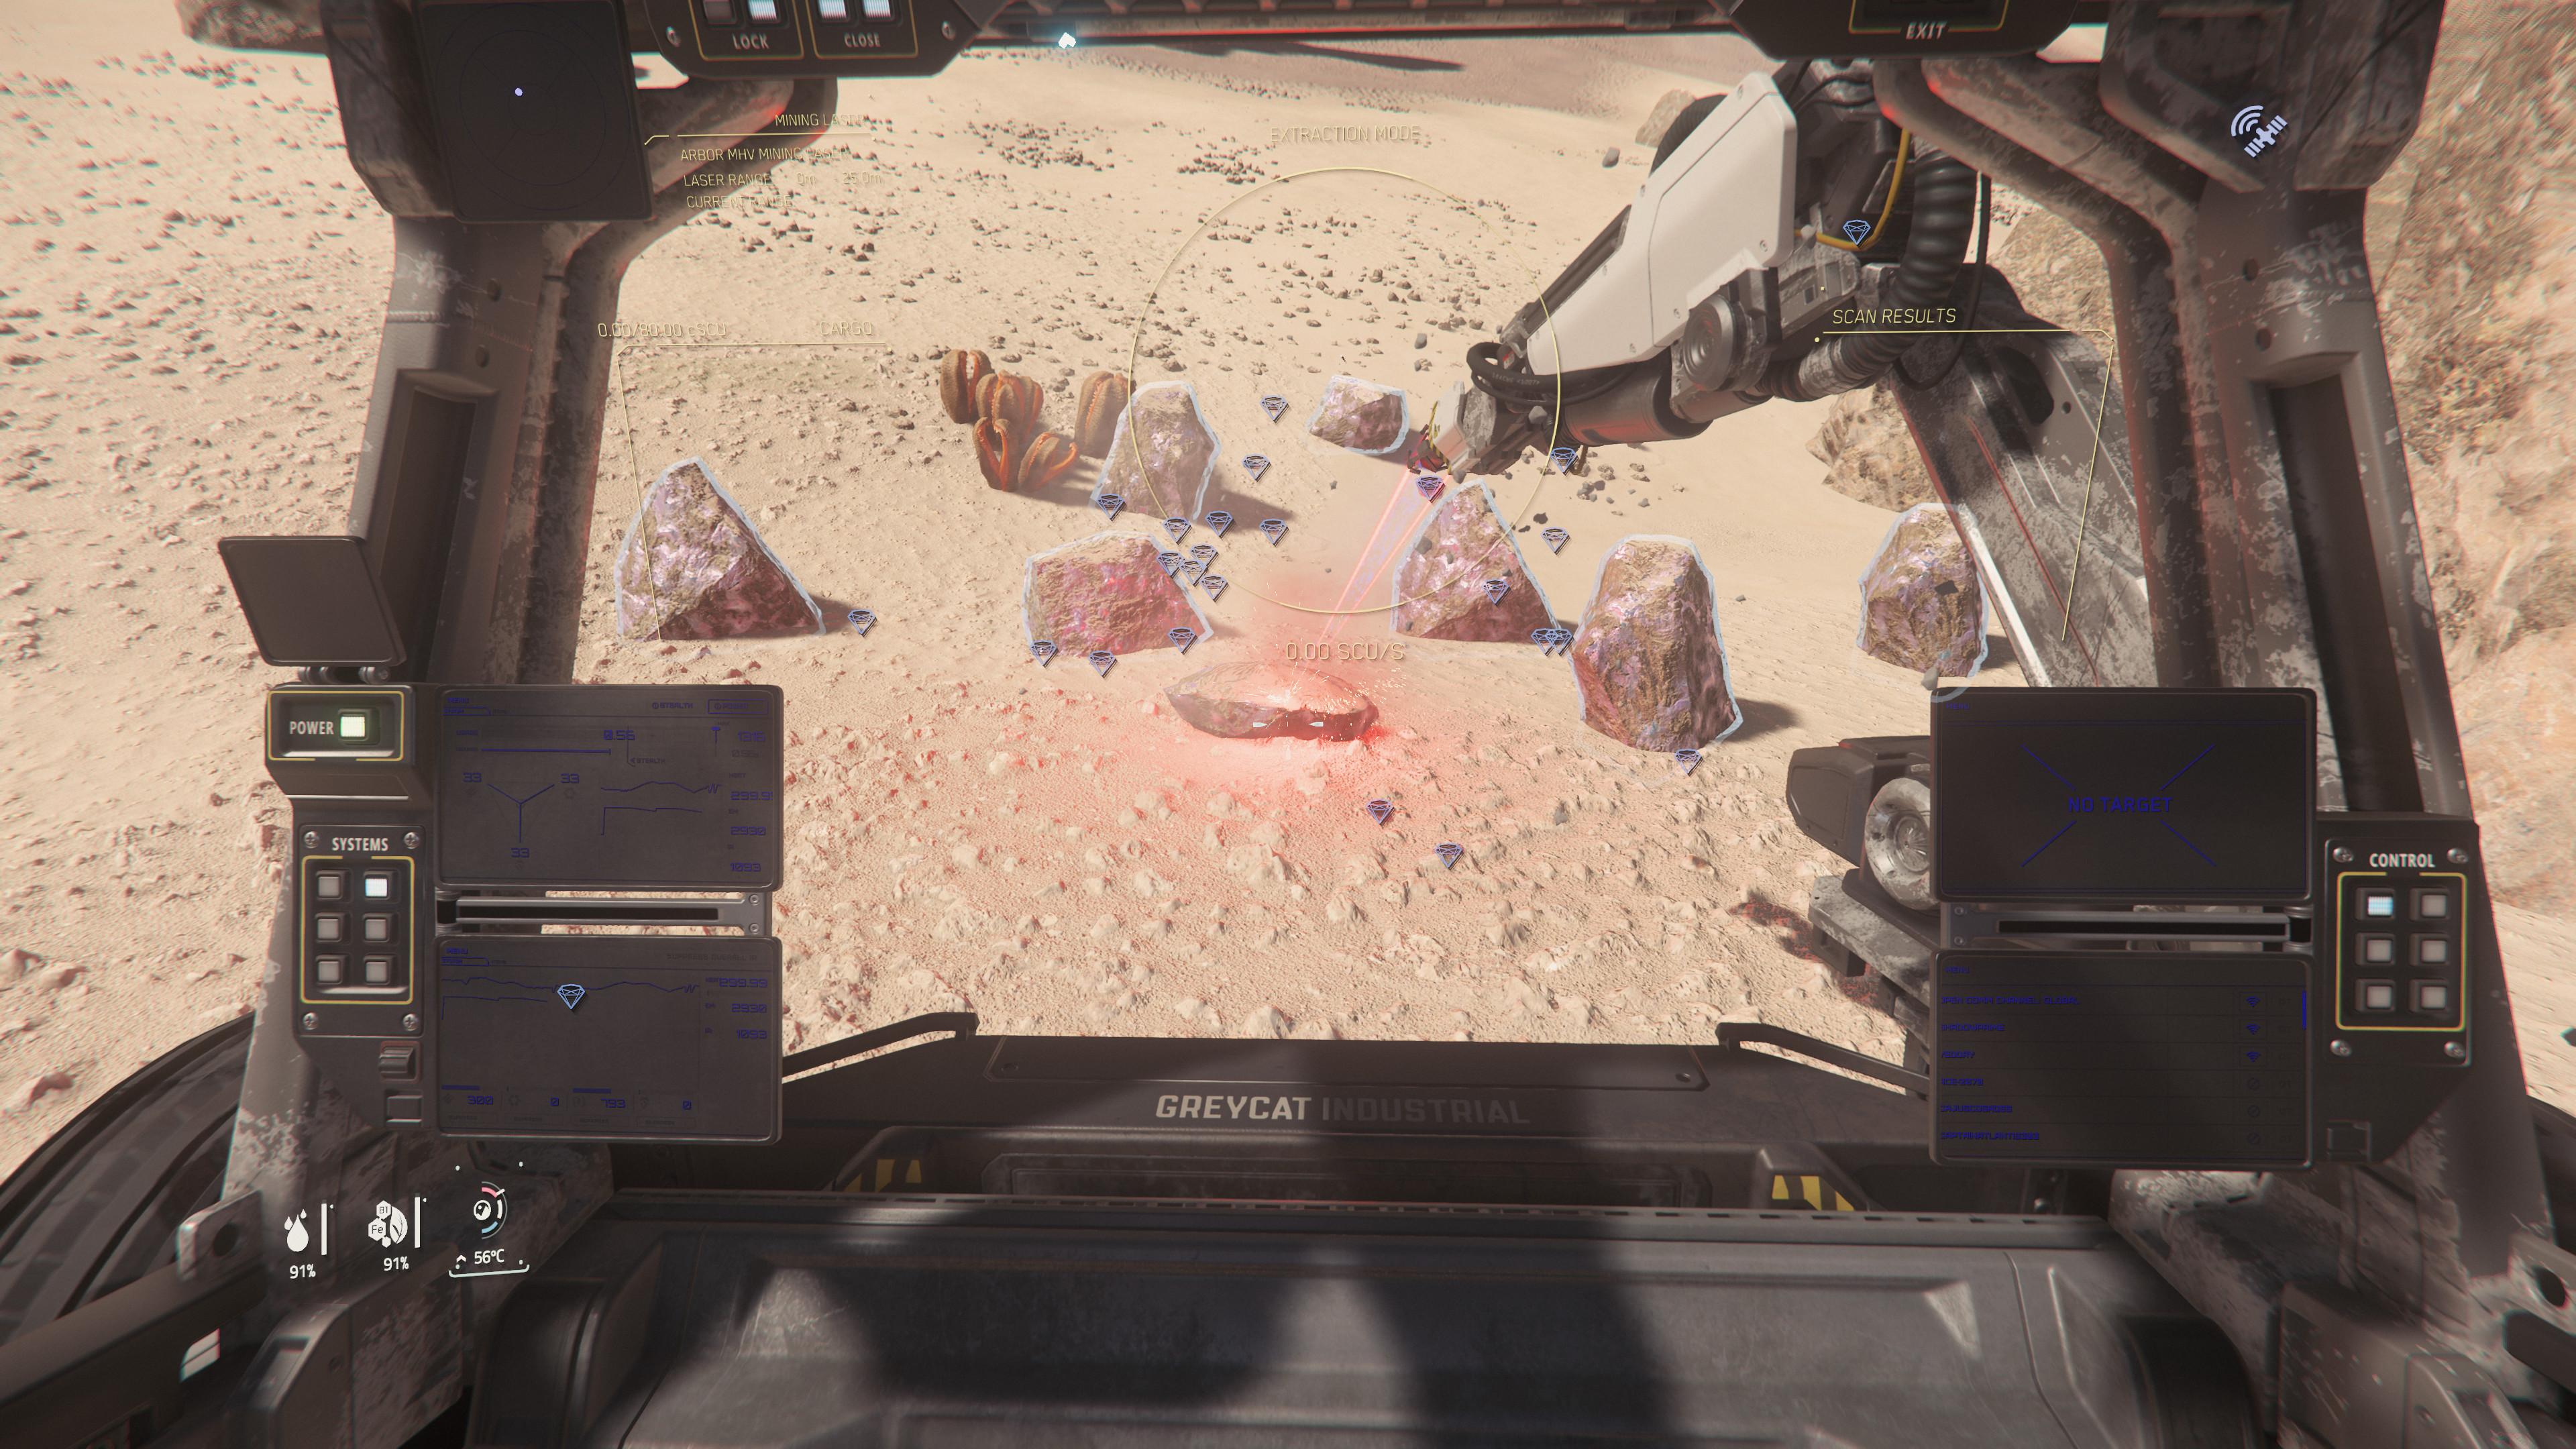
- Edelsteine aufsaugen im Extrahiermodus.jpg 3.840 × 2.160; 2 MB
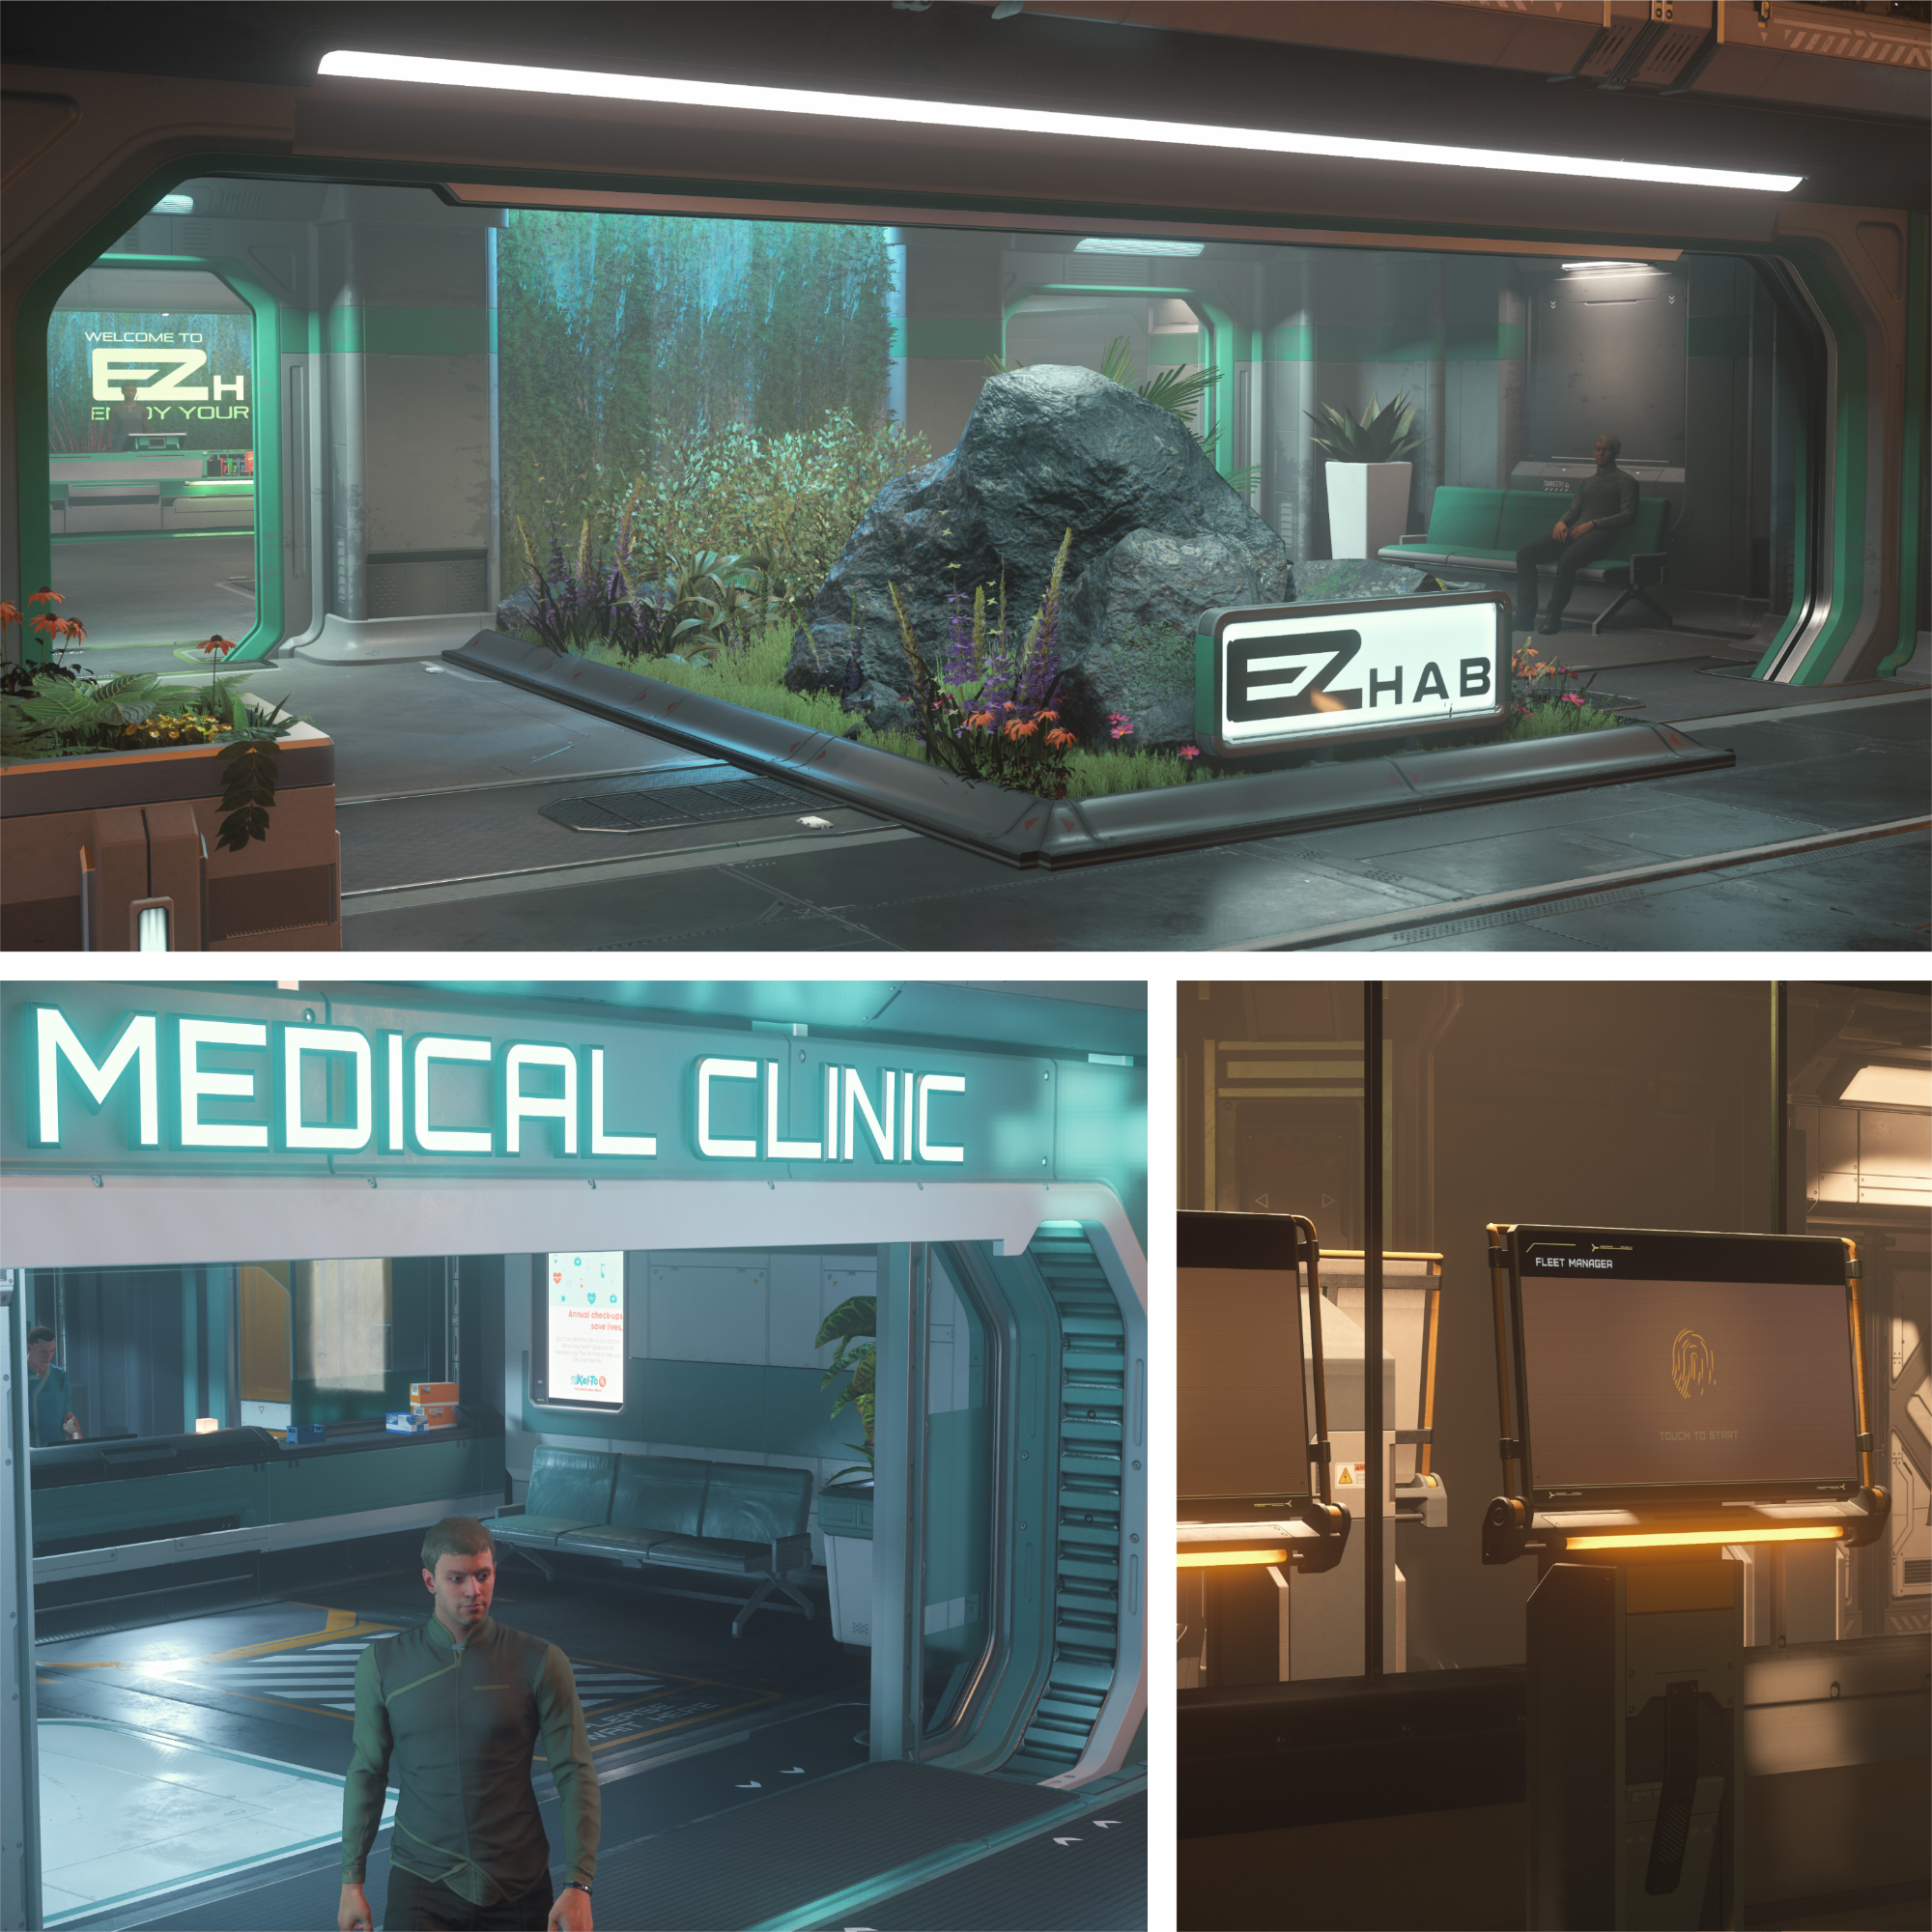
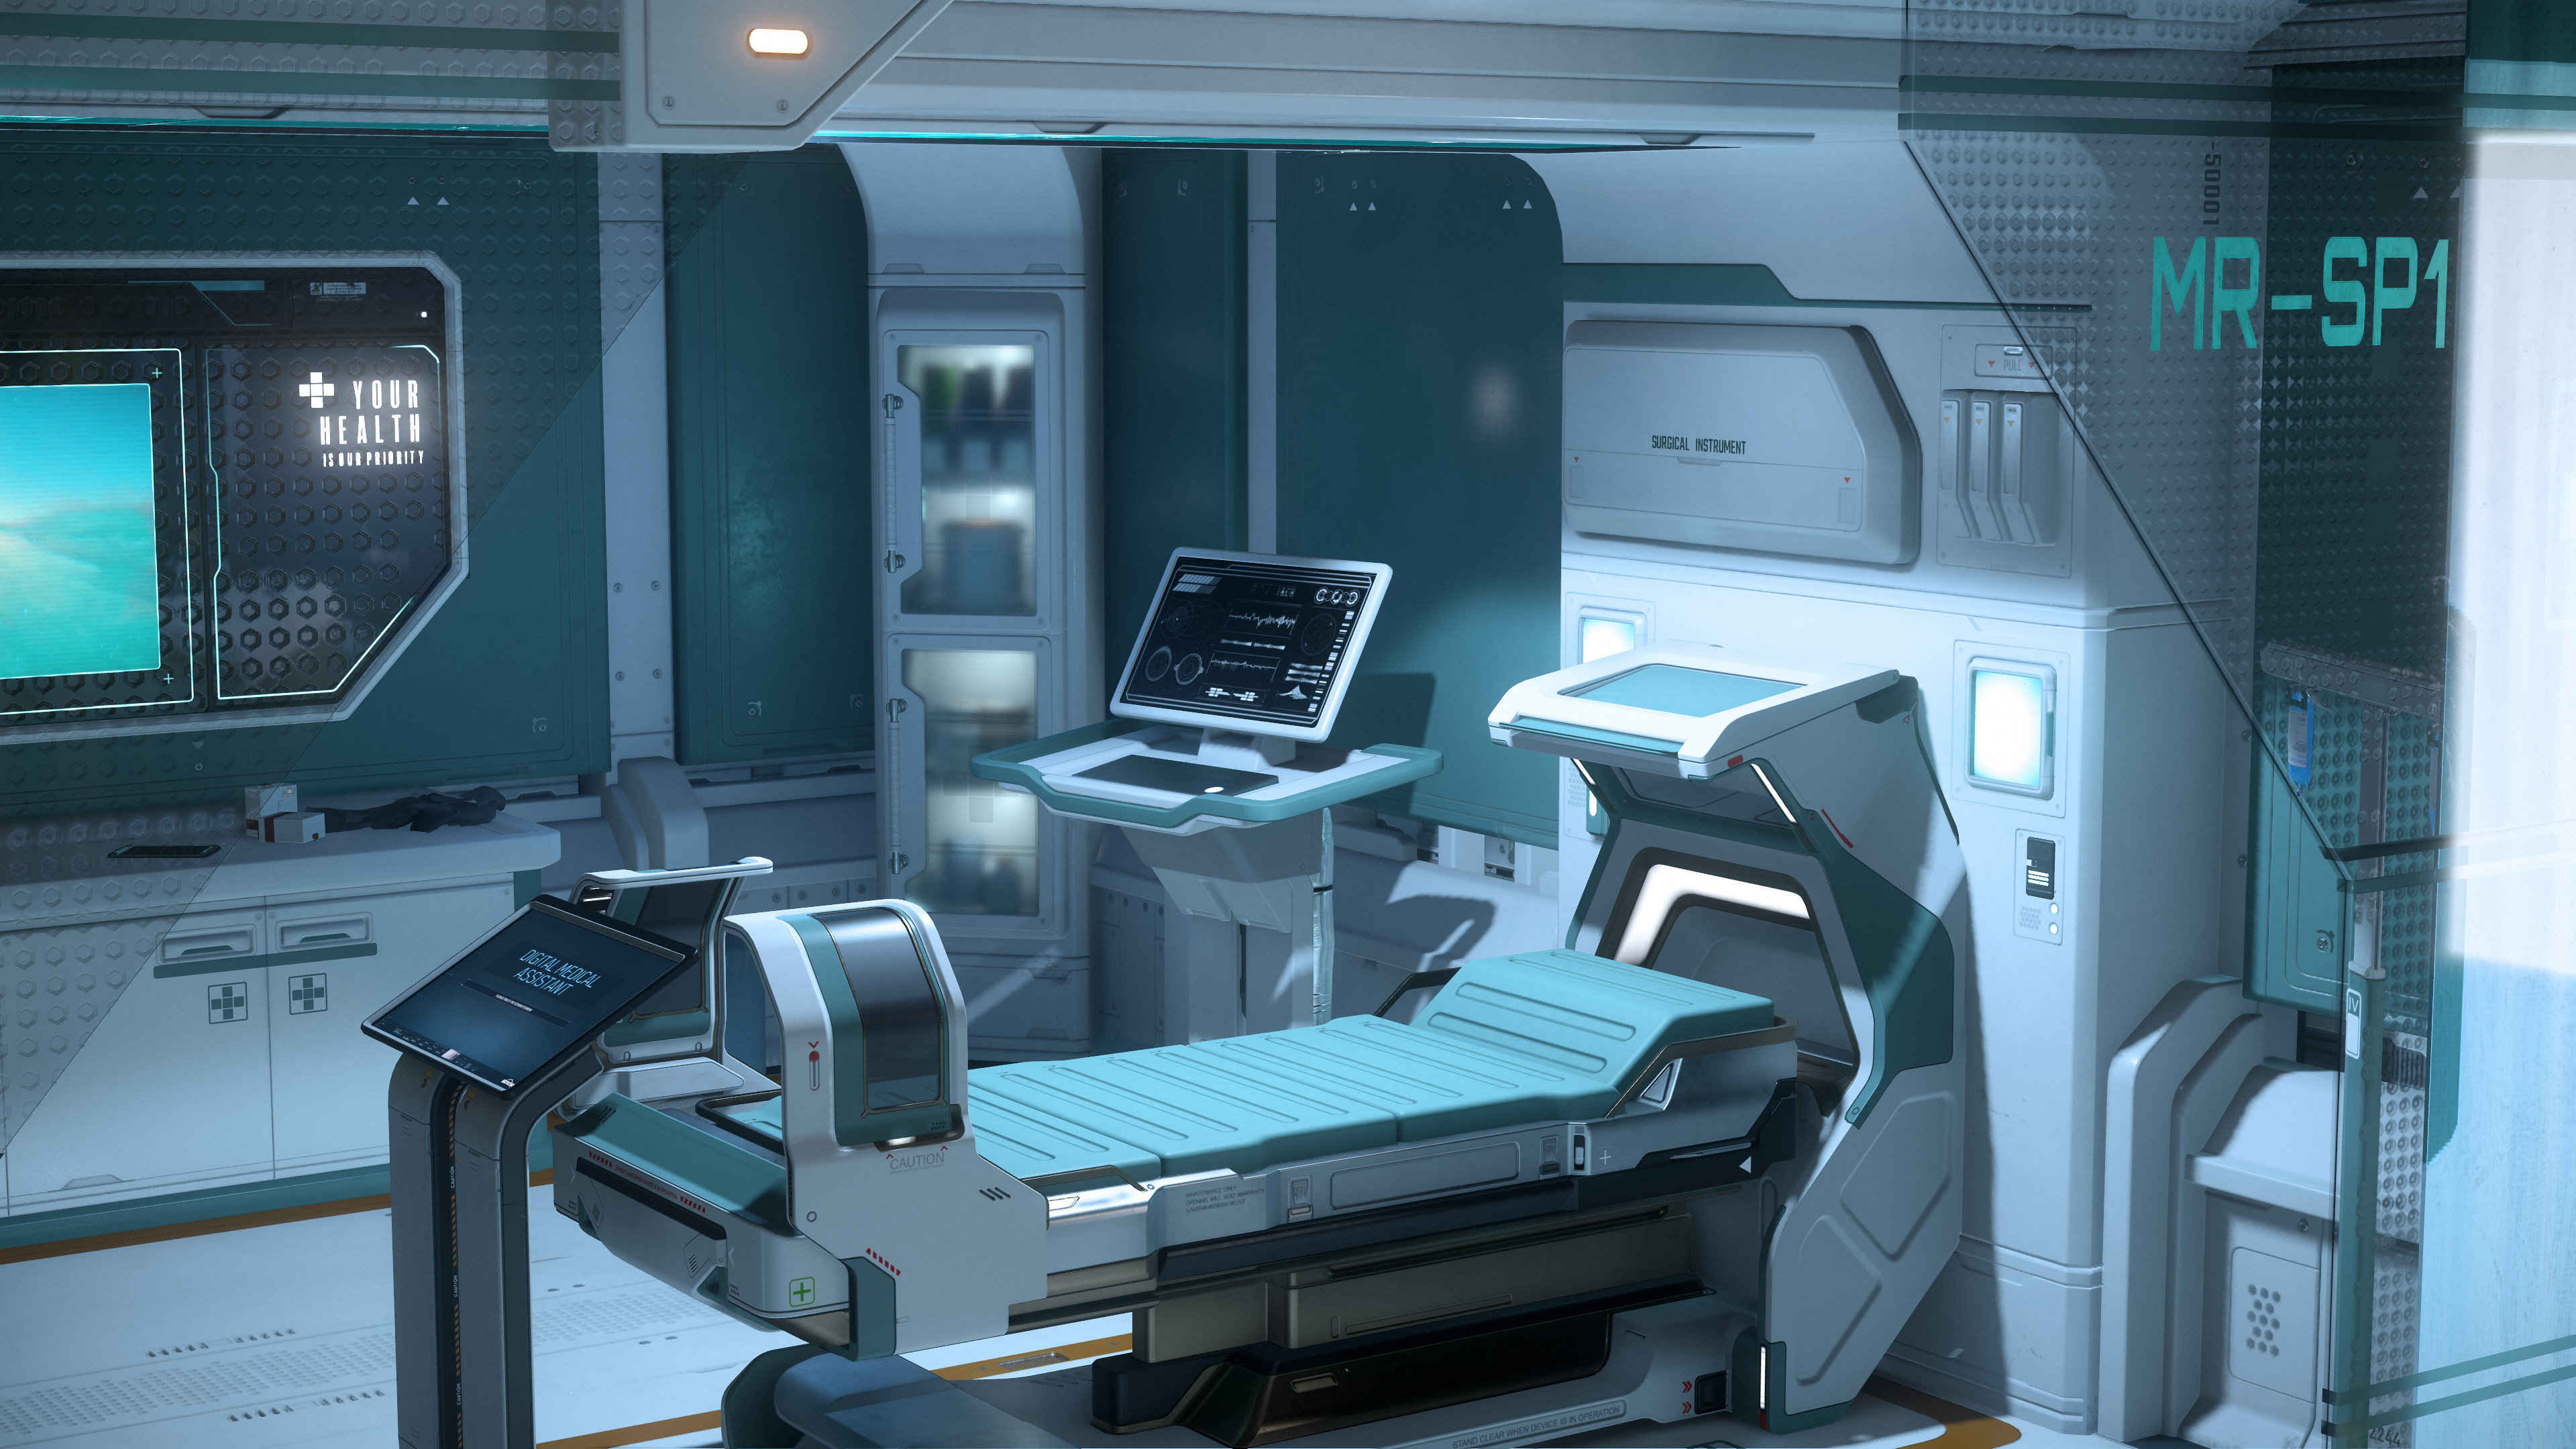
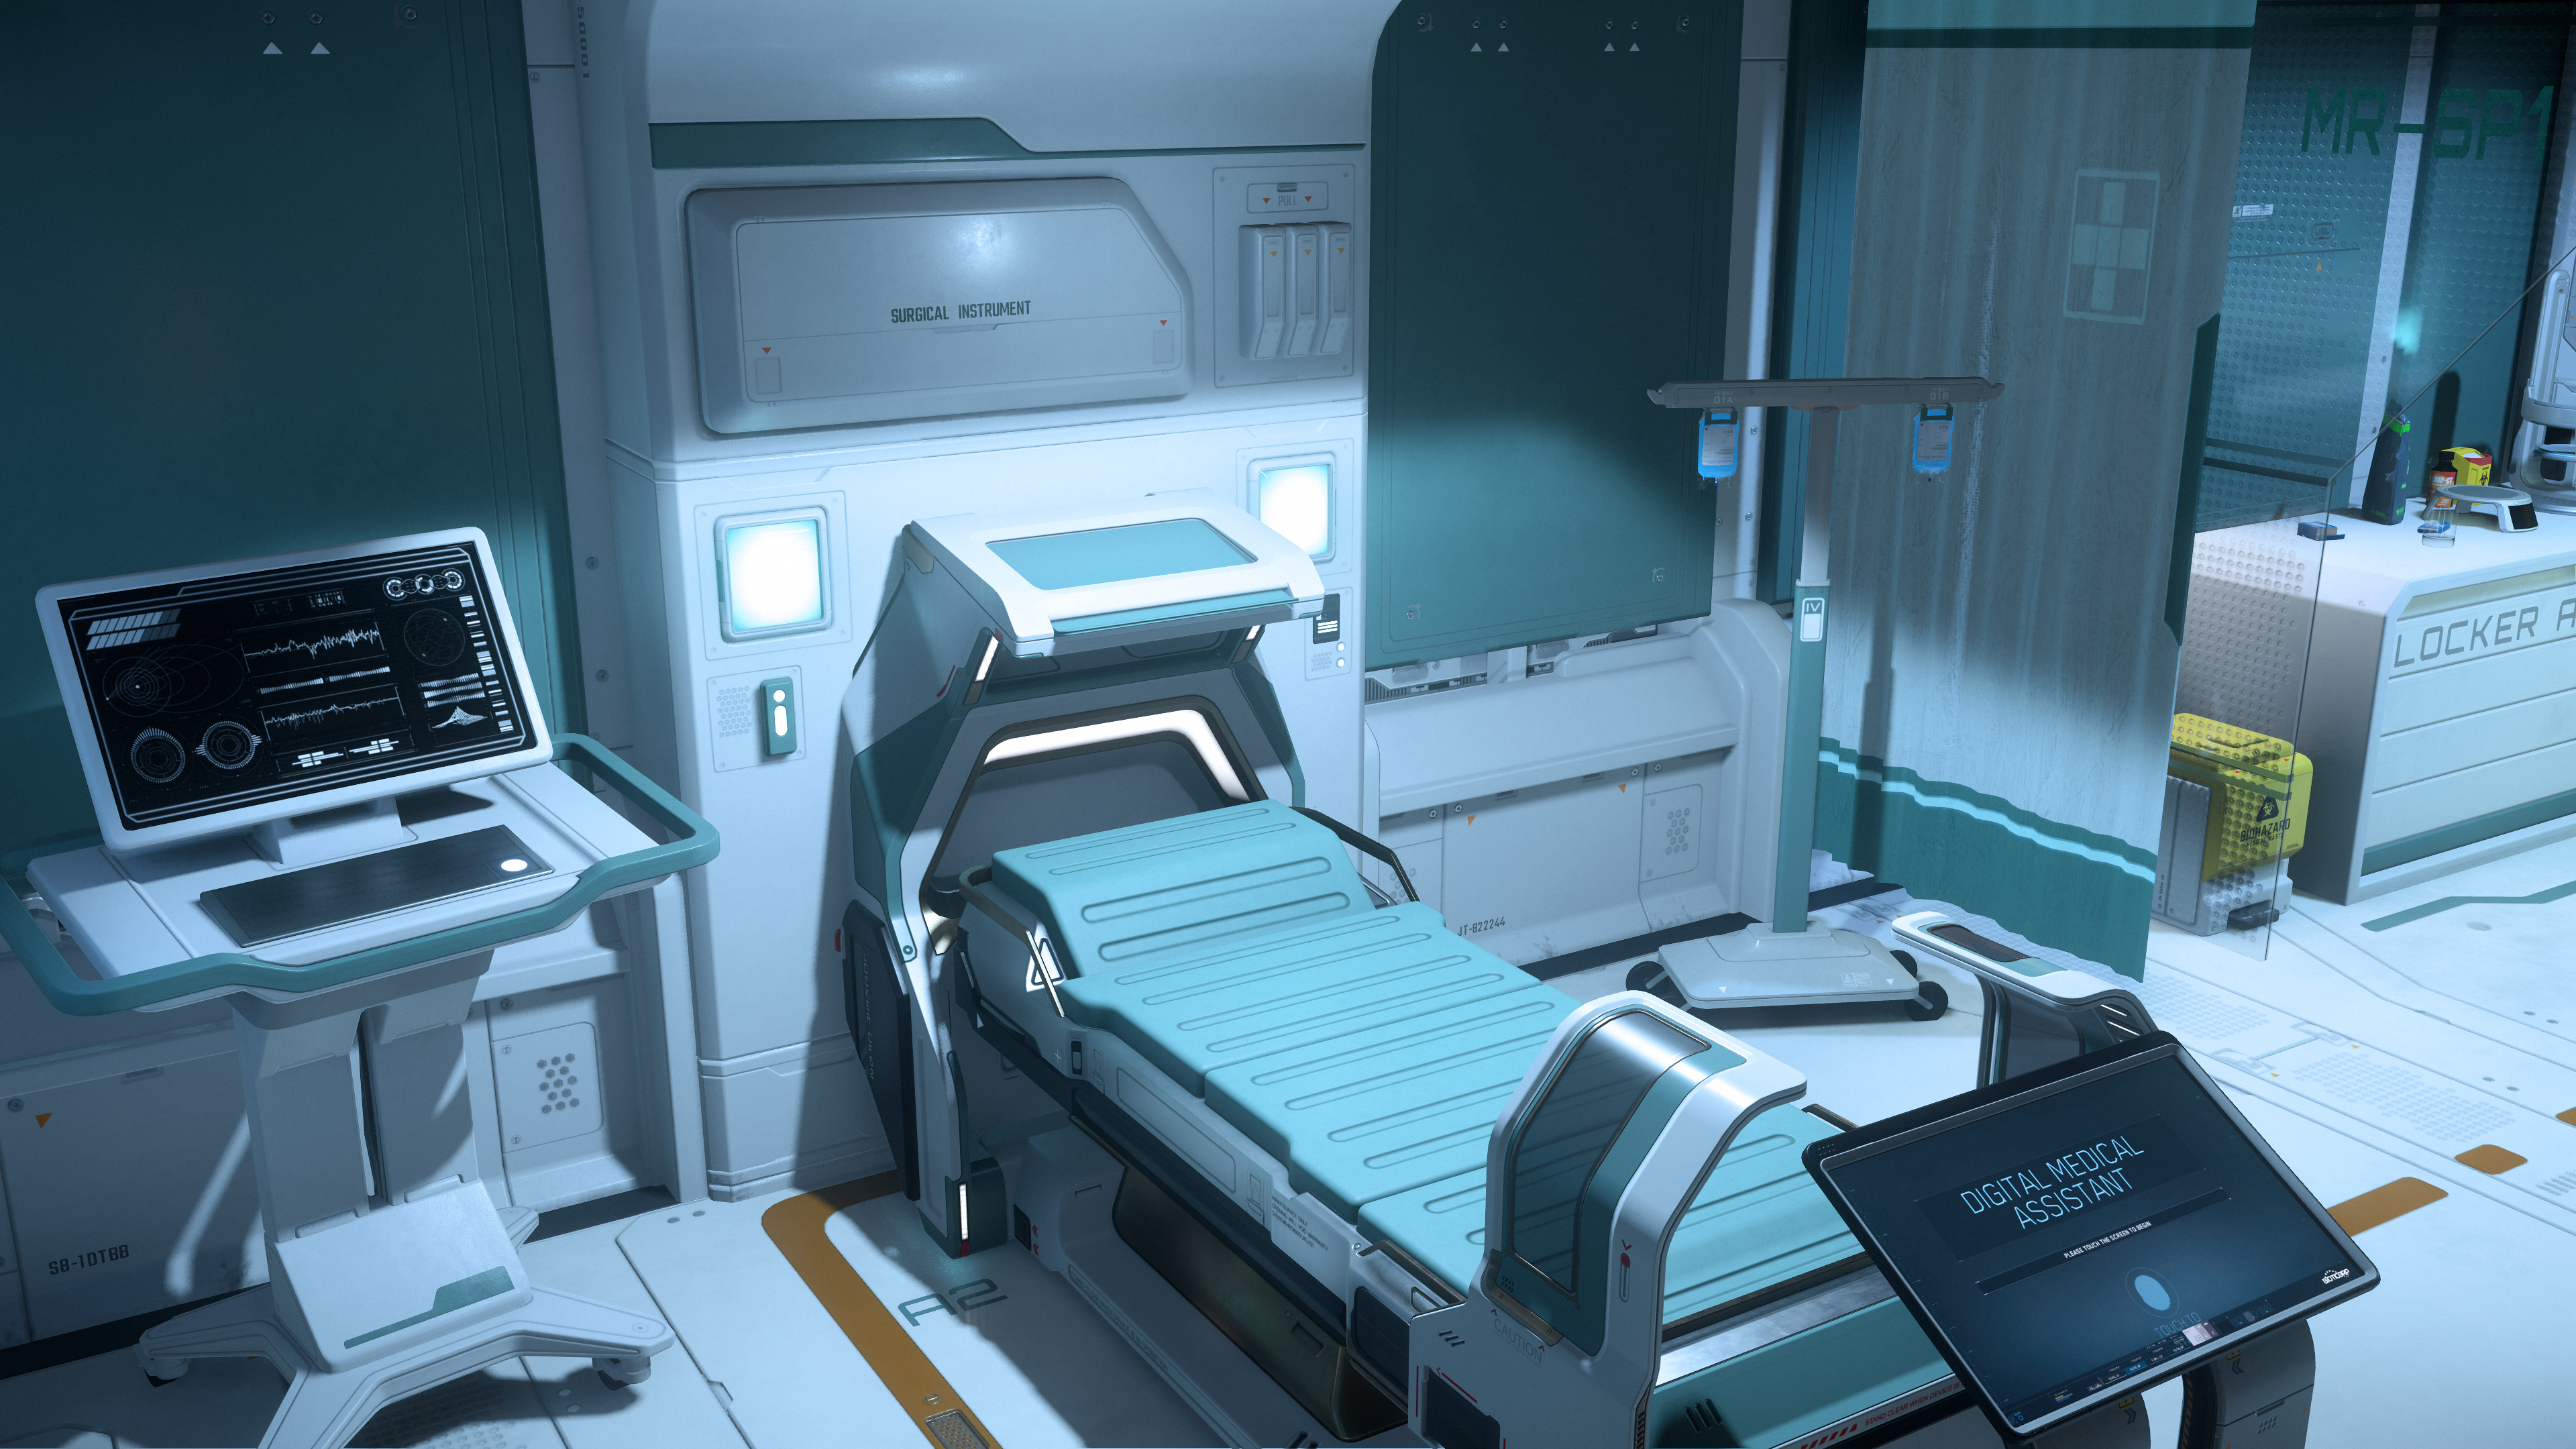
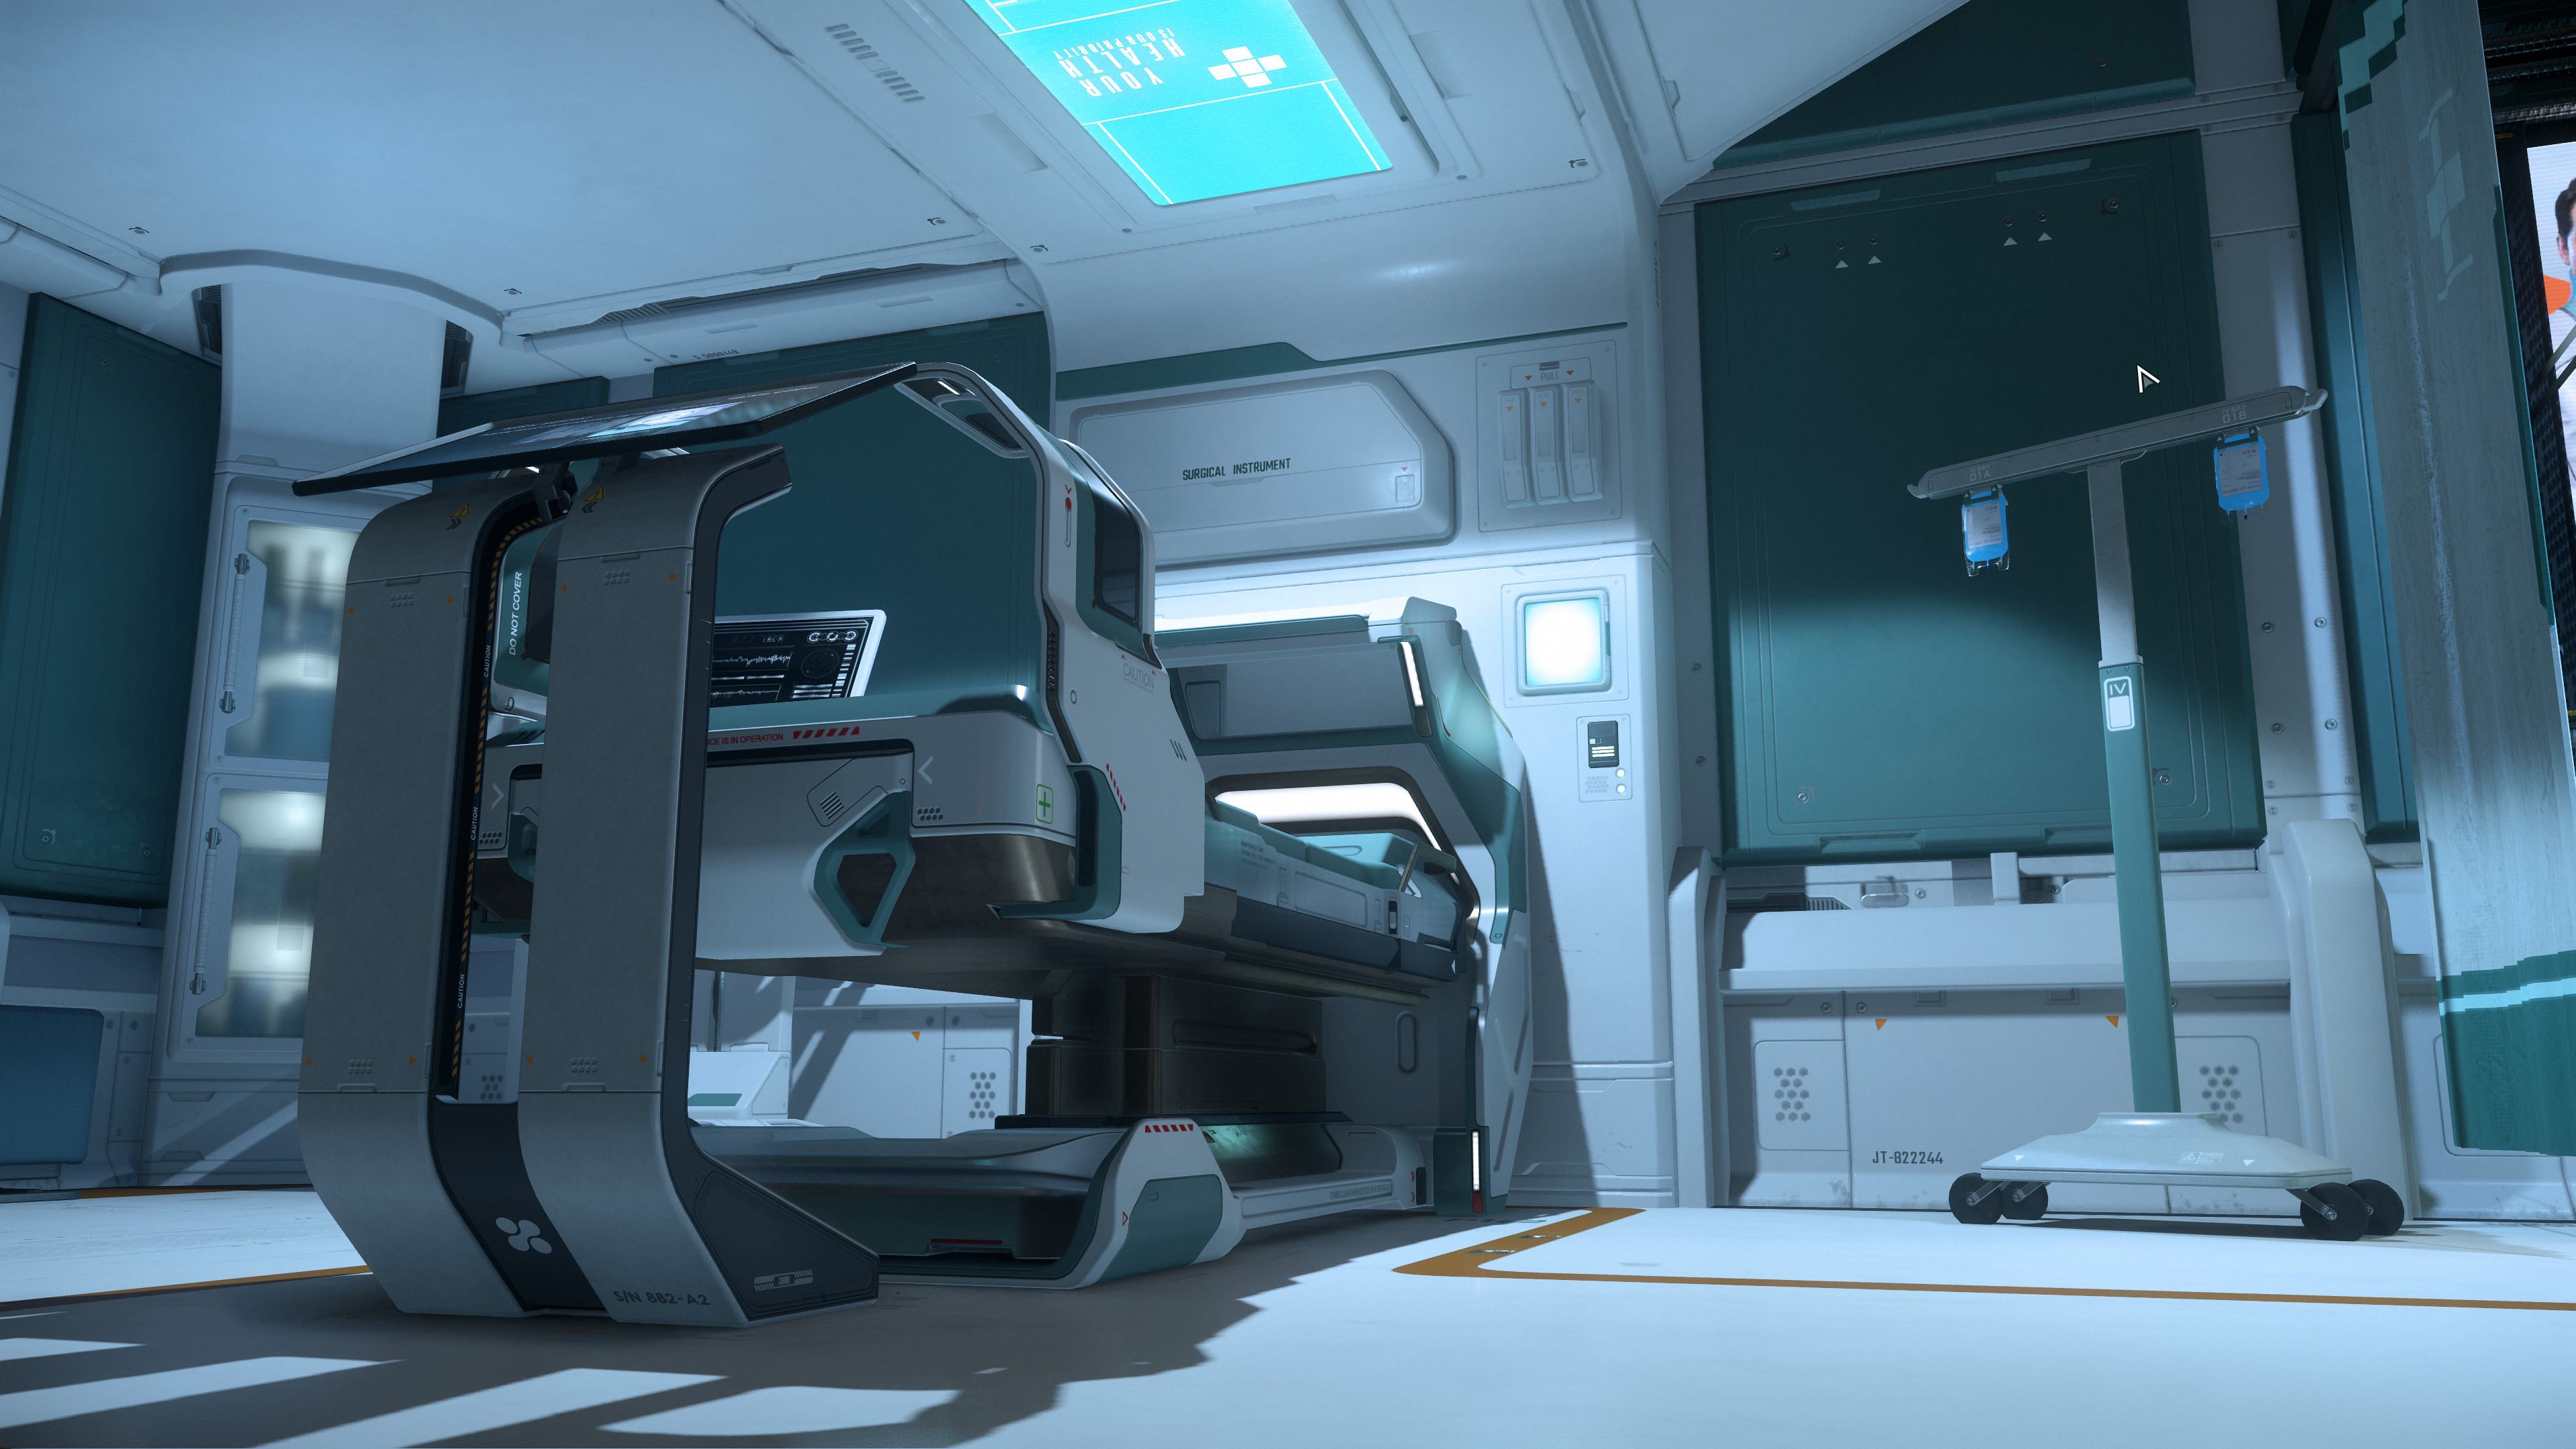
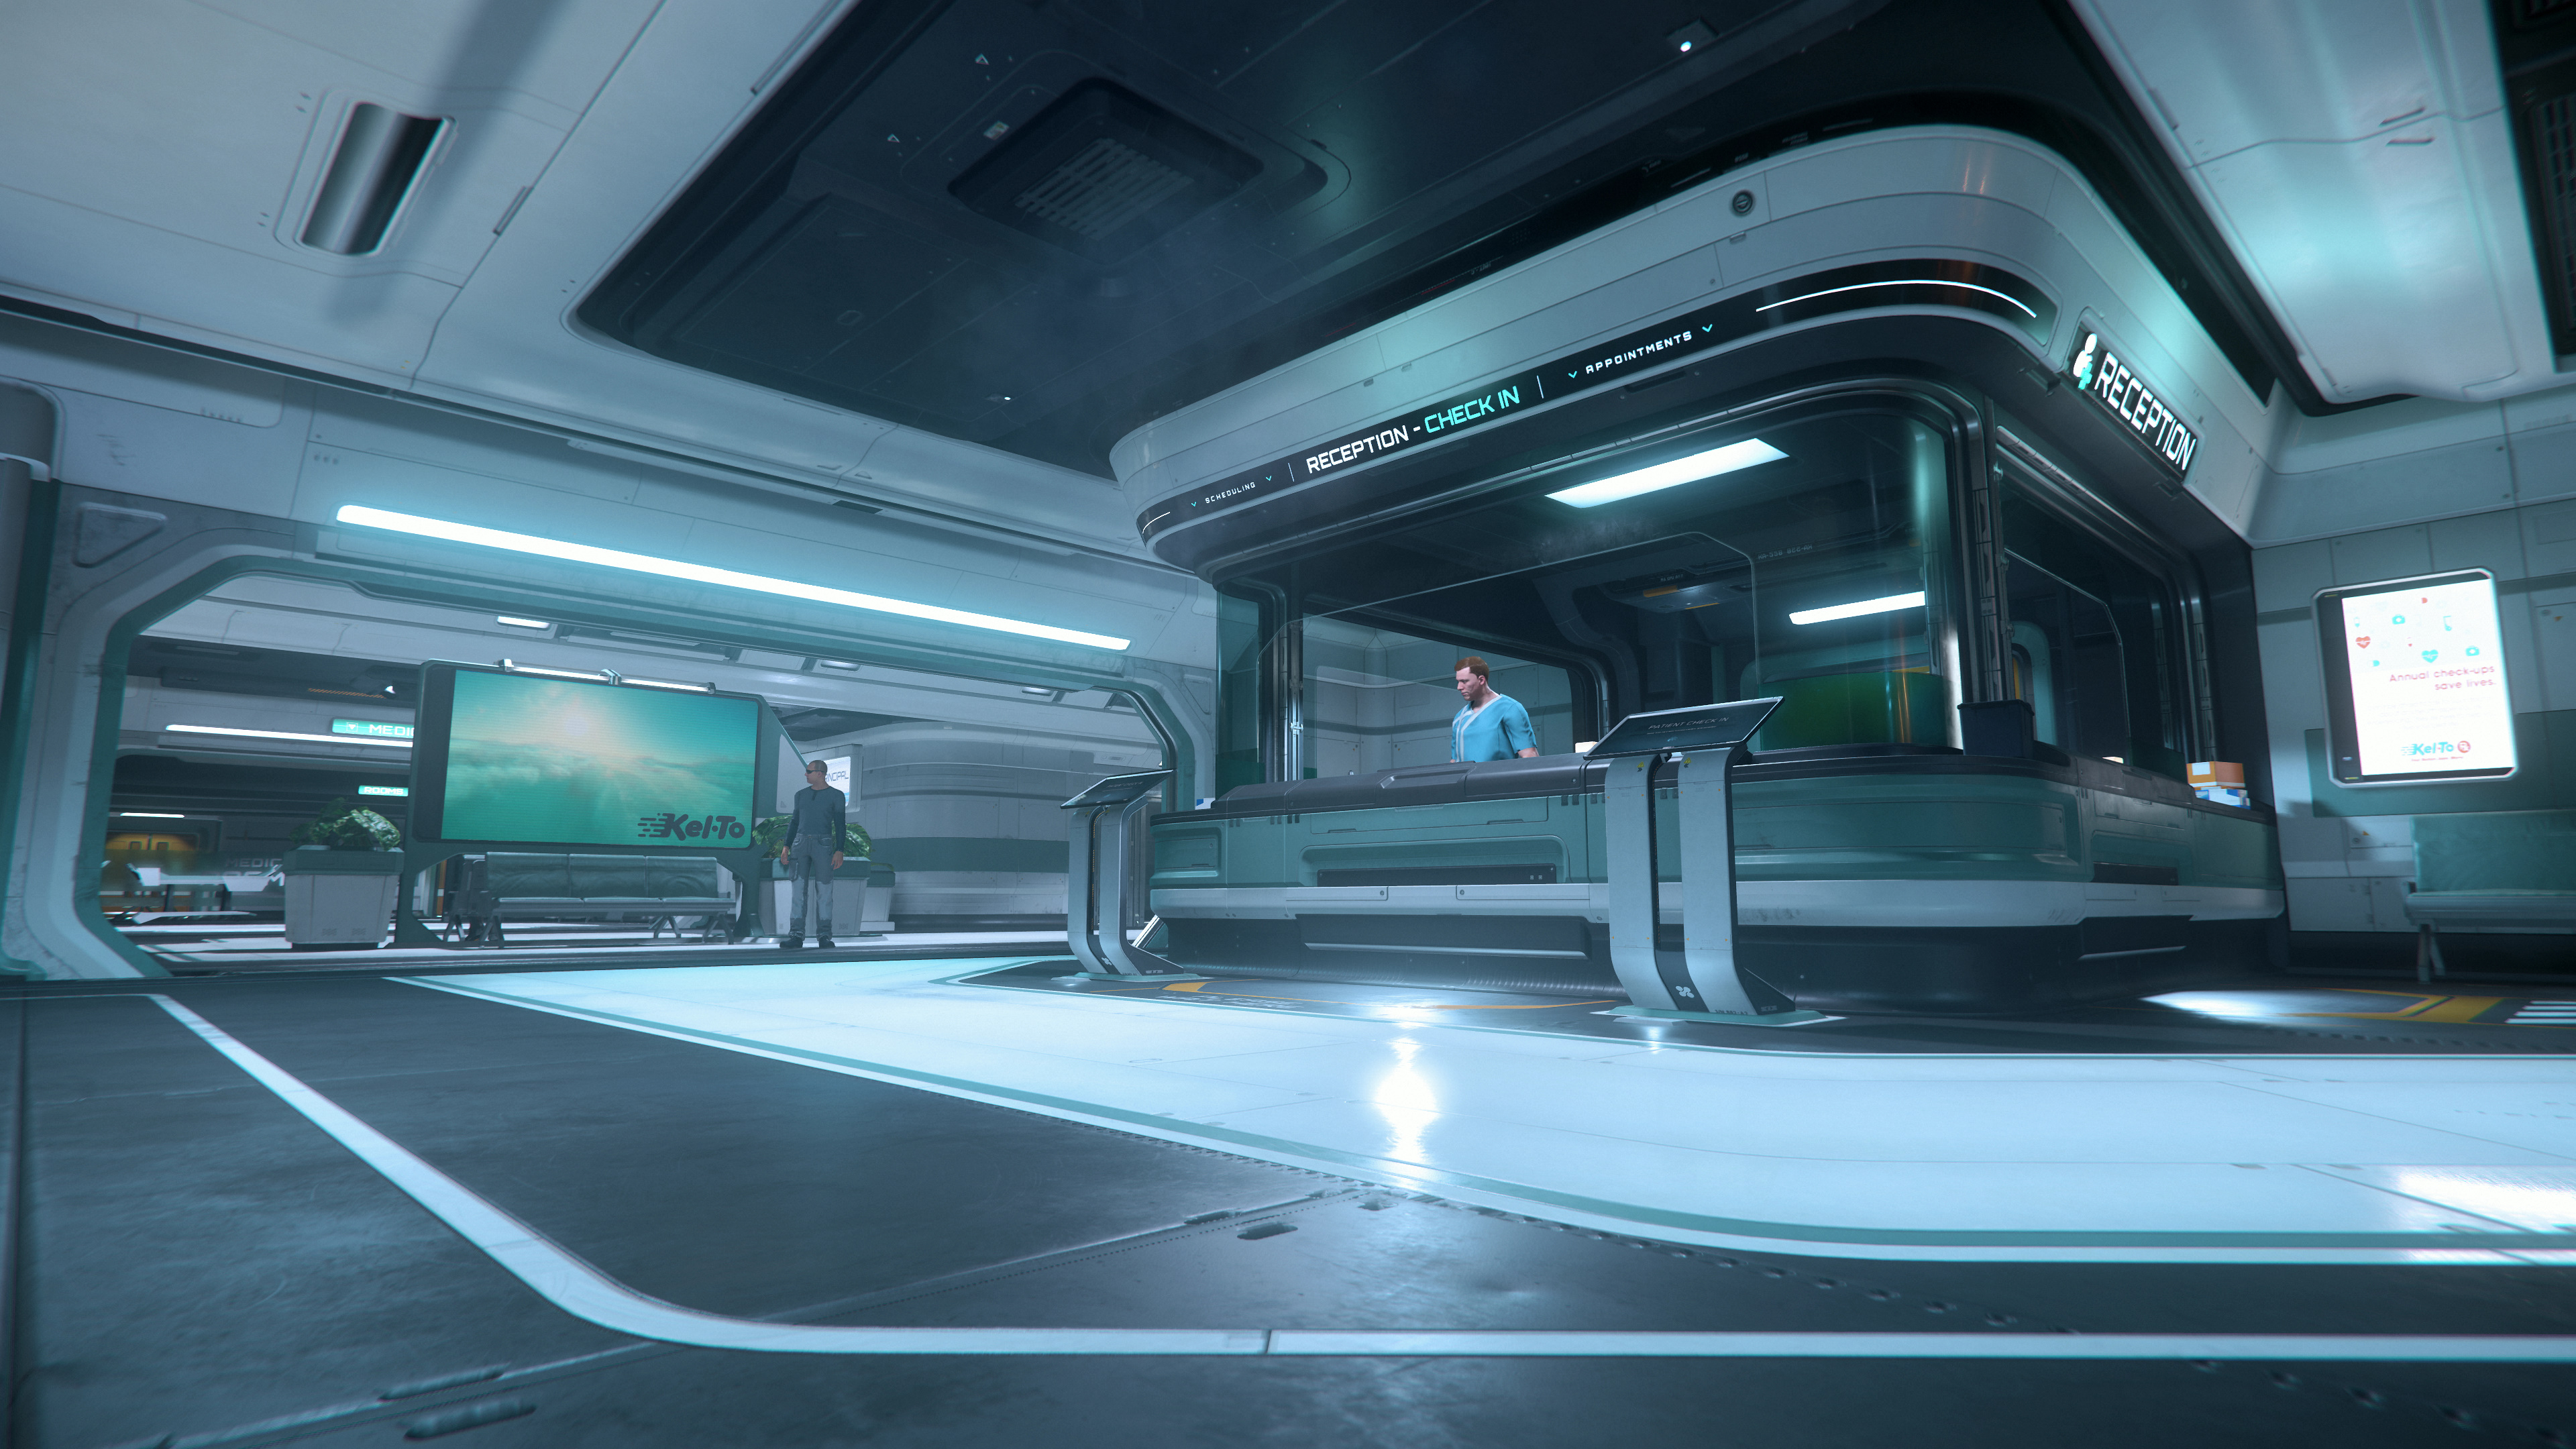
- Ein Behandlungszimmer in einer Klinik auf einer Raumstation (1).jpg 3.840 × 2.160; 1,53 MB
- Ein Behandlungszimmer in einer Klinik auf einer Raumstation (2).jpg 3.840 × 2.160; 1,33 MB
- Ein Behandlungszimmer in einer Klinik auf einer Raumstation (3).jpg 3.840 × 2.160; 1,32 MB
- Ein Behandlungszimmer in einer Klinik auf einer Raumstation (4).jpg 3.840 × 2.160; 1,48 MB
- Ein Behandlungszimmer in einer Klinik auf einer Raumstation (5).jpg 3.840 × 2.160; 1,28 MB
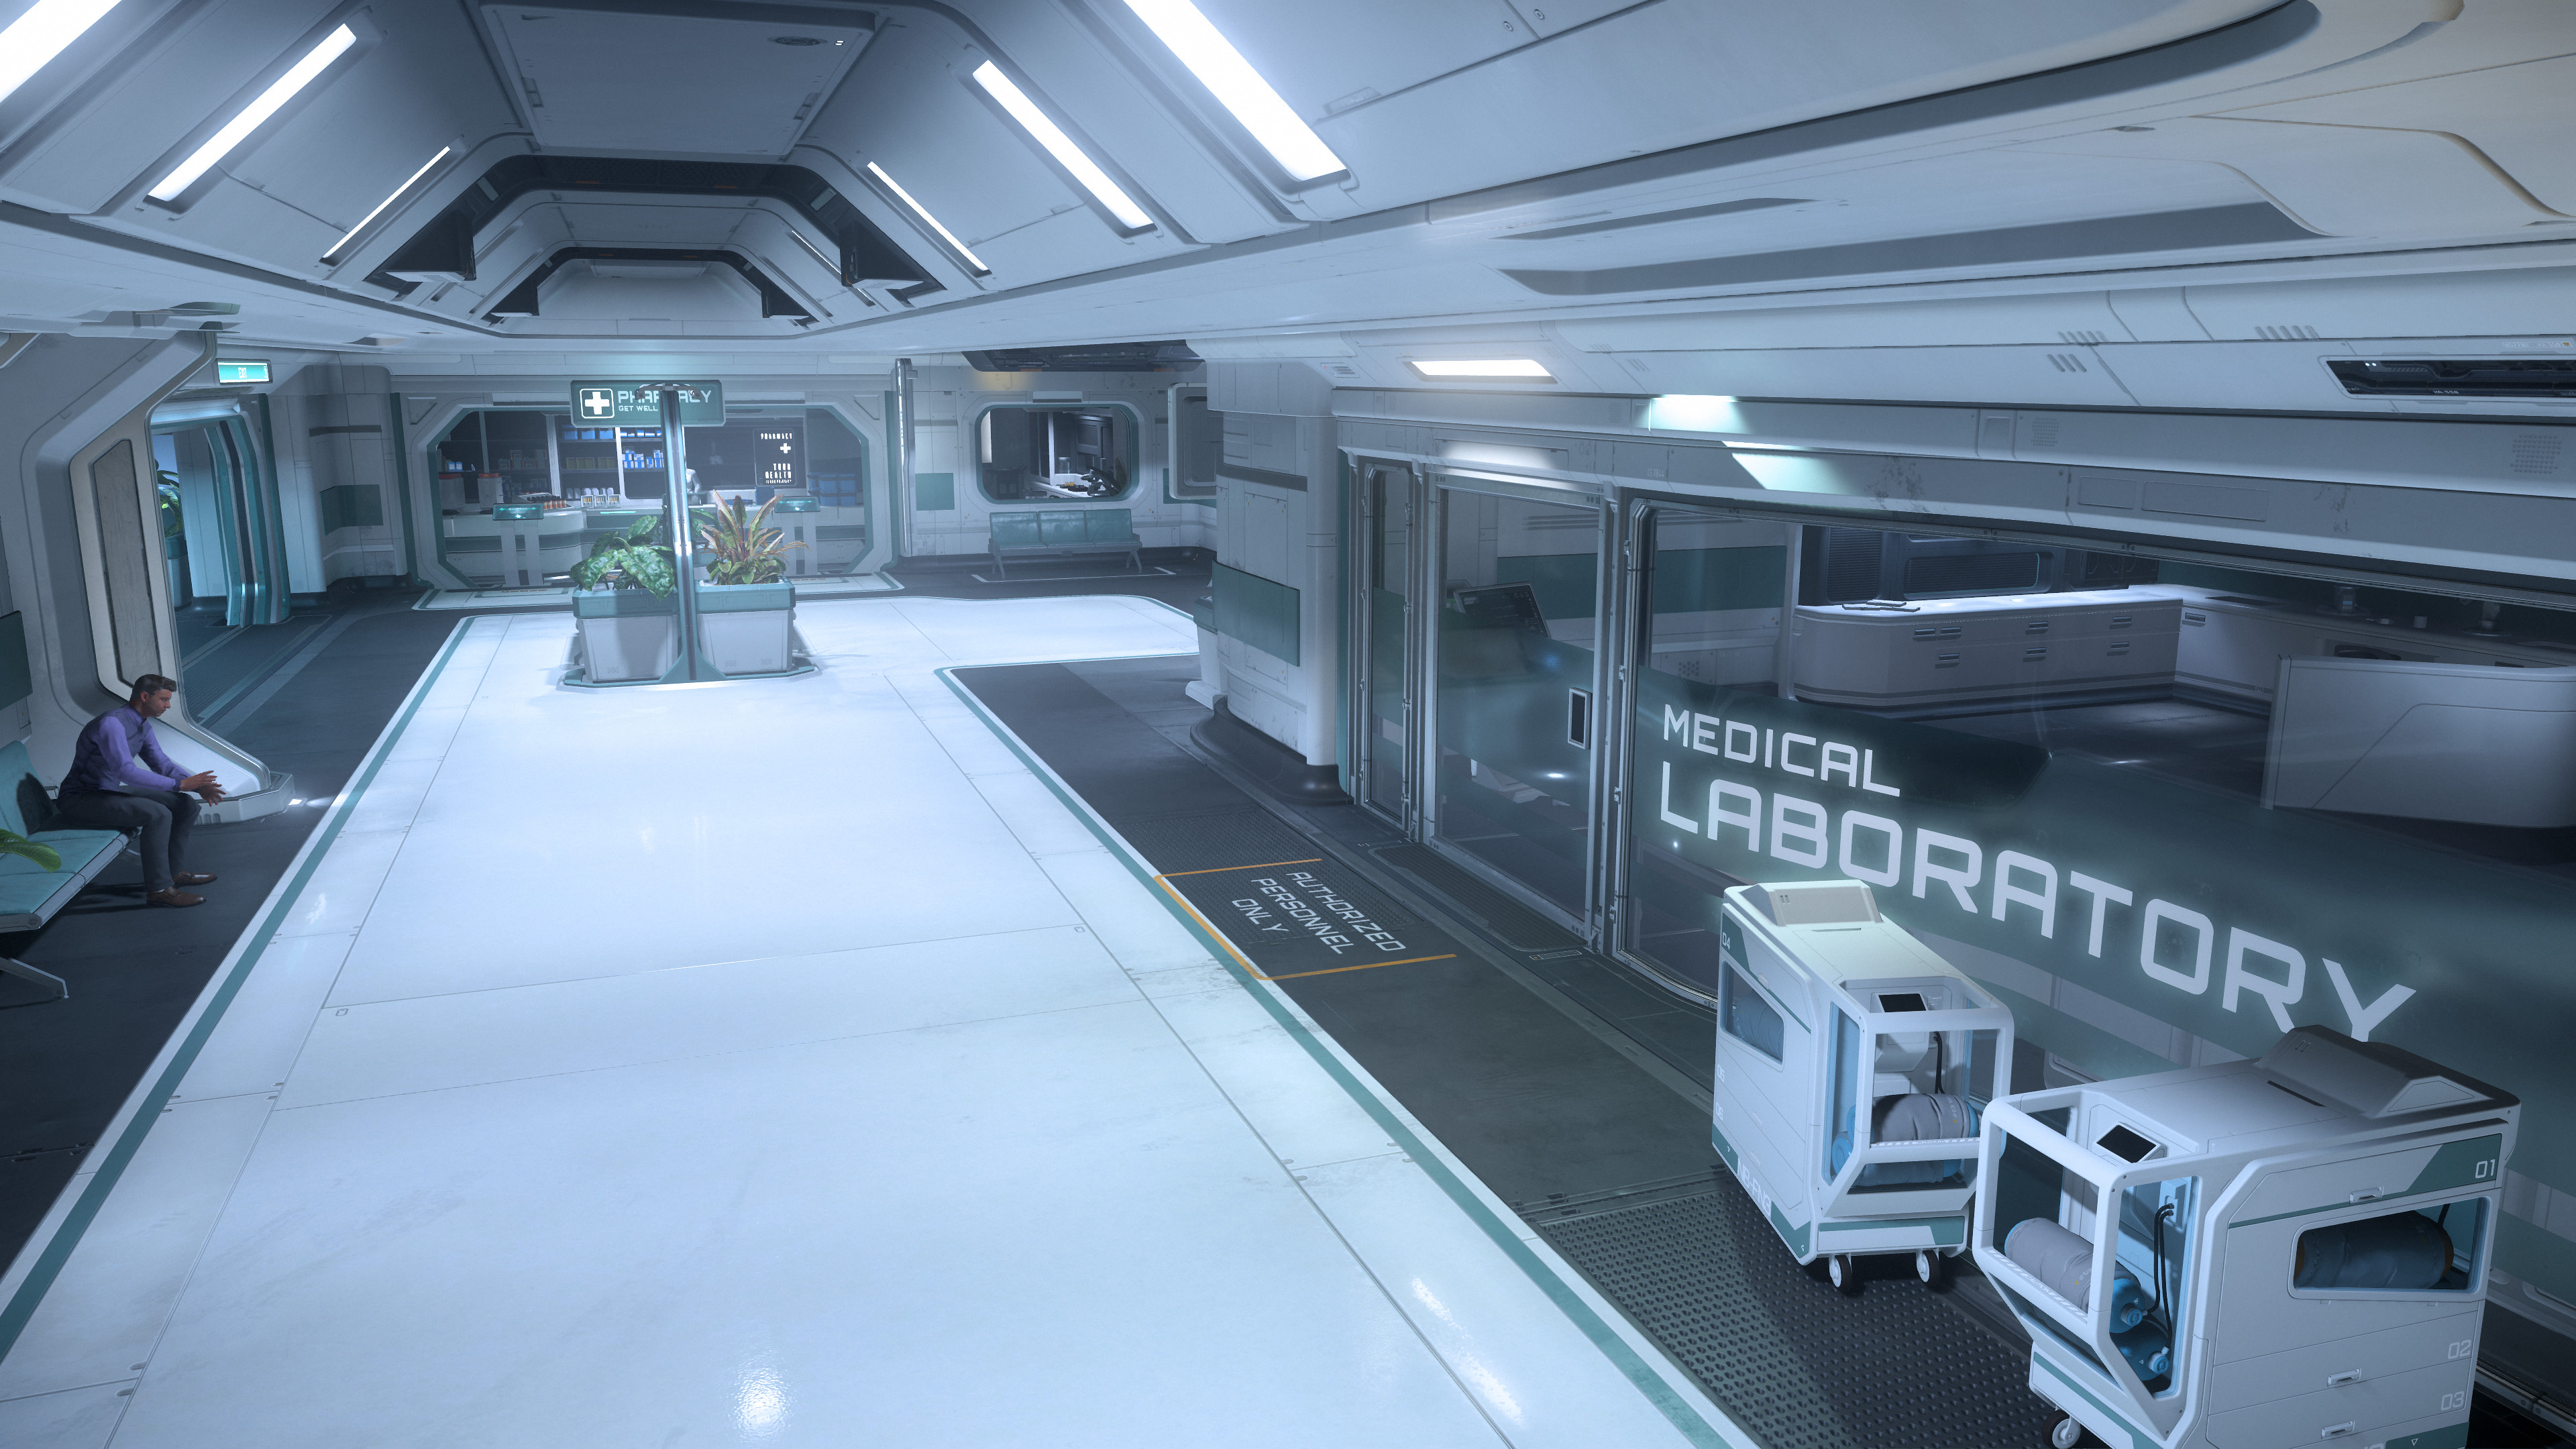
- Eingangsbereich zum Labor einer Klinik auf einer Raumstation.jpg 3.840 × 2.160; 1,41 MB
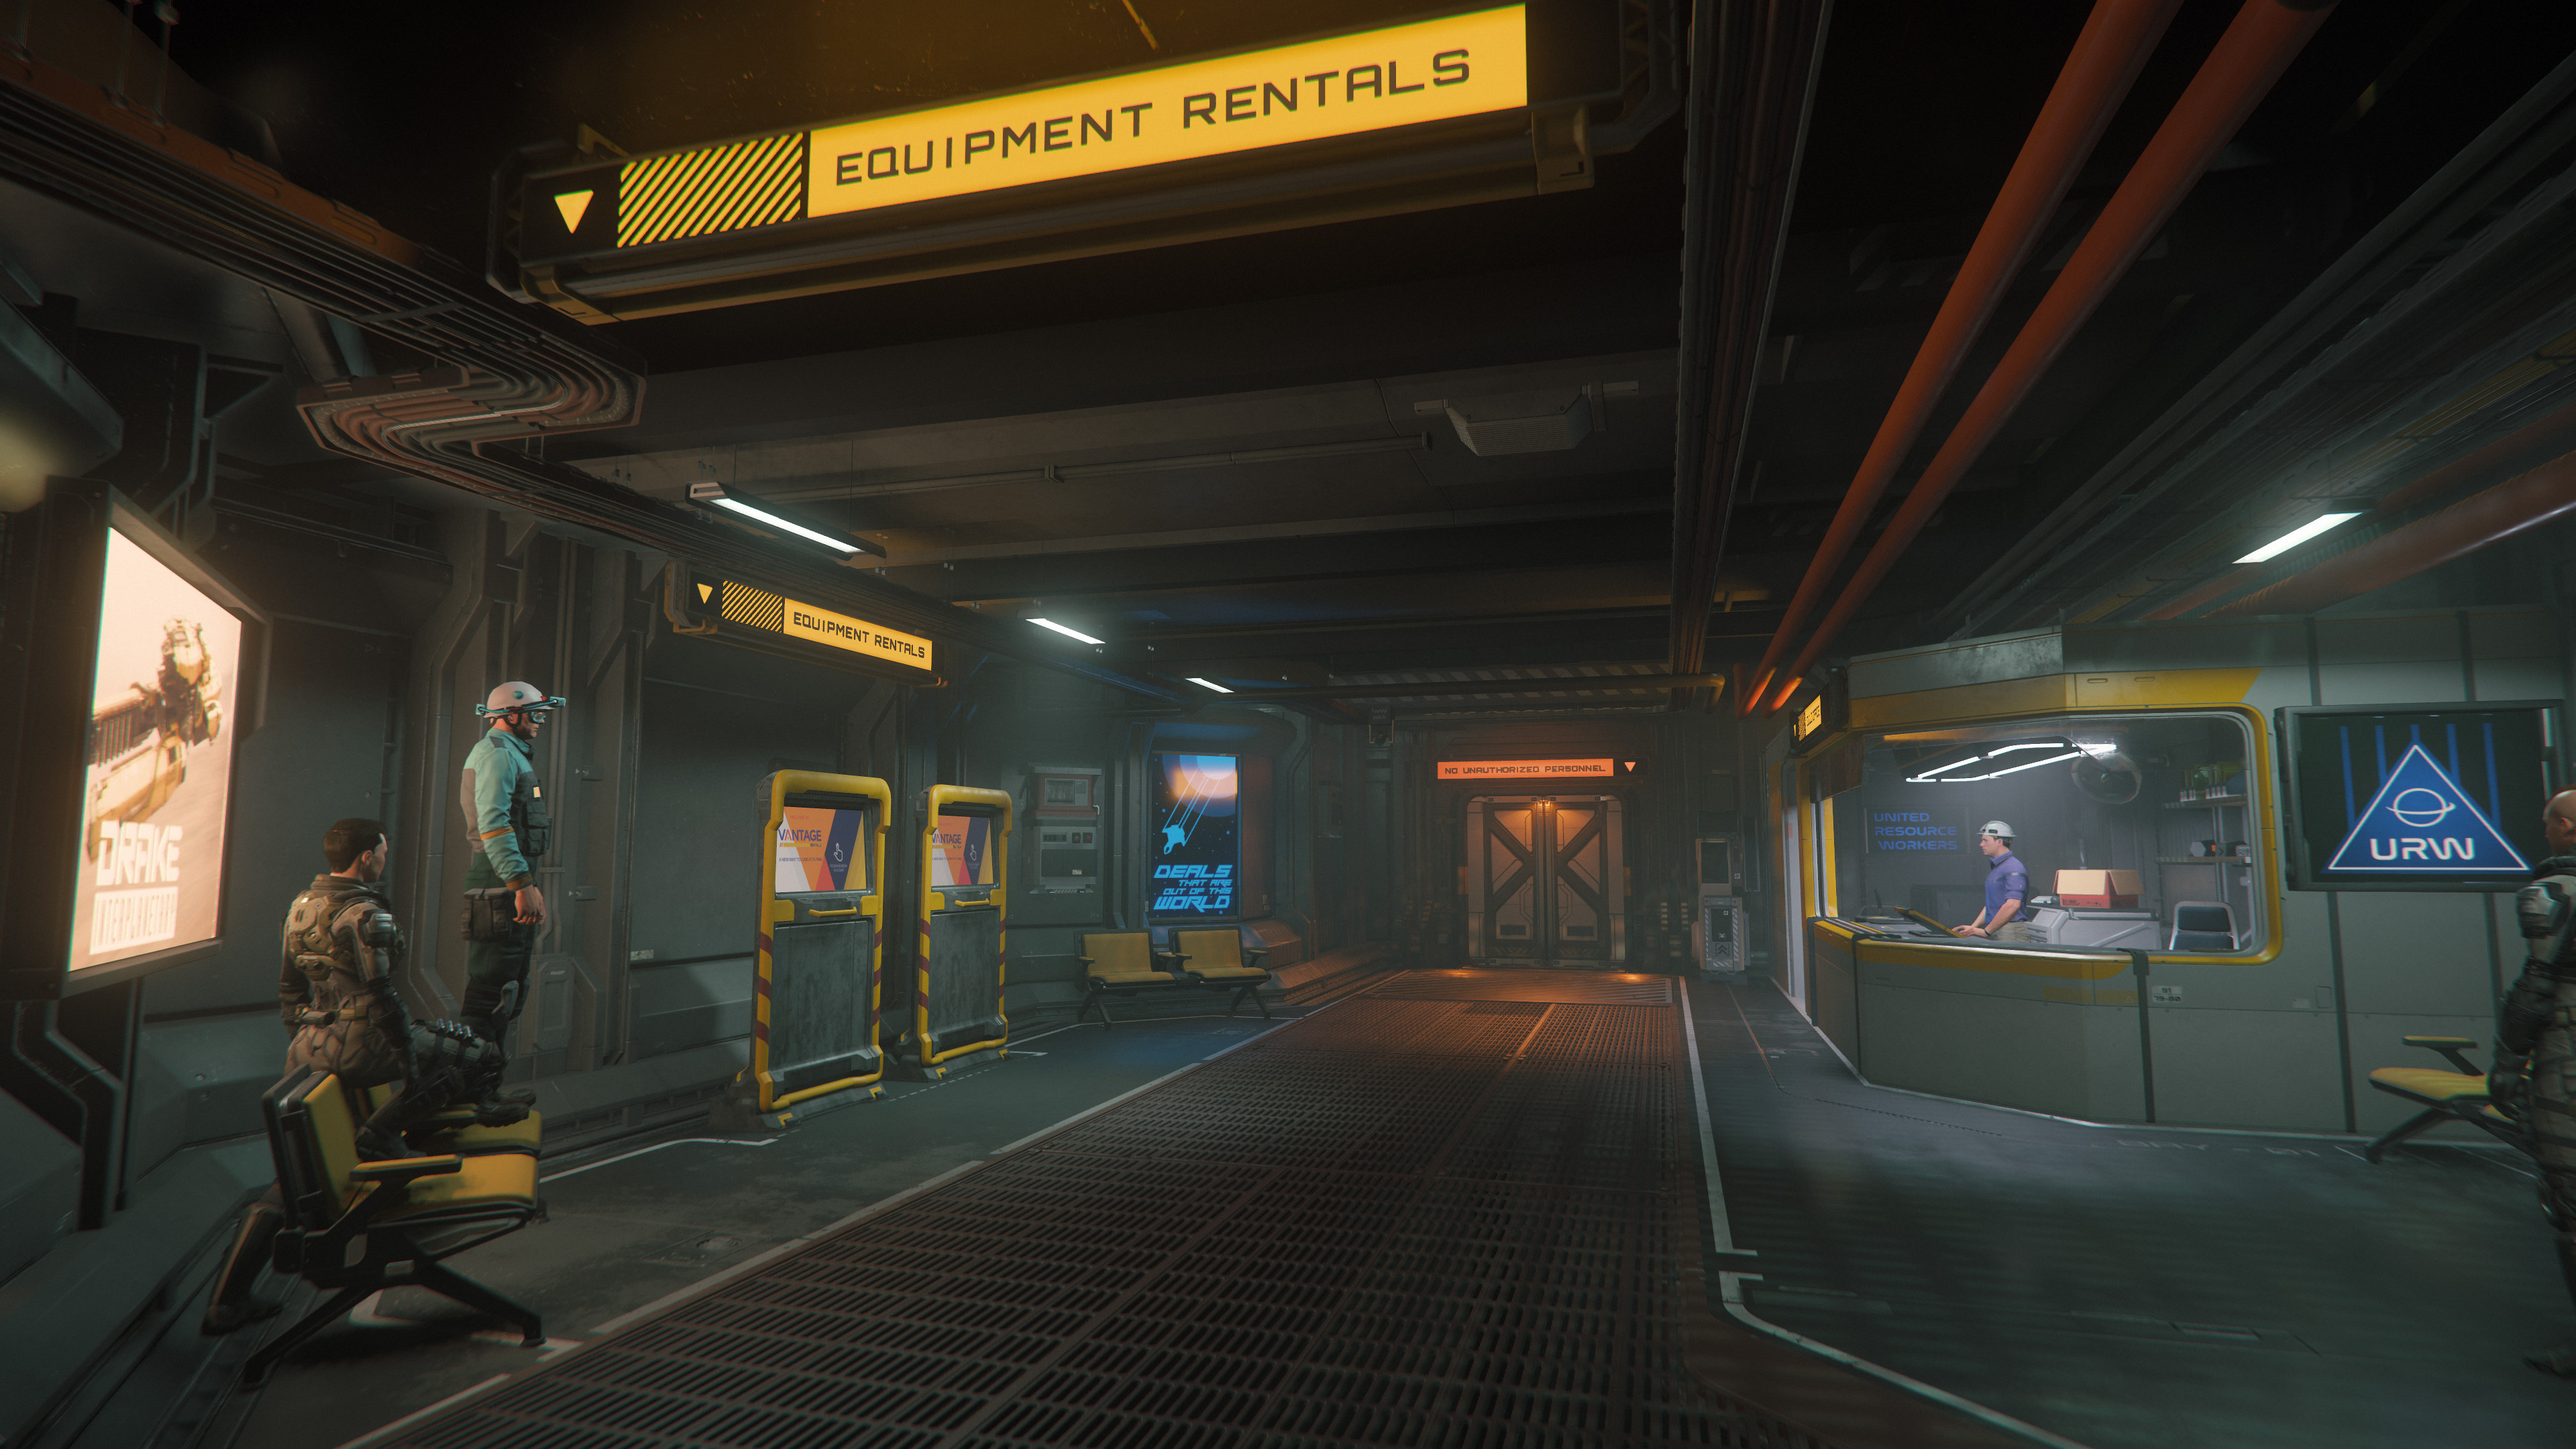
- Equipment Rentals - Bergbaufahrzeuge und -schiffe mieten.jpg 3.840 × 2.160; 1,4 MB
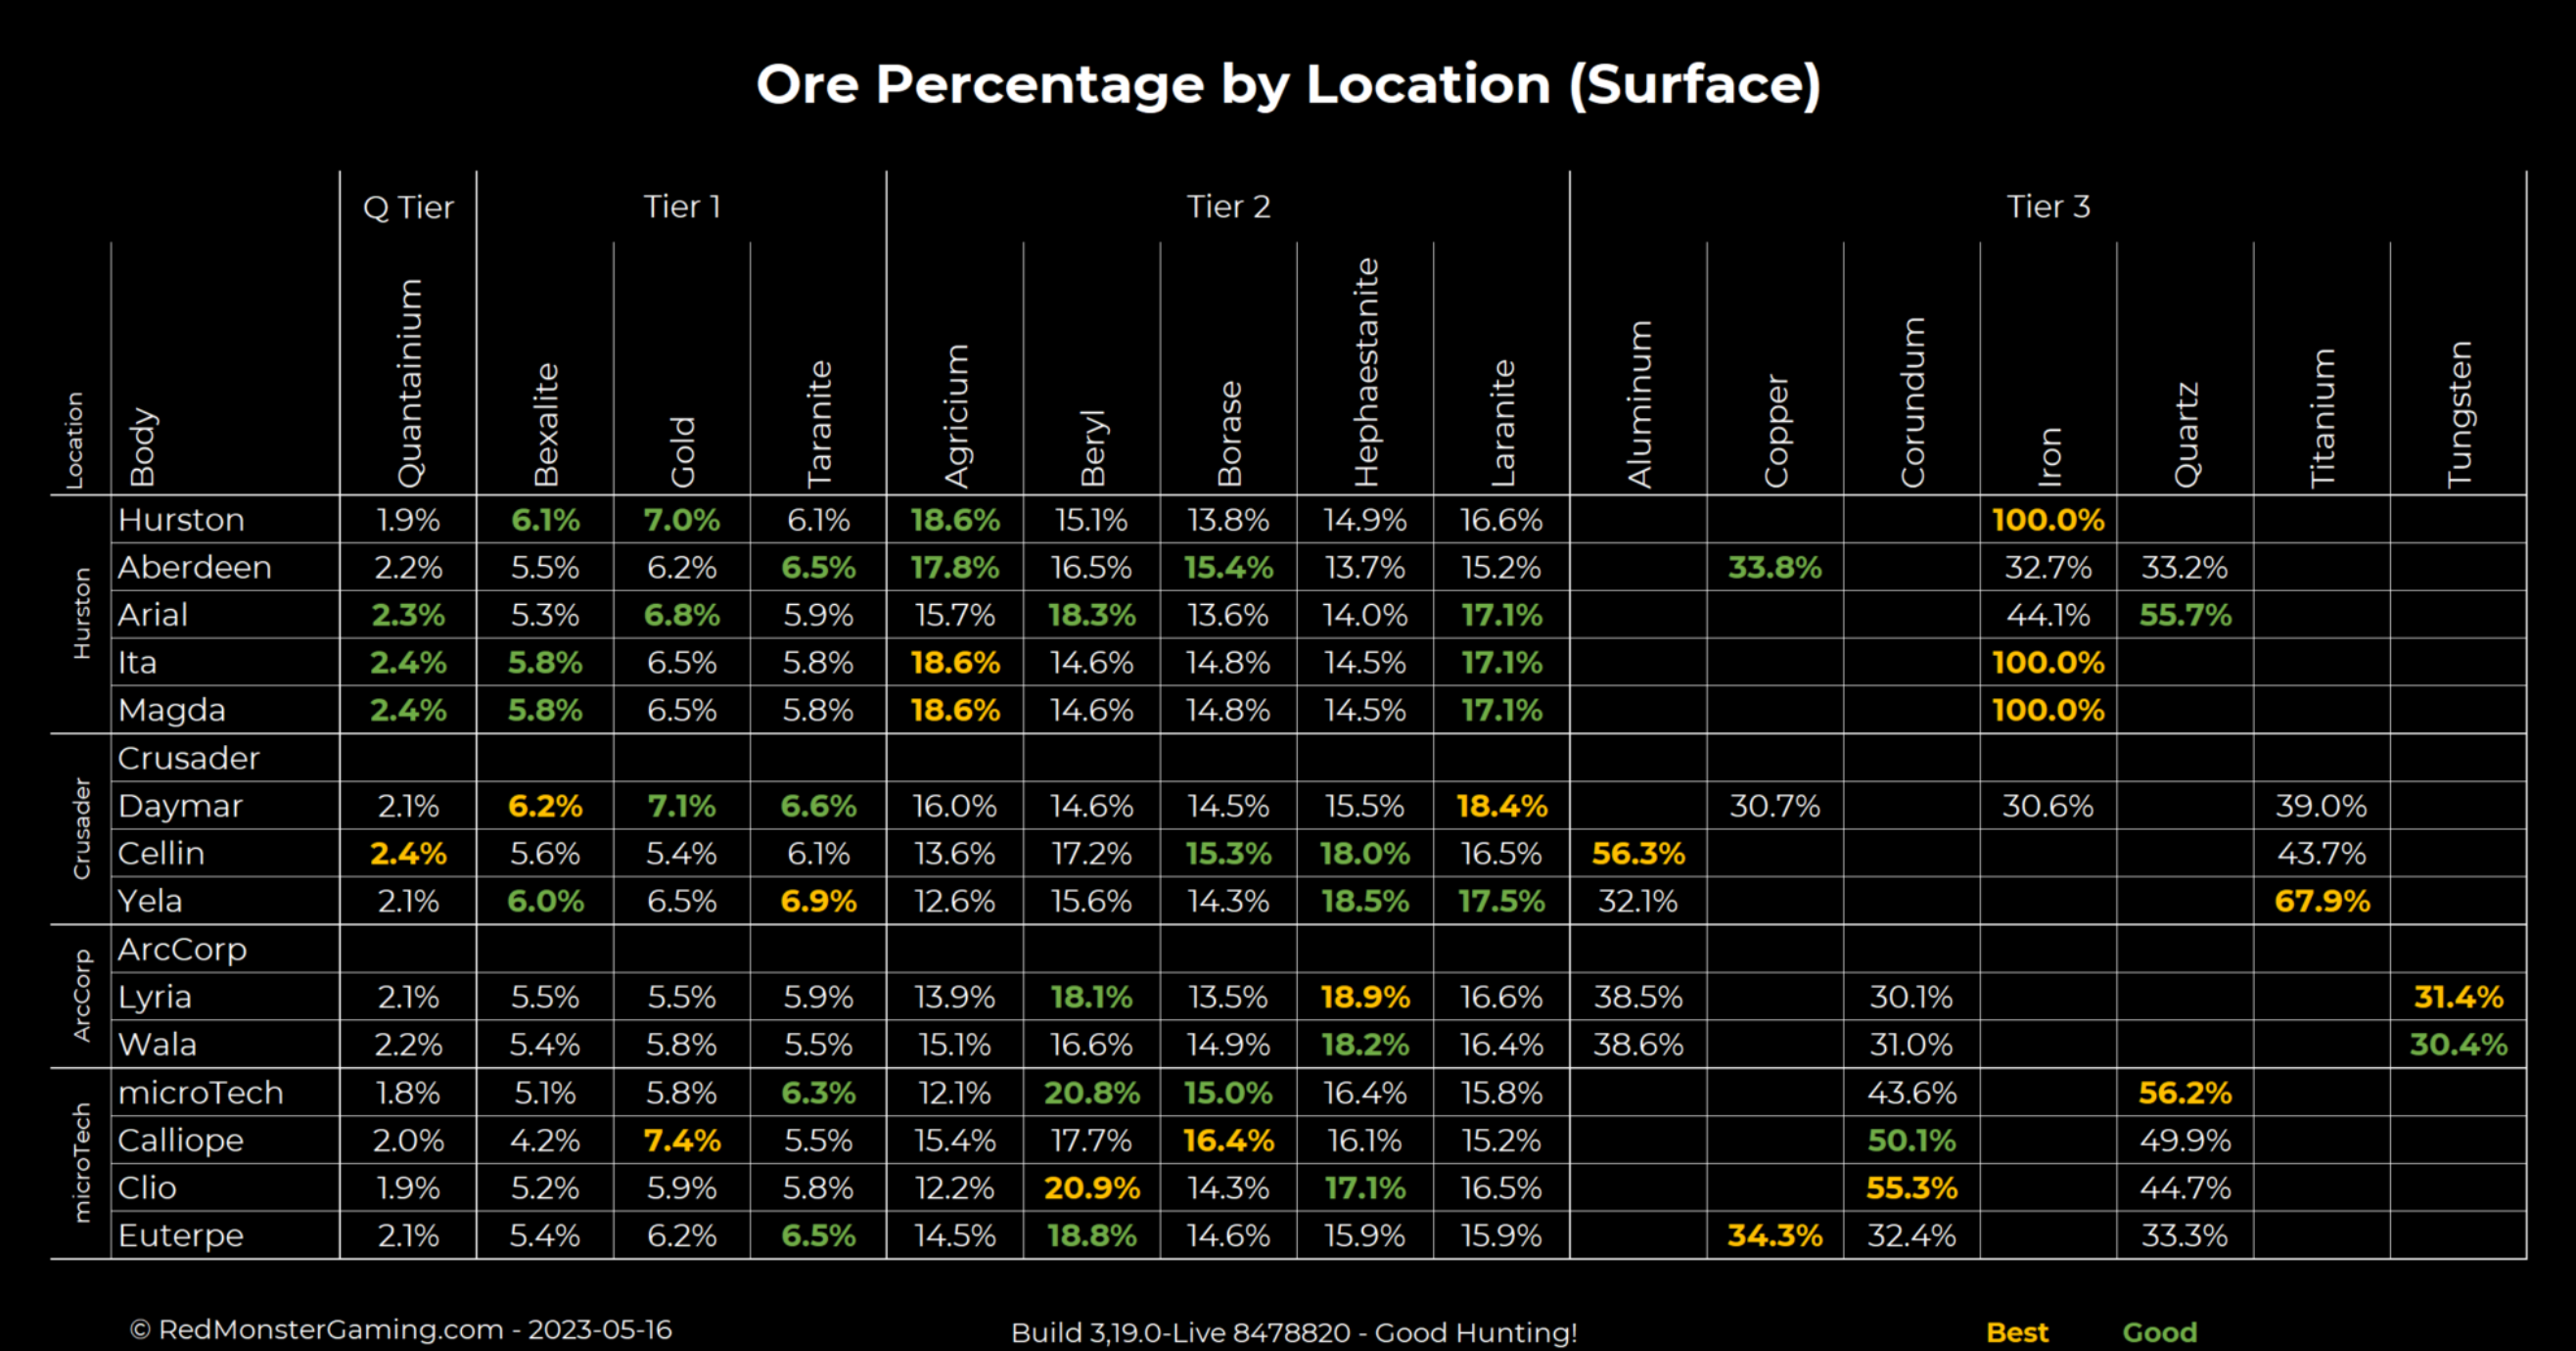
- Erze in Prozent nach Orten.png 2.632 × 1.380; 864 KB
- Everus Harbor - Exterior Bild 1.jpg 3.840 × 2.160; 2,04 MB
- Everus Harbor - Exterior Bild 2.jpg 3.840 × 2.160; 2,3 MB
- Everus Harbor - Exterior Bild 4.jpg 3.840 × 2.160; 1,97 MB
- Everus Harbor - Exterior Bild 5.jpg 3.840 × 2.160; 2,09 MB
- Everus Harbor - Interior Bild 1 (Wartebereich unter Hangar & Hubs).jpg 3.840 × 2.160; 1,95 MB
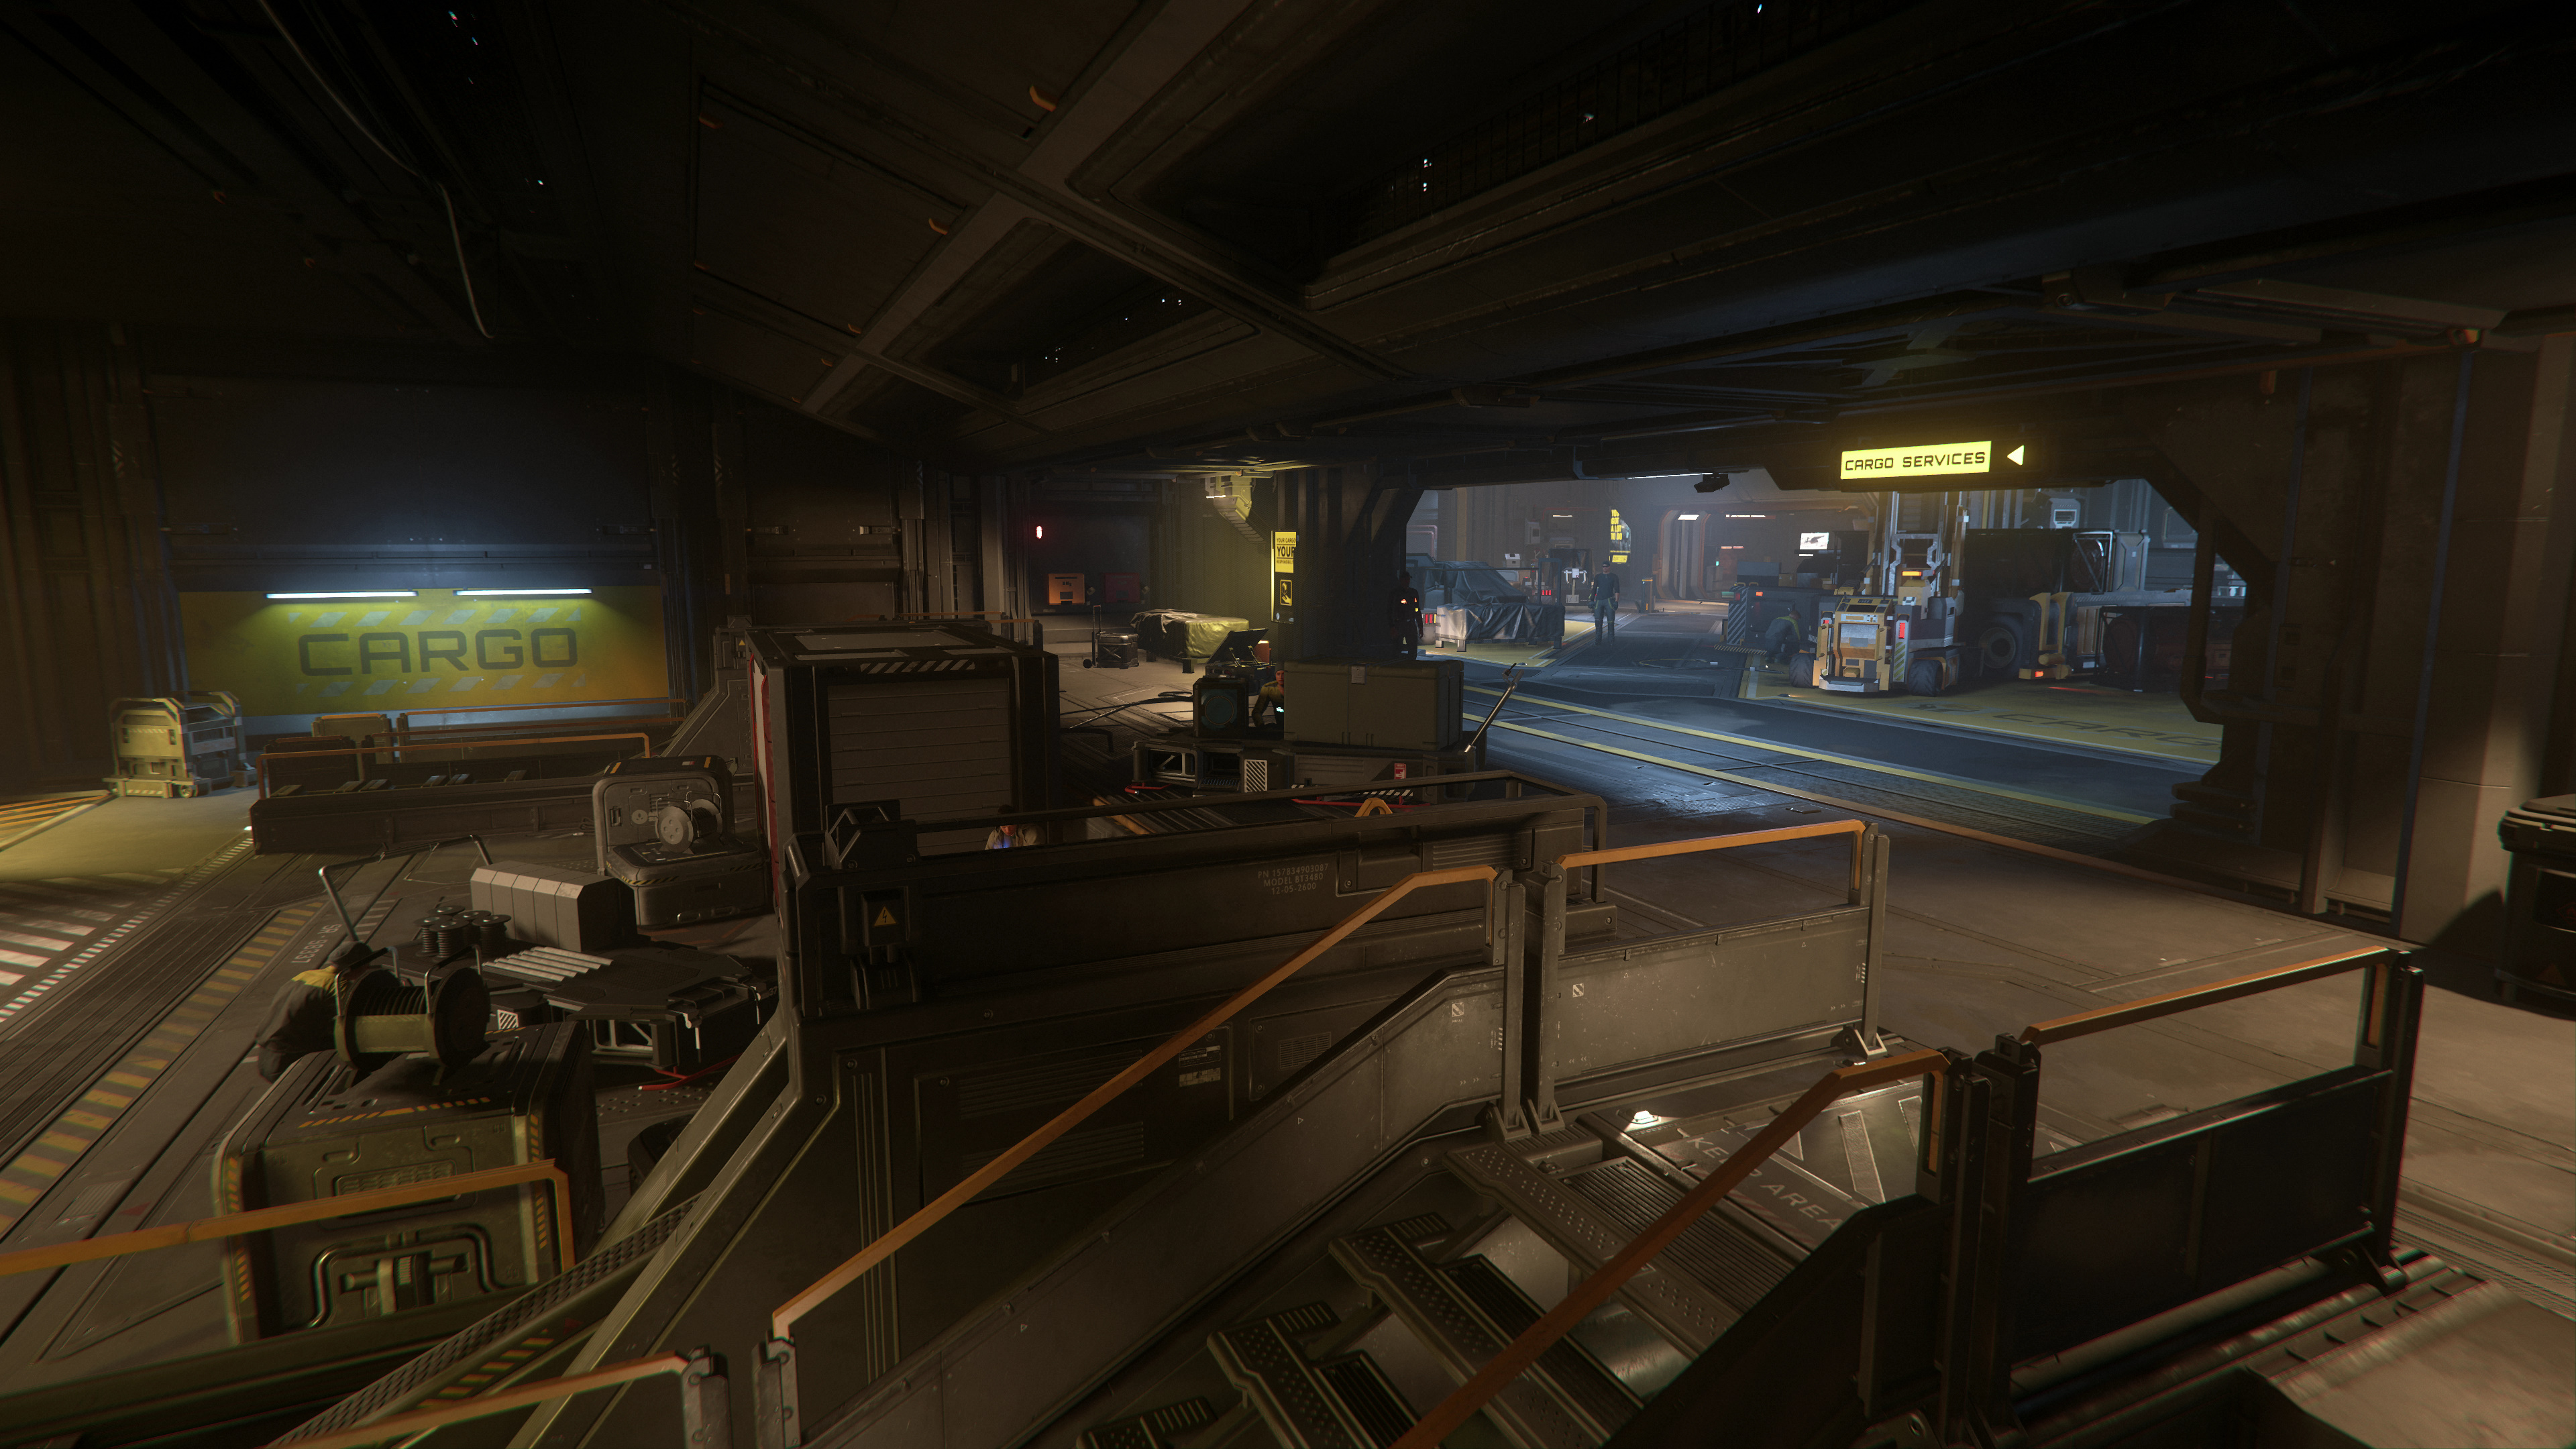
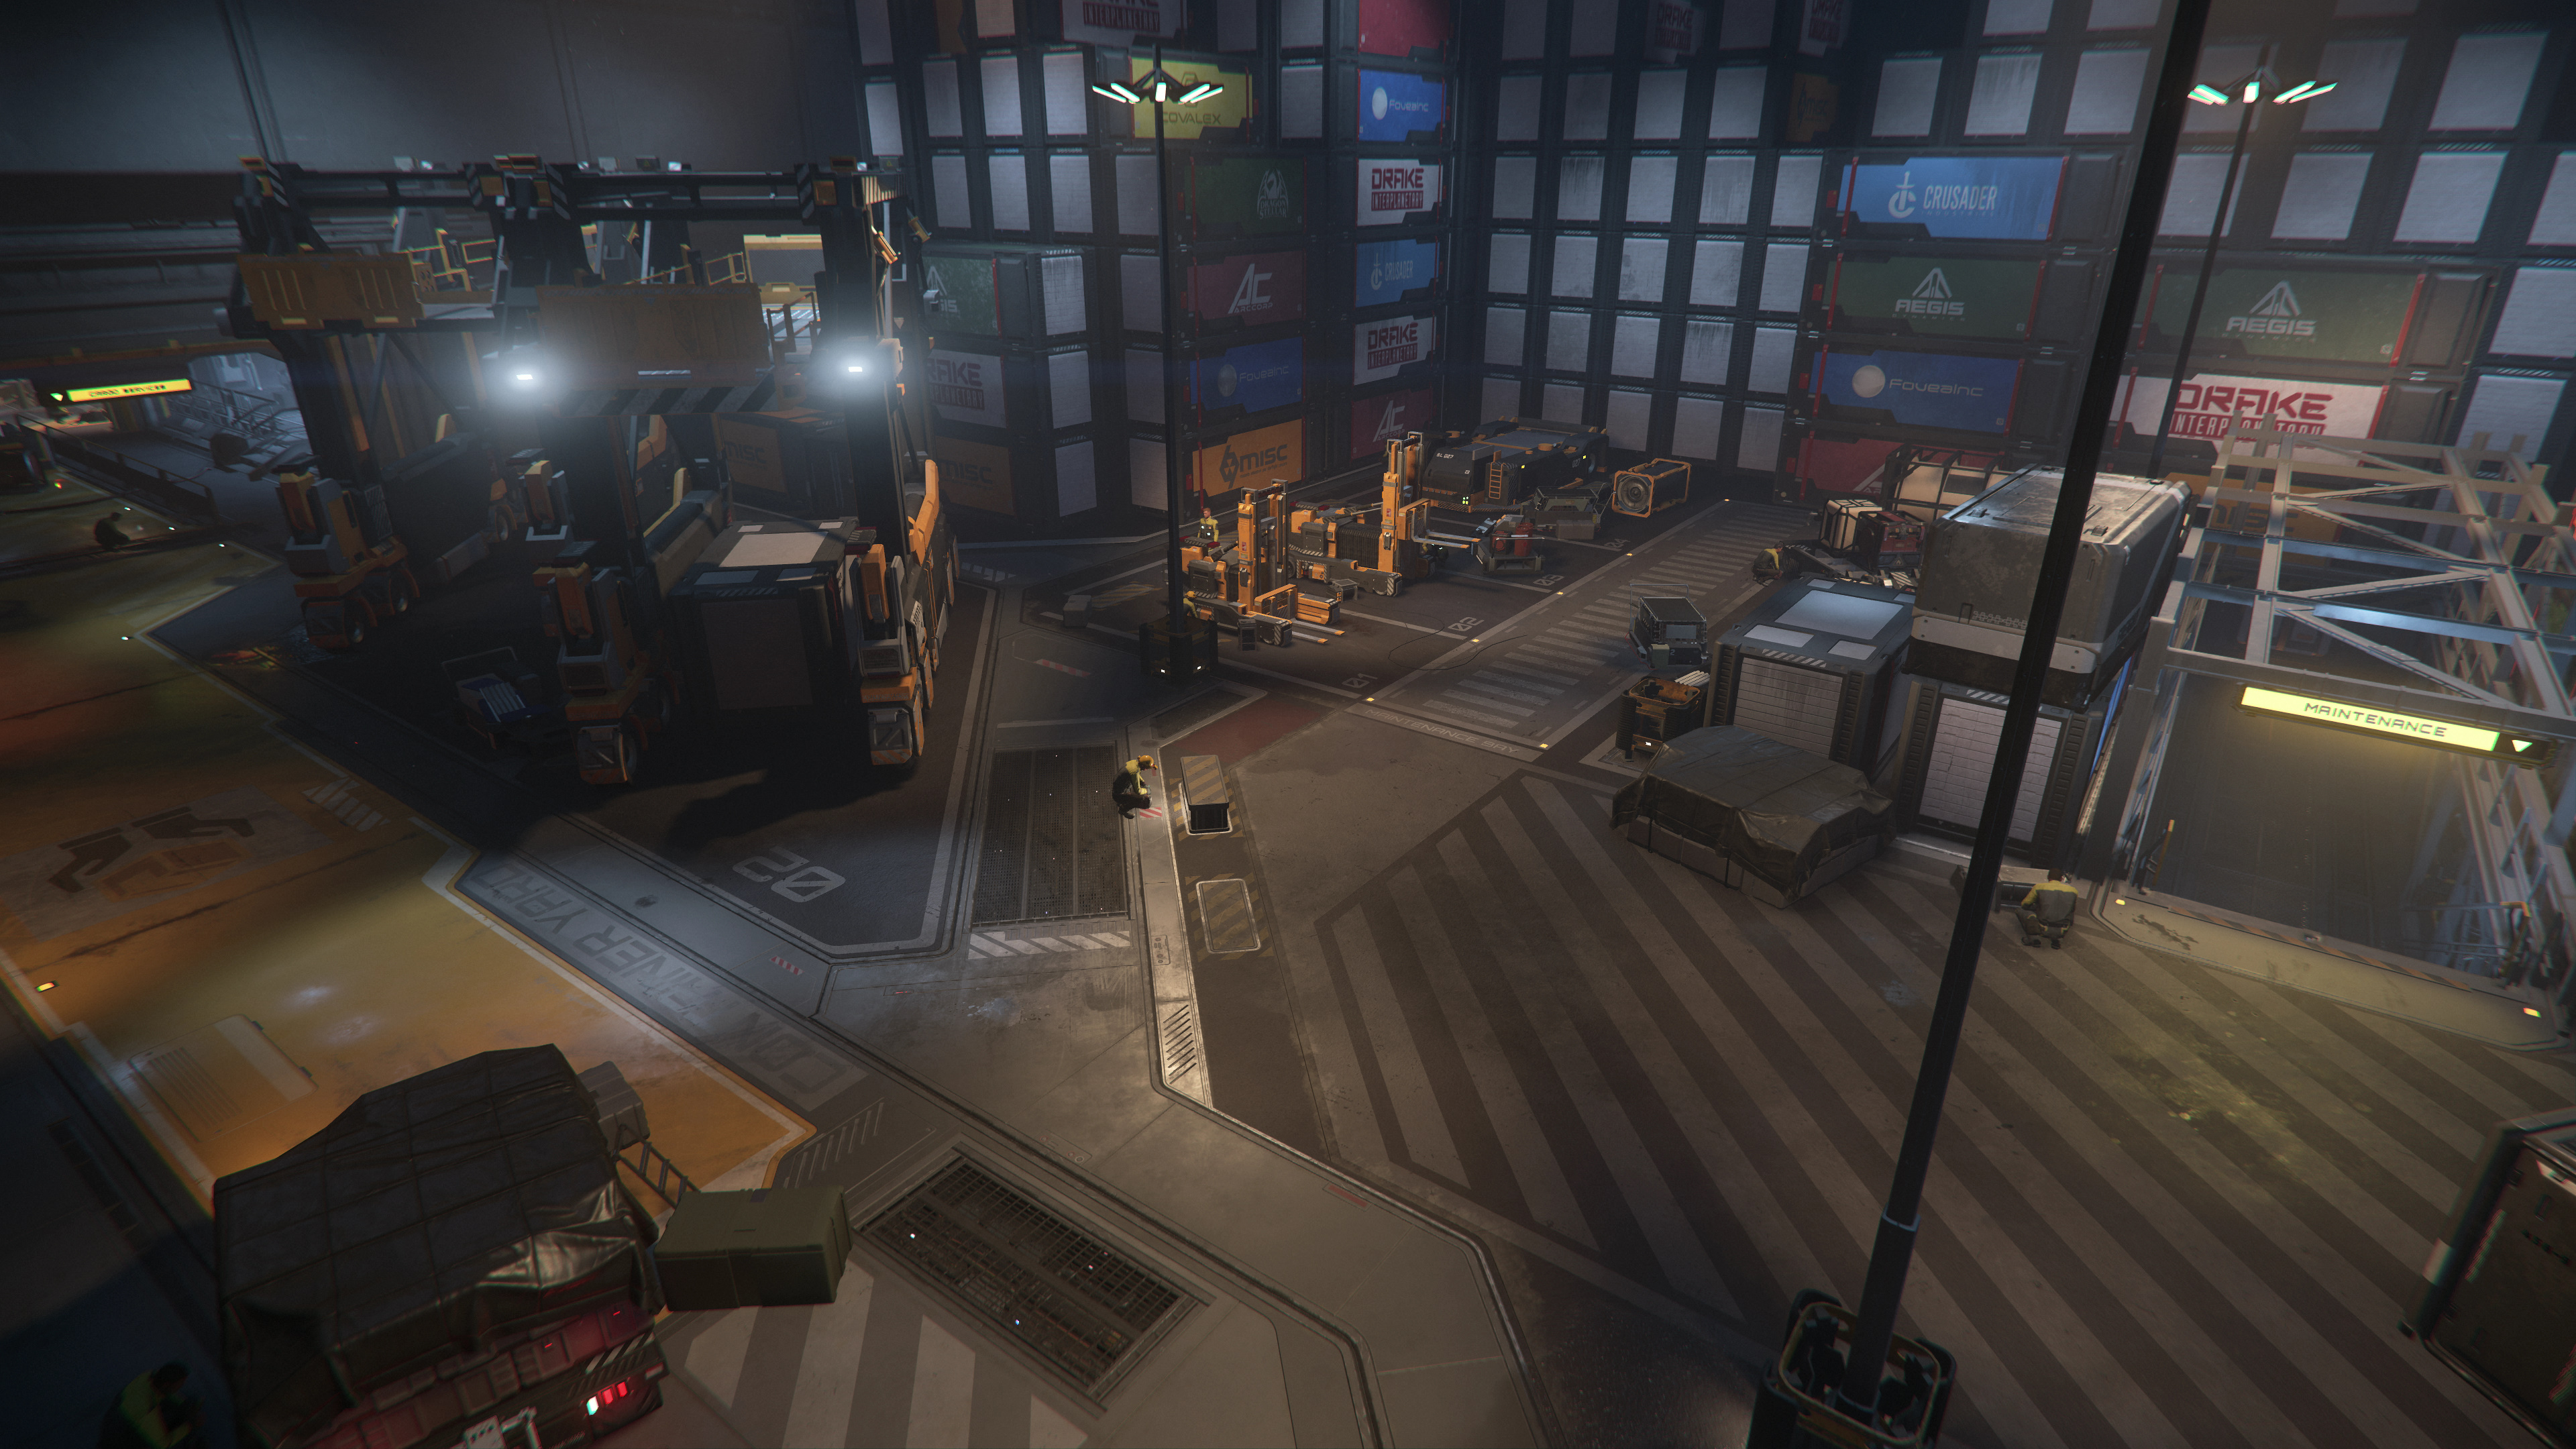
- Everus Harbor - Interior Bild 10 (Cargo Deck Bereich 1).jpg 3.840 × 2.160; 2,21 MB
- Everus Harbor - Interior Bild 11 (Cargo Deck Bereich 2).jpg 3.840 × 2.160; 2,21 MB
- Everus Harbor - Interior Bild 12 (Cargo Deck Bereich 3).jpg 3.840 × 2.160; 2,27 MB
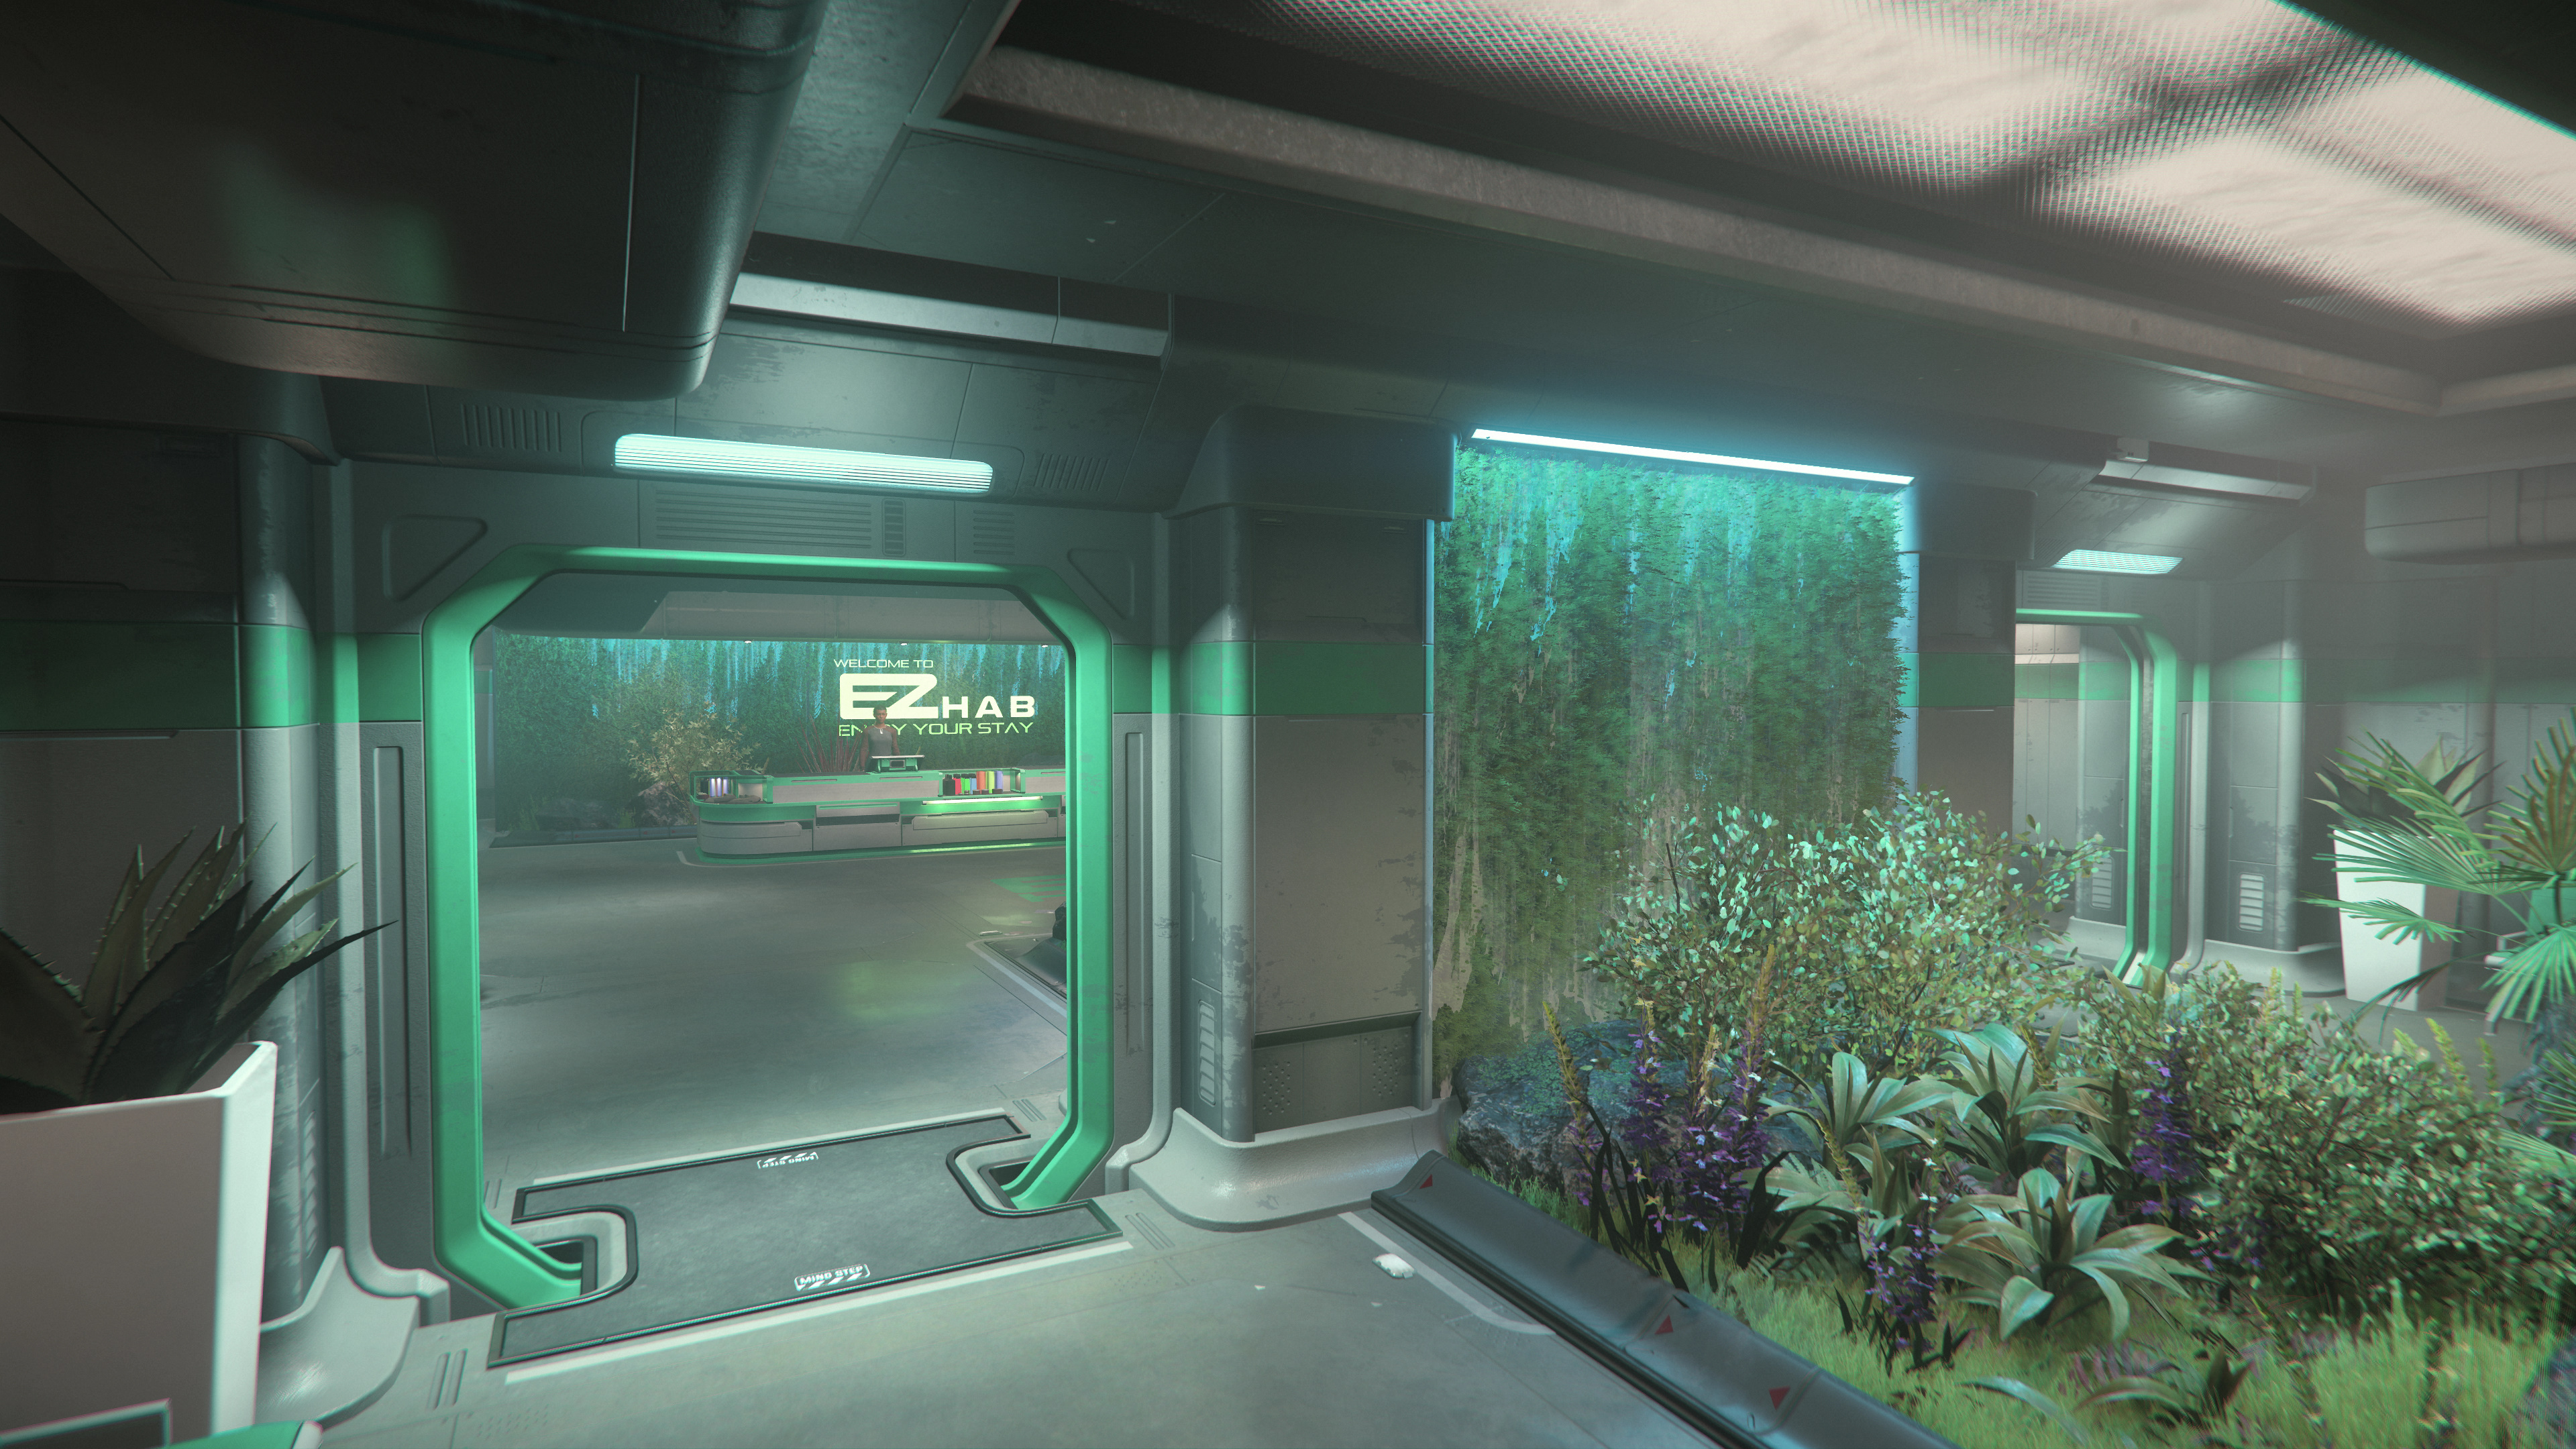
- Everus Harbor - Interior Bild 2 (Wartebereich bei EZHab.jpg 3.840 × 2.160; 2,93 MB
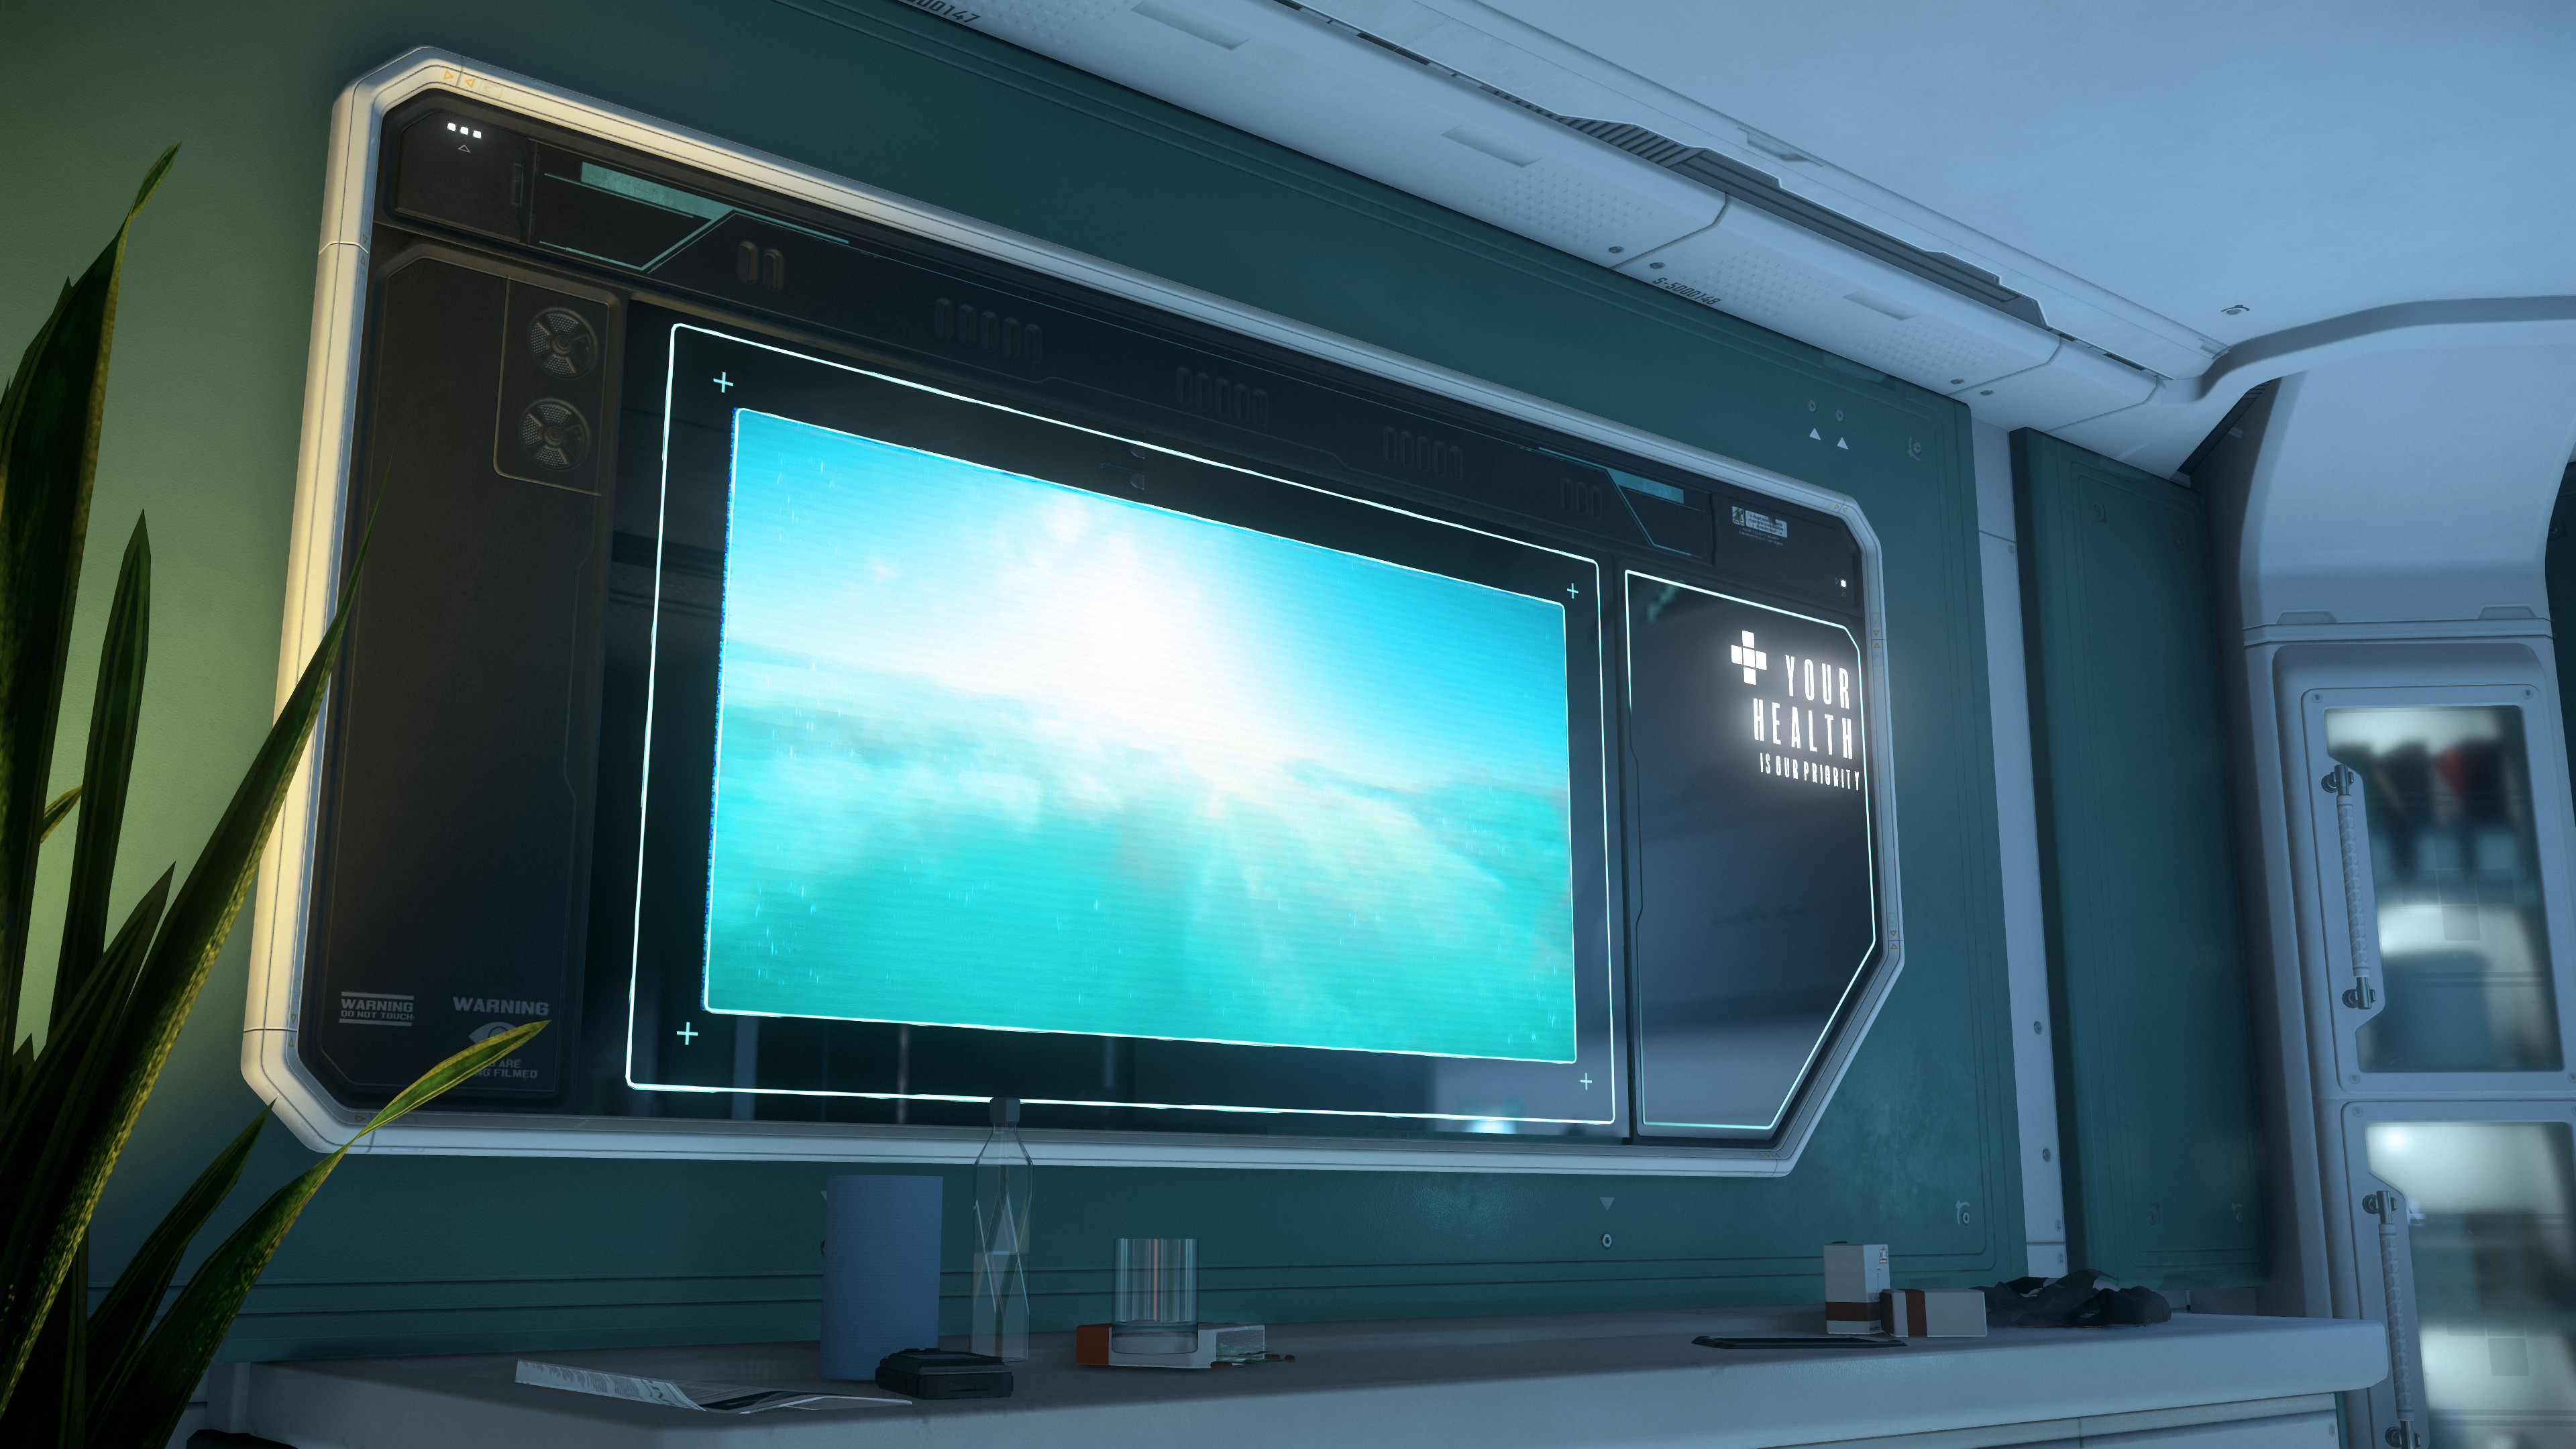
- Everus Harbor - Interior Bild 3 (Wartebereich bei Kel to Medical Clinic).jpg 3.840 × 2.160; 2,12 MB
- Everus Harbor - Interior Bild 4 (Wartebereich Lobby ASOP Terminals).jpg 3.840 × 2.160; 2,33 MB
- Everus Harbor - Interior Bild 5 (Wartebereich unter Hangar & Hubs Bild 2).jpg 3.840 × 2.160; 2,02 MB
- Everus Harbor - Interior Bild 6 (Wartebereich Galerie).jpg 3.840 × 2.160; 2,5 MB
- Everus Harbor - Interior Bild 7 (Food Course Bereich 1).jpg 3.840 × 2.160; 2,35 MB
- Everus Harbor - Interior Bild 8 (Food Course Bereich 2).jpg 3.840 × 2.160; 2,43 MB
- Everus Harbor - Interior Bild 9 (Food Course Bereich 3).jpg 3.840 × 2.160; 2,96 MB
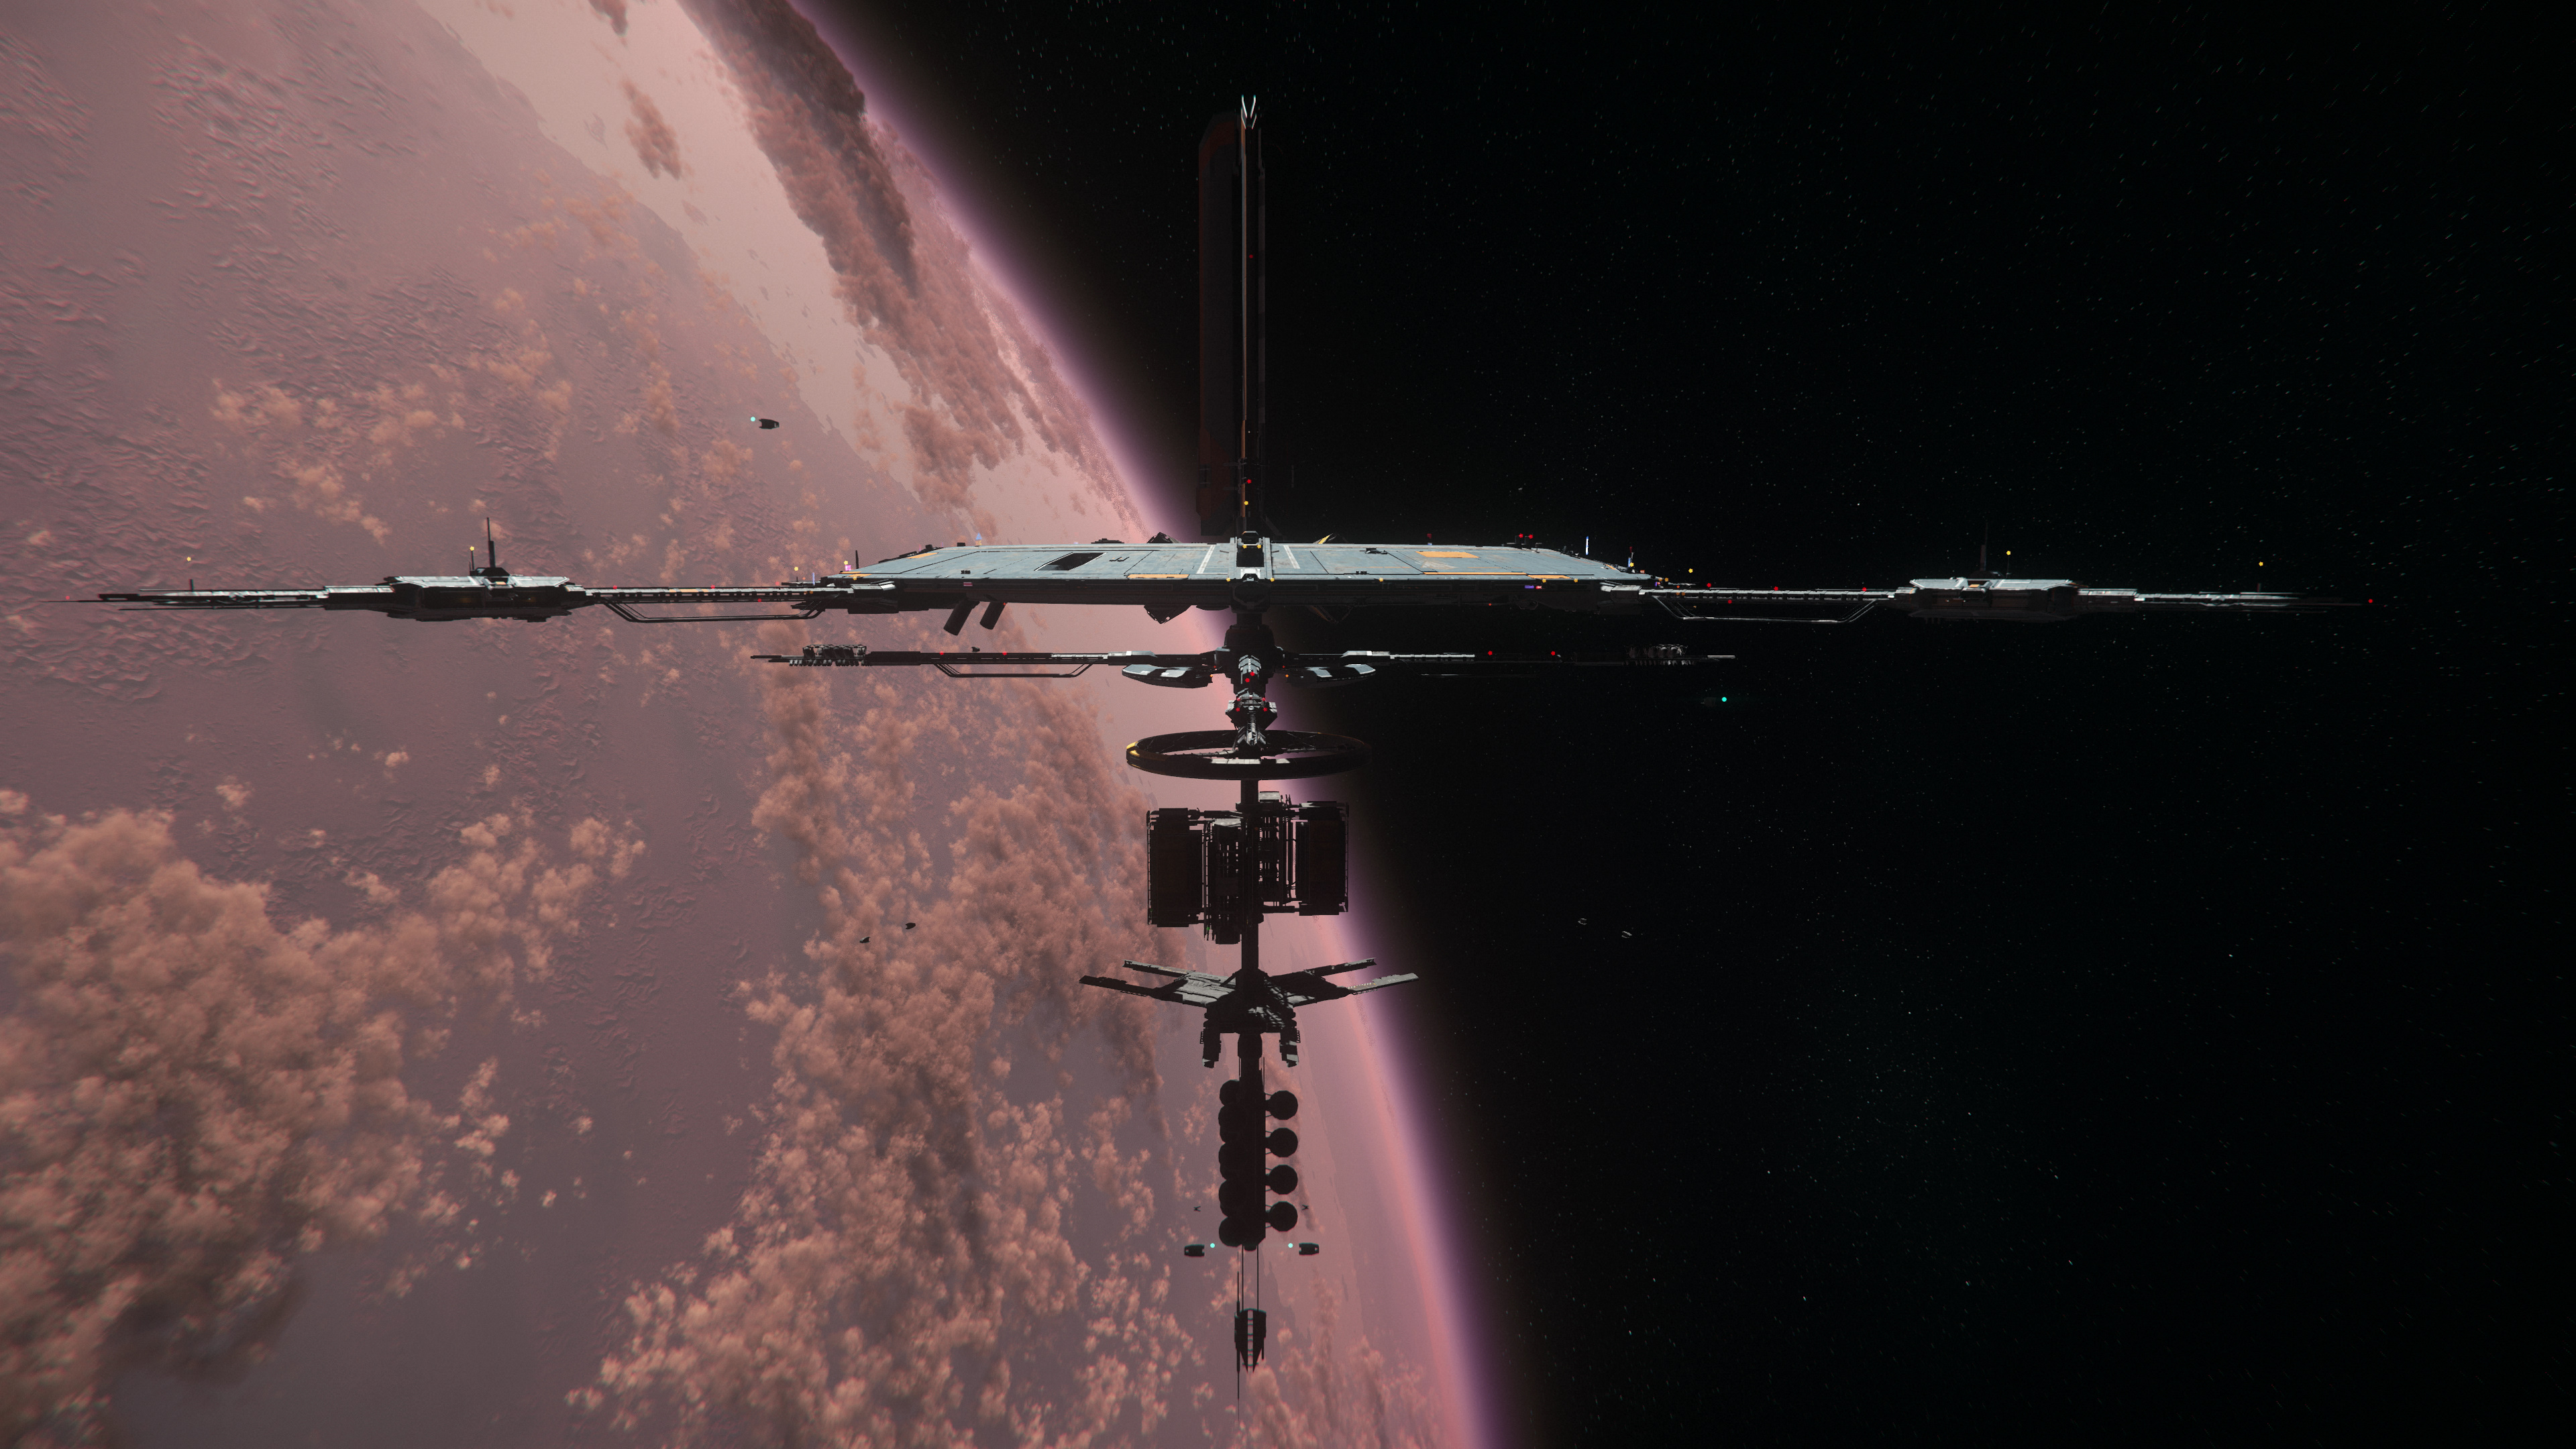
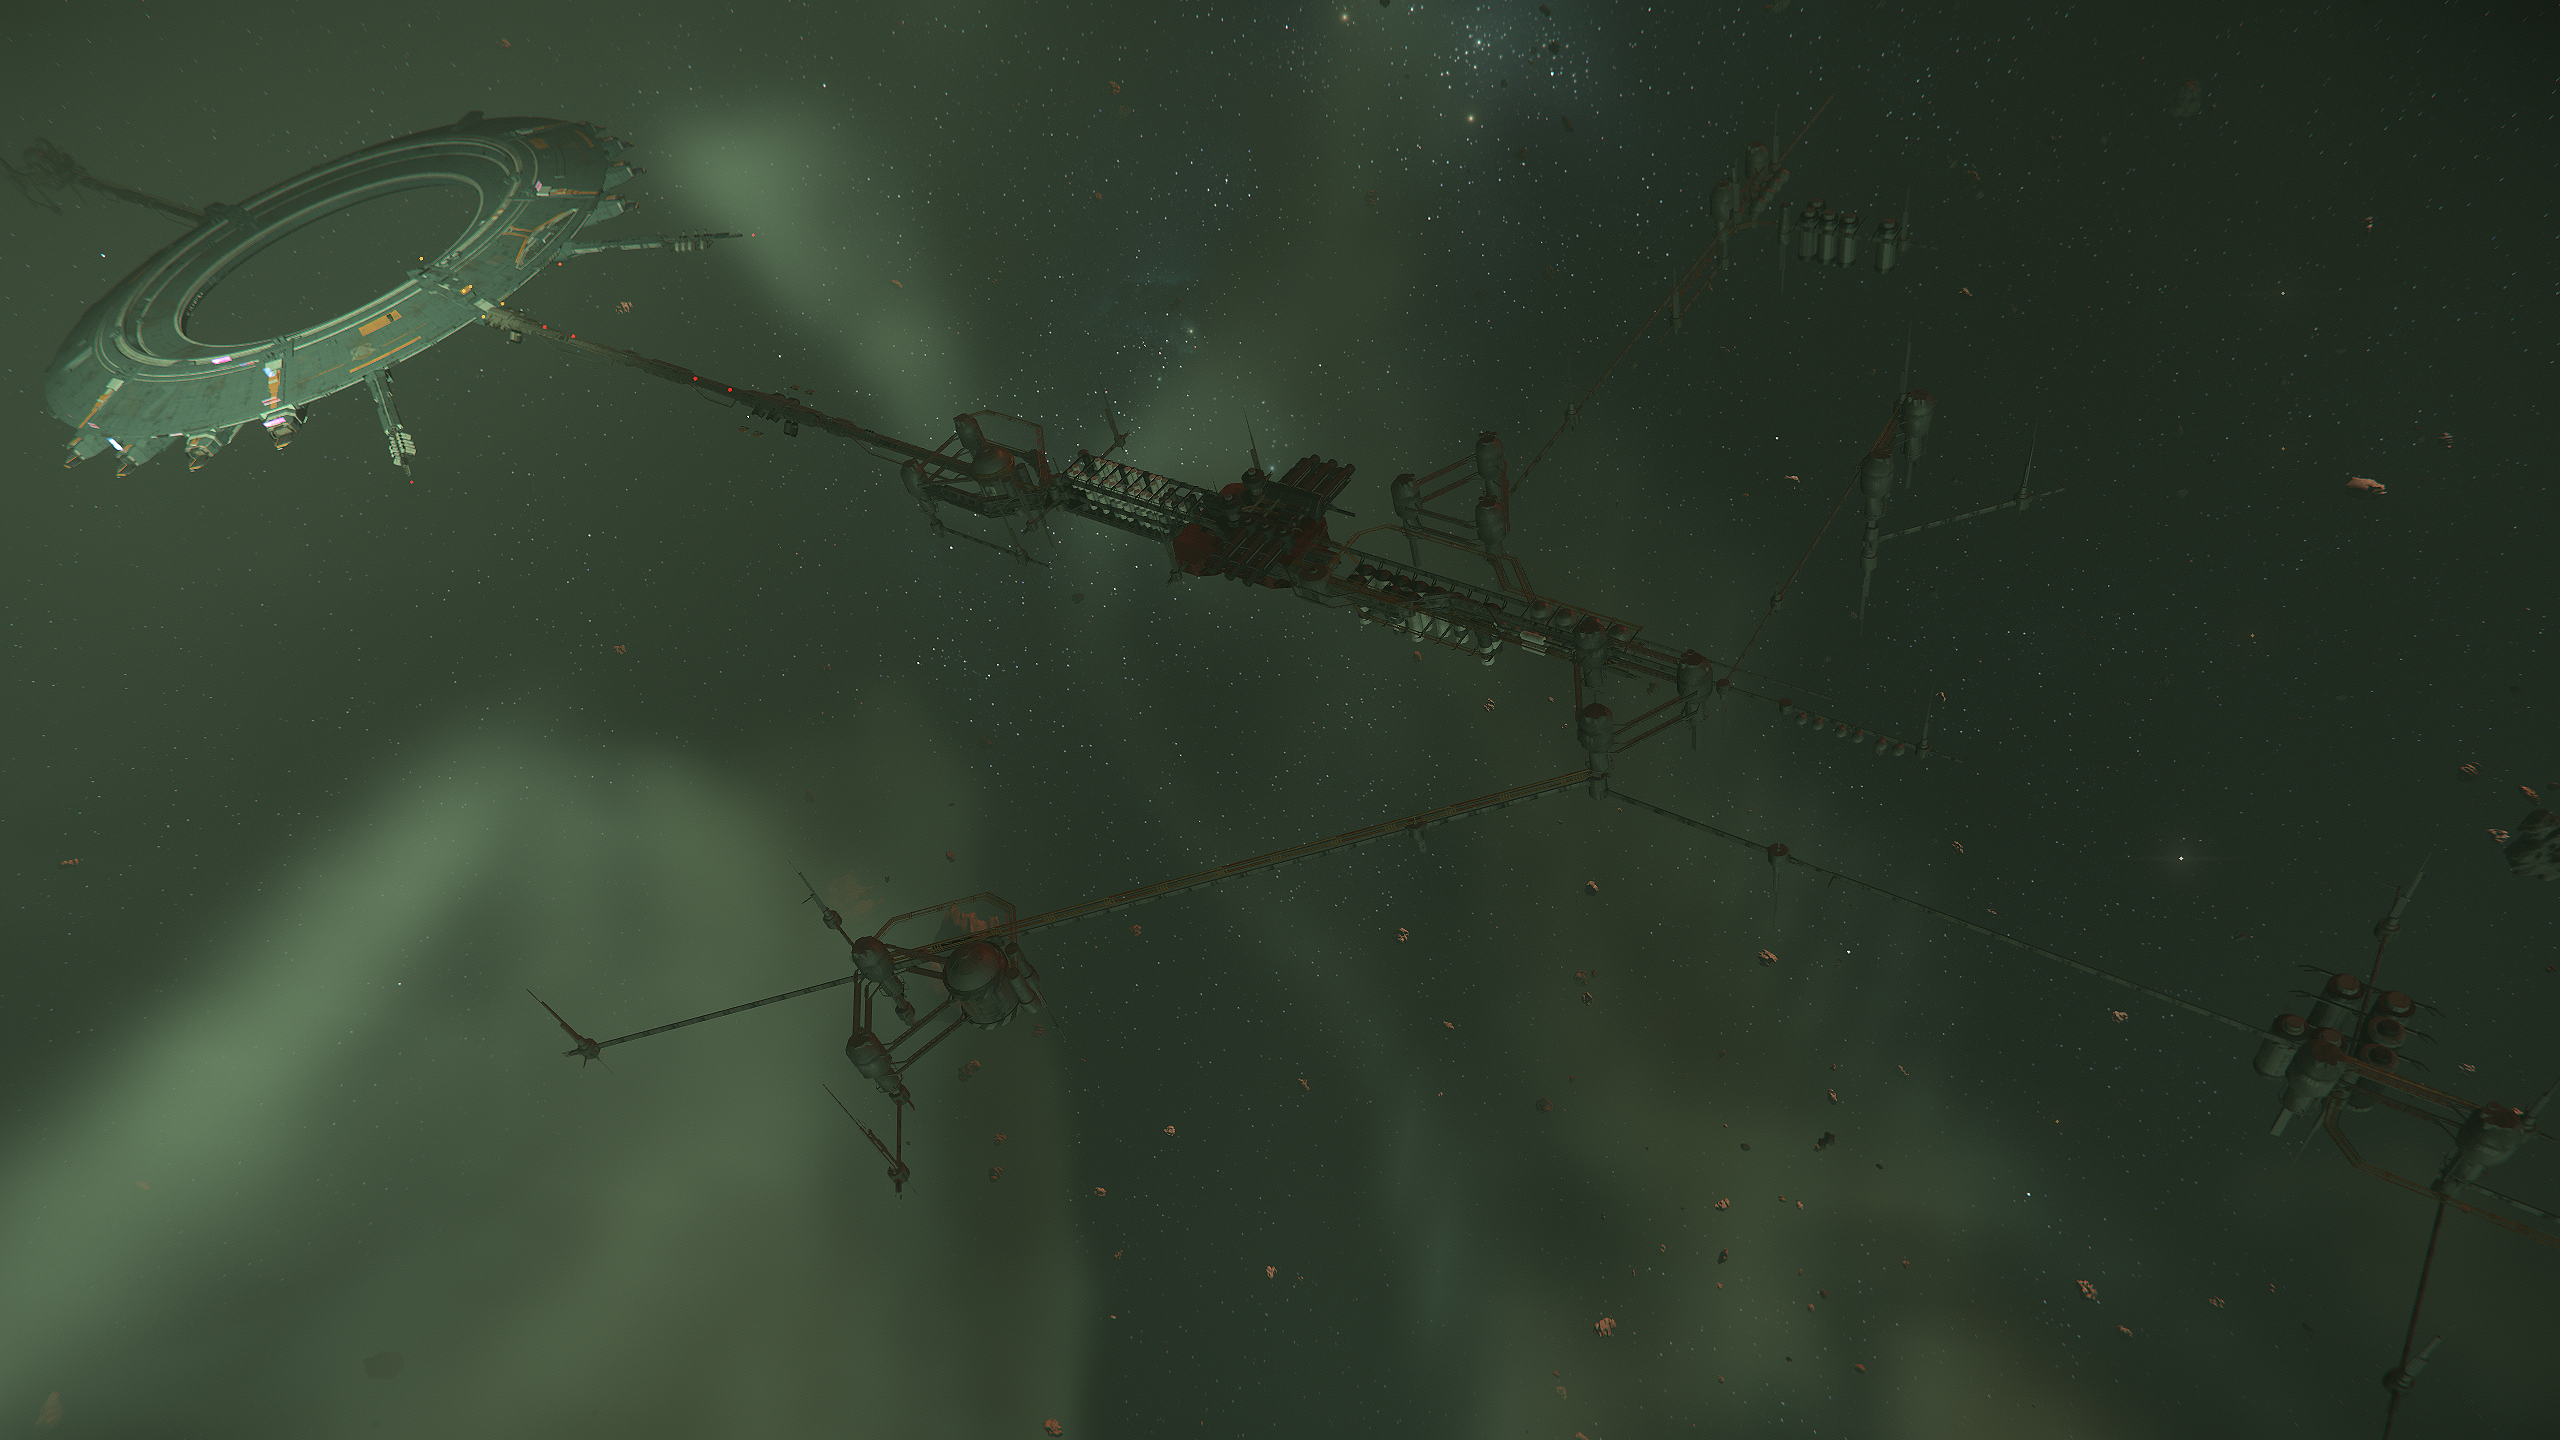
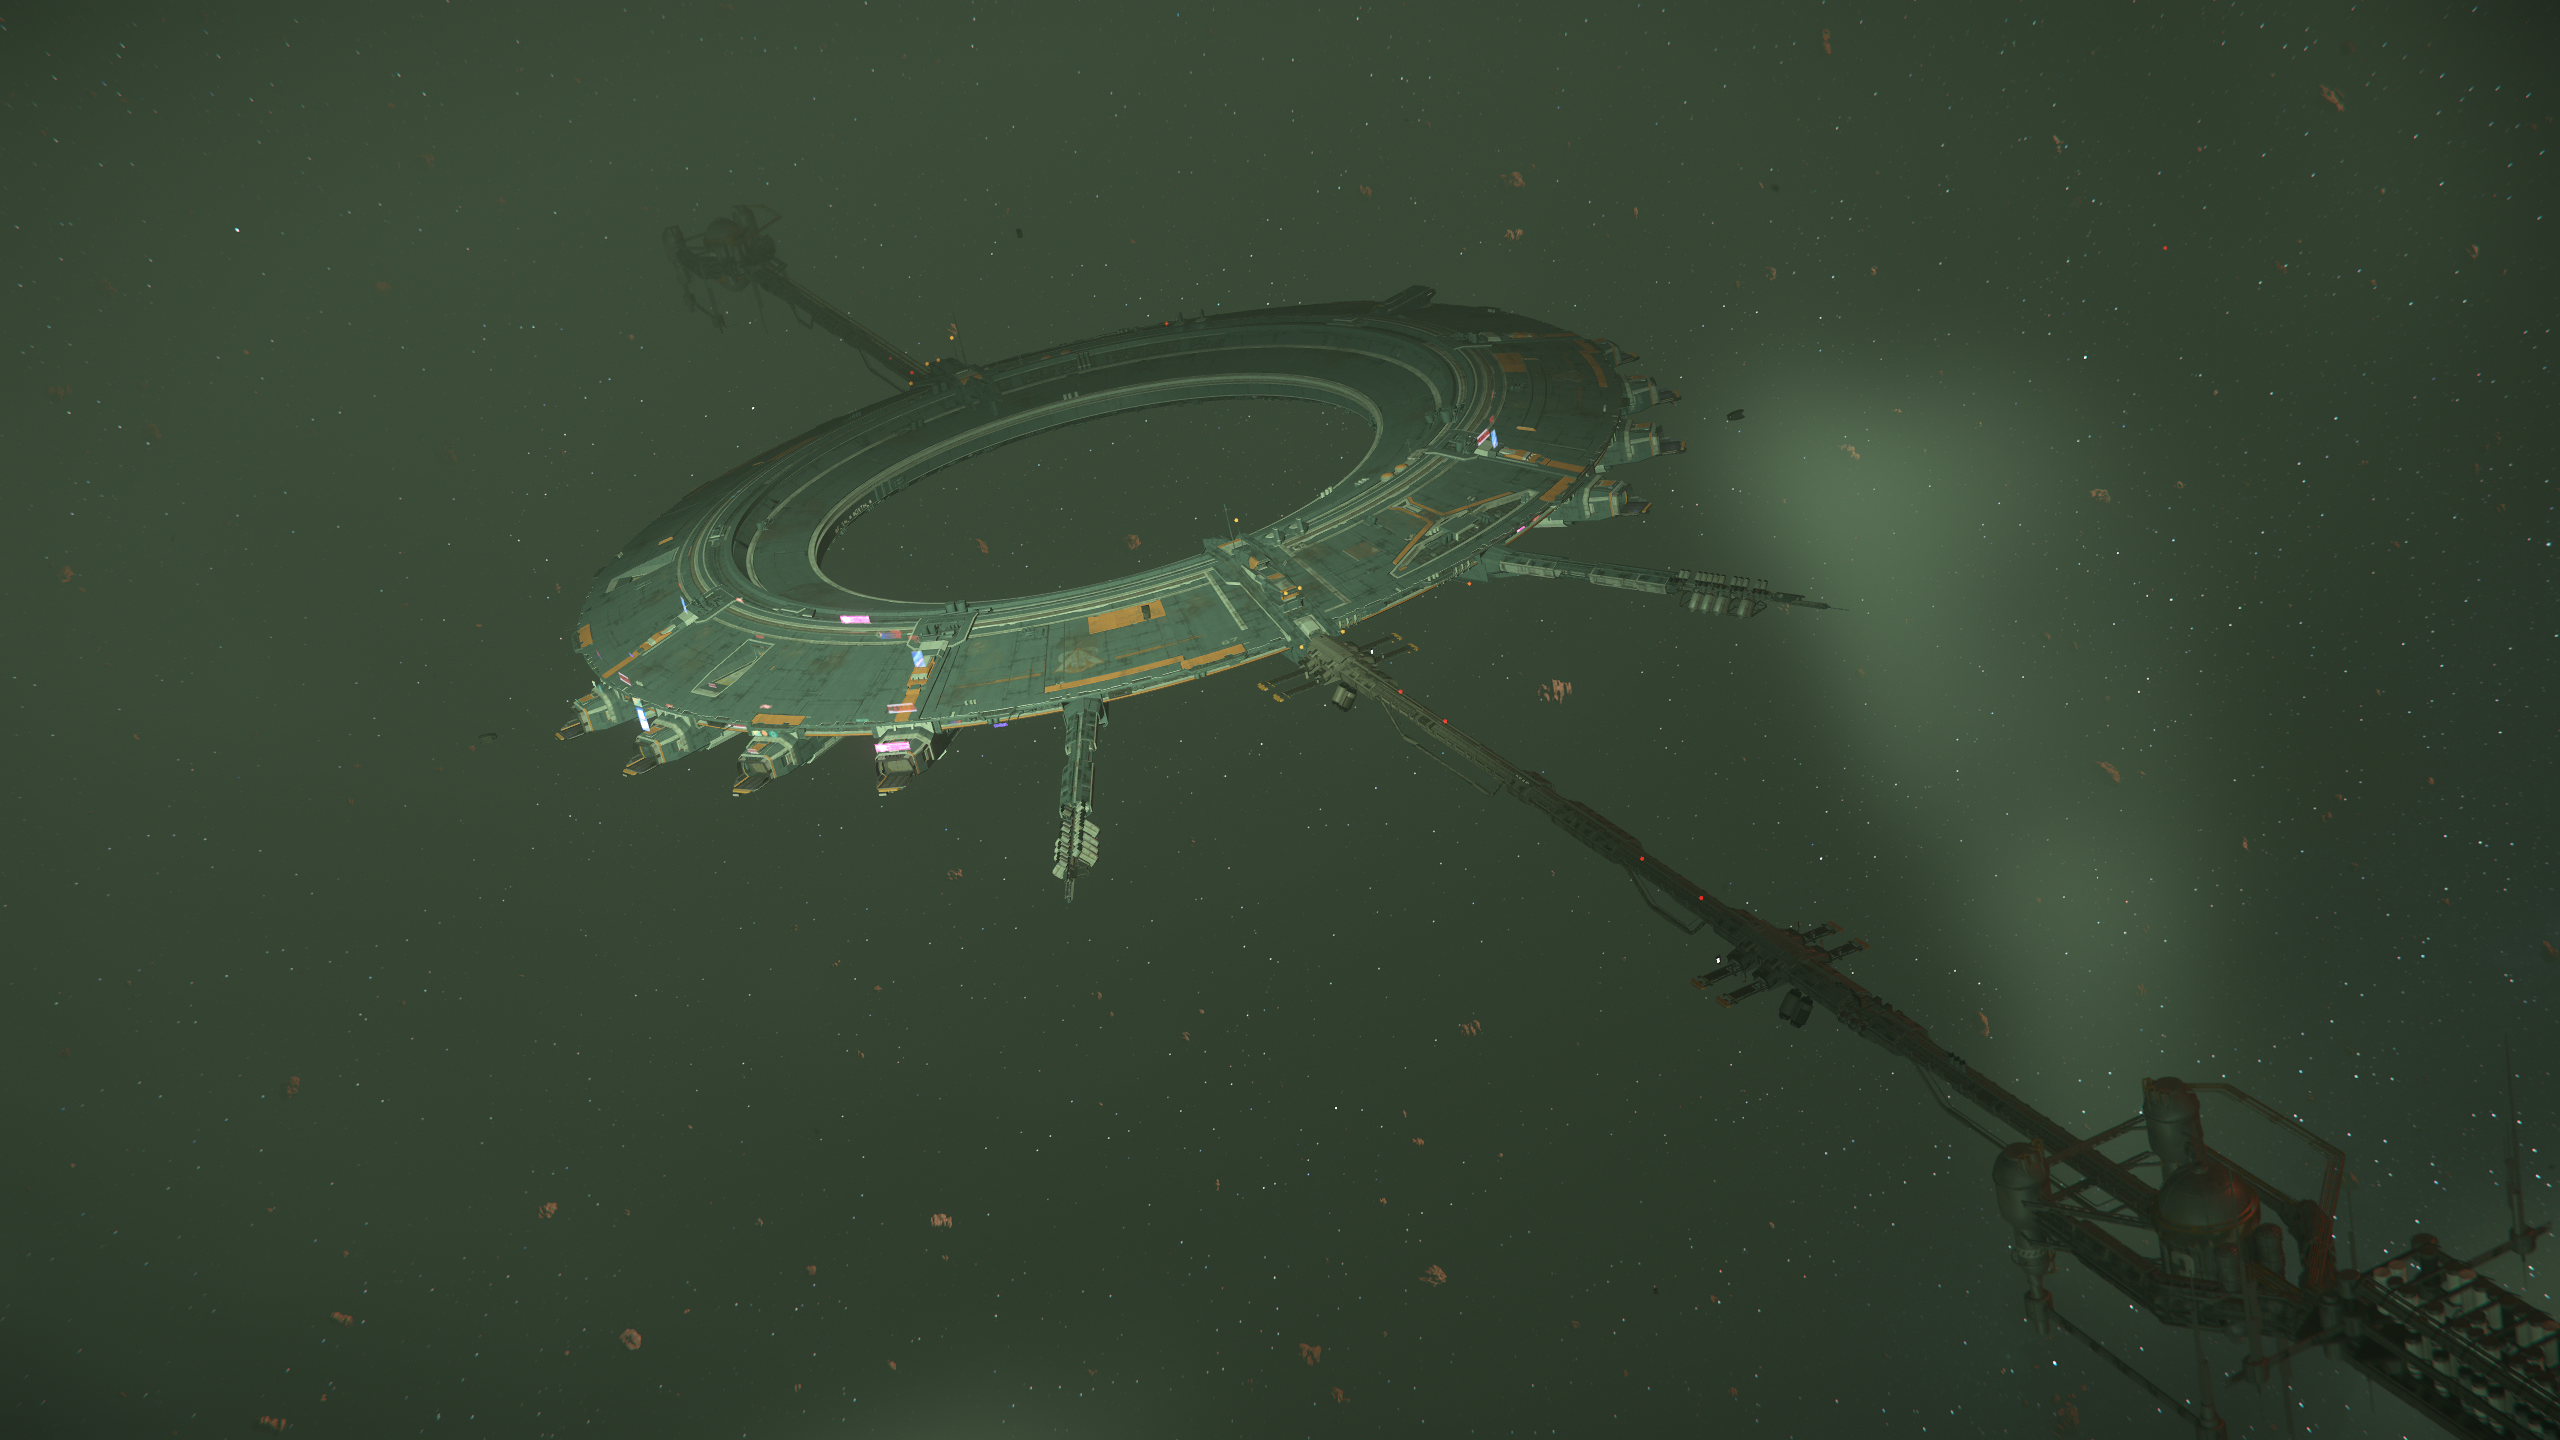
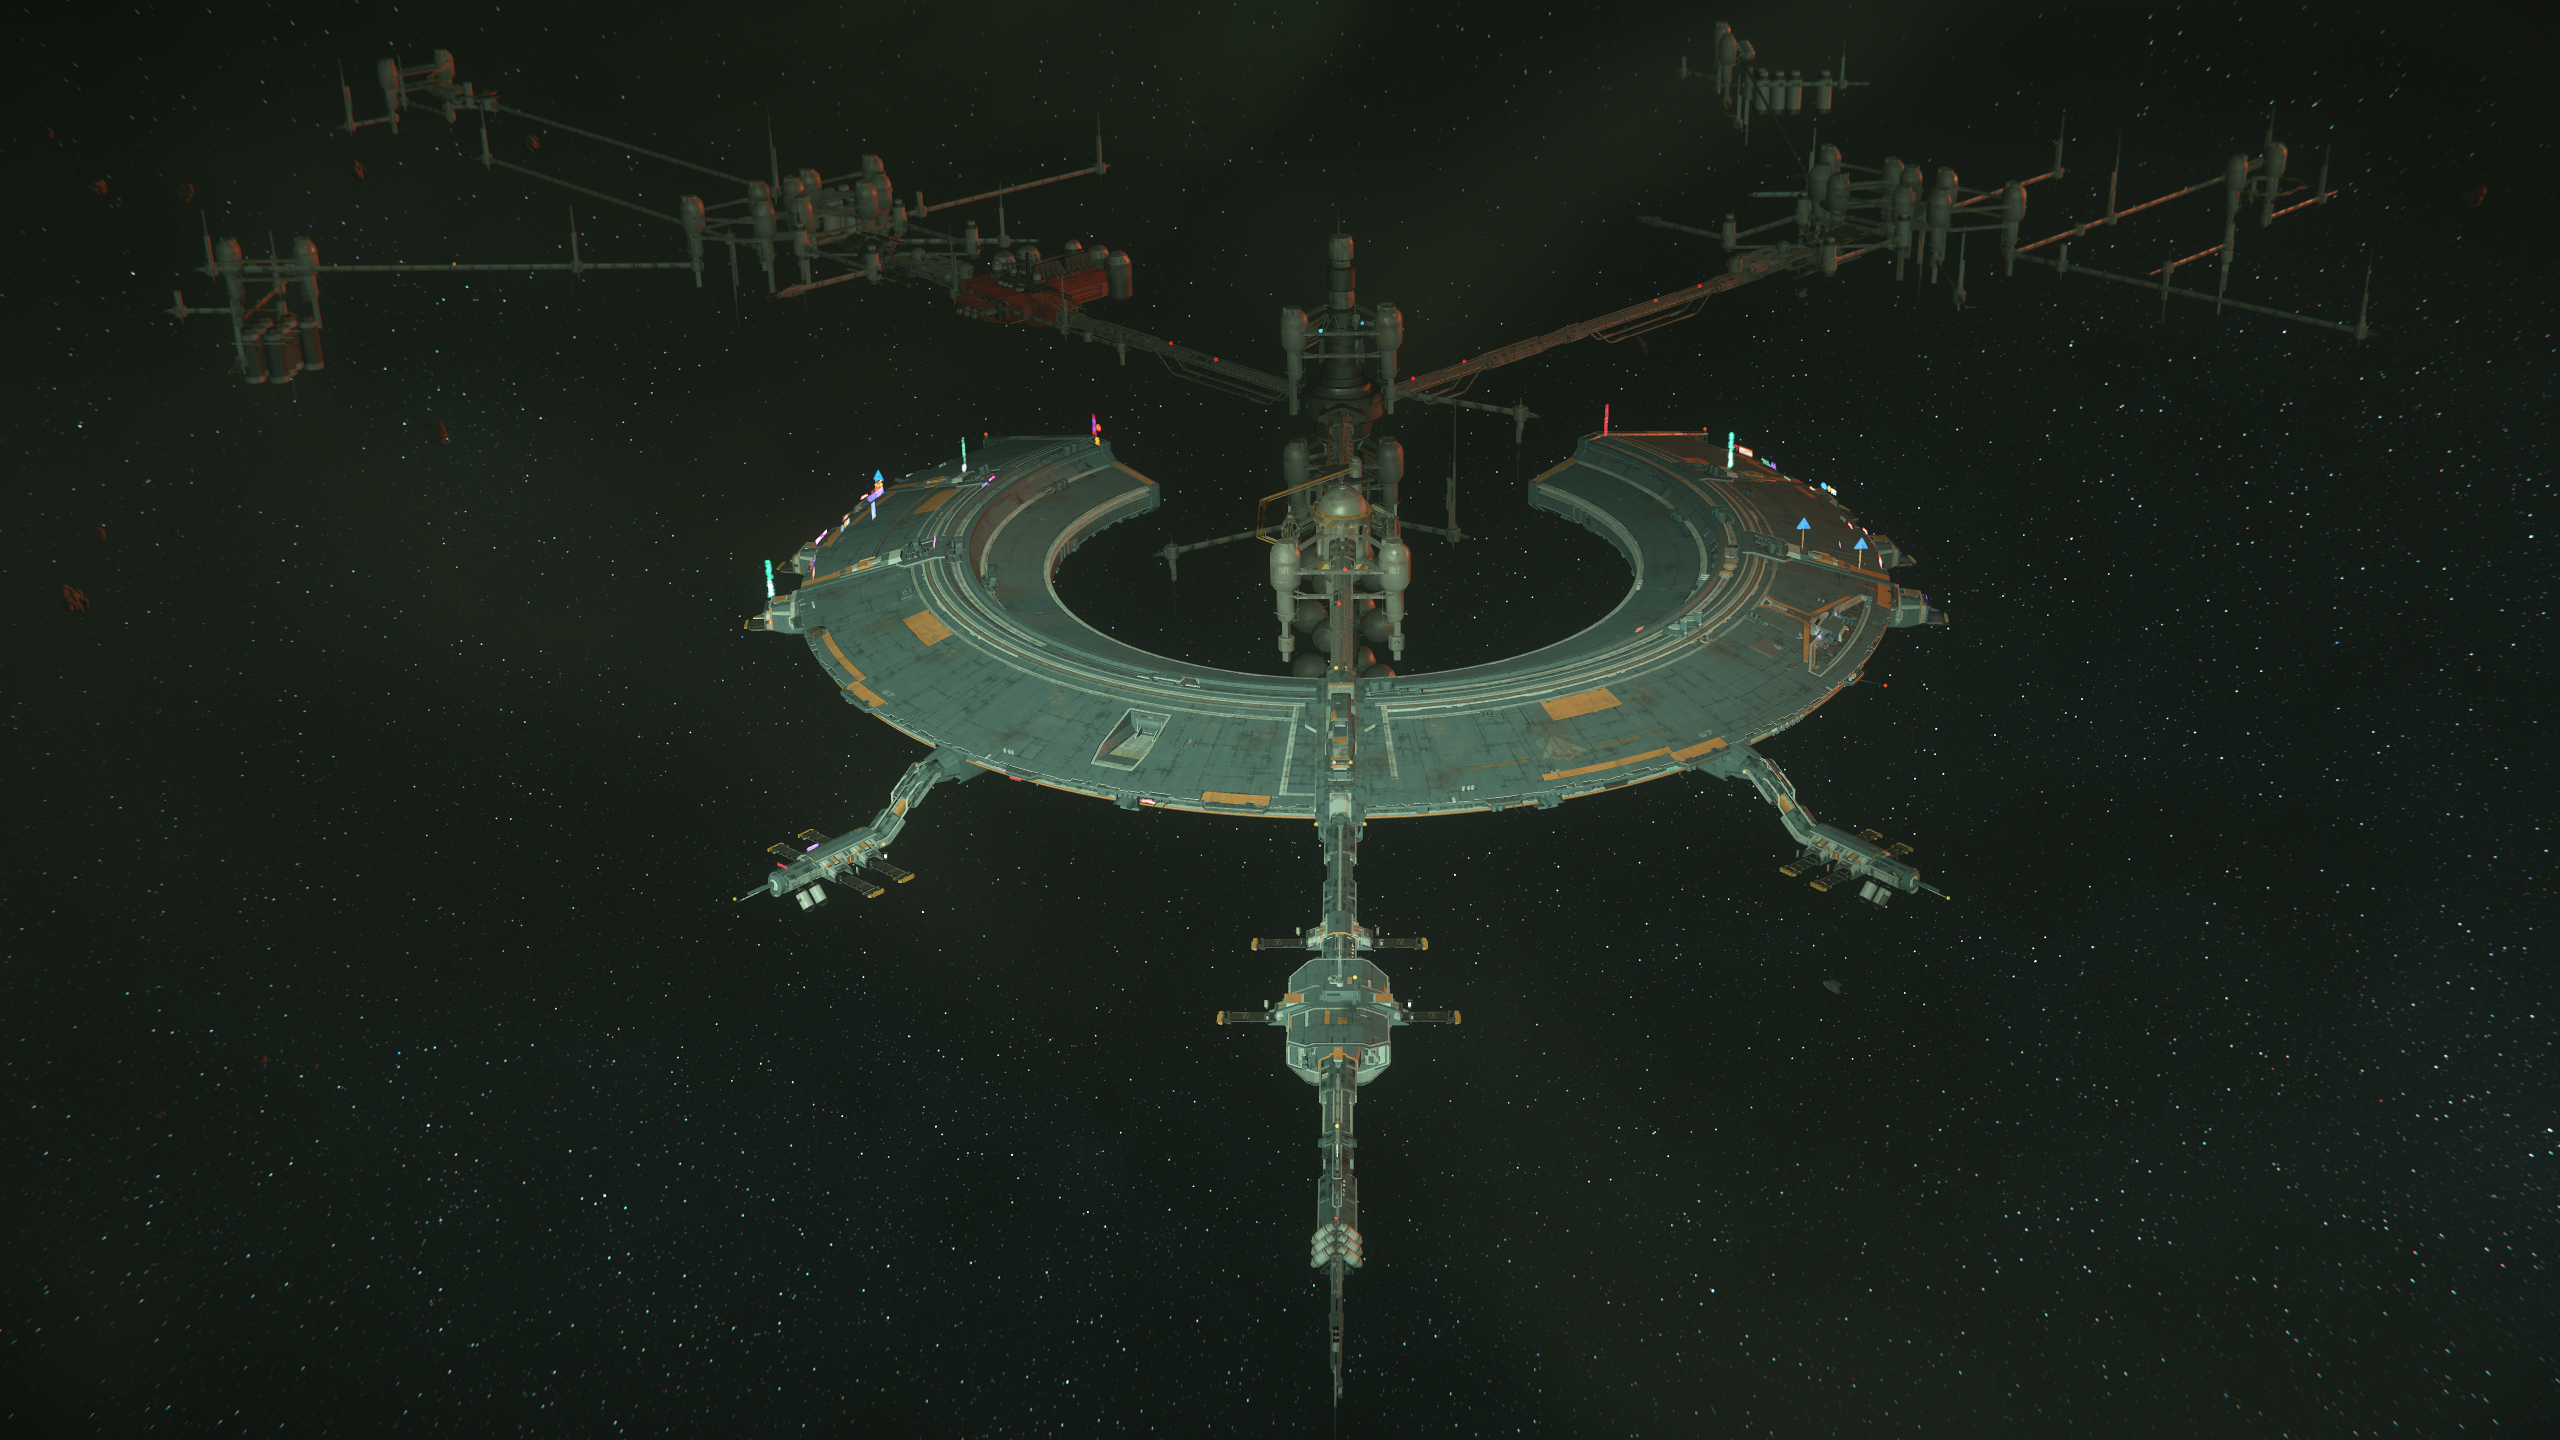
- Everus Harbor 001.png 2.560 × 1.440; 5,32 MB
- Everus Harbor 002.png 2.560 × 1.440; 4,04 MB
- Everus Harbor.jpg 3.840 × 2.160; 1,13 MB
- Felsvorsprung mit gelber Markierung.png 3.068 × 2.076; 6,84 MB
- Frachtraum mit Erzen - MISC Freelancer.jpg 3.840 × 2.160; 1,27 MB
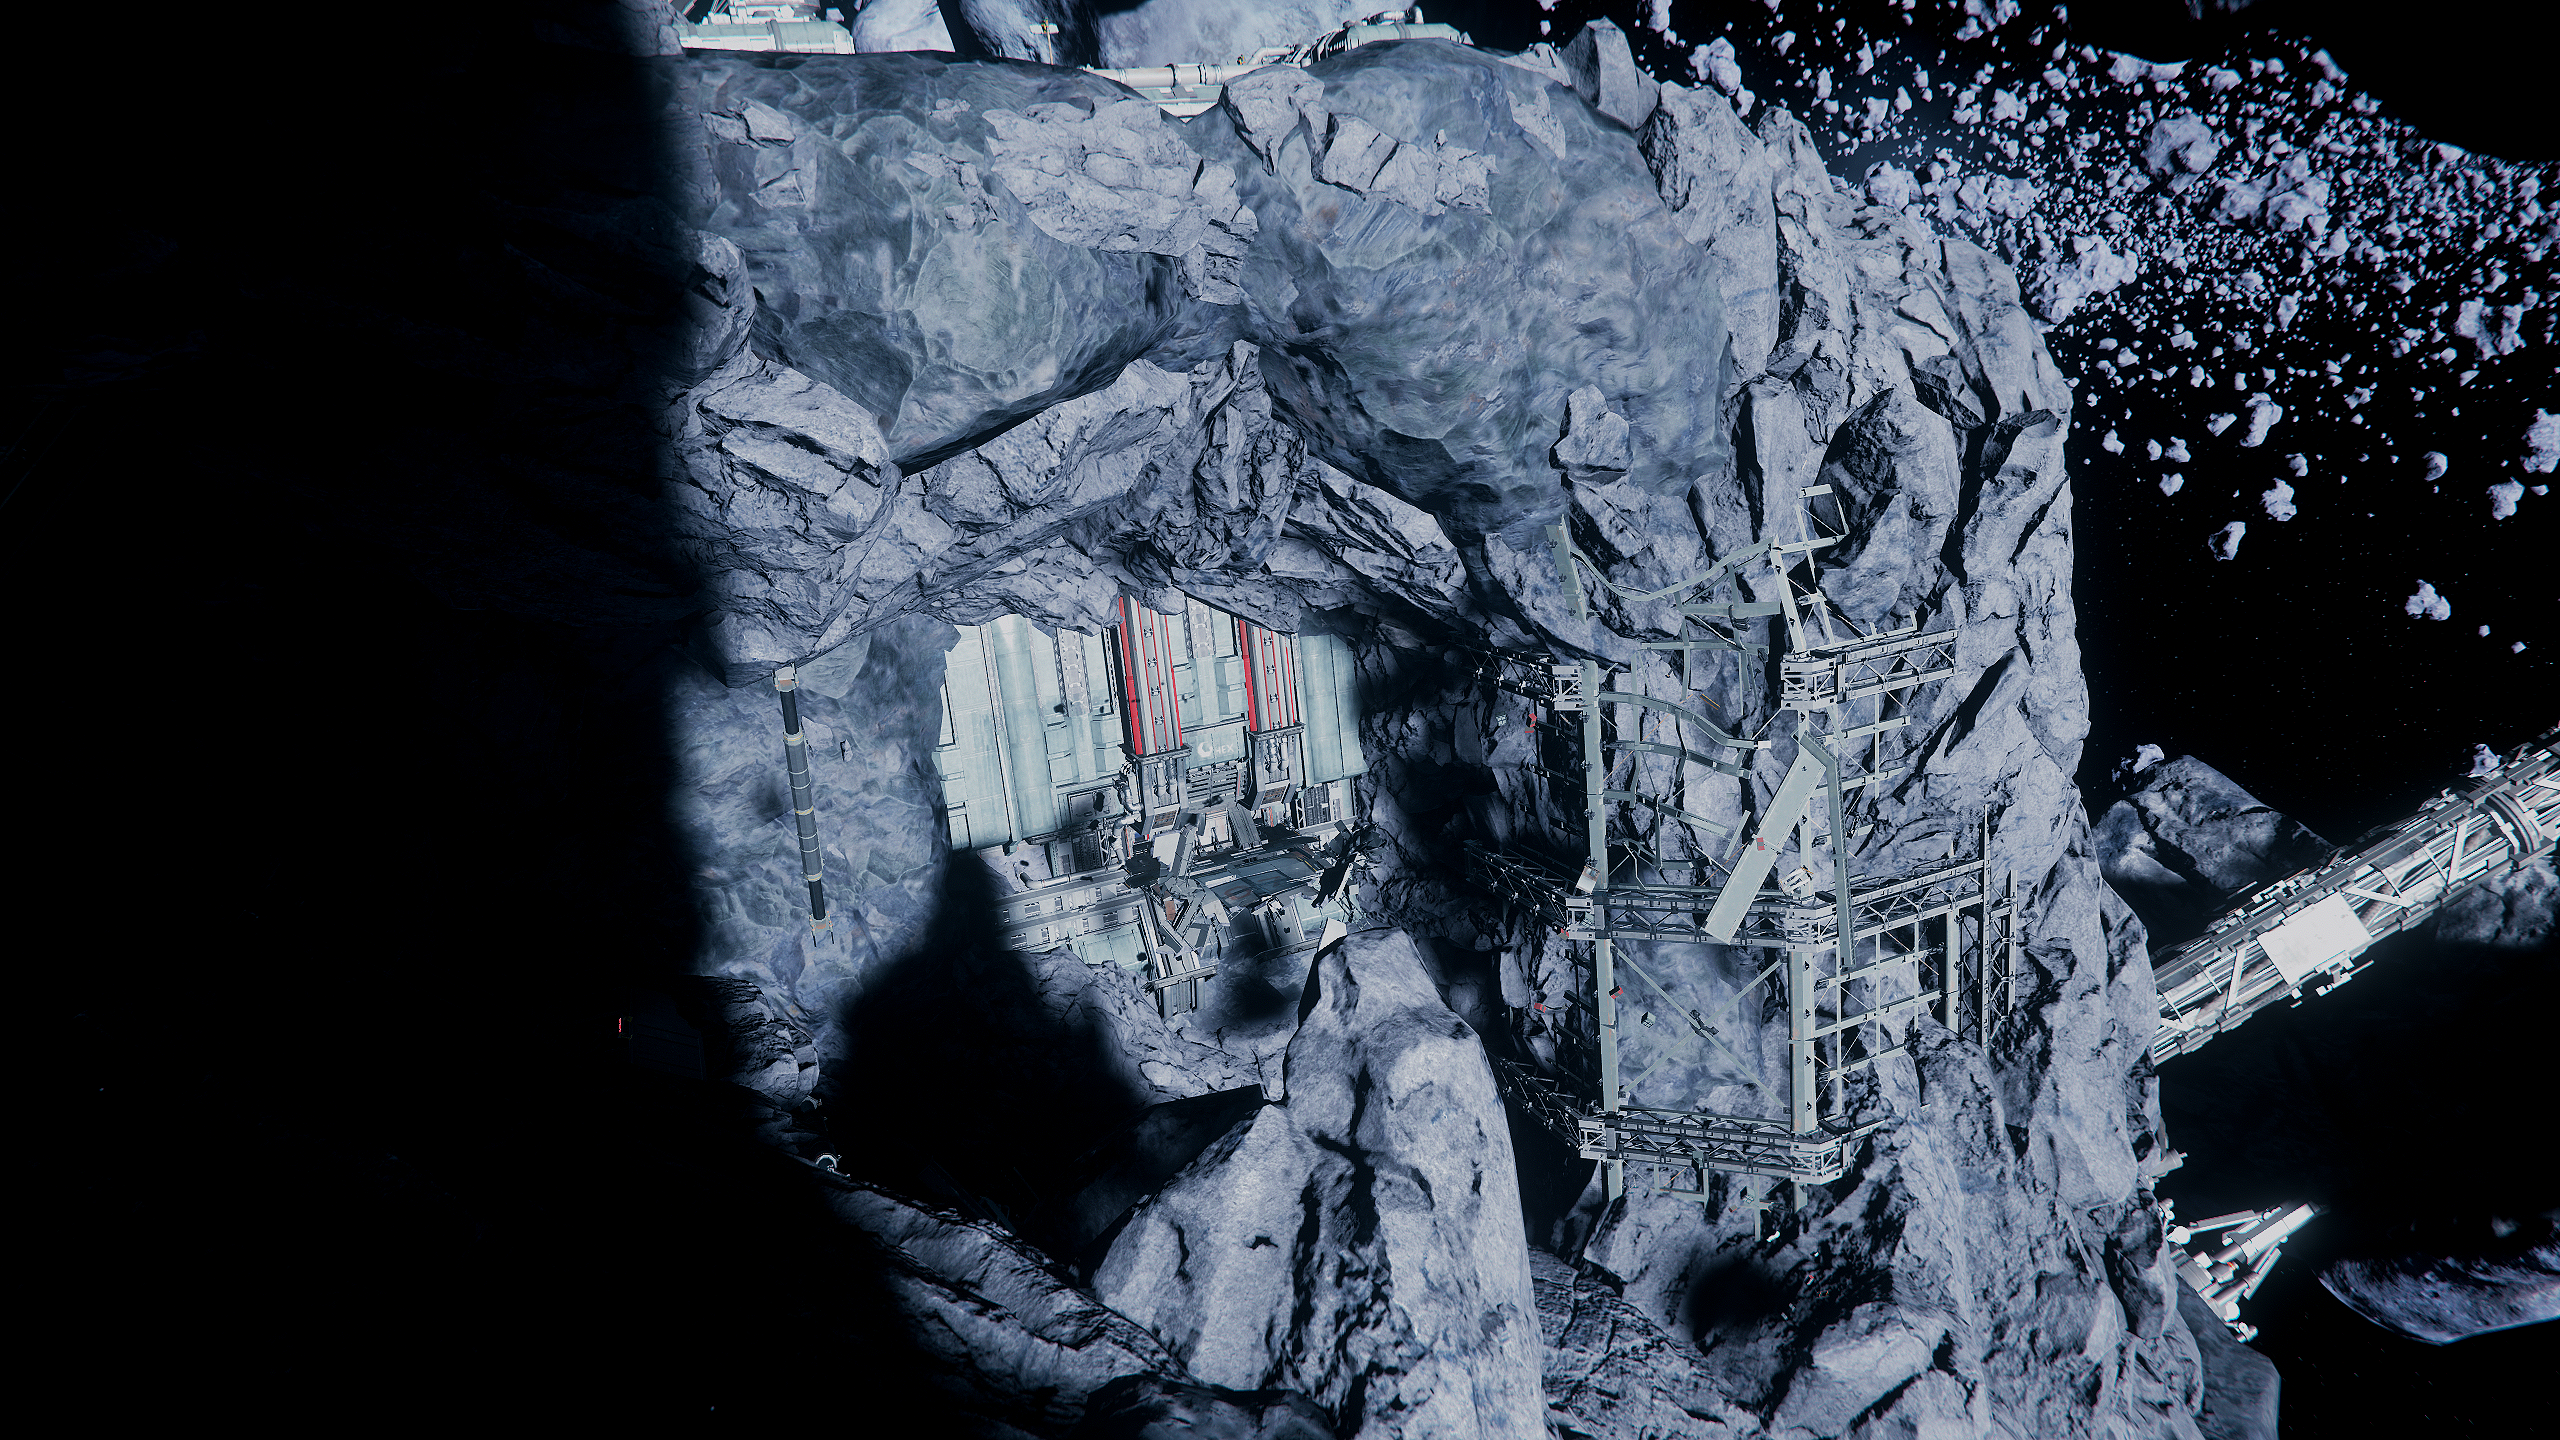
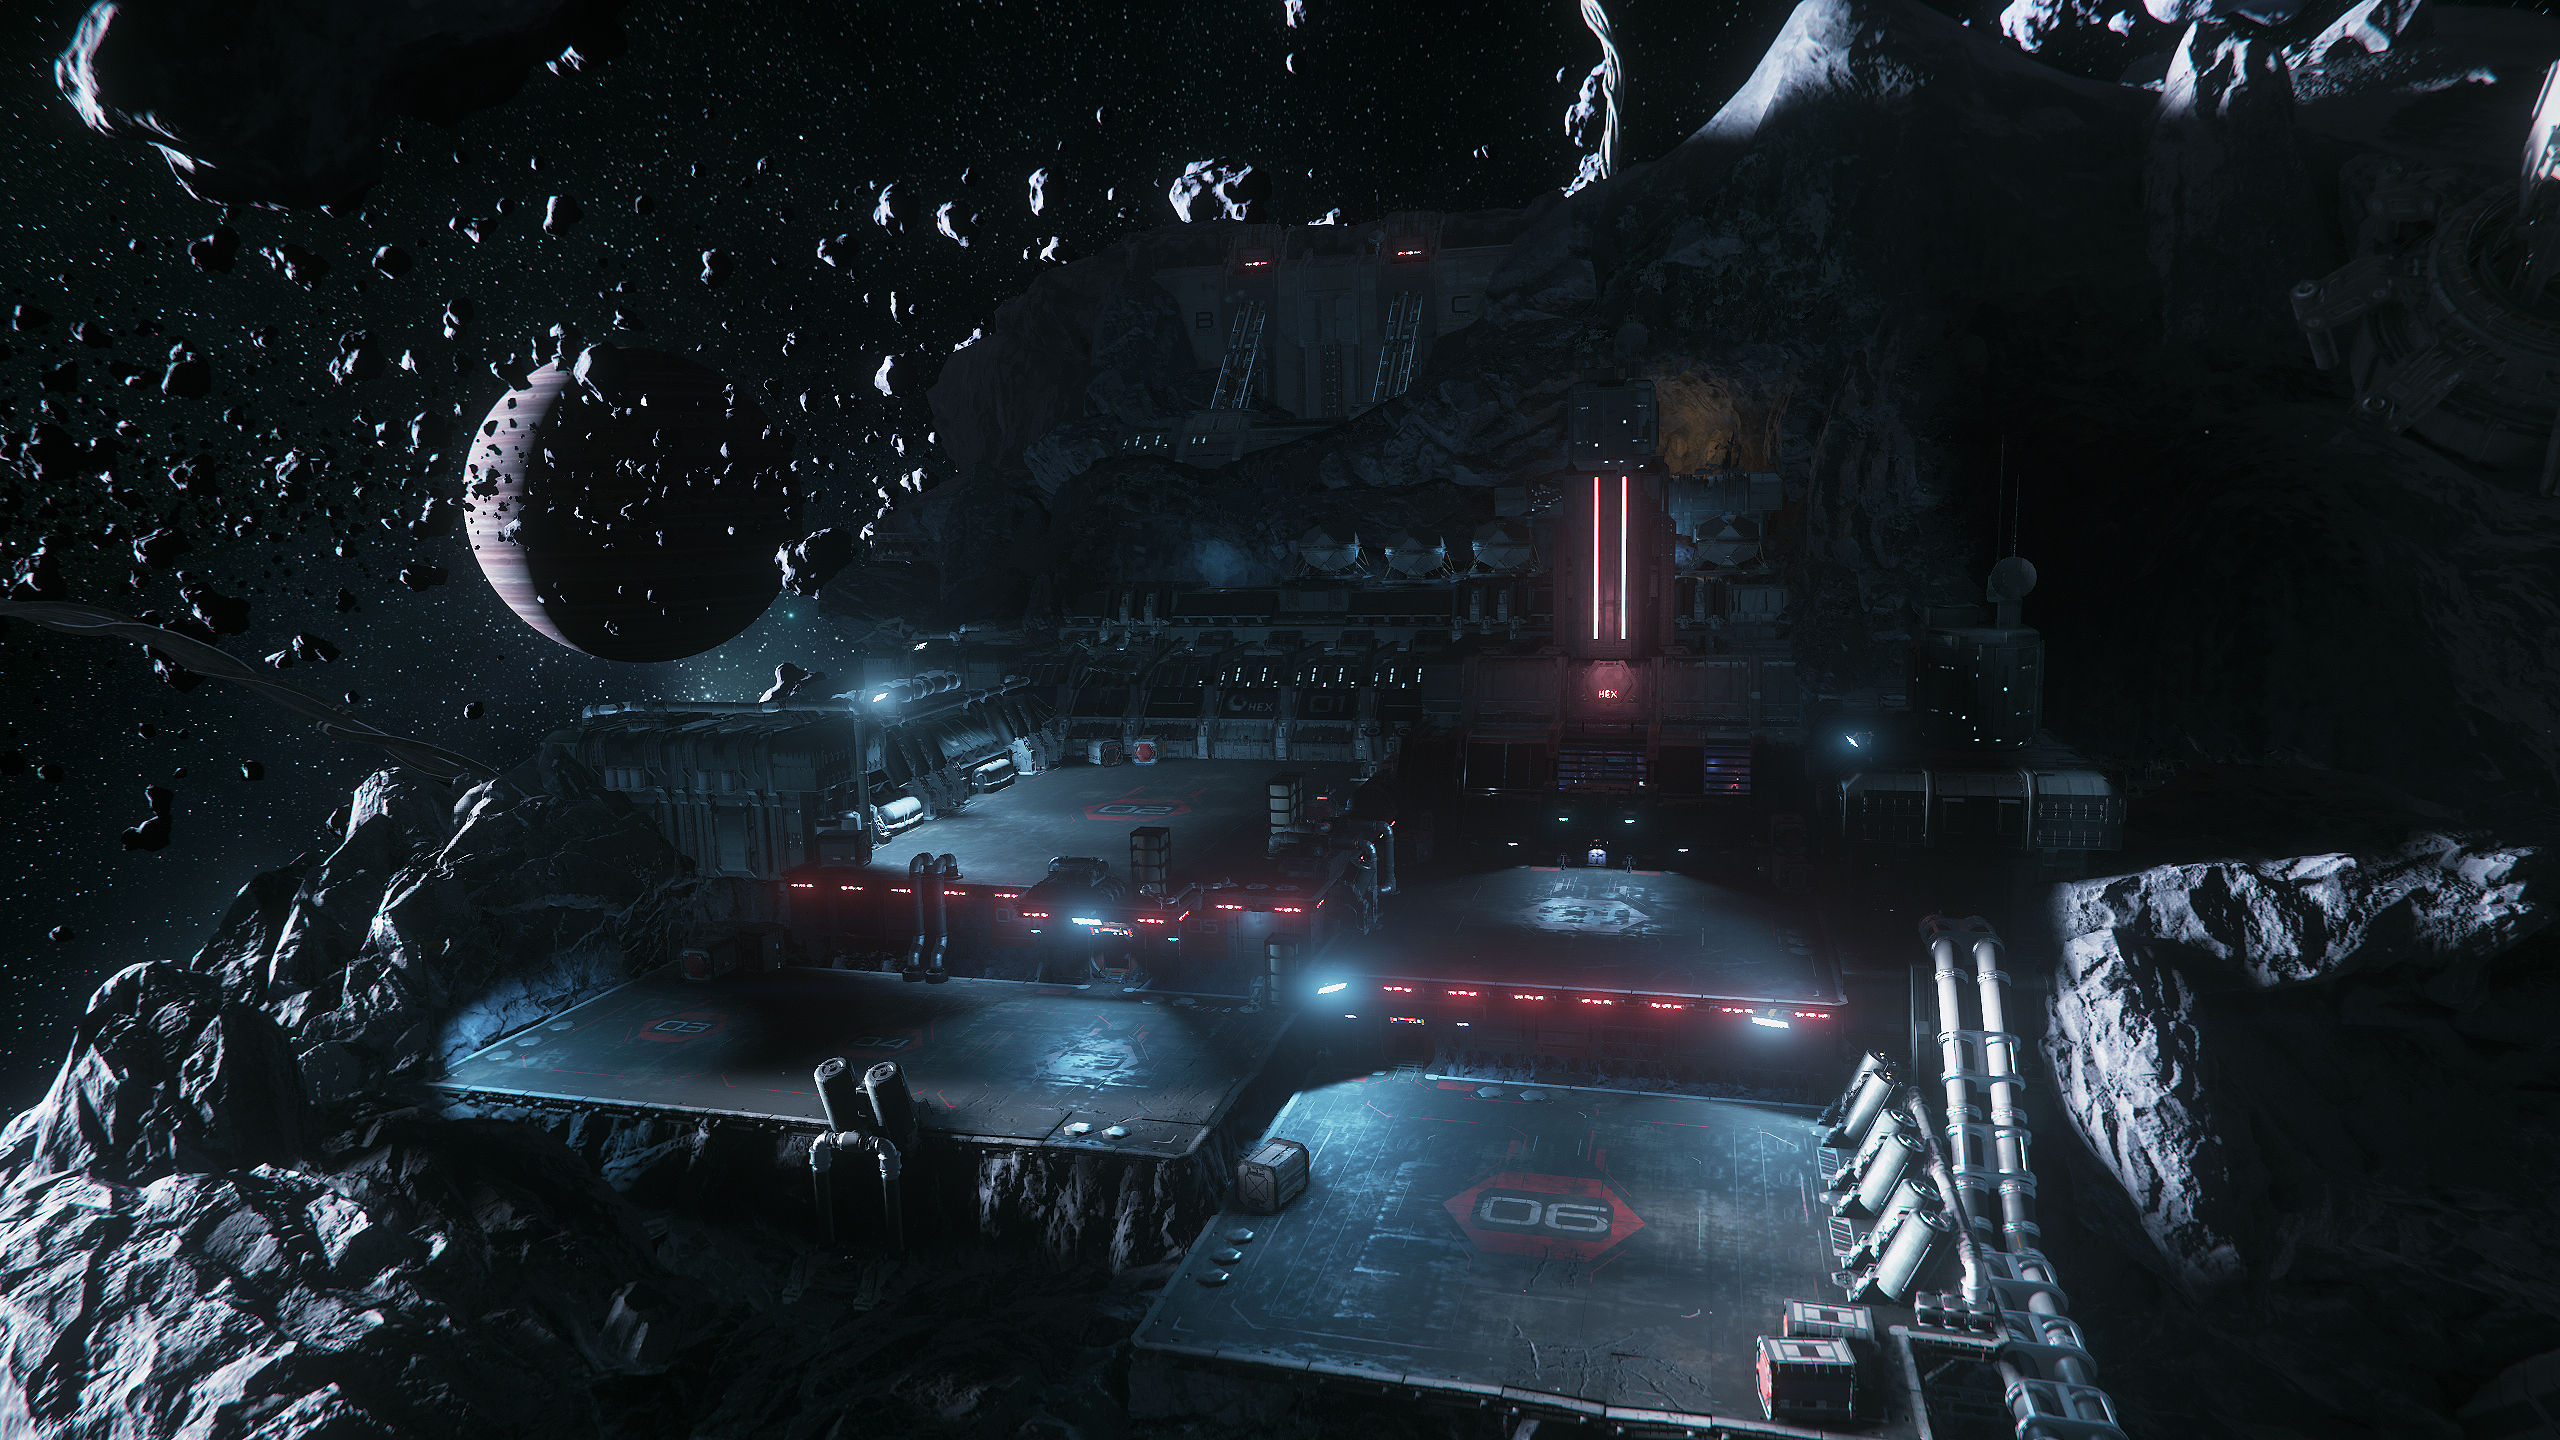
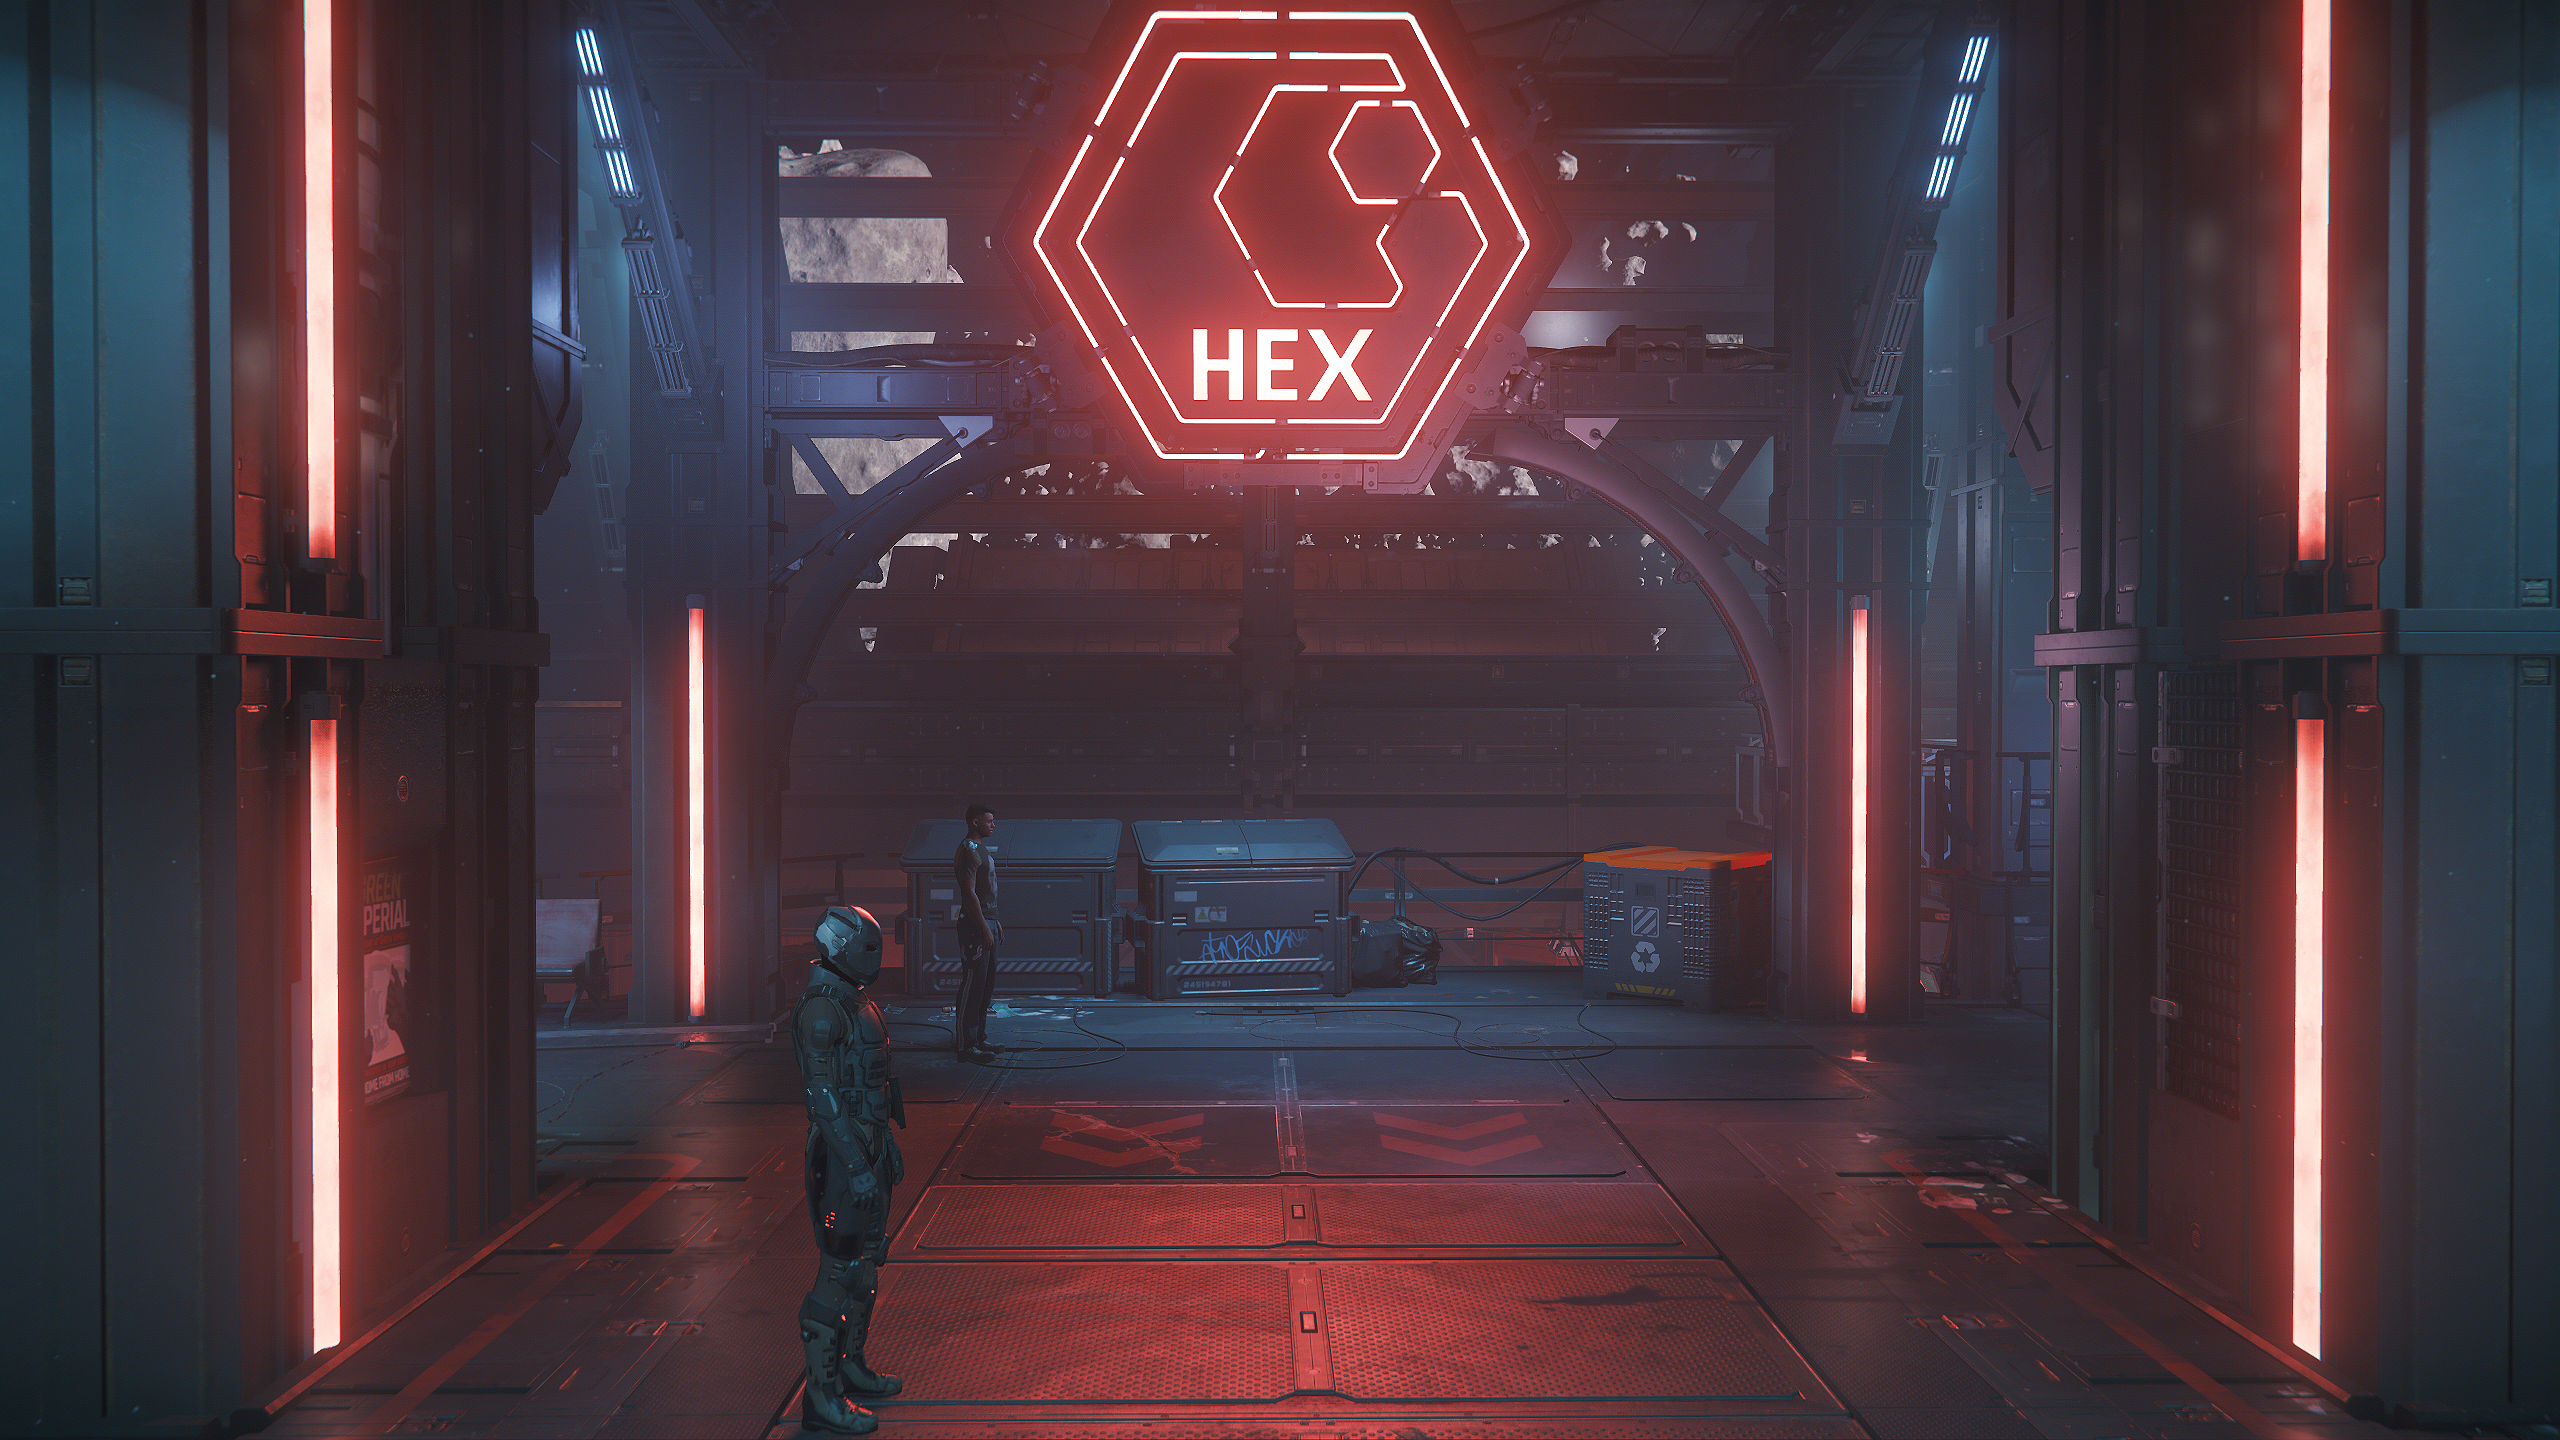
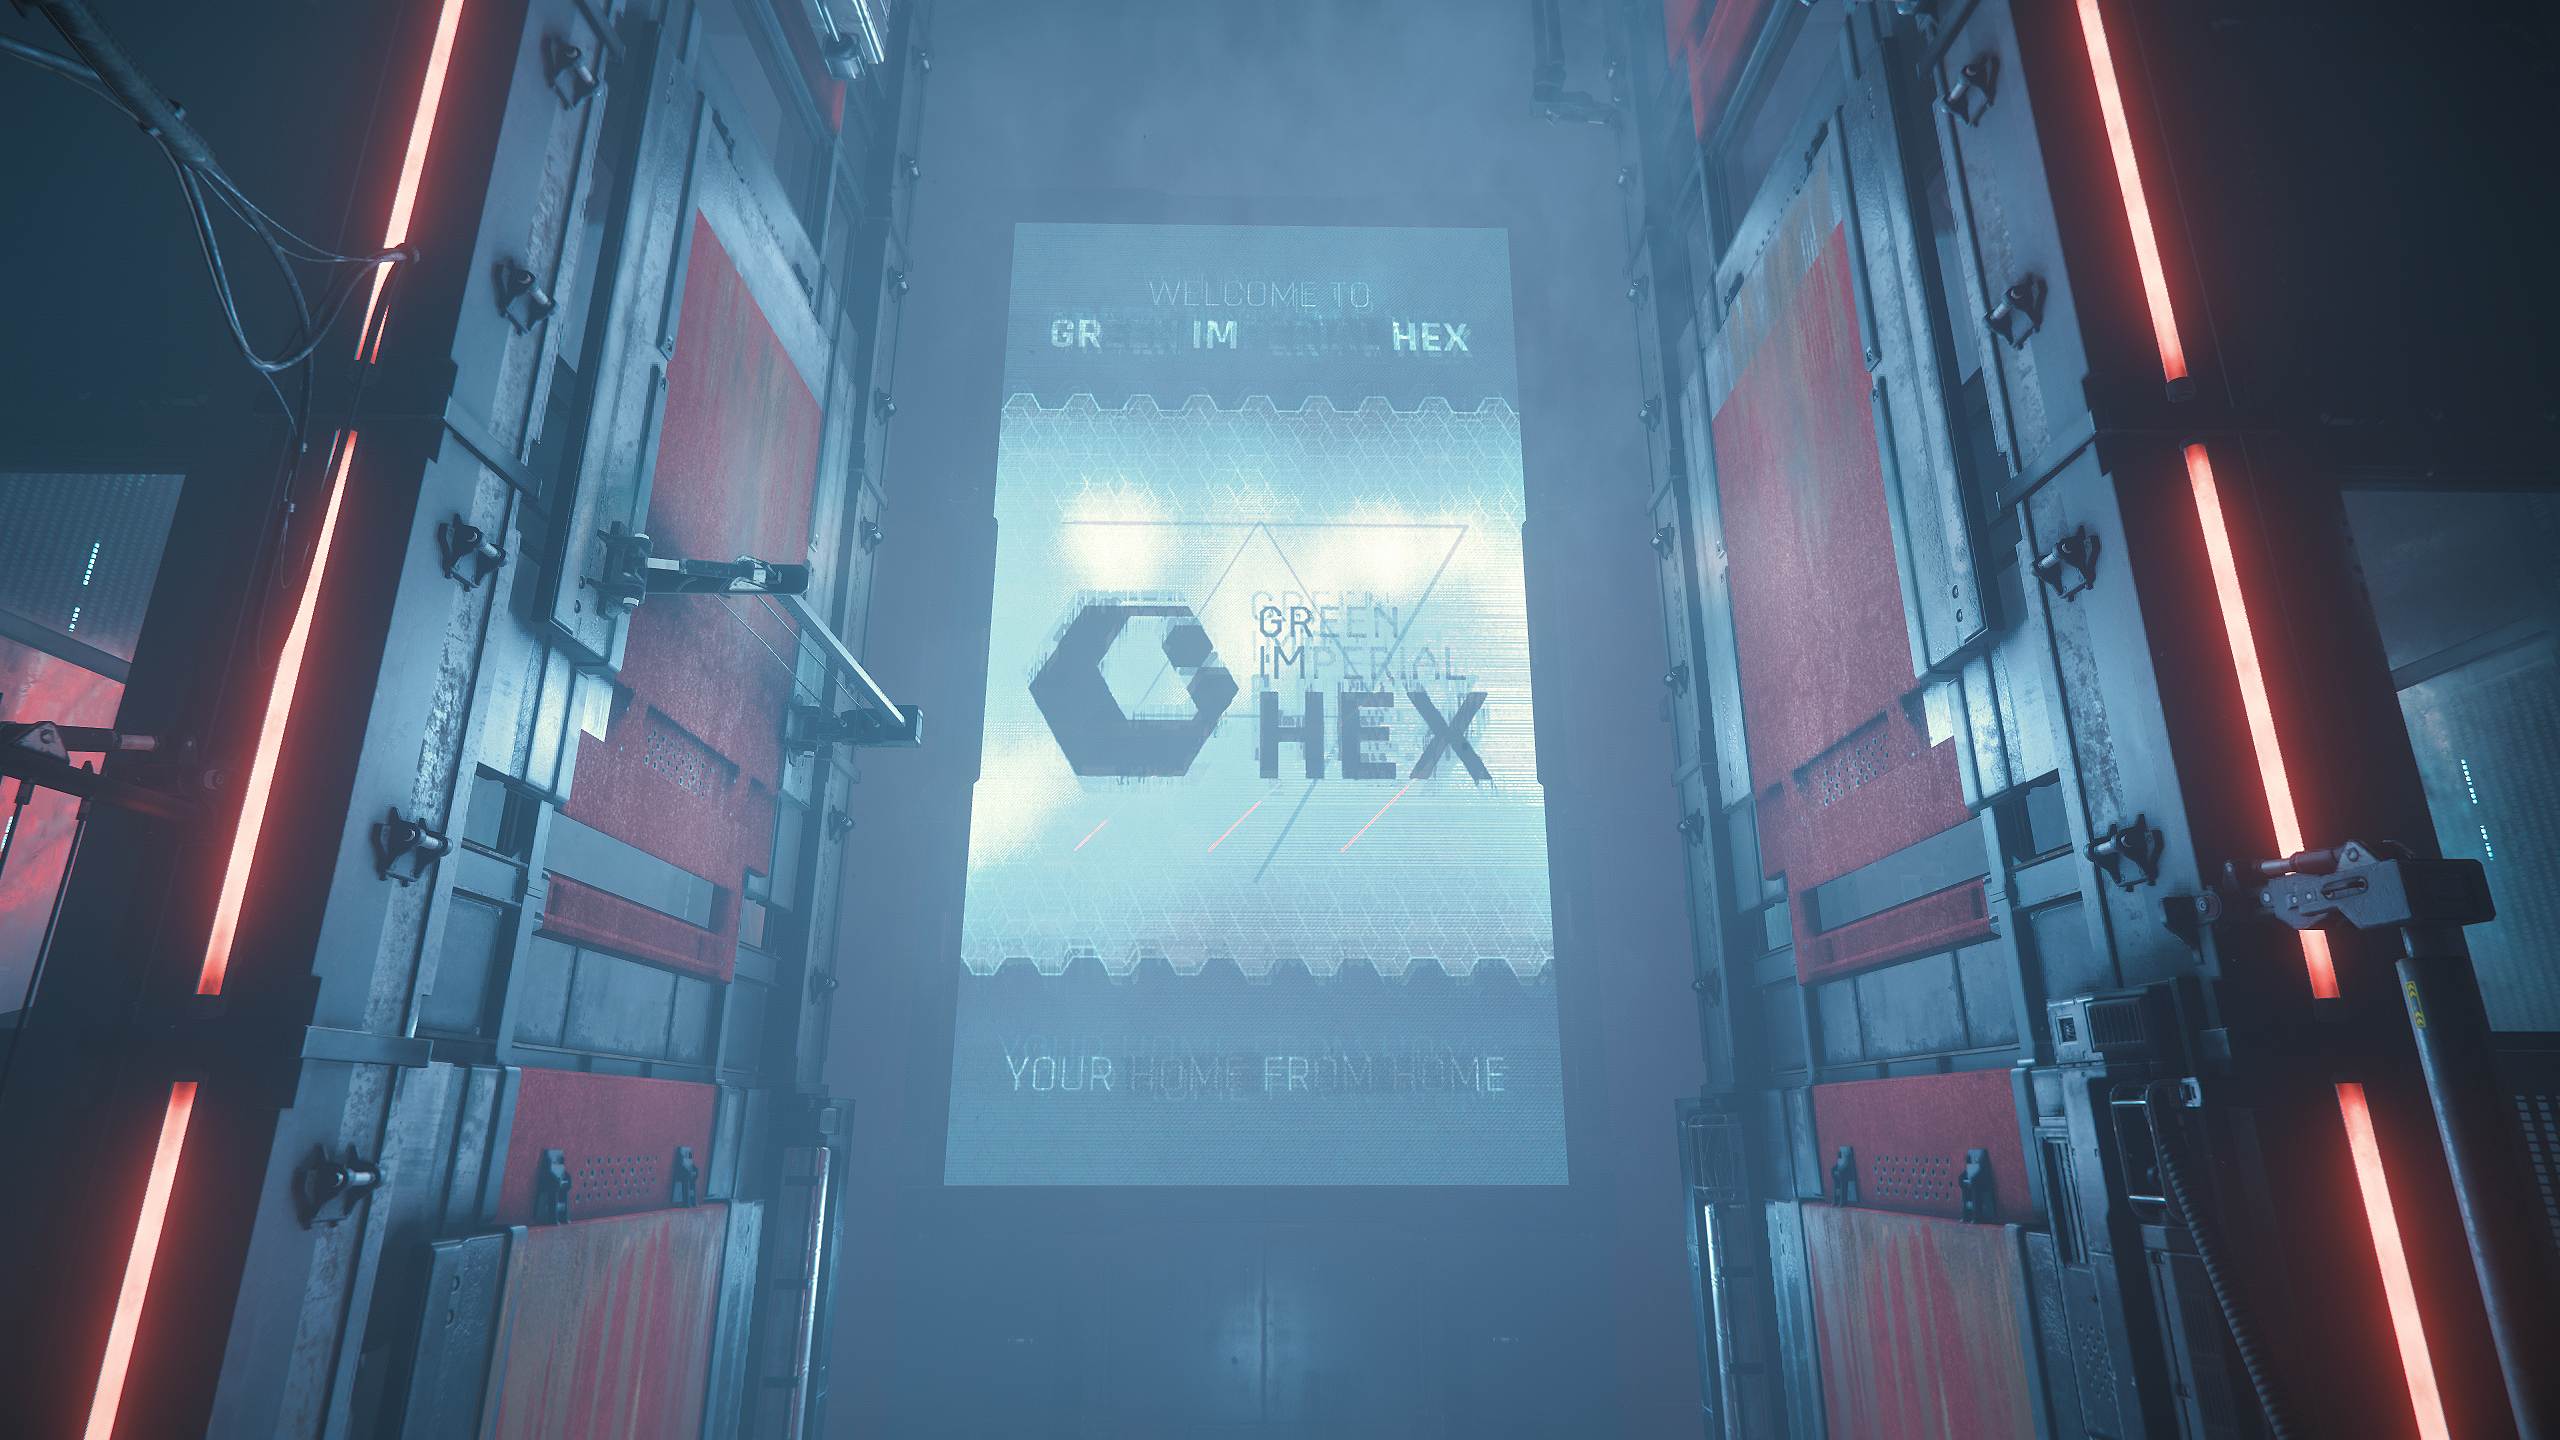
- GrimHex 001.png 2.560 × 1.440; 6,19 MB
- GrimHex 002.png 2.560 × 1.440; 5,62 MB
- GrimHex 003.png 2.560 × 1.440; 6,66 MB
- GrimHex 004.png 2.560 × 1.440; 6,3 MB
- GrimHex 005.png 2.560 × 1.440; 6,49 MB
- GrimHex 006.png 2.560 × 1.440; 6,42 MB
- GrimHex 007.png 2.560 × 1.440; 6,38 MB
- GrimHex 008.png 2.560 × 1.440; 6,37 MB
- GrimHex 009.png 2.560 × 1.440; 6,22 MB
- GrimHex 010.png 2.560 × 1.440; 5,88 MB
- GrimHex 011.png 2.560 × 1.440; 6,2 MB
- GrimHex 012.png 2.560 × 1.440; 6,1 MB
- GrimHex 013.png 2.560 × 1.440; 6,07 MB
- GrimHex 014.png 2.560 × 1.440; 6,25 MB
- GrimHex 015.png 2.560 × 1.440; 5,98 MB
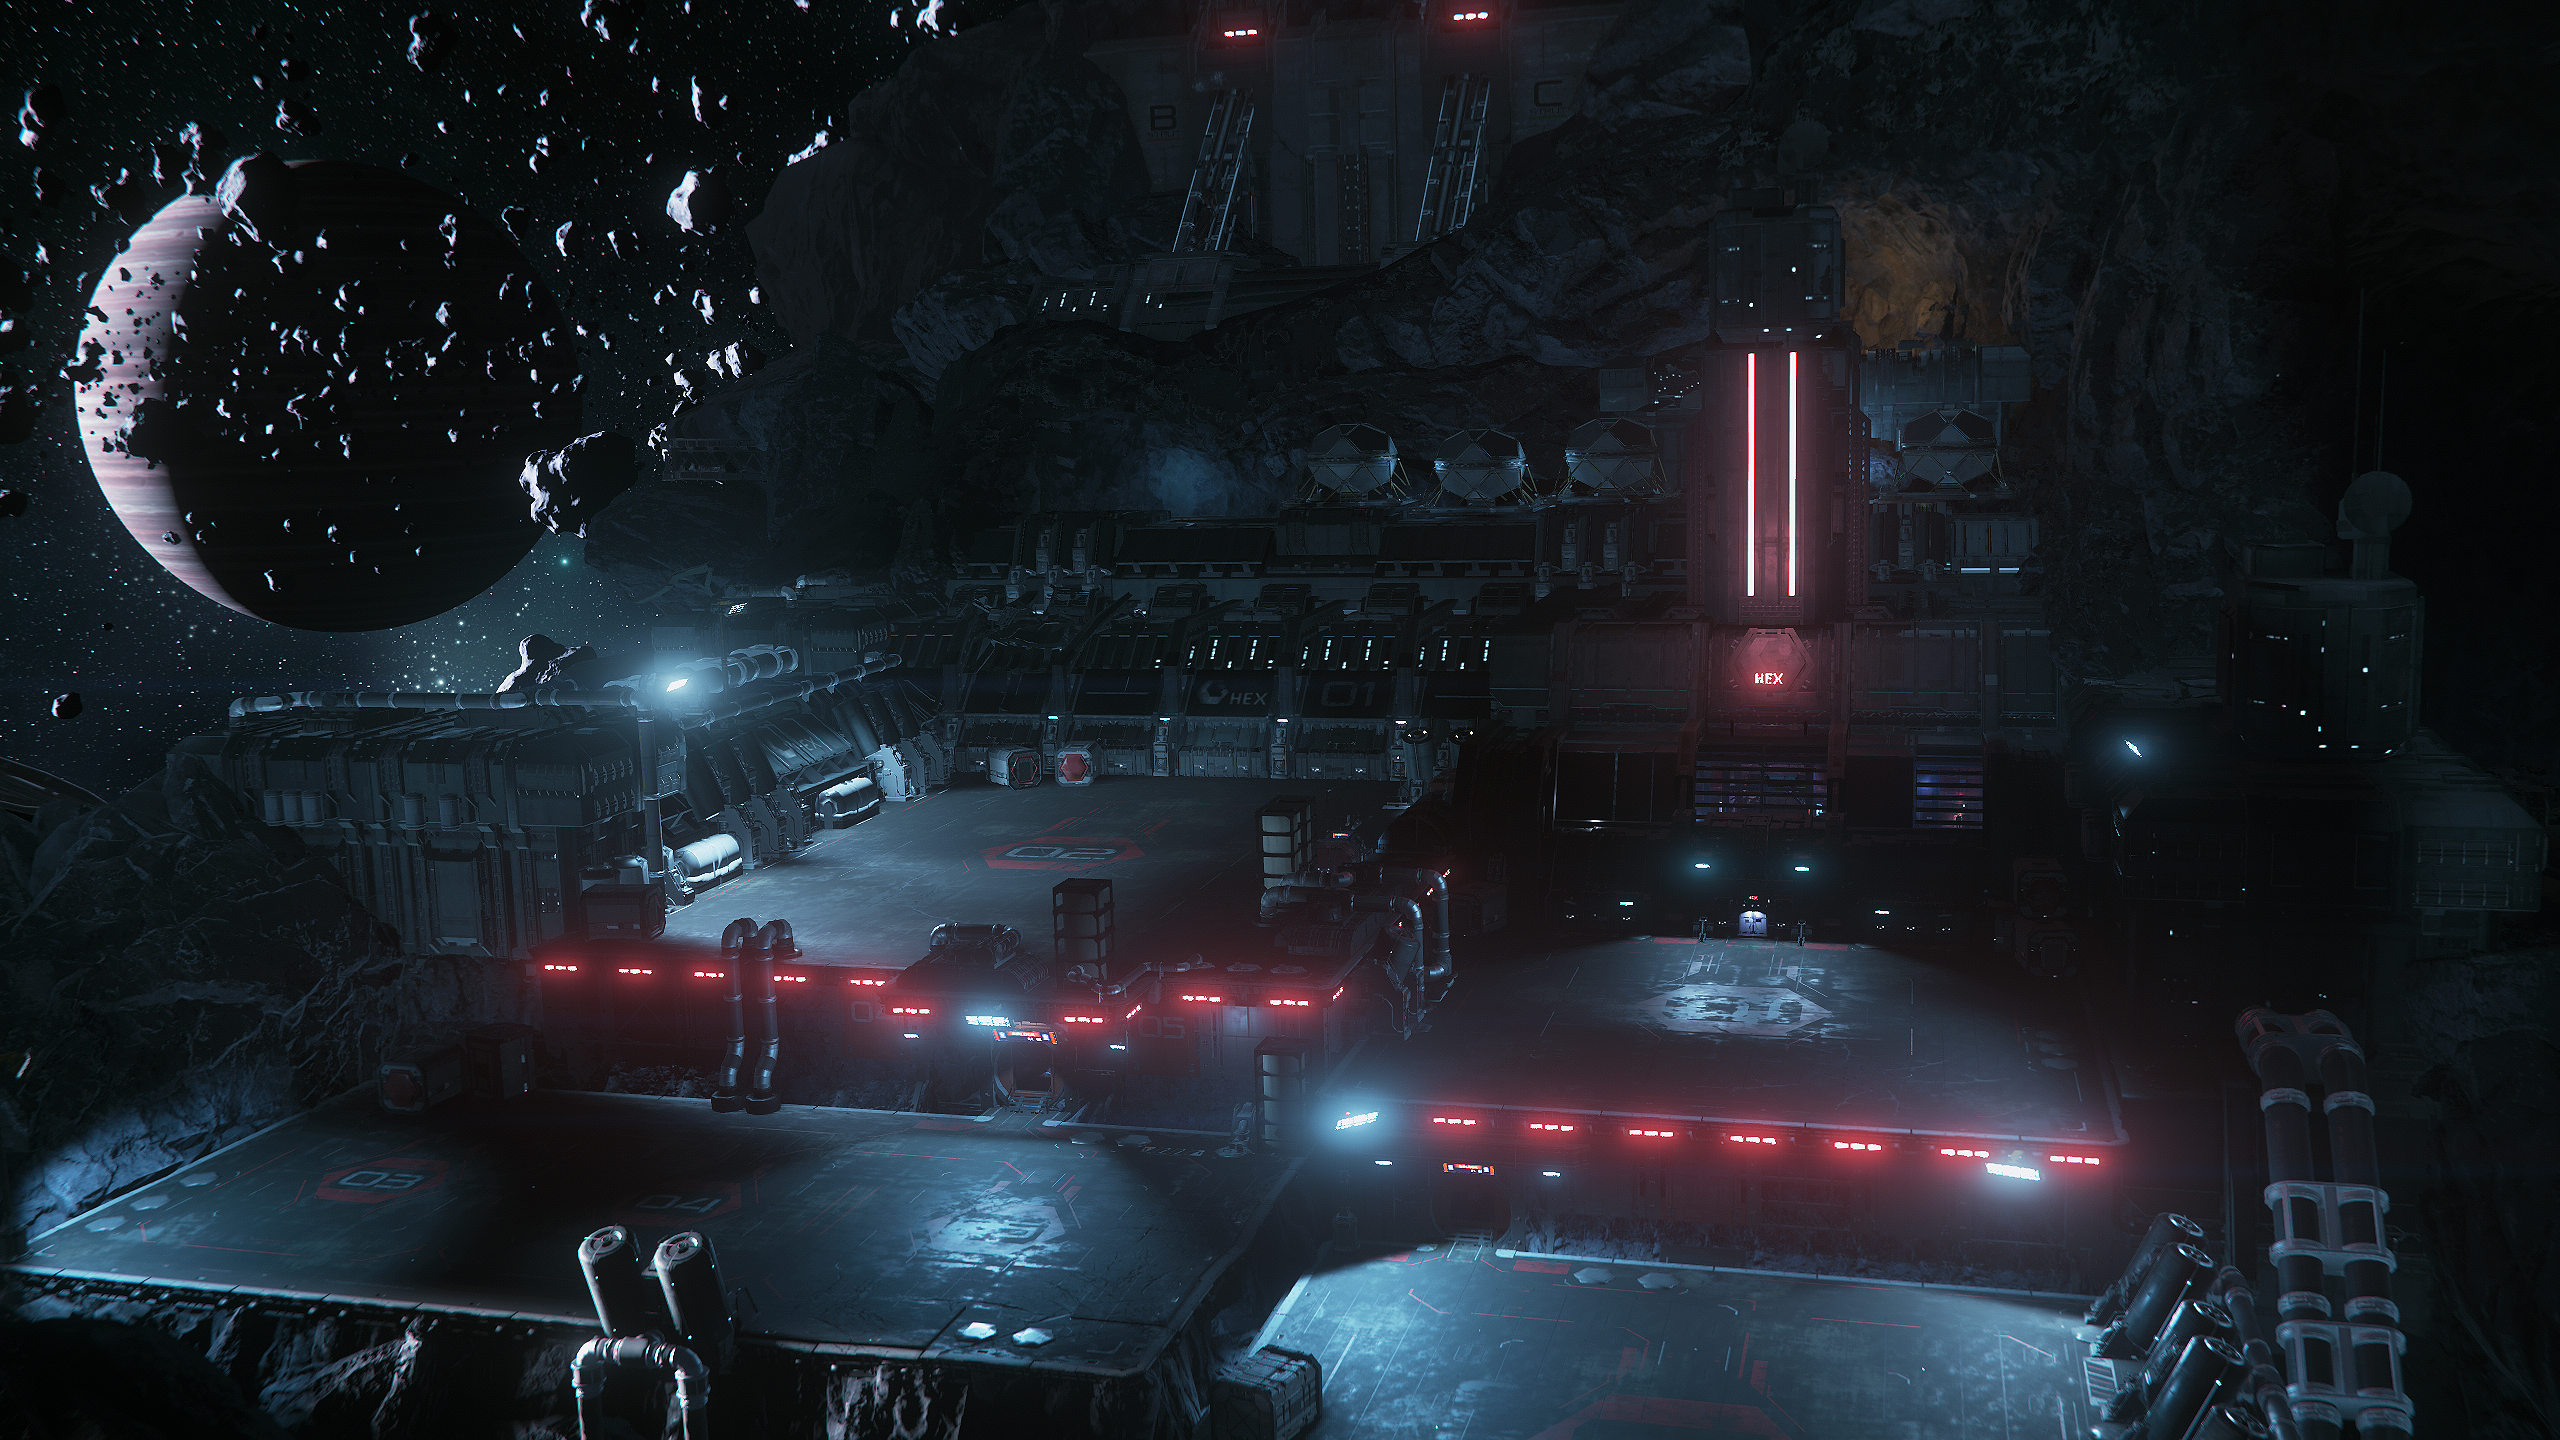
- GrimHex.png 2.560 × 1.440; 6,38 MB
- Handscanner scannt Hadanite.png 1.754 × 1.874; 3,98 MB
- HUR-L1 Green Glade Station 1.png 2.560 × 1.440; 5,66 MB
- HUR-L1 Green Glade Station.png 2.560 × 1.440; 3,81 MB
- HUR-L2 Faithful Dream Station 001.png 2.560 × 1.440; 4,39 MB
- HUR-L2 Faithful Dream Station 002.png 2.560 × 1.440; 4,58 MB
- HUR-L2 Faithful Dream Station.png 2.560 × 1.440; 4,23 MB
- HUR-L3 Thundering Express Station 01.png 2.560 × 1.440; 5,61 MB
- HUR-L3 Thundering Express Station 02.png 2.560 × 1.440; 5,75 MB
- HUR-L3 Thundering Express Station 03.png 2.560 × 1.440; 6,24 MB
- HUR-L3 Thundering Express Station.png 2.560 × 1.440; 5,66 MB
- HUR-L4 Melodic Fields Station 01.png 2.560 × 1.440; 5,21 MB
- HUR-L4 Melodic Fields Station 02.png 2.560 × 1.440; 2,9 MB


.png)
.jpg)
.jpg)
.jpg)

.jpg)

.jpg)
.jpg)

.jpg)


,_Admin_Office_(links).jpg)


.jpg)


_-_Fahrzeug_f%C3%BCr_leichten_Bergbau_zu_Boden.jpg)
.jpg)
.jpg)
.jpg)


.jpg)
.jpg)
.jpg)
.jpg)
.jpg)


.jpg)
.jpg)
.jpg)
.jpg)

.jpg)
.jpg)
.jpg)
.jpg)
.jpg)
.jpg)
.jpg)


